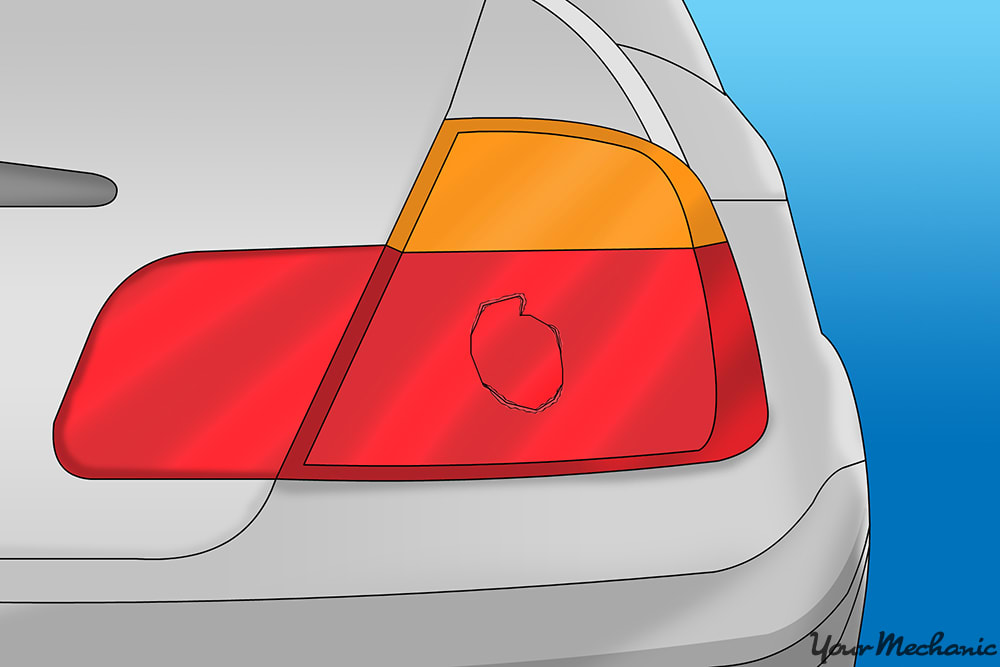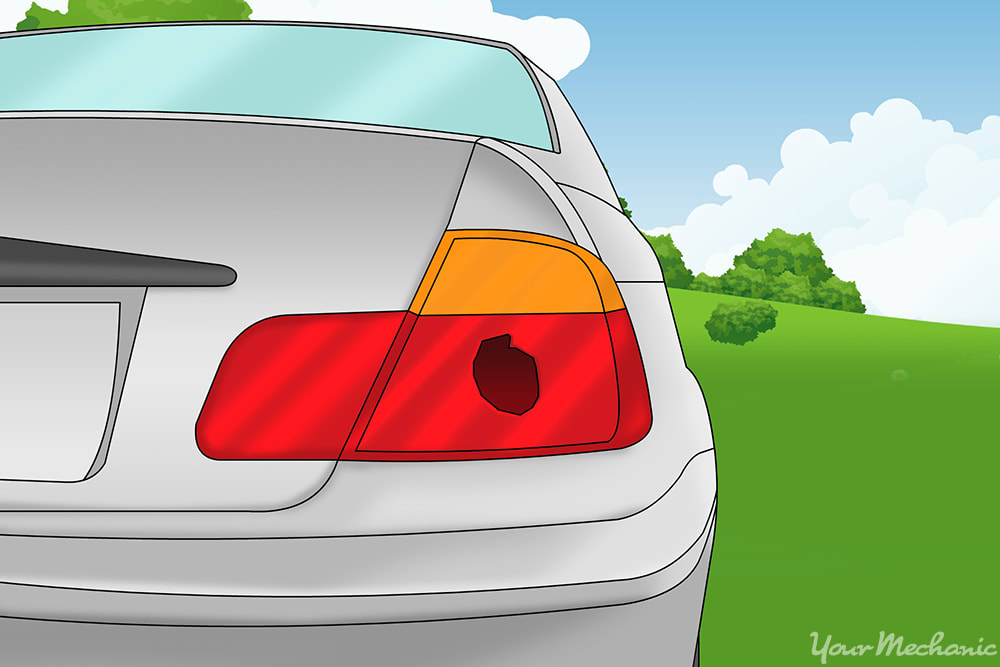

A cracked taillight can cause many problems if left unattended. Water can get in and cause the bulbs - or even the whole taillight assembly - to fail. The chip or crack can grow larger, and a broken taillight is grounds to be pulled over and receive a ticket. Glueing the missing piece back onto the tail light is a simple way to avoid having to replace the tail light housing.
This article will cover how to glue a missing piece back into a tail light assembly.
Part 1 of 2: Preparing the tail light assembly
Materials Needed
- Cloth
- Fine grit sandpaper
- Hairdryer
- Plastic glue
- Rubbing alcohol
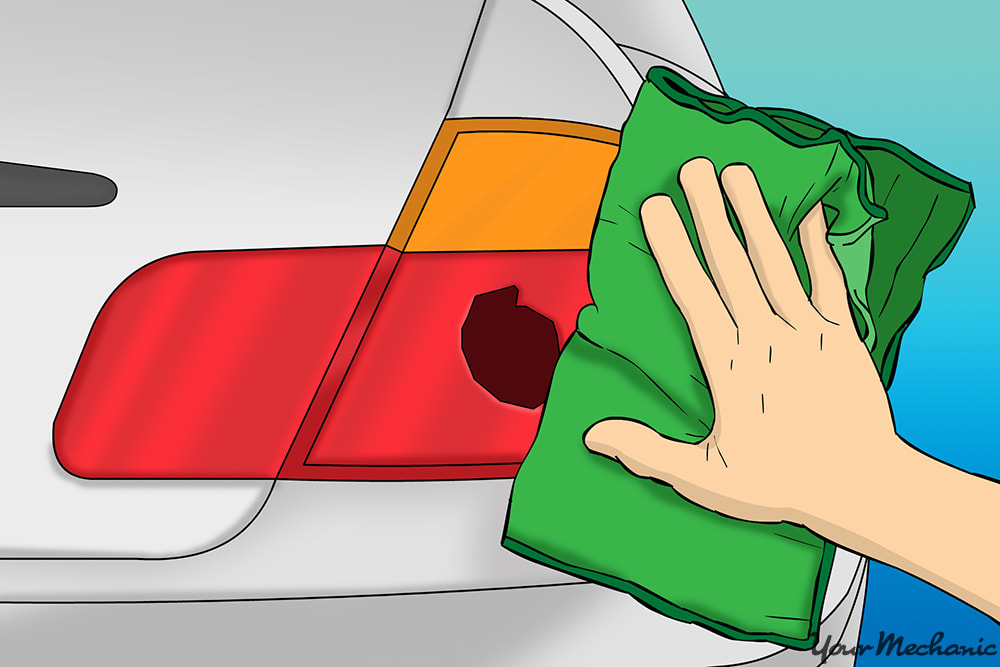
Step 1: Wipe down the taillight. Lightly dampen a cloth with some rubbing alcohol and wipe down the entire taillight that is going to be repaired.
This is done to bring up and loosen particles, dust, and grime.
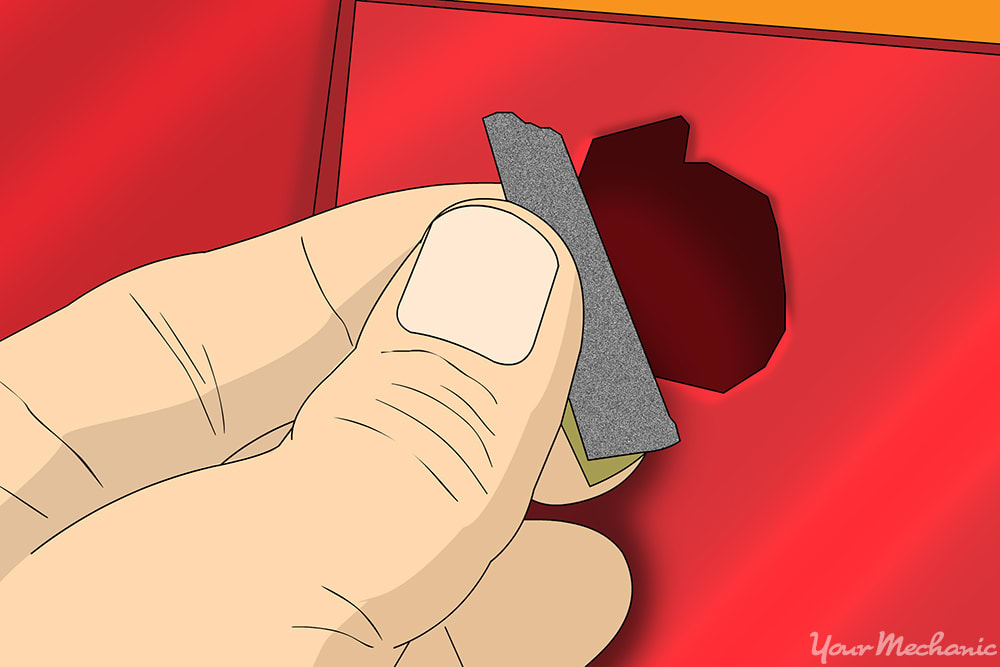
Step 2: Use sandpaper on the broken edges. Now the fine grit sand paper will be used to clean the broken edges of the crack.
This is done to rough up the edges a bit to allow the glue to stick to the plastic better. Use fine grit sandpaper to avoid damaging the surface of the taillight. If a rougher sandpaper is used, it will scratch up the taillight badly. After the area is sanded wipe it down again to rid the area of any debris.
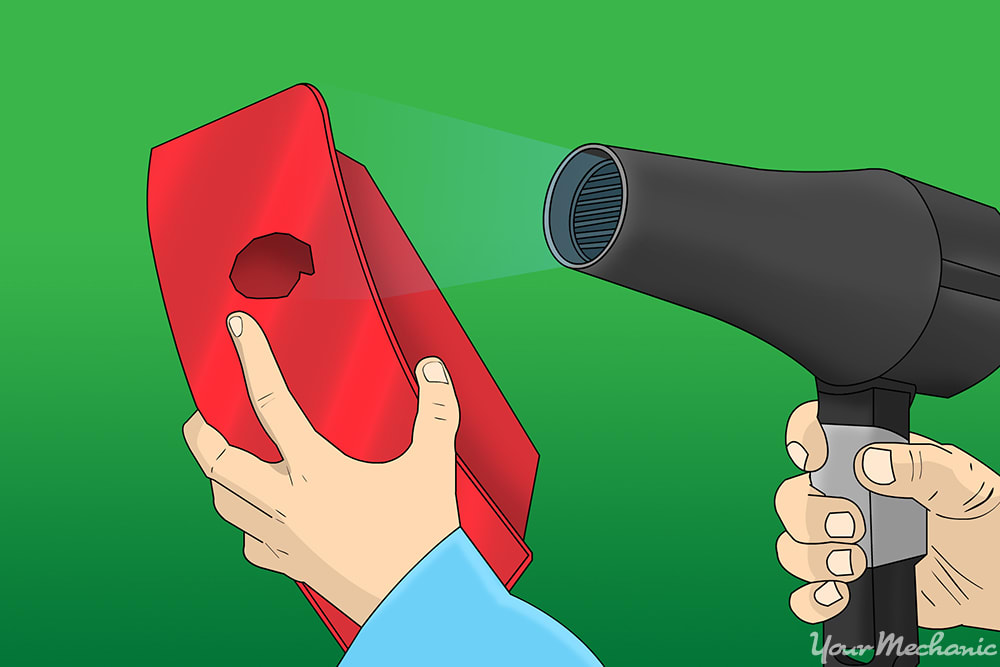
Step 3: Remove moisture from taillight. If the chip was missing for long there is a good chance of moisture being inside the taillight.
If this moisture is not removed, it can cause the taillight to fail especially once it is closed up. The tail light will need to be removed from the vehicle and the bulbs removed from the back. Once this is done a hair dryer can be used on the cool setting to dry up all the water.
Part 2 of 2: Fixing the tail light
Materials Needed
- Cloth
- Fine grit sandpaper
- Plastic glue
- Rubbing alcohol
Step 1: Use sandpaper on the edges. Rough up the edges of the piece with the sandpaper that will be glued into place.
Once the edge is roughed up, use the cloth to wipe it all clean.
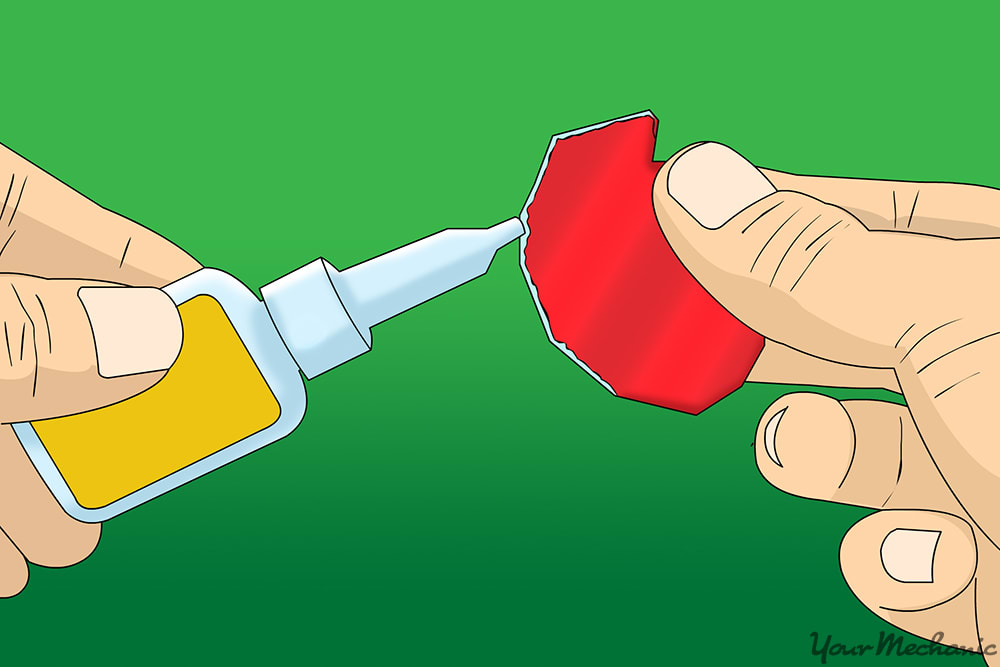
Step 2: Apply glue to the piece. Apply glue to the entire outside edge of the missing piece.
Step 3: Fit the piece back in its proper place. Place the piece in the hole it came from and hold it in place for a moment while the glue sets.
Once the glue is set and the piece stays in place you can remove your hand. If extra glue was pushed out it can be sanded with the sandpaper to make it less obvious.
Step 2: Install the tail light. If the tail light was removed to dry the inside, then the tail light will now be reinstalled.
Check for fitment and secure all bolts.
With the tail light repaired, the vehicle is safe to drive again and you will not get a ticket. In cases where the tail light has missing pieces, the tail light should be replaced. One of YourMechanic’s professionals can perform a bulb replacement or a lens replacement.


