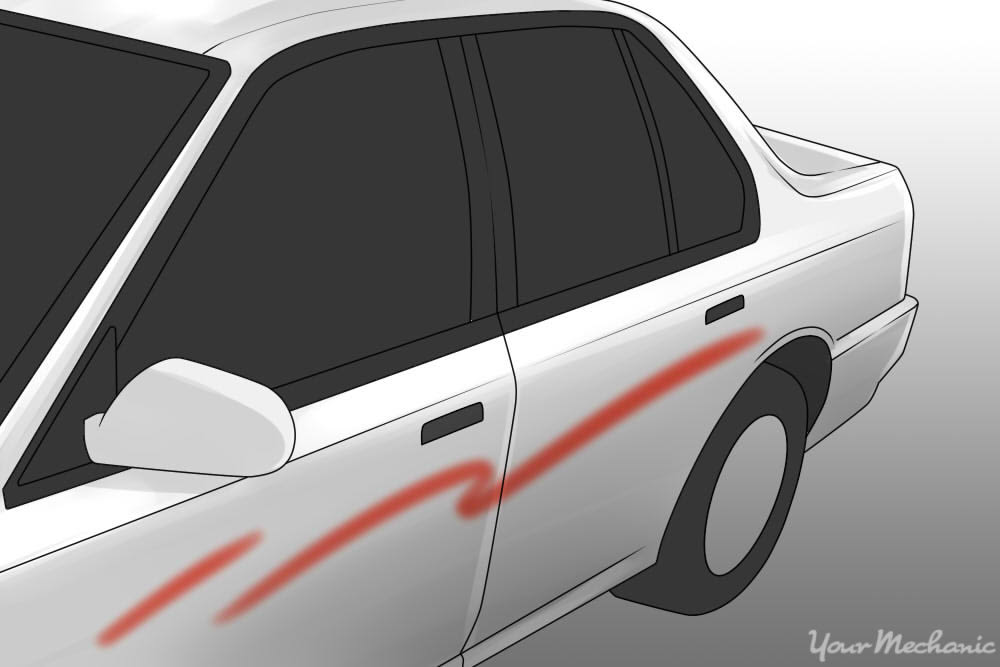

It’s more than frustrating to walk out to your car to find that it’s been defaced with spray paint -- it also needs immediate attention. You need to get over your anger quickly so you can begin removing the paint. As it dries, spray paint becomes more difficult to remove with common methods like soap and water.
While serious spray paint mishaps may have to be repaired by a professional, many people can complete do-it-yourself alternatives which can save money and be just as effective. Here we’ll look at different types of cleaner, with each method described in detail to ensure professionals and novices alike can safely and effectively remove spray paint from a car.
Method 1 of 6: Soap and water
Materials Needed
- Bucket
- Clean towels or rags
- Hose or bucket of clean water
Depending on how quickly you notice the spray paint, soap and water can be a very inexpensive way to have your car looking new again. Different kinds of spray paint take different times to dry. Typically, all spray paint will dry within 24 hours, so soap and water may not be an effective solution after that time. Unless you saw the person spraying your car, you may not know how many hours have passed since the paint was sprayed.
Weather conditions may also affect the time it takes paint to dry. Sunny, warm weather will help paint dry faster than in wet weather. If the paint still looks noticeably wet or comes off on your fingers, you may be able to wash it off with soap and water.
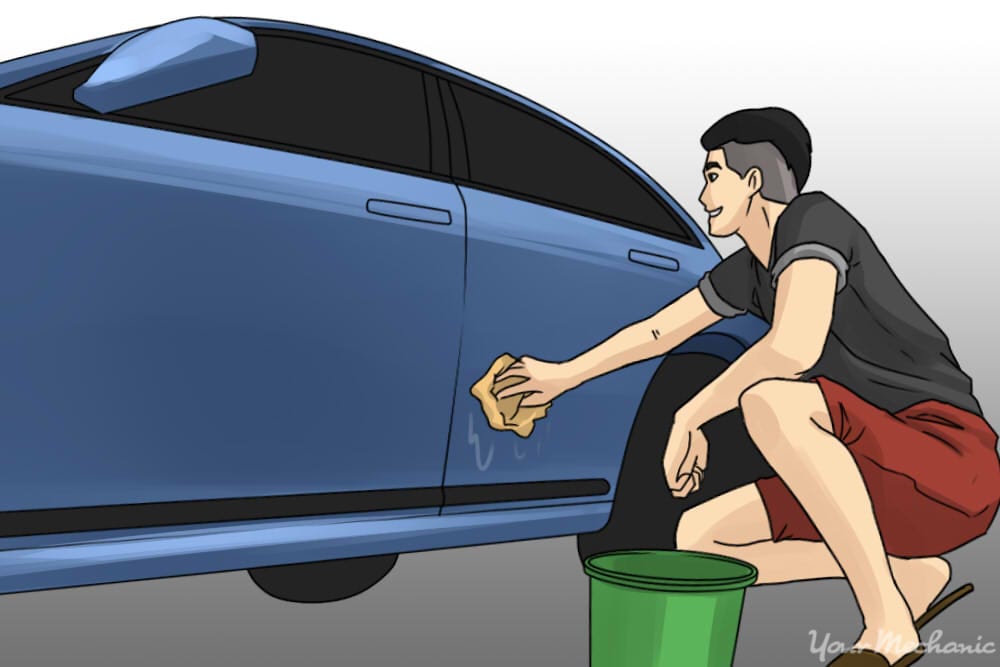
Step 1: Mix water and soap. Fill a bucket with warm water, adding soap until there is a good mixture.
Find a clean towel or rag to clean use. A dirty towel or rag may have abrasive dirt particles on them which may further damage your paint. A dirty towel and rag will also make the soap/water mixture less effective.
Step 2: Scrub the paint. Wet the cloth in the soap/water mixture and using small circular motions, scrub the spray paint from the edges inward. Washing the paint from the edges will help prevent smudging onto other parts of the vehicle.
Step 3: Rinse often. Be sure to rinse off the towel or rag often to keep it clean when cleaning. If you find that the paint is removed easily, it is likely that the paint was applied recently or perhaps, it wasn’t spray paint, but rather some other kind of easily washable paint.
Step 4: Wash the area. After removing the paint, wash the affected area again and dry it. You should also check for any damage like scratches or bare patches, which may need to be repaired.
Method 2 of 6: Nail polish remover
Materials Needed
- Nail polish remover (non-acetone)
- Clean cloth
If soap and water are not effective, you may want to use nail polish remover to help remove the offending paint. When choosing nail polish remover as a potential solution, you should first try a brand that does not use acetone as an ingredient. Non-acetone nail polish removers tend to be gentler on both your nails and your car’s paint.
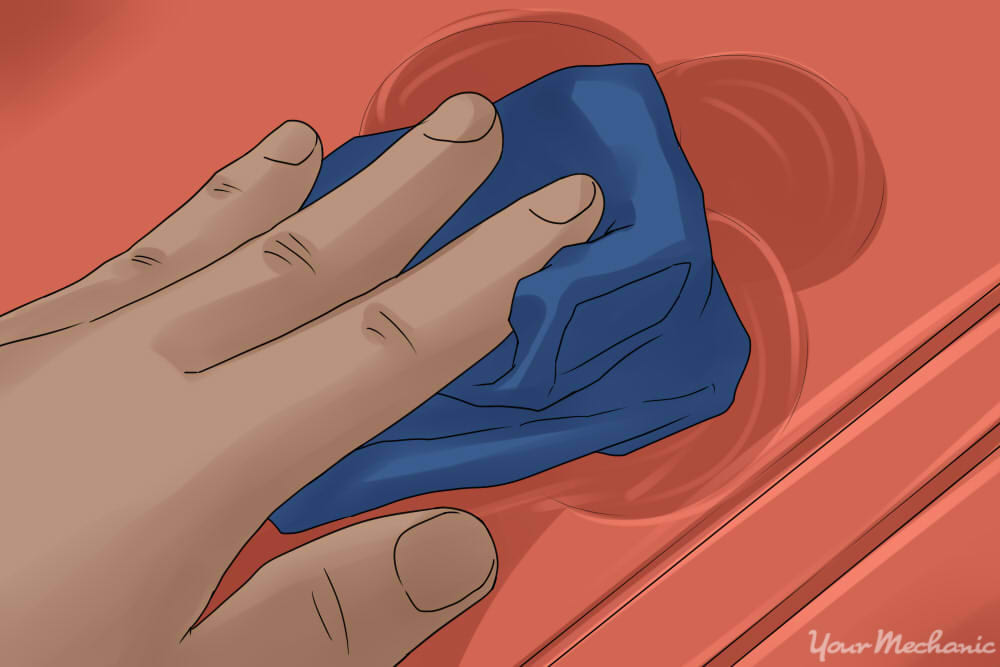
Step 1: Dab the nail polish remover to a cloth. Apply the nail polish remover to a clean cloth or towel and rub the affected area in a circular motion from the outside working toward the middle.
Step 2: Continue until all paint is gone. You may notice as you’re cleaning that the spray paint is becoming lighter. This is a sign that the nail polish remover is working and you should continue reapplying the remover to a clean section of the cloth or towel.
- Note: Using the same section of the cloth or towel over again may cause some of the paint to rub back onto the car.
Step 3: Wash the area. Be sure to wash the affected area with soap and water after using nail polish remover. If the remover is allowed to stay on the car, it may begin to wear away at your car’s clear coat, or top layer of paint.
- Warning: If you notice some of the car’s paint coming off on the towel or cloth, stop cleaning the car, this is a sign that the car’s clear coat has been worn down.
Method 3 of 6: Lacquer thinner
Materials Needed
- Lacquer thinner
- Clean cloth or towel
If you find that nail polish remover is ineffective, you may want to try something stronger. However, when using a more powerful solvent, you should be aware that there is an increased risk of damage to your vehicle’s original paint.
Lacquer thinner is a solvent used to dissolve resins that gather on wood finishes. It may also be useful in removing unwanted paint from your vehicle.
Step 1: Apply the thinner. Apply a small amount of lacquer thinner to a clean cloth and rub in on the affected area. The paint to should begin to rub away.
Be sure to keep clean water handy just in case you notice the thinner affecting the vehicle's original paint.
Tip: Start with a small amount of thinner. You can better manage the potential risks to your the vehicle’s paint if you start small and increase use if it’s safe and effective.
Step 2: Remove the spray paint. Rub vigorously until all of the offending paint has been removed.
Be sure to rinse the area with clean water to ensure that the thinner does not continue to eat away at your vehicle's clear coat and paint.
Method 4 of 6: Rubbing compound
Materials Needed
- Rubbing compound
- Clean cloth
- Wax
Rubbing compound can be very effective at removing paint, but can also easily remove your car’s original paint if not used carefully. Rubbing compound is abrasive and works like sandpaper might for a piece of wood, slowly wearing material down until it is smooth. Rubbing compound is available online or at any auto parts store and should be used with a soft, clean cloth.
Step 1: Apply rubbing compound to a cloth. Apply a small amount of rubbing compound to the cloth and begin to slowly scrub the offending paint from your car.
While scrubbing, take time to notice if any of the car’s paint is coming off the cloth. This is a sign to stop as the car’s original paint is becoming damaged.
Step 2: Remove all spray paint. Work slowly until all of the spray paint is removed. Patience is important when using a rubbing compound.
If you try to cover too large of an area at once or work too quickly, you increase the chance of a mistake and may cause damage to the car’s original paint. Take your time and work on small areas until the spray paint is removed.
Step 3: Wax the area. When you have removed the paint, you should wax the affected area to help restore the car’s shine and help protect it from future incidents.
Method 5 of 6: Gasoline
Materials Needed
- Gasoline
- Clean cloth
Gasoline can be very effective at removing troublesome paint but, like nail polish remover, may lead to paint damage if left to sit or used improperly. Gasoline is easy to get as well as inexpensive, making it a popular choice for the do-it-yourselfer on a budget.
Step 1: Apply gasoline to a cloth. Dab a small amount of gasoline to a clean cloth or towel and rub the affected area. It is a good idea to create a “test area” for yourself like you did with the nail polish remover to see how your particular car will react.
If the original paint is unaffected by the gasoline, continue use until the spray paint is completely removed.
Step 2: Wash the area. Be sure to wash the affected area with soap and water after using gasoline so that the car’s clear coat is not damaged.
Method 6 of 6: Clay bar
Material Needed
Using a clay bar is the safest and most effective way of removing troublesome paint from your car. Clay bars are unique in the way they protect the car’s original paint. While choosing clay bar may seem like an easy decision, the clay bar tends to be the most expensive choice in paint removal.
A good clay bar kit, which includes the bar, lubricant, and a microfiber towel, should be available at any auto parts store or online. If you don’t want to buy a whole kit, you can purchase a clay bar and lubricant separately.
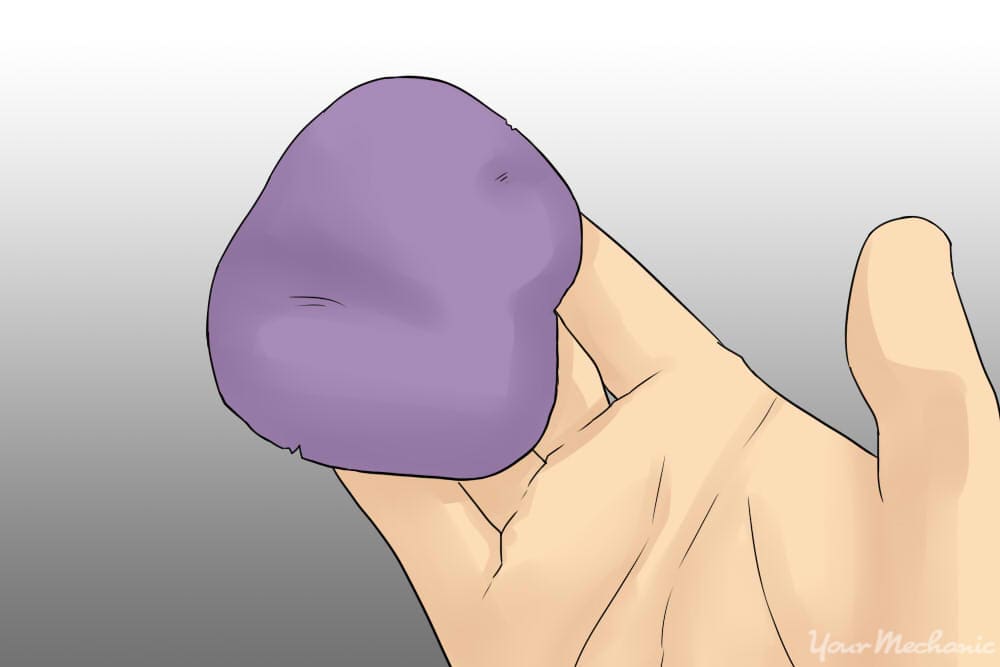
Step 1: Mold the clay. Cut off a small section of the clay to preserve the rest of the bar and mold it into a flat circular shape to increase the space it covers.
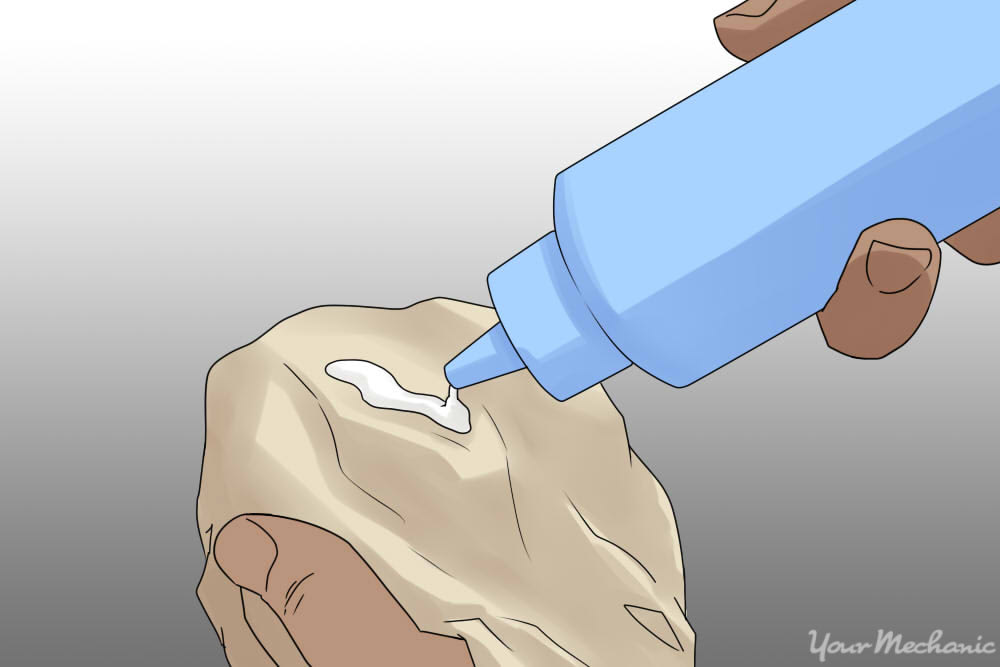
Step 2: Apply the lubricant. Spray a generous amount of lubricant to one side of the flattened bar.
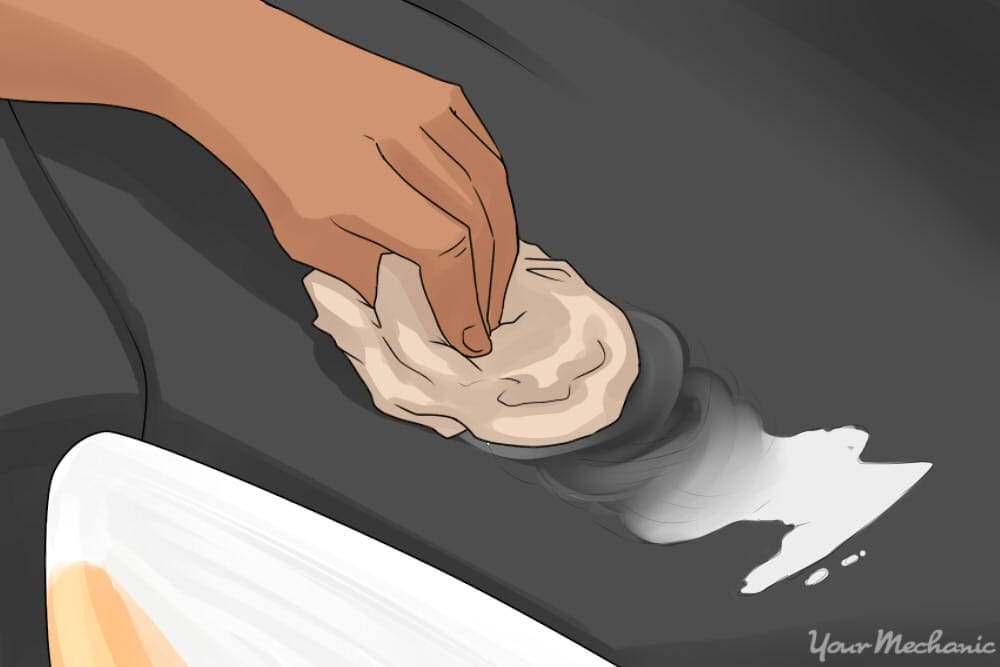
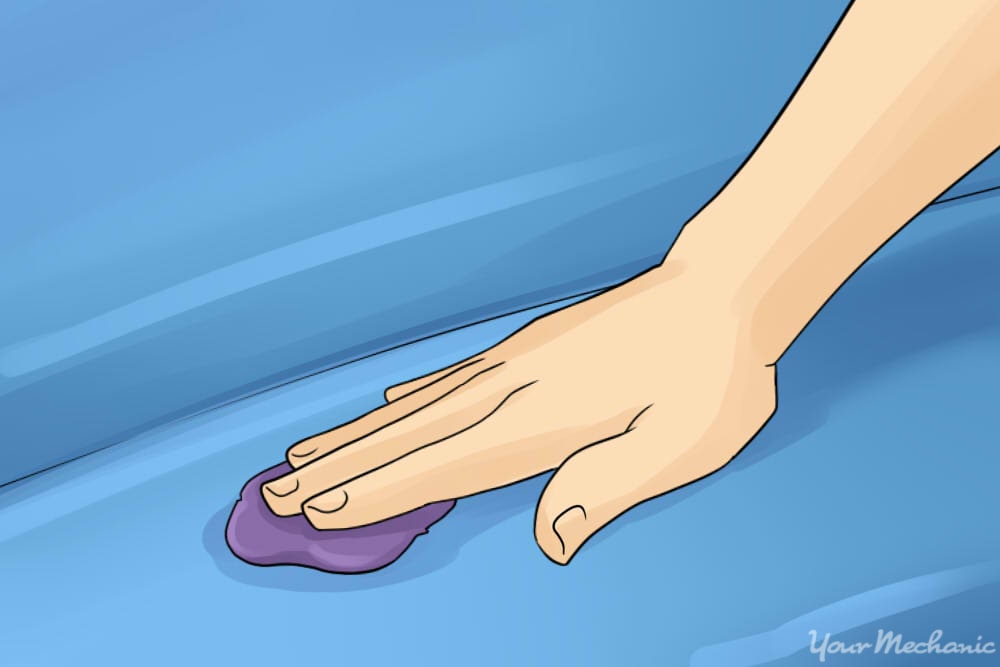
Step 3: Clay the car. Rub, with the lubricated side down, on the affected area with some firmness. You should not need to use a lot of pressure to remove the spray paint.
- Tip: When the clay bar becomes difficult to move, apply more lubricant and continue until all of the paint has been removed.
Step 4: Wipe off the car. When the paint is removed, wipe the excess lubricant off with a clean towel.
Step 5: Wax the car. After claying, it can be beneficial to wax your car to help protect the paint from further damage and to cover any small abrasions caused by the spray paint.
- Note: Some manufacturers have created specific spray paint removers for cars that are available at home improvement and auto parts stores. While these removers tend to be more expensive that some other methods described in this article, they have received some very positive reviews from users.
When using any of the described methods, it is beneficial to wash and dry your car at the end of the process. You may also choose to wax your vehicle which will help make any other incidents of spray paint easier to remove.


