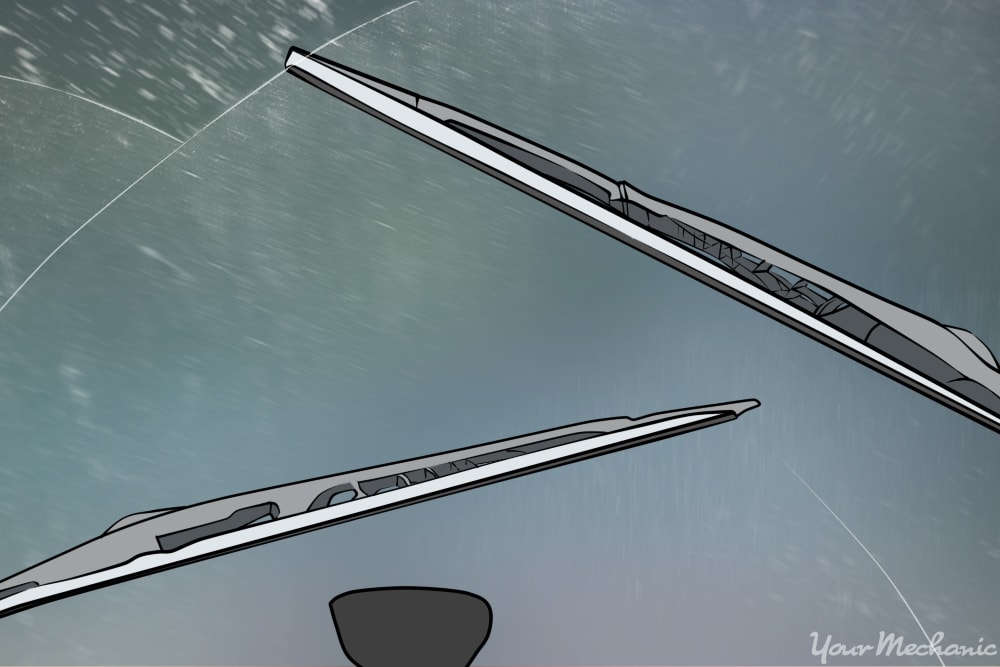

Driving with a dirty windshield is not only a distraction, but it can make navigating roads difficult and dangerous as well. Dirt, grime, and mud can eventually smudge your windshield so completely that it becomes impossible to drive. Keeping your windshield wiper fluid tank full is important for a clean windshield and for the safety of you and your passengers.
The windshield washer system works by using a washer pump, which is located at the base of the washer fluid tank. When a driver activates the spring-loaded switch, which is located on the steering column, it turns on the washer pump as well as the windshield wipers. Washer fluid is pumped through a plastic hose, which runs up to the windshield. The hose then splits into two lines and the fluid is pumped onto the windshield via nozzles that are located on the hood of the car.
Adding windshield wiper fluid to your vehicle's wiper fluid is a very easy job and should take no more than 10 minutes. In most modern vehicles, a dashboard warning light will illuminate when the washer fluid is low. If the light illuminates you should fill the tank as soon as possible.
Part 1 of 1 Filling the washer fluid reservoir
Materials Needed
- Funnel
Windshield washer fluid - high quality, temperature appropriate
Warning: Be sure to get the correct wiper fluid for the conditions you will be driving in. Wiper fluid designed for warm weather driving can freeze in colder destinations. Winter washer fluid usually contains methyl alcohol and will be rated to a certain temperature range, for example, fluid that is rated to -35F.
Step 1: Turn off the car. Shut the vehicle off, making sure it is parked on a level surface.
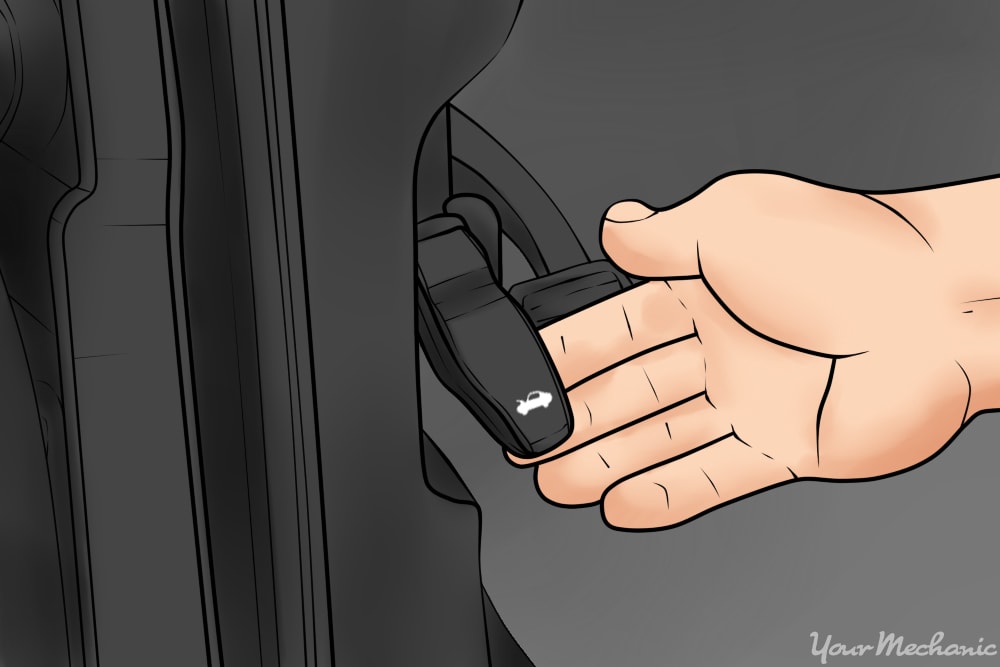
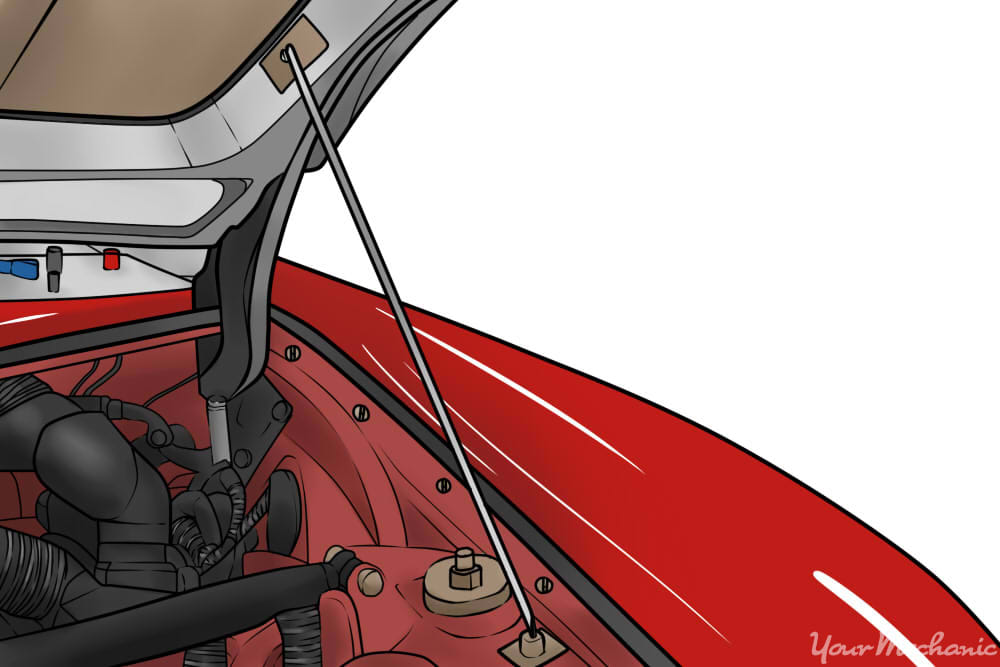
Step 2: Open the hood. Release the hood latch and prop the hood up using the hood prop rod.
- Tip: The hood release lever is located on the left hand side of the steering column on most vehicles. The location of this lever does vary, however, so check your owner’s manual if you cannot find it.
Once the hood is popped, go to the front of the car and reach under the center of the hood with your fingers to find the hood release handle. When you find it, push up on it to release the hood. Locate the hood prop rod and pop it out of its storage clip and place the end of the rod in the support hole in the hood.
The hood should now stay up on its own.
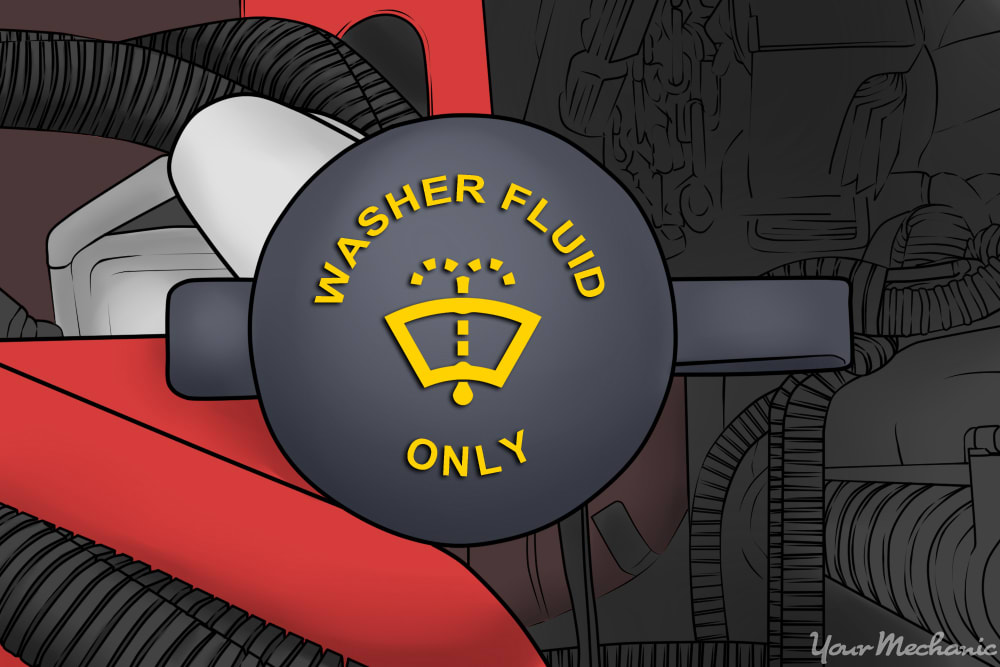
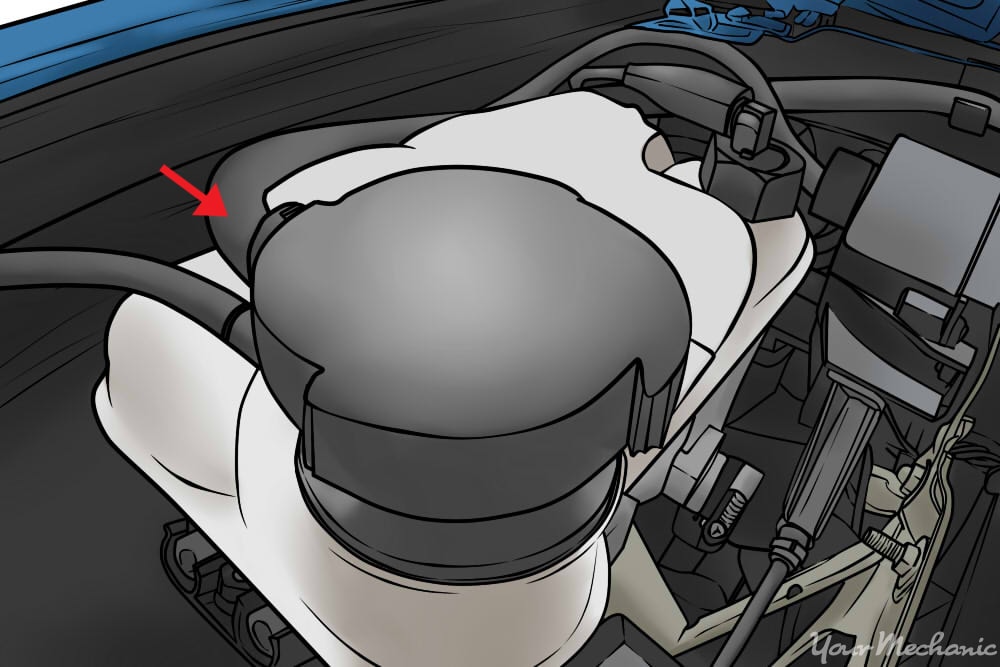
Step 3: Remove the wiper cap. Find the windshield wiper tank cap and remove it. Set the cap in a safe place or, if it is attached to the tank via a leash, move it aside so the opening is not blocked.
Note: In many vehicles, the windshield wiper tank is translucent, and the cap will have an image of water squirting onto a windshield. Also, it will often have the words “Washer Fluid Only” written on the cap.
Warning: Do not put windshield wiper fluid in the coolant overflow tank that can look similar to the windshield wiper tank. If you are unsure which one is which, check for hoses. A coolant overflow tank will have a hose coming out of it that heads to the radiator.
Note: If you do mistakenly put wiper fluid in the coolant overflow, do not attempt to start the car. The radiator system will need to be flushed.
Step 4: Check fluid level. Verify the tank is low or empty. Most windshield wiper fluid tanks are clear so you should be able to see if there is fluid in the tank. If the fluid level is less than half full, you should top it off.
- Warning: It’s possible to mistake the anti-freeze or coolant reservoir for the windshield wiper fluid reservoir. The best way to distinguish between the two is to look at the hoses. A coolant reservoir will have a hose coming out of it that goes to the radiator. If you accidentally pour the wiper fluid into the coolant reservoir, do not start the car. The radiator will have to be flushed.
Step 3: Check the fluid level in the washer reservoir. Most have marks on the tank to indicate the fluid level. If the tank is empty or less than half full, it should be filled up. This is also a good time to visually inspect the tank and hoses for leaks or cracks.
If you locate any leaks or cracks the system will need to be inspected and repaired.
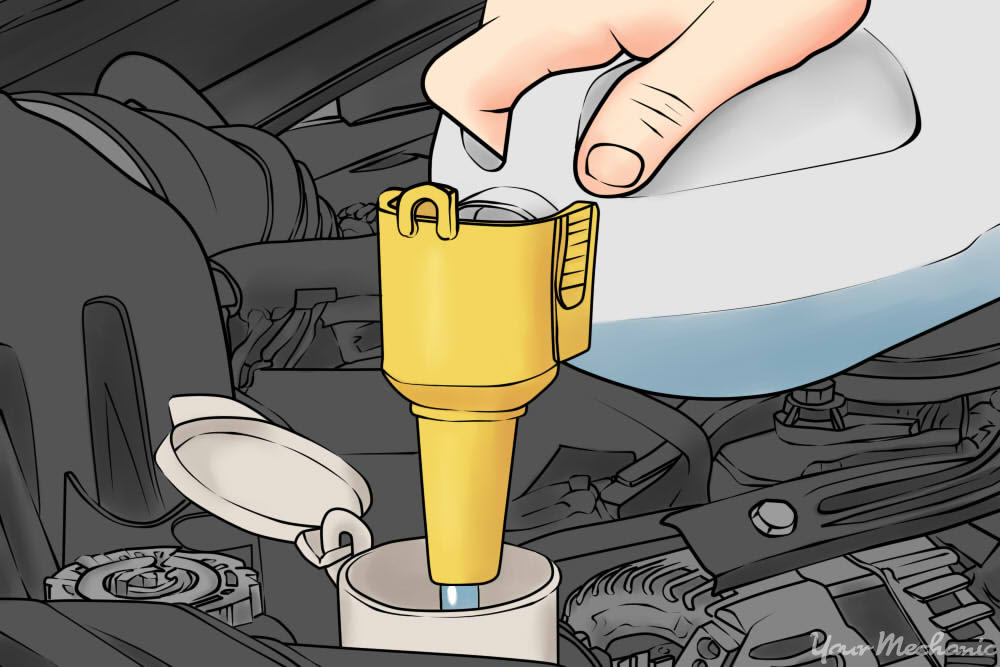
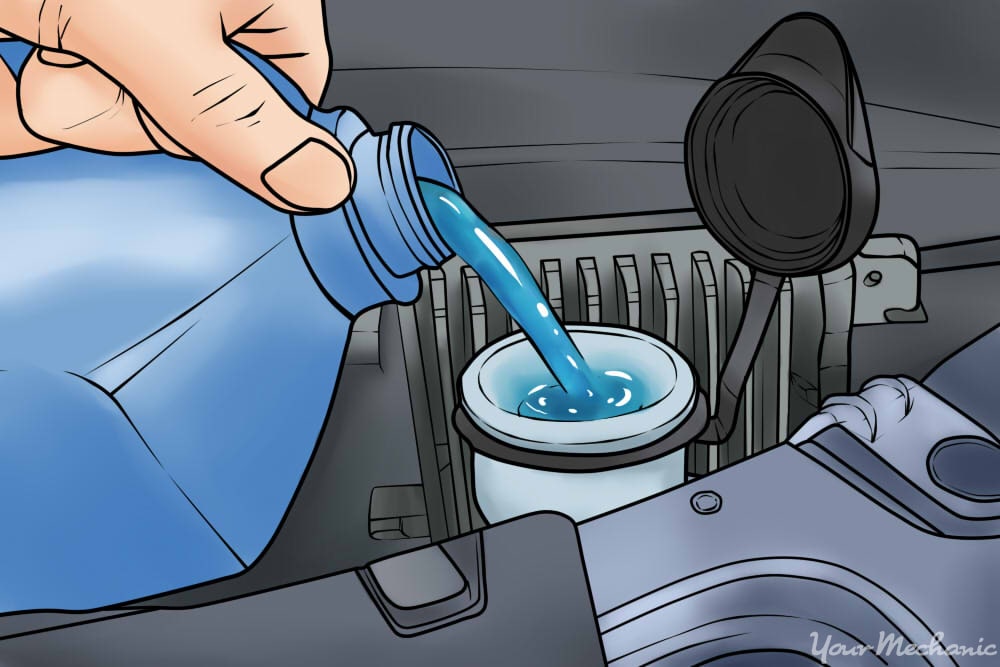
Step 5: Fill the tank. Fill the wiper fluid tank up to the fill line. Do not fill the tank past the fill line. Depending on the location of the tank you may need to use a funnel or you may be able to pour the fluid directly into the tank.
Step 6: Re-attach the cap. Screw the cap back on to the tank or, if it is a snap-on cap, push it down until the cap snaps down tight.
Step 7: Close the hood. Being careful to not let it slam on your hand, close the hood. Release the hood when it is about 6 inches above the latch. This will protect your hands and make sure the hood closes tightly.
Step 8: Dispose of fluid bottle. Properly dispose of the washer fluid bottle in order to prevent any remaining fluid from potentially causing harm to the area.
Step 9: Ensure the system works. Test the wiper fluid system. If no wiper fluid comes out when you pull on the washer fluid lever, there is probably an issue with the system itself. Have one of our certified mechanics inspect the entire system, including the motor and pump.
Keeping your windshield wiper fluid levels in check is essential to maintaining a clean windshield, ensuring your safety. Filling your windshield wiper tank is easy, but if you don’t have the time or if the system does not work properly after you have filled the tank, one of our mobile mechanics will happily come to your home or office to inspect and adjust parts of the system if necessary.


