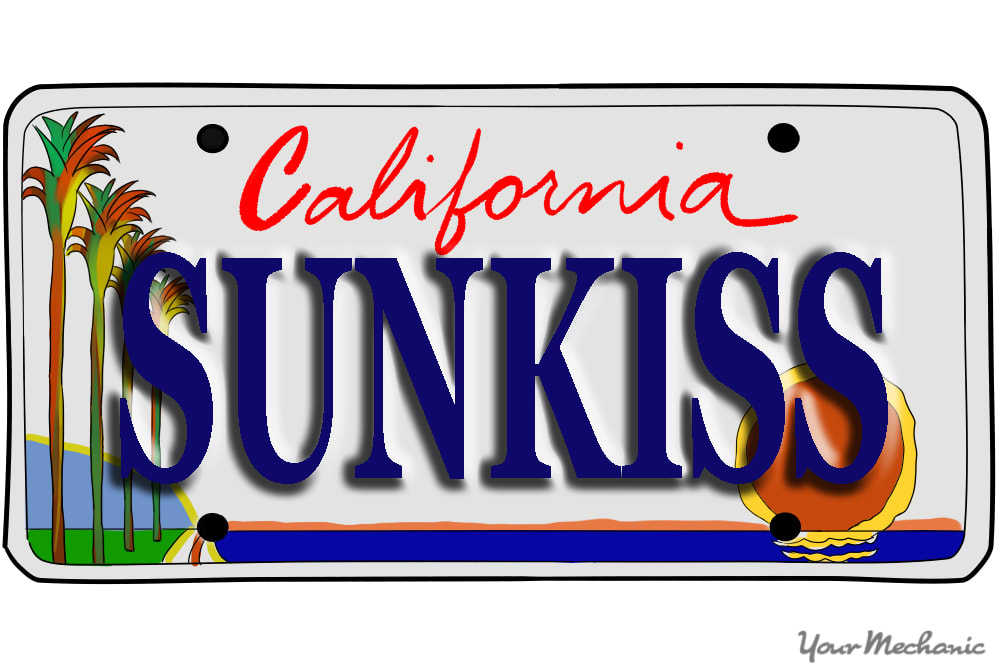

There are a lot of cars in California, so it can be hard to make yours stand out. For many, a personalized license plate is the perfect way to make their car different from the many other cars on the road.
With a personalized license plate, you can choose a great California plate design, and then customize it with your own special, unique message. This makes your car uniquely you, and adds some fun customization. And best of all, applying for a personalized California license plate is very easy.
Part 1 of 3: Choose a personalized license plate
Step 1: Visit the California DMV website. Go to the California Division of Motor Vehicles main website.
Step 2: Go to the license plates page. Visit the license plates page on the DMV website.
Hover your mouse over the button that says “Vehicle registration”, then click on the link that is titled “Plates”.
Step 3: Go to the personalized plates page. Go to the special interests and personalized plates page.
Click on the button that says “Order special interest and personalized plates online”.
Step 4: Choose a plate design. Select a plate design for your California license plate.
From the personalized plates page, click the button that says “Order personalized plate”.
Select the type of vehicle you are getting personalized plates for, and whether or not it is leased.
Select the license plate theme that you would like to have, from the variety of choices, then click the button that says “Next”. If you are choosing the kids plate, you also have to choose which symbol to include.
Tip: Different license plate themes cost different prices. Pay attention to the price next to each design when choosing which one you would like.
Warning: Your vehicle must be currently registered in California to continue with this process.
Step 5: Choose a plate message. Choose a special message for your personalized plate.
Use the dropdown menus to input the message you want onto your license plate. Check the box below a character to include a half space.
- Warning: Any license plate message that is crude or offensive will be rejected.
Step 6: Check the message availability. Check to see if your license plate message is available.
Click the “Next button”. If you are alerted that the message is unavailable, keep trying new messages until you find one.
- Tip: Since California is a very large state, many personalized plates have already been taken, so you may have to get creative.
Part 2 of 3: Order your license plate.
Step 1: Fill out the form. Fill out the personalized license plate form.
Once you find an available plate message, you will be taken to a form with basic information. Fill out the information, including the nearest DMV office to you.
- Tip: Be sure to fill out the area describing the meaning of your license plate message.
Step 2: Confirm your information. Press the “Next” button, and then confirm your information.
Step 3: Pay for fee. Pay the fee for your personalized license plate.
Add the plate to your cart, and pay for it. You can pay with credit cards, select debit cards, or an e-check.
Part 3 of 3: Install your license plate
Step 1: Pick up your plate. Pick up your plate from the DMV.
Your license plate will be shipped directly to the DMV office that you noted on the form. They will call you when it arrives.
Take your driver’s license and vehicle registration information with you to the DMV, as you will need to fill out some information in order to get your personalized plates.
Step 2: Install your plates. Install your personalized license plates on your car.
Install your new plates on both the front and rear of your car, and be sure to add current registration stickers in the appropriate spots.
- Tip: If you do not feel comfortable with installing license plates, you can hire a mechanic to do the job for you.
With a personalized license plate, your car will be a little more special, and a little more you. There’s no better way to put a piece of you on your car.


