
Nothing is worse than having a trunk that does not work correctly - whether it doesn’t close, or must be tapped, or the latch button used repeatedly just to get the trunk to open. Trunk latches are made up of mechanical components and and electronics. All of these can wear over time, leaving your vehicle with a latch that functions poorly - or in some cases, not at all.
If you are noticing any signs that your trunk latch is failing, it’s likely that you need to replace or simply adjust your trunk latch. A trunk latch adjustment may be just what is needed to get your vehicle’s trunk back to working properly. This article will cover how to adjust a trunk latch.
Note: This procedure will only work if the trunk latch assembly is in proper working order and has not failed.
Warning: Improperly adjusting the trunk latch can cause premature lock failure or a lock that does not open or close. Use care when adjusting your trunk latch.
Part 1 of 2: Preparing to adjust the trunk latch
Before you start to adjust your trunk latch, you’ll need to identify the components you’ll be working with, and make sure you have the required tools on hand.
Materials Needed
-
Eye protection
- Gloves
- Screw driver
-
Socket and ratchet set
-
Torx socket set
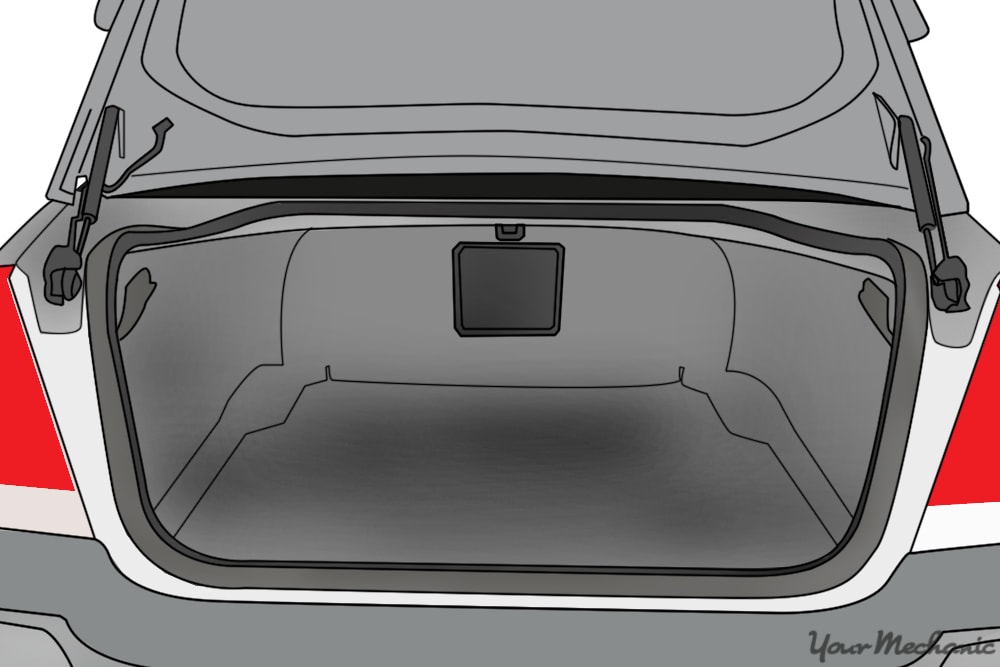
Step 1: Locate the trunk latch. The first order of business is to pop the trunk and take a look around.
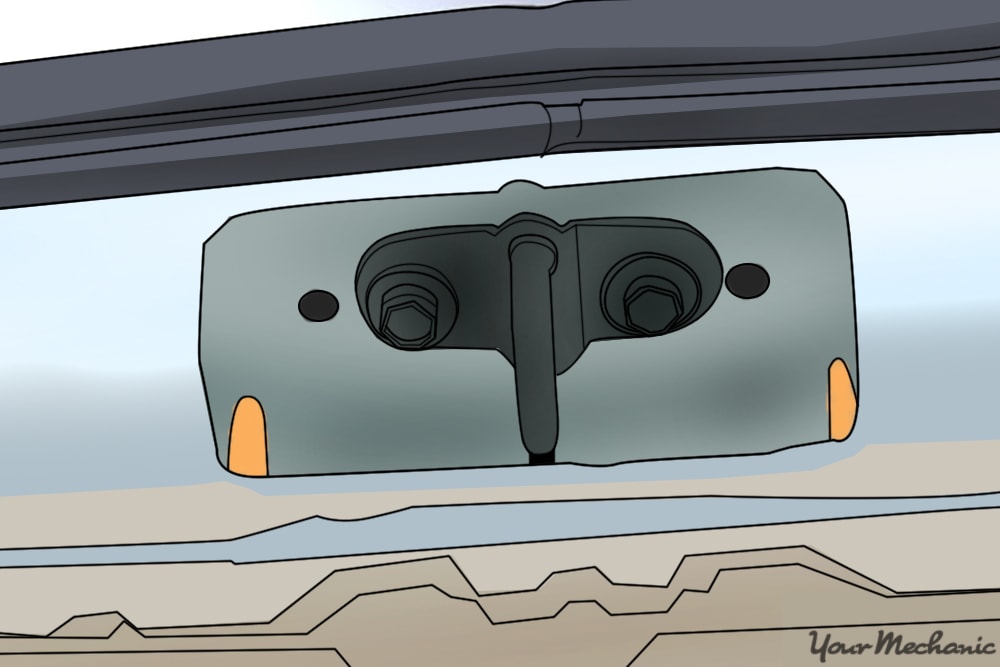
At the top of the trunk lid or hatch, there will be a metal latch like the one pictured above.
In some cases, this assembly will be covered by a plastic cover. This cover will need to be removed if the mounting bolts for the latch assembly are not visible.
Step 2: Locate the latch striker. The latch striker is what catches the latch assembly and allows it to have something to hook to.
Step 3: Inspect the components for wear. Now that you have access to both the latch assembly and the striker assembly, check for wear on both. The striker may have wear patterns and scuffs on it.
Look for wear around the bolts that would indicate the latch assembly has moved, or for any loose bolts. If any bolts are loose, do not tighten them yet.
Part 2 of 2: Adjust the trunk latch
Step 1: Determine in which direction to adjust the trunk latch. The trunk latch assembly may have marks around the bolt holes.
This is an indicator that the repeated closing of the trunk has shifted the latch assembly.
The wear marks will show which direction the trunk latch needs to be moved. The latch should be moved to the original wear mark locations.
Striker assemblies may show wear as well, but they generally do not need adjusted.
- Note If the striker and the latch assembly need adjusting, do not adjust both at the same time. Make small adjustments to only one component at a time.
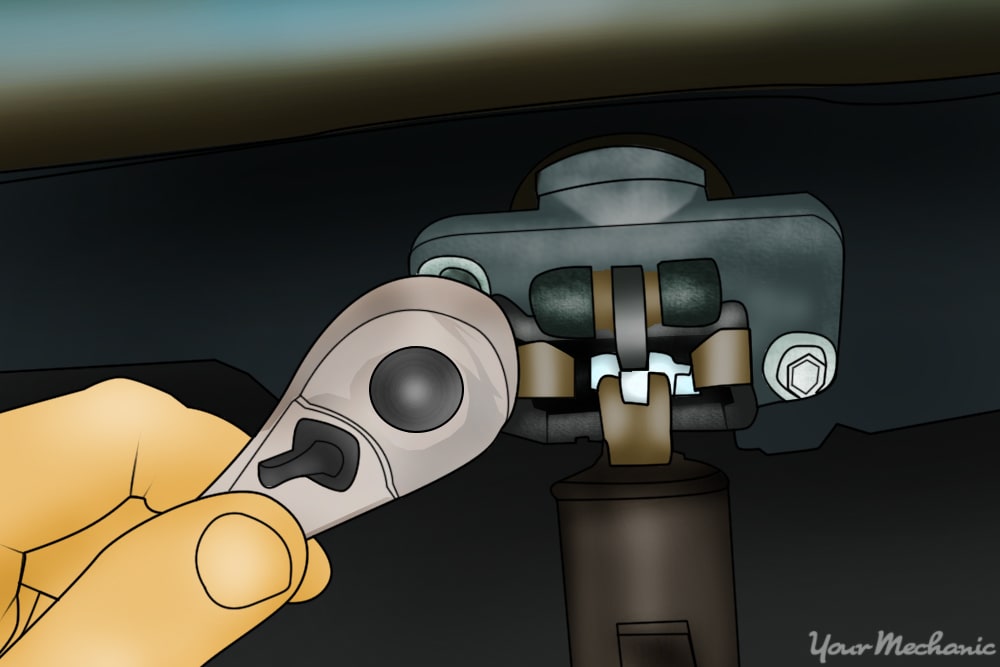
Step 2: Performing the trunk latch adjustment. Loosen the bolts on the trunk latch assembly. Then, gently slide the latch assembly towards its original location.
Once the trunk latch is where it is supposed to be, tighten the bolts. Do not over-tighten them.
Step 3: Check the operation of the trunk latch. Close the trunk and make sure the latch assembly functions properly without sticking.
It may take a few times opening and closing the trunk to get proper function.
If needed, repeat the trunk latch adjustment procedure until the latch closes properly.
Step 4: Reinstall any panels removed. Once the latch is adjusted properly and fully tested, reinstall the latch cover and the striker cover if removed.
Adjusting your own trunk latch can be an easy way to restore proper functioning of your trunk lid. However, in cases where the lock assembly has failed or has become stuck closed, your best bet will be to have a certified mechanic - such as one from YourMechanic - replace the latch for you.


