Arguably one of the most time consuming mechanical issues for a mechanic to properly diagnose is an overheating situation. Due to the fact that there are so many individual components, part failures, and symptoms that lead to overheating, many mechanics find it difficult and extremely frustrating to:
- Find the source of the overheating problem
- Determine if there are leaks in the coolant system
- Locate the precise part or component that is faulty
However, there is a great tool and process that some of the most experienced ASE certified mechanics utilize to quickly diagnose overheating issues and detect coolant leaks which, when used properly, can save time and decrease your downtime on repairs. This tool is a coolant pressure tester.
What is a coolant pressure tester?
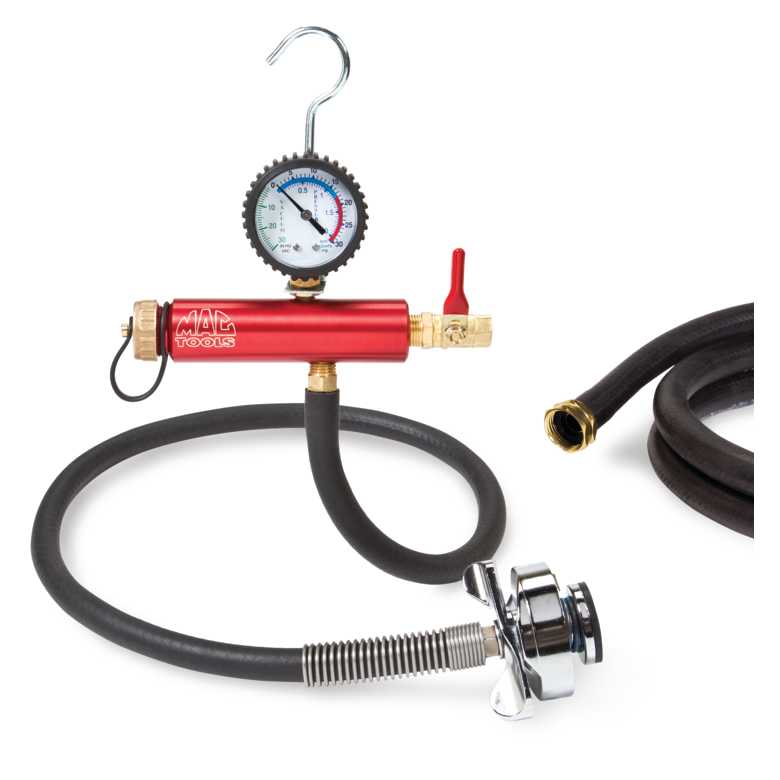
A coolant pressure tester is a tool that most ASE service stations and independent certified mechanics use to diagnose a coolant leak. The tool itself is similar in many ways to a bicycle pump, with a pneumatic hose attached to a special adapter that is hand pumped after you attach the correct adapter fitting to the vehicle’s radiator. Once you secure the attachment to the radiator, you simply pump the pressure handle until the gauge reads about 15 psi and watch and listen for leaks to appear within the coolant system.
The tool itself is simple to use. However, the best mechanics know how to use the tool correctly to diagnose leaks in the entire coolant system. Since coolant leaks contributes to more than 80% of most overheating situations, using the coolant pressure tester correctly can expedite the search for most overheating problems.
How to use the coolant pressure tester effectively
When a customer contacts a mechanic about their car overheating, what’s the first thing that pops into their mind? Most ASE certified mechanics, instantly remember that faulty thermostats, broken water pumps or low coolant levels or coolant leaks are the main causes of the overheating situation. They also tend to remember from their training that one of the first things they should do when diagnosing a problem is to eliminate some of the potential causes through simple tests. When it comes to finding coolant leaks, this is best completed by using the coolant pressure tester correctly.
Here is how to do it right:
- Let the engine cool down for about an hour
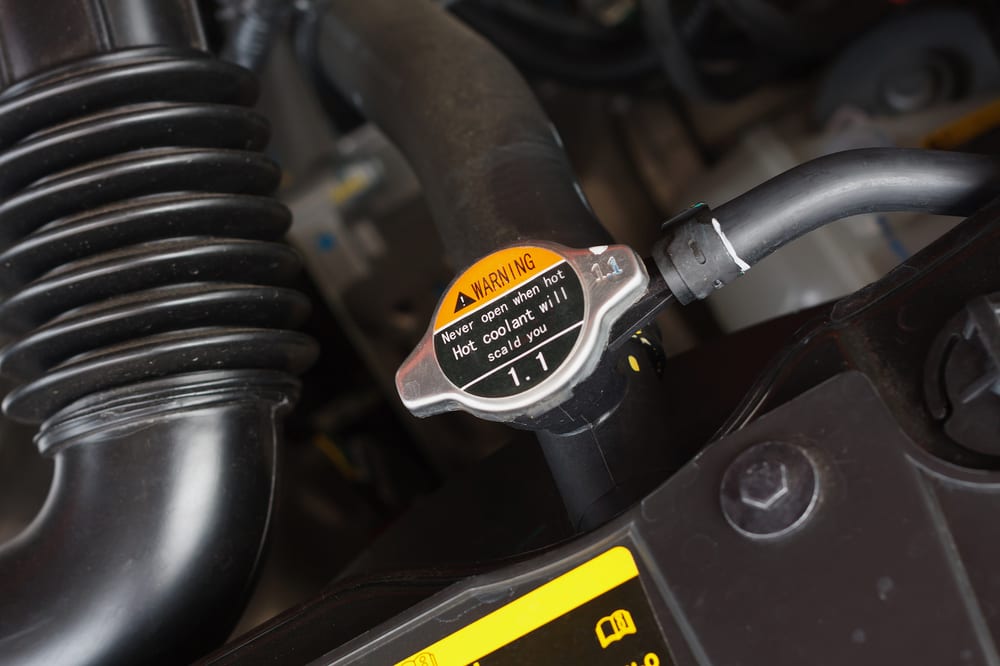
- Remove the radiator cap
- Attach the correct adapter to the radiator
- Attach the coolant pressure tester
- Pump the coolant pressure tester slowly until you approach 15 psi on the gauge
- Once the gauge has reached that 15 psi level, make sure to do the following:
- LISTEN for any air leaking from any fittings, hoses or the radiator itself.
- WATCH for any leaking fluid coming from welds in the radiator, hose fittings or bends in coolant lines.
- OBSERVE the pressure gauge. If you don’t hear anything or see fluid leaking onto the ground; leave the gauge attached for about 20 minutes. If the pressure does not fall more than 1 to 2 points, there is no coolant leak and you can move onto another potential cause of the overheating situation.
Having the flexibility to easily find a coolant leak is much easier when you use a coolant pressure tester; and use it correctly.
If you’re a certified mechanic and you’re interested in working with YourMechanic, submit an online application for an opportunity to become a mobile mechanic.