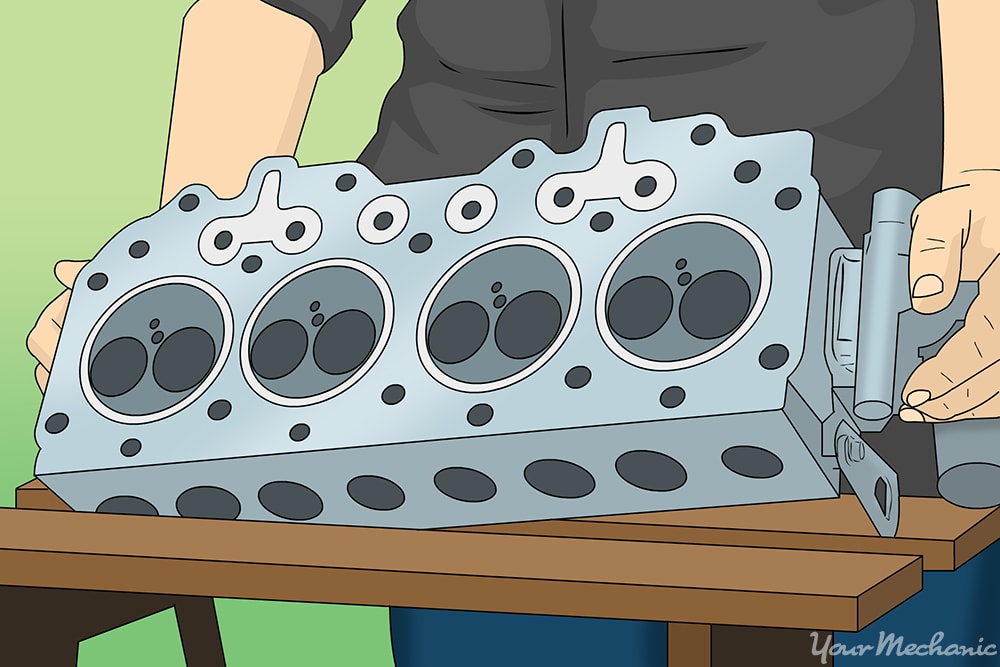

Cylinder head gasket leaks are a problem that can plague any modern internal combustion engine no matter the year, make, or model. Whether it is because the engine overheated or through high mileage and wear and tear, cylinder head gaskets can leak and cause problems. When a cylinder head gasket leaks, it means that engine coolant has leaked, either into the engine’s crankcase, or into one or more of the engine’s cylinders.
The severity of head gasket leaks can range widely from minor to severe. In minor cases, the vehicle may run and drive, but will suffer from reduced engine performance, slow coolant consumption, and overheating. In more major cases, the engine will suffer from severe engine performance issues and overheating, excess coolant contamination, and blow white smoke out of the tail pipes. In the most severe cases, a head gasket leak will render the vehicle undriveable, and in need of a total engine replacement.
Due to the nature and design of modern gasoline engines, cylinder head gasket leaks almost always warrant repairs of considerable cost. The work involved is always very labor intensive and time consuming, and is a task that should only be taken up by a professional technician. It is often possible that the cost associated with repairing a leaking cylinder head gasket may simply not be worth the investment to the owner, or the head gasket leak may be minor with the car remaining very driveable. In these cases it may be worth a try to repair the head gasket leak using an engine block sealer.
Part 1 of 1: How to repair your head gasket with engine block sealer
Engine block sealers work by sealing the engine head gasket leaks from the inside, using the vehicle’s cooling passages to transport a sealer to the leak. Most sealers work by accumulating at the leak, and forming a seal using the engine’s heat as a catalyst to help cure and harden the seal. The actual process for using engine block sealers is usually very simple task that can be done on one’s own, as a last resort before taking it to a professional. Note, that before attempting to repair a head gasket leak with block sealer, it would be advised to have the vehicle properly diagnosed, to be sure of the nature of the problem before taking such measures.
Materials Needed
-
Coolant
- Engine block sealer
Gloves
Note: Always follow the directions on the bottle of your engine block sealer. Specific directions may vary across brands, so it is important to read the instructions carefully. This step by step guide will cover the typical steps taken when applying many engine block sealers.
Step 1: Read the instructions. Read the instructions on the back of your engine block sealer to have a clear outlook on what the process in using it will be.
- Tip: The correct dosage for the size engine will be found on the back of the bottle.
It is important to note how much you will be pouring, as different capacity cooling systems may require different amounts of sealer needed.
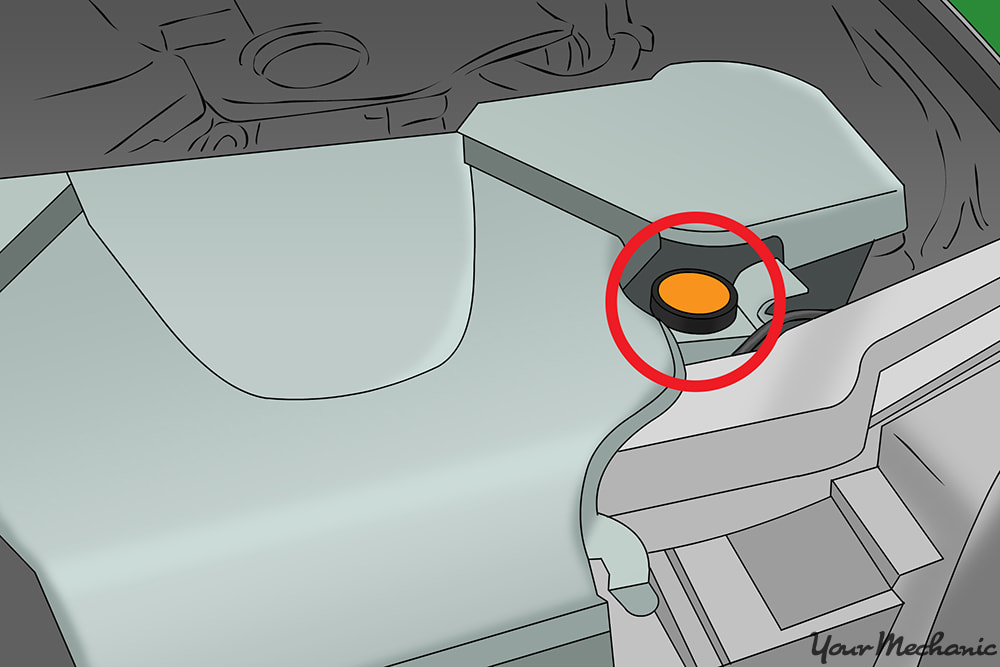
Step 2: Locate the radiator cap. Your radiator cap is typically located near the front of the engine near the hood latch.
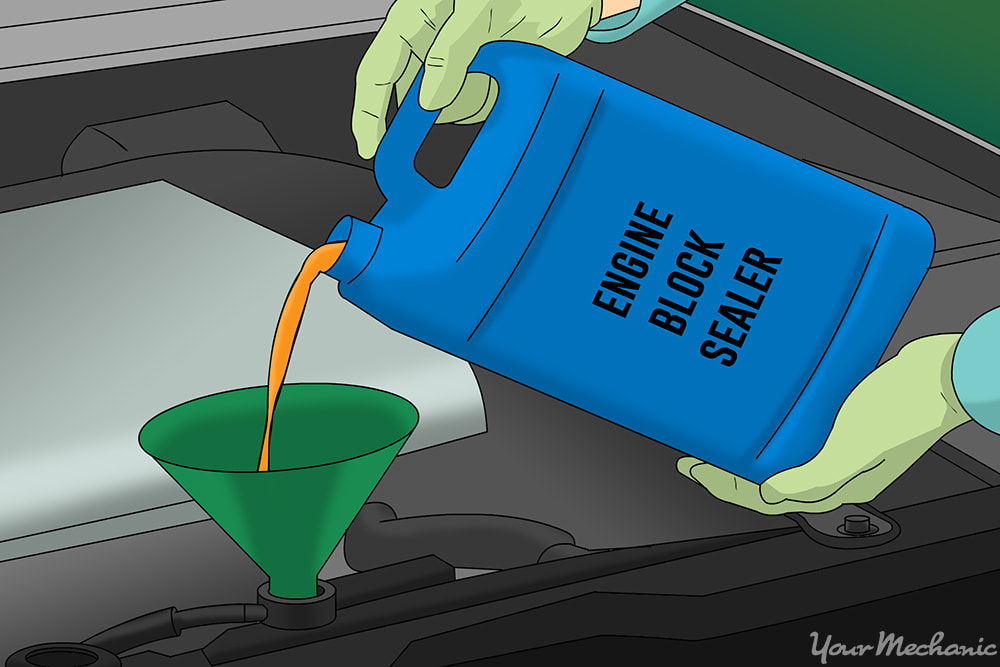
Step 3: Add the engine block sealer. Pour the engine block sealer directly into your engine, wherever you add coolant.
This is usually at your engine’s radiator filler cap, or the coolant recovery tank, if it is a pressurized system.
- Warning: It is important to note that the vehicle must be cold, or allowed to cool down properly before attempting to open the cooling system, as opening the radiator cap on a hot, pressurized engine will spray hot coolant everywhere when the pressure is suddenly released.
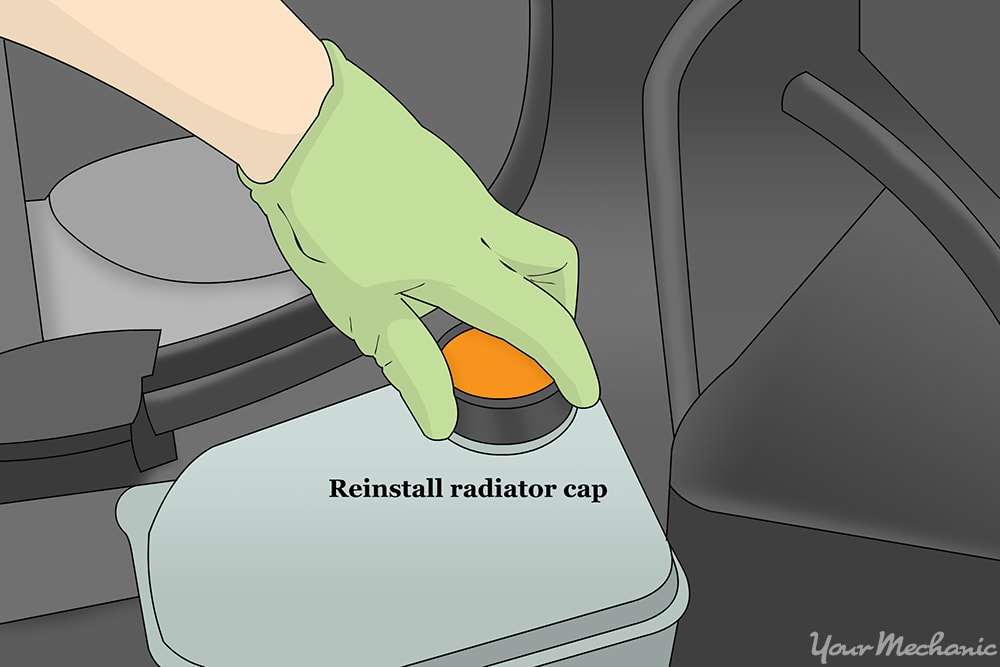
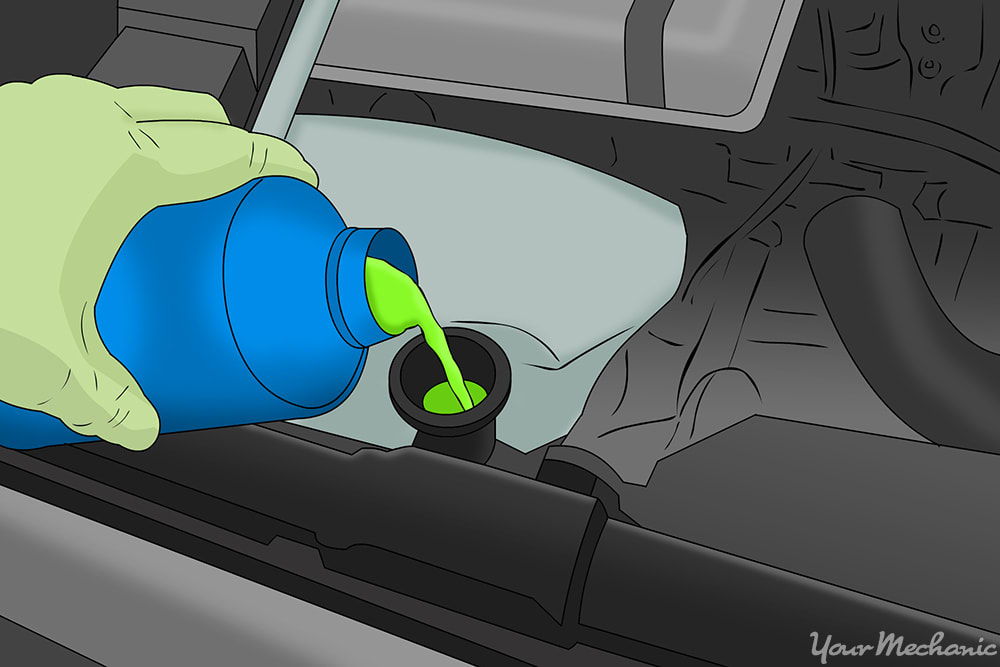
Step 4: Replace the cap. Once you have poured the correct amount of engine block sealer into the engine’s coolant, top it off to the proper level and replace the cap.
Step 5: Turn on the engine. Start the engine, and turn on the heater to maximum heat and flow.
The engine block sealer works by pumping the sealer through the engine’s cooling system and accumulating at leaks to create a seal.
Step 6: Let the engine run. Idle the engine for 15-20 minutes, or for however long as instructed on the bottle.
Running the engine for this period of time will give the sealer time to work and seal properly.
Step 7: Turn off the engine and allow it to cool down. Once the engine has been run for the amount of time specified by the manufacturer, turn off the engine, and allow it to cool down, so that the radiator cap can be removed once more.
Step 8: Check to see if the coolant should be topped off. Once the engine has cooled down, remove the cap, and check to see if the coolant needs to be topped off.
At this point the sealer has had time to work, and hopefully was able to seal the leak. Try driving the car for an hour to see if the sealer has improved any leaks.
Using block sealer is a last resort to repair leaking head gaskets. This is often a great option to consider if repairing the engine does not seem feasible or appropriate. While the results may vary greatly depending on factors such as the severity of the leak and the type of sealer used, it is often worth a try since the cost is much cheaper than having the engine repaired. In more severe cases, the block sealer may not work, and further evaluation, or work may need to be done. Our best recommendation would be to have your vehicle inspected for a blown head gasket and coolant leaks to determine if engine block sealer will work well for your car or if another repair is more suitable.


