
When your brake system light on, it can mean many different things. Safe operation of your car relies heavily on your brakes working properly every time you need them. When you experience a Brake Warning Light, you should immediately question the dependability of the system that will bring you to a stop when you need to.
A Brake Warning Light indicator can illuminate for multiple reasons including:
- A burnt out brake light
- Anti-lock brake (ABS) sensor malfunction
- Brake pads low on material
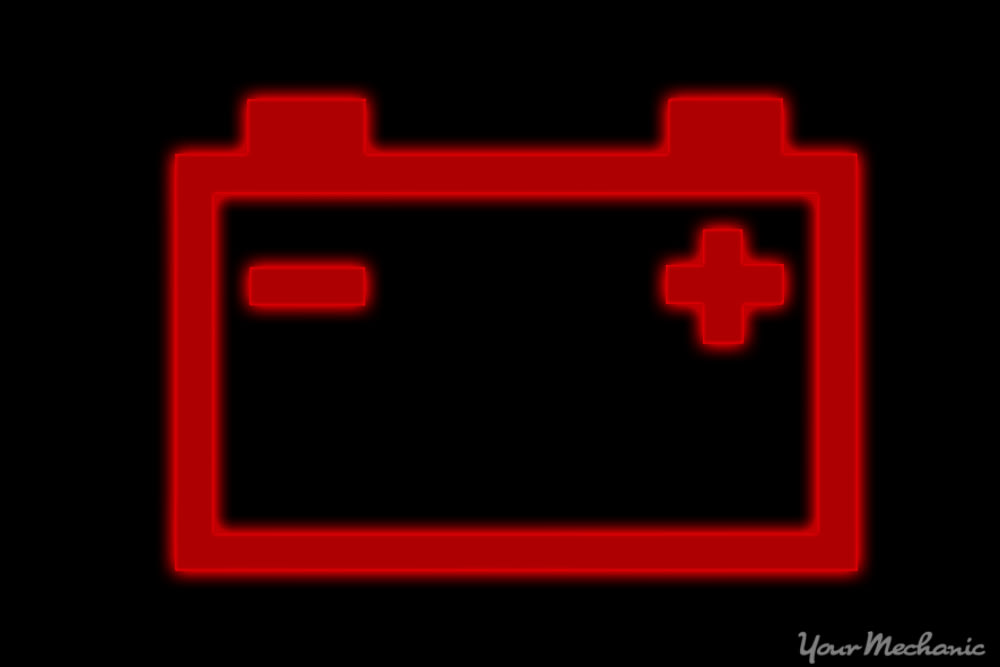
- Low battery voltage
- Low brake fluid in the reservoir
- Parking brake stuck on
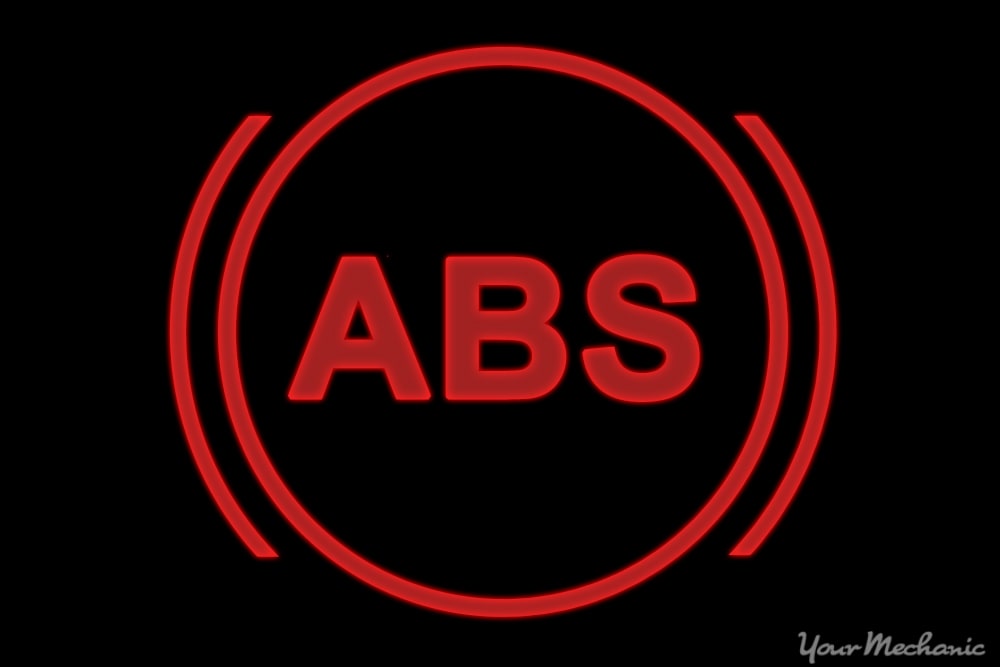
Virtually all modern vehicles are manufactured with ABS brakes. ABS brakes function to prevent the brakes from locking up when they are pressed, predominantly in situations where the road conditions are slippery such as in snow or rain. Vehicles with ABS brakes have two warning lights -- one for ABS system malfunctions and one for mechanical problems.
If one of the Brake System Warning Lights comes on, it can be a relatively minor problem or a major safety issue. Regardless of which brake light is illuminated, always check your car over before continuing to use your car.
Part 1 of 6: Check Your Brake Fluid
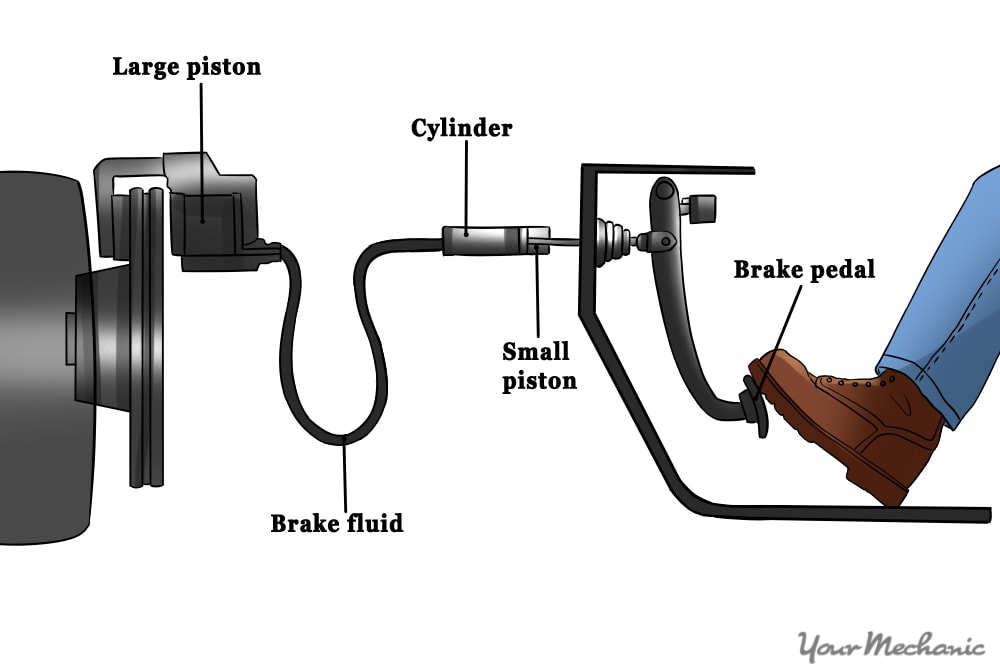
The mechanical brake system in your car is hydraulic, which means fluid in the brake system controls how the brakes are applied.
Here is how your brake fluid works:
- When the brake pedal is pressed, the brake fluid is pressurized in the brake lines and hoses.
- The pressure in the brake hoses forces a piston in the brake calipers to extend.
- The piston applies pressure on the inner brake pad at each wheel.
- The brake pad squeezes the brake rotor and the friction makes your car slow down and stop.
- Releasing the brake pedal relieves line pressure and the caliper piston stops pressing on the brake pads so you can continue driving.
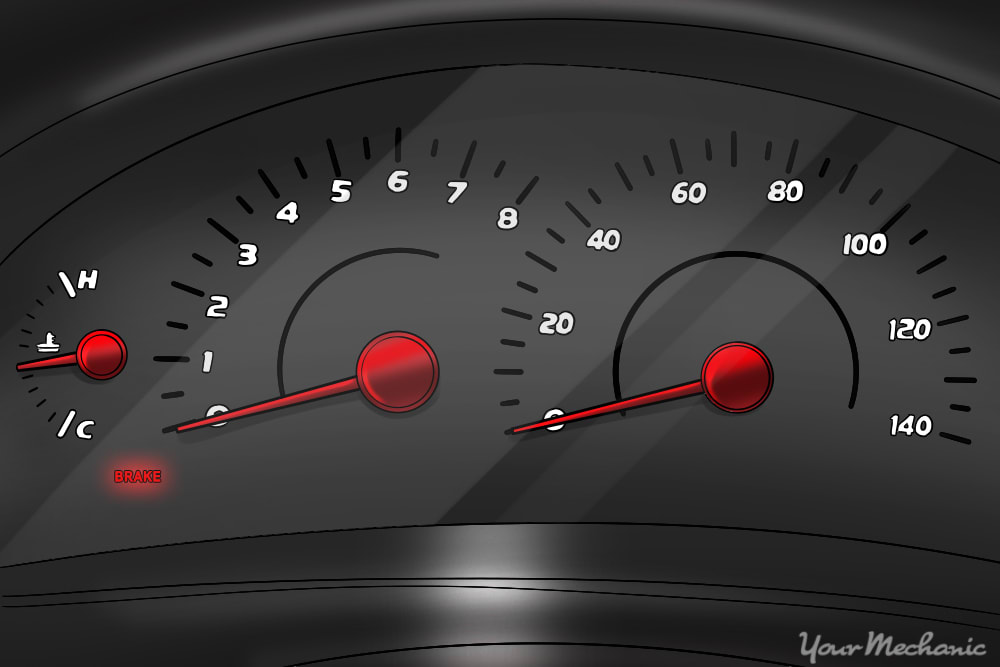
The Brake Warning Light in your vehicle monitors the parking brake mechanism, the brake fluid in the reservoir, and any loss in pressure in the proportioning valve switch. If the parking brake is engaged or if the brake fluid is low in its reservoir, the light will come on. Your primary concern is to determine if there is a brake fluid leak.
Step 1: Check Brake Fluid Level
Your brake fluid level is important for controlling your brakes. You will need to check your brake fluid reservoir to determine if you will need to add or flush the brake fluid.
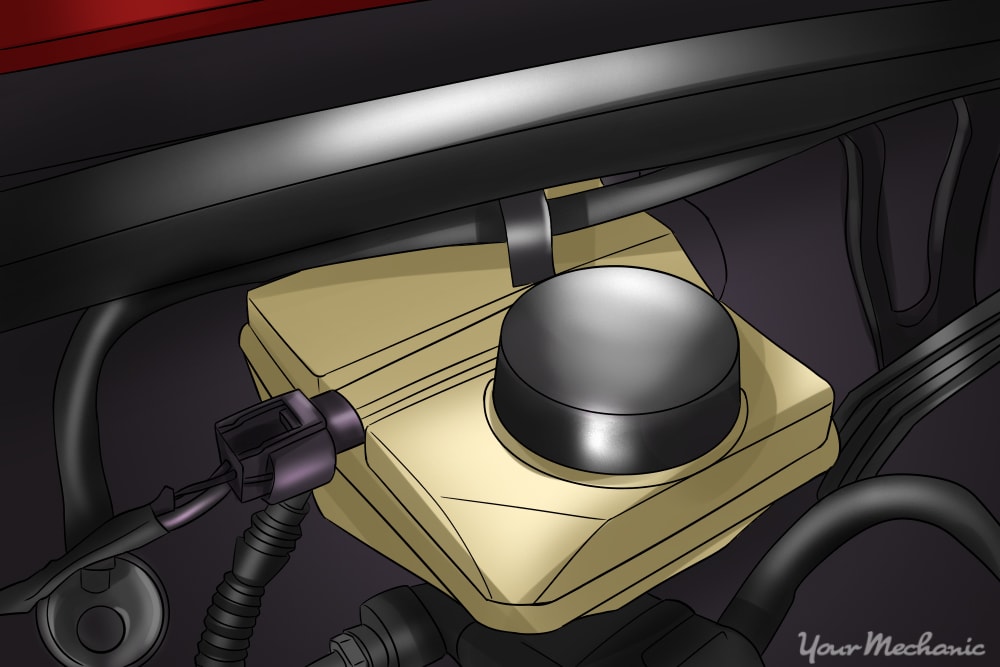
The brake fluid reservoir will be located close to the firewall on the driver’s side of the car. Typically the reservoir is a white or yellow translucent plastic.
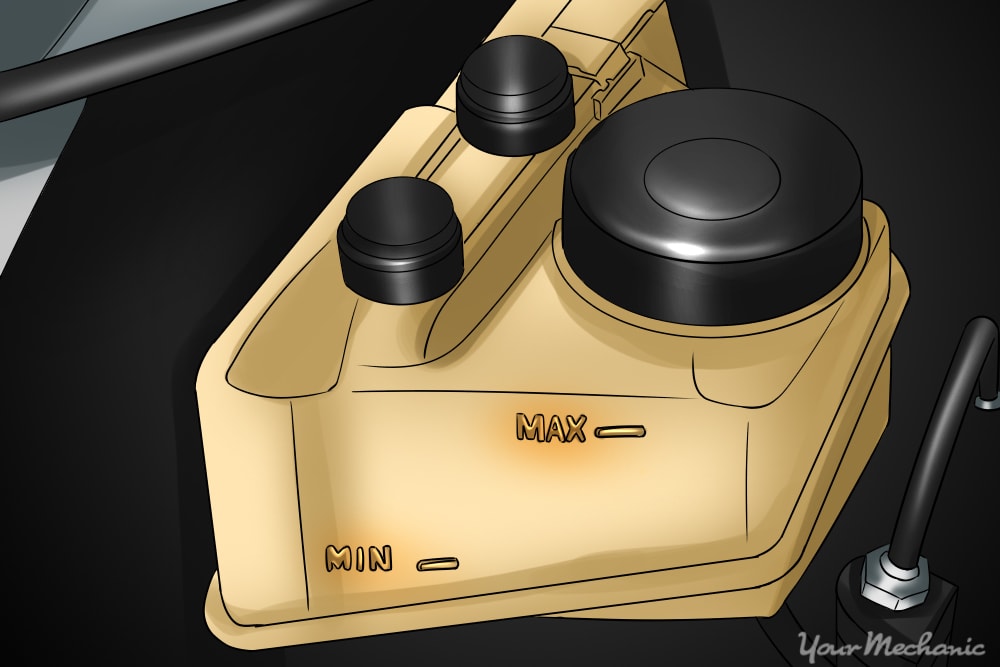
Find the markings on the side that indicate the full mark and the low mark.
Compare the actual fluid level with the marks on the side. If it is difficult to see the fluid level through the plastic, remove the cap and shine a flashlight into the top of the reservoir.
Step 2: If Fluid is Low - Top Off With Clean Brake Fluid
You will need to [flush your brake fluid and add clean brake fluid](https://www.yourmechanic.com/services/brake-system-flush if your fluid level is low. If you are comfortable doing this on your own, you can try adding brake fluid to your car by yourself.
- Tip: As brake pads wear down, brake calipers have to extend further to press the pads against the rotors and more fluid is needed in the brake lines and hoses. Slightly low brake fluid doesn’t always indicate a leak -- it can also indicate the time is near for new brake pads.
Step 3: Check For a Firm Brake Pedal
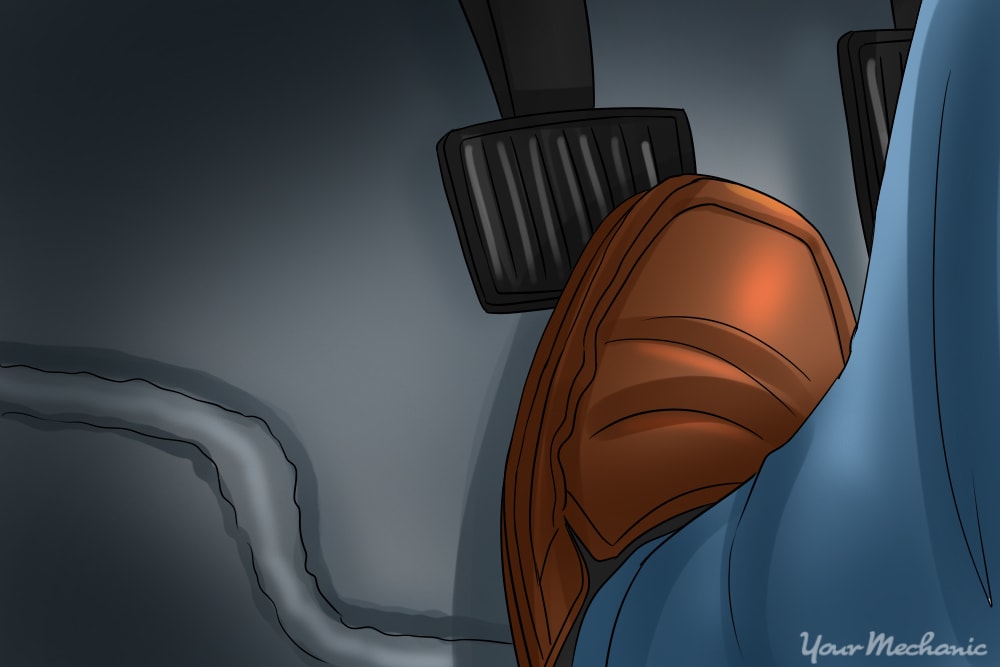
When you are parked in a safe place, press on the brake pedal as hard as you can.
If the pedal slowly sinks to the floor, it indicates you either have air in the brake system or the fluid is leaking out.
If the pedal holds steady, you probably don’t have a leak and can move on to further steps below.
Step 4: Check for Fluid Leaks Under Vehicle
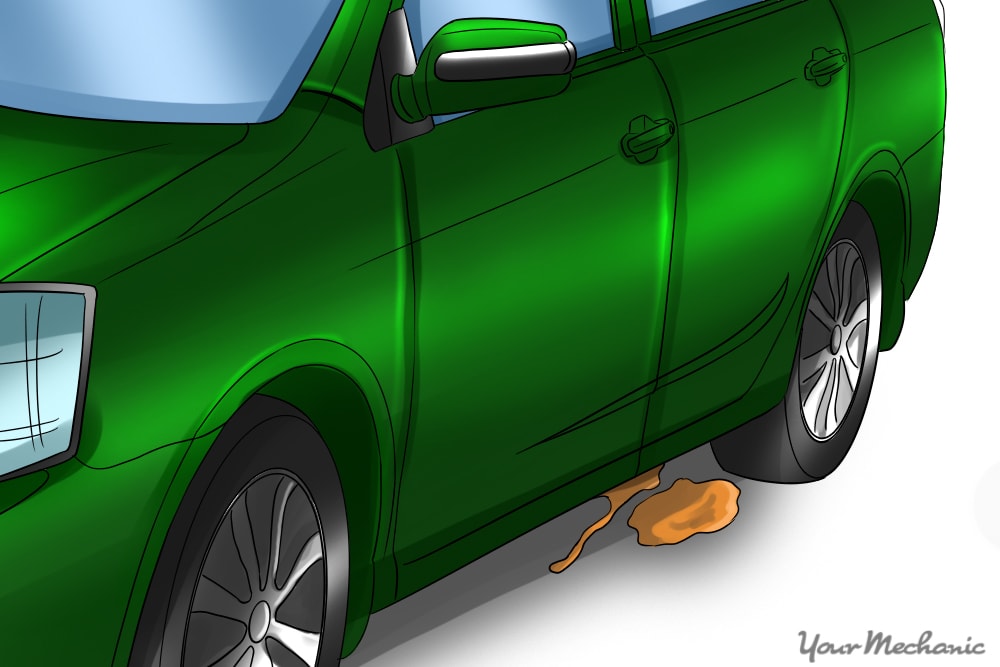
Look for a clear or honey-colored fluid inside each of the wheels or dripping underneath your car.
A small leak will be extremely difficult to notice on your own but a major leak should be evident.
- Warning: If you see a leak underneath your car, do not continue driving. Driving without brake fluid is extremely dangerous as your brakes will not be responsive. If you have a leak, a certified mechanic, like one from YourMechanic, can come out to your location to service your brake fluid for you.
Part 2 of 6: Check Parking Brake
Every vehicle is equipped with a parking brake, also known as an emergency brake. The parking brake has a switch that illuminates the Brake Warning Light on the dash if the brake is engaged.
Step 1: Check That the Parking Brake is Fully Released
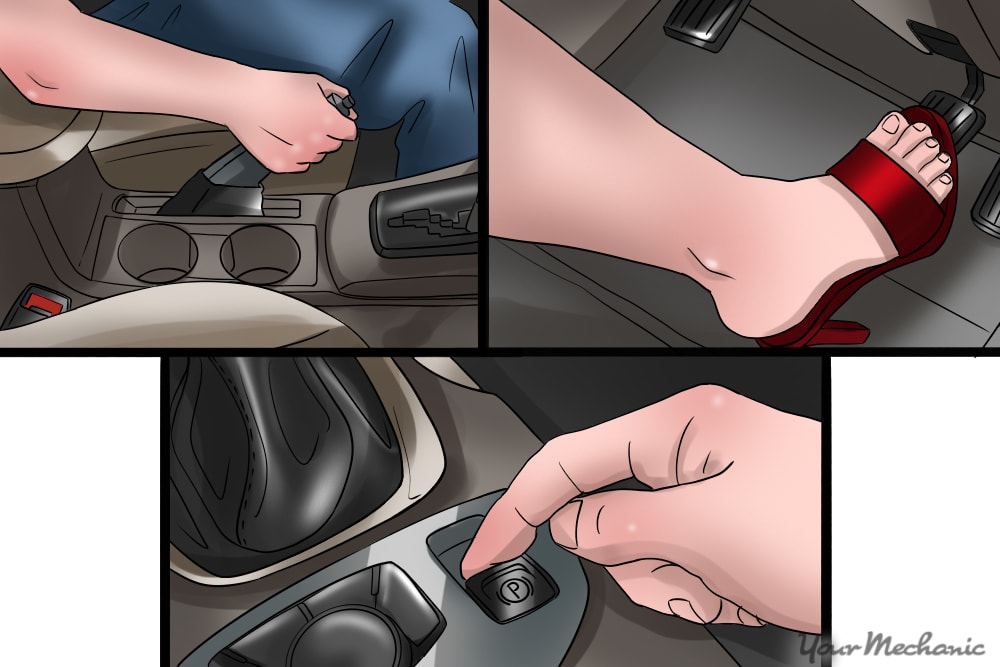
If your parking brake is a manual lever, press the button and push it all the way down to make sure it is released.
If you have a pedal-style parking brake, it may be released by pulling a handle or by pressing on the pedal and lifting it. Make sure it is at the top of its travel.
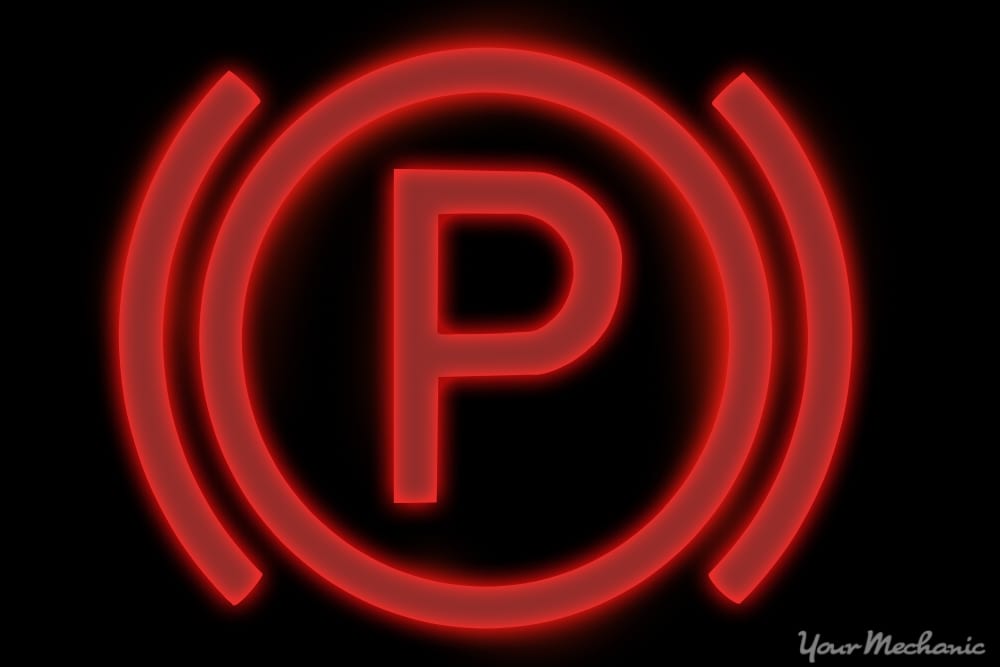
- Tip: New vehicles may be equipped with an electronic parking brake that is engaged and released simply by pressing a button on the dashboard. The button is marked with the same symbol as the parking Brake Light on the instrument cluster. Press this button to release the parking brake.
Step 2: Check if the Brake Light is Still Illuminated
If the parking brake was engaged, causing the brake light to be illuminated, releasing the brake will immediately turn it off. If there are no other brake lights on, your car is safe to drive and your problem has been solved.
Part 3 of 6: Check the Brake Light Bulbs
On some vehicles, if a brake light is burnt out, a warning message for that bulb will be displayed on the dash. When this happens, it is not due to an actual detection of a burnt out bulb. Instead, the power supplied to the bulb backfeeds into the electrical system and causes an “erroneous” code that illuminates the Brake Warning Light.
Step 1: Check the Brake Light Bulbs
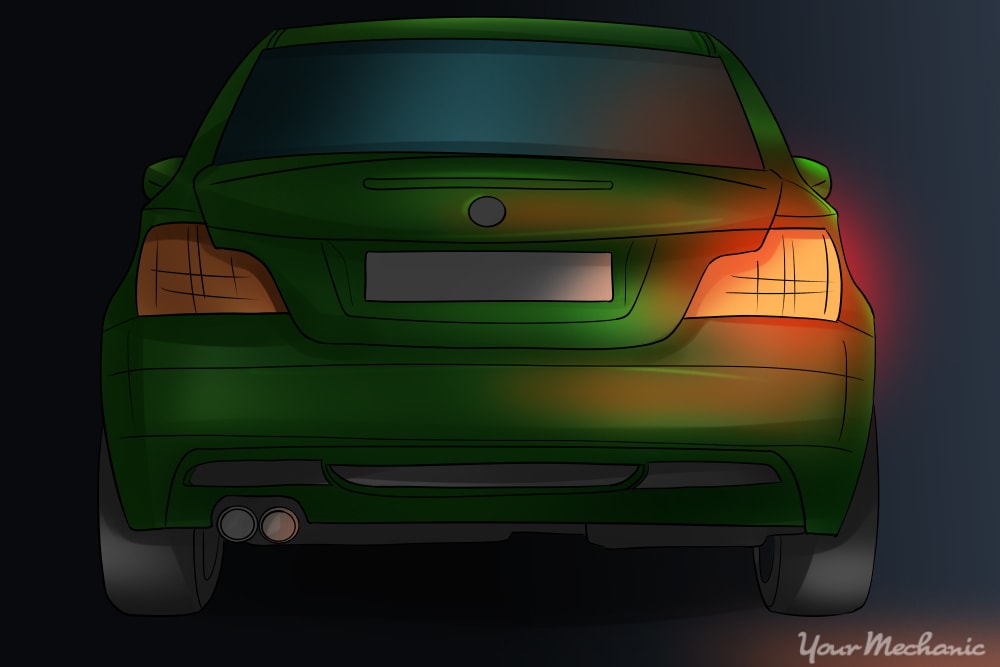
Check your brake light bulbs to make sure they are lighting up when the brake pedal is pressed.
Have someone stand outside while you press the brakes to see whether or not the red brake lights come on for both sides.
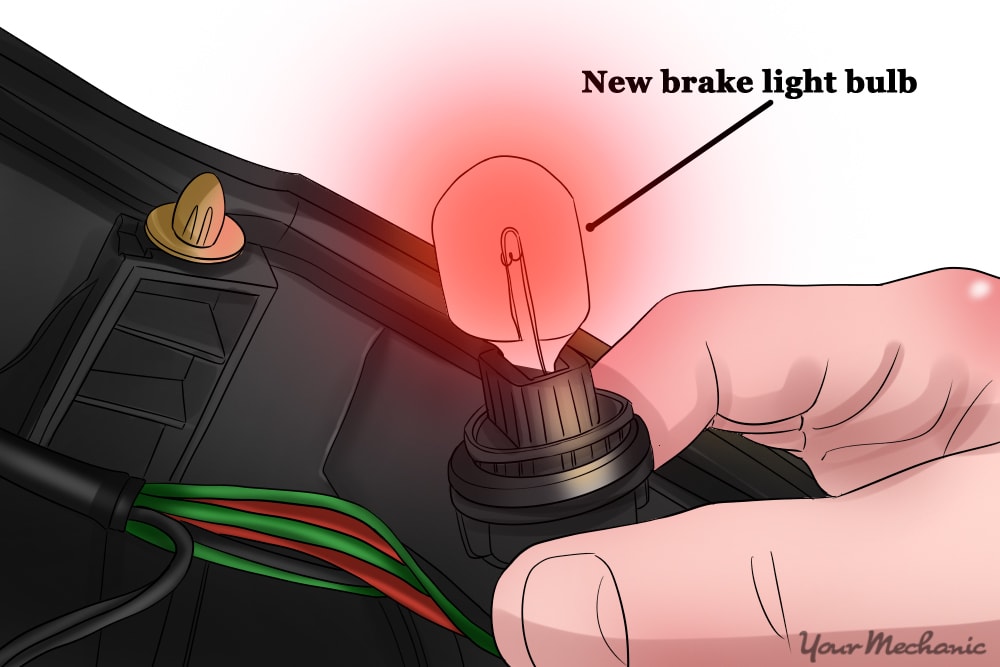
Step 2: Replace Brake Light Bulb if Needed
If a brake light is burnt out, replace it with a new bulb of the same type.
If you are not comfortable doing this on your own, you can have a certified technician from YourMechanic perform a brake bulb replacement for you.
Step 3: Check the Brake Lights Again
Check the brake light again to verify they are working properly. If you replaced the bulb, this may or may not have repaired the broken brake light.
It is possible that it was not the bulb that needed replacement. The brake lights not working may have been due to a fuse that has blownor brake light switch that needs replacement.
- Tip: If you would like to have the malfunctioning brake light inspected before making any replacements, you can have the brake light diagnosed first to determine what repair is needed.
Step 4: Check if the Brake System Warning Light is Out
If the Brake System Warning Light is no longer illuminated on the dash, continue driving as normal. If it is still showing, there are other problems that need to be addressed.
Part 4 of 6: Diagnose ABS Warning Lights
Anti-lock brakes are designed to prevent your brakes from locking up in adverse weather and road conditions. If the ABS brakes are malfunctioning, they may not operate when you need them to or they may inadvertently activate when they shouldn’t.
ABS brake systems are equipped with a control module that acts as a brain for the system. The module monitors the wheel speed sensors at each wheel, the vehicle speed sensor, the brake pressure modulator valve and other ABS parts. If there is a problem with a part, it stores a code in the module and illuminates the ABS Brake Warning Light.
Step 1: Check if the ABS Light is On
The ABS Light is located on your dashboard and will be illuminated if there is a problem detected.
Step 2: Have the Codes Scanned by a Mechanic
Determining the codes for the ABS system needs to be done with a specialized code reader and a trained mechanic.
If the mechanical brakes are operating properly, you may drive carefully to your next destination and call a mechanic to have the ABS Light inspected.
Part 5 of 6: Check For Low Battery Voltage
A Brake Warning Light may not indicate a brake system problem at all. If you’ve checked all the other possibilities and your brakes seem to be alright, you may be experiencing an erroneous Brake Light due to low battery voltage.
Step 1: Determine if You Have a Low Battery
Low voltage codes can occur if:
- Your car’s battery is weak or has a bad cell.
- You needed to boost your car.
- There are aftermarket devices drawing a large amount of power.
If your car battery is always requiring a boost, your lights flicker, or your car won’t start in the cold, your Brake Warning Light may be due to a low voltage code.
Otherwise, determining if the Brake Warning Light is due to a low voltage problem is tricky and requires specialized electrical diagnostic tools and a code reader.
You can have a certified mechanic inspect your battery to determine what is causing the voltage issue and ensure that the appropriate repairs are made.
Step 2: Correct Your Battery Issue
If you correct your battery problem, your Brake Warning Light should clear if it is related to the low voltage. If the warning light stays on, have a professional mechanic diagnose and repair your brake system.
Part 6 of 6: Inspect For Low Brake Pad Level
European car makers like Volkswagen and BMW equip some of their vehicles with a simple sensor on the brakes. When the brake pads wear down to a certain point, typically around 15 percent material remaining, the pads contact the sensor and the light illuminates.
Step 1: Check for a Brake Pad Warning Light
If your car has this special brake pad sensor, you will see this symbol illuminated on your dashboard if your brake pads material has worn down.
Step 2: Replace Your Brake Pads
When the light illuminates, you need to make arrangements to have your brake pads inspected and replaced to prevent any damage to brake rotors and calipers.
- Warning: Driving with worn brake pads can be very dangerous. If you need to brake suddenly, worn brake pads will not be as responsive unless floored harshly to the ground. Drive very carefully if you ever find yourself with worn brake pads, but more importantly, have the brakes pads replaced as soon as possible.
When you buy parts for your brake job, check with the parts personnel to see if you need to replace the pad wear sensor as well. The requirements for changing the sensor are different depending on the make and model, but the parts team should have that information on hand.
If you find that one of your Brake System Warning Lights has come on, it is not recommended that you continue driving. Proper brake function is one of the key elements for road safety. If you ever need a diagnostic on your Brake Warning Light or any parts of your brake system replaced, contact YourMechanic, as a certified mechanic can come to your home or office to inspect the light and make any needed repairs.


