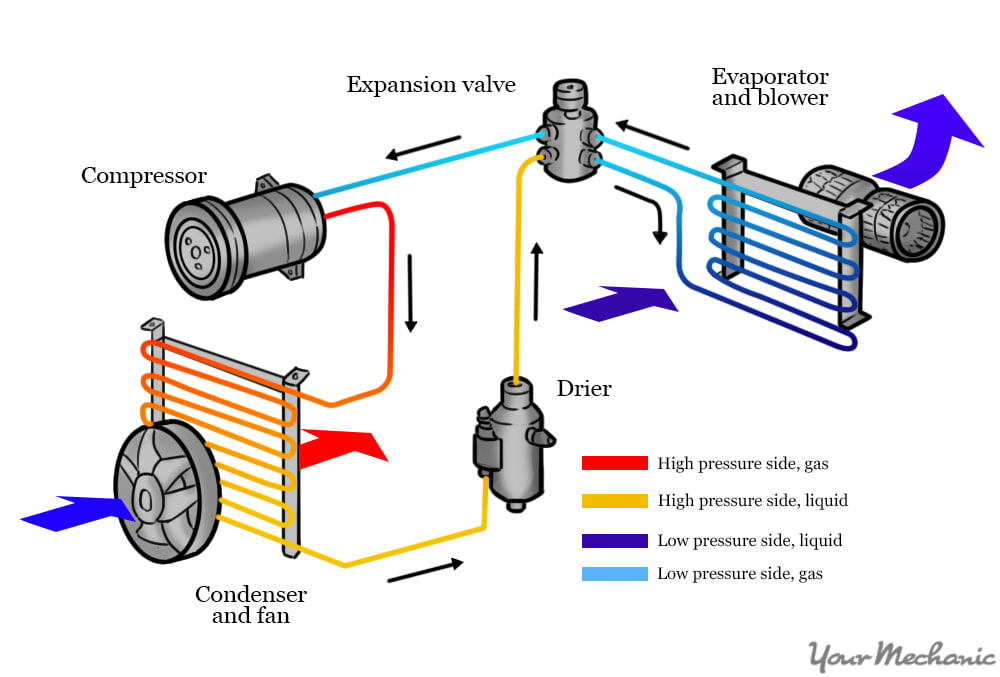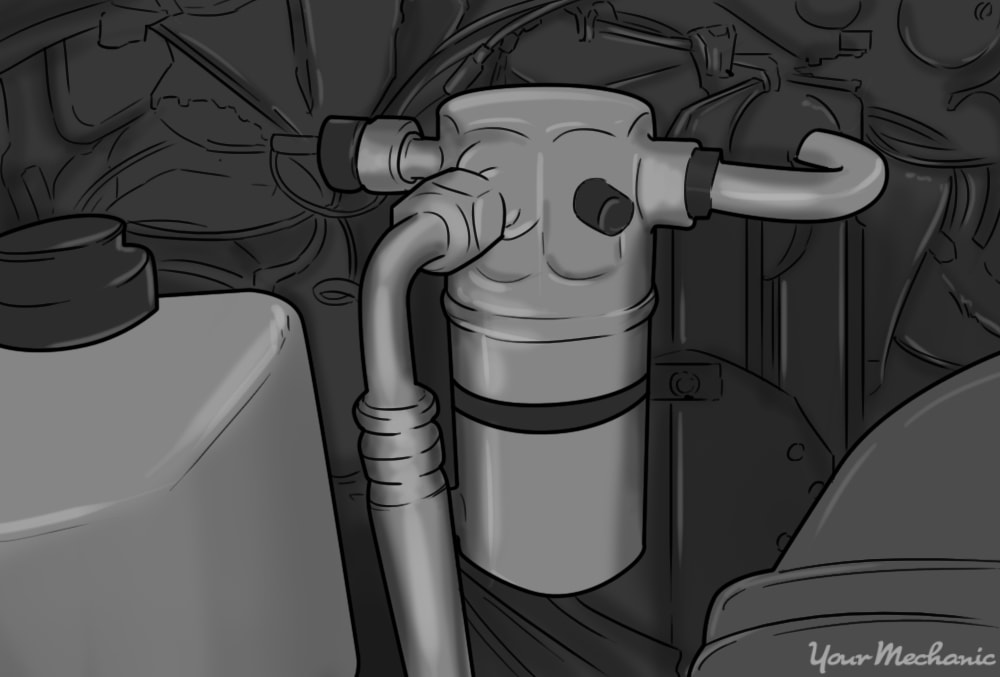

The receiver/drier is designed to store and dry A/C refrigerant. There is a desiccant inside that absorbs moisture from the refrigerant. Receiver/driers are used in expansion valve equipped A/C systems.
It is the job of the receiver/drier to protect the rest of the A/C system against moisture damage. The desiccant bag can only hold a finite amount of moisture. If too much water gets into the system, the receiver/drier should be replaced. The receiver/drier should also be replaced if it leaks, is clogged or the A/C compressor is being replaced (as a preventive measure).
Signs of a failed receiver/drier include desiccant in the A/C system, moisture in the system, ice build up on the receiver/drier or a temperature drop between the unit inlet and outlet.
Part 1 of 3: Locate the receiver/drier
In order to safely and efficiently replace your A/C receiver/drier you need a couple of basic tools:
- Free repair manuals - Autozone provides free online repair manuals for certain makes and models
- Protective gloves
- Chilton repair manuals (optional)
- Safety glasses
Step 1: Locate the receiver/drier. The receiver/drier is located between the located on the high-pressure side of the A/C system between the condenser and evaporator.
Part 2 of 3: Remove the receiver/drier
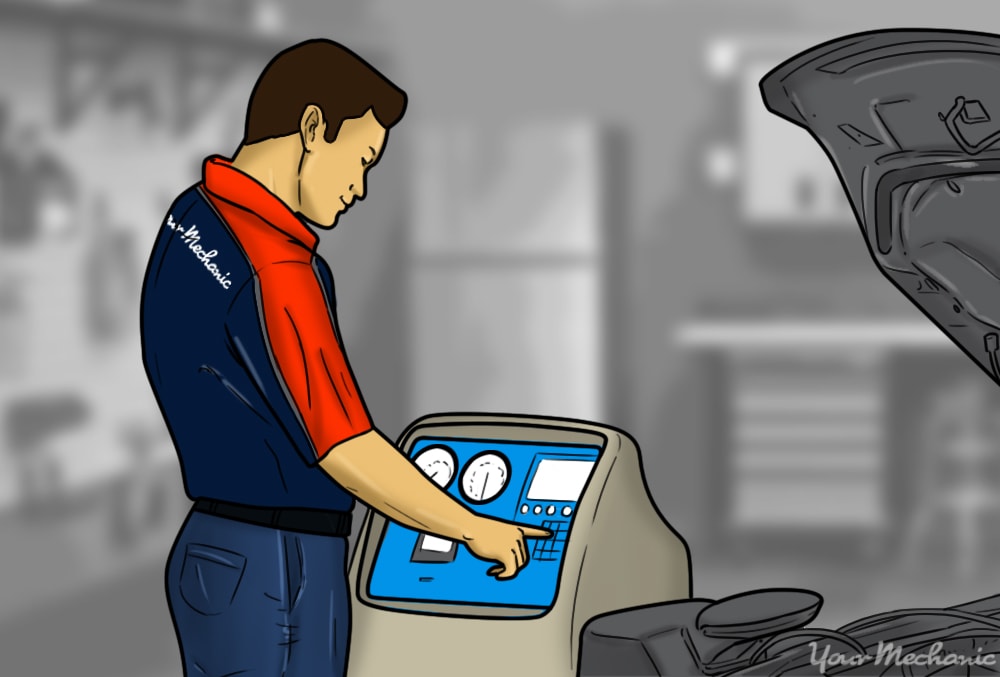
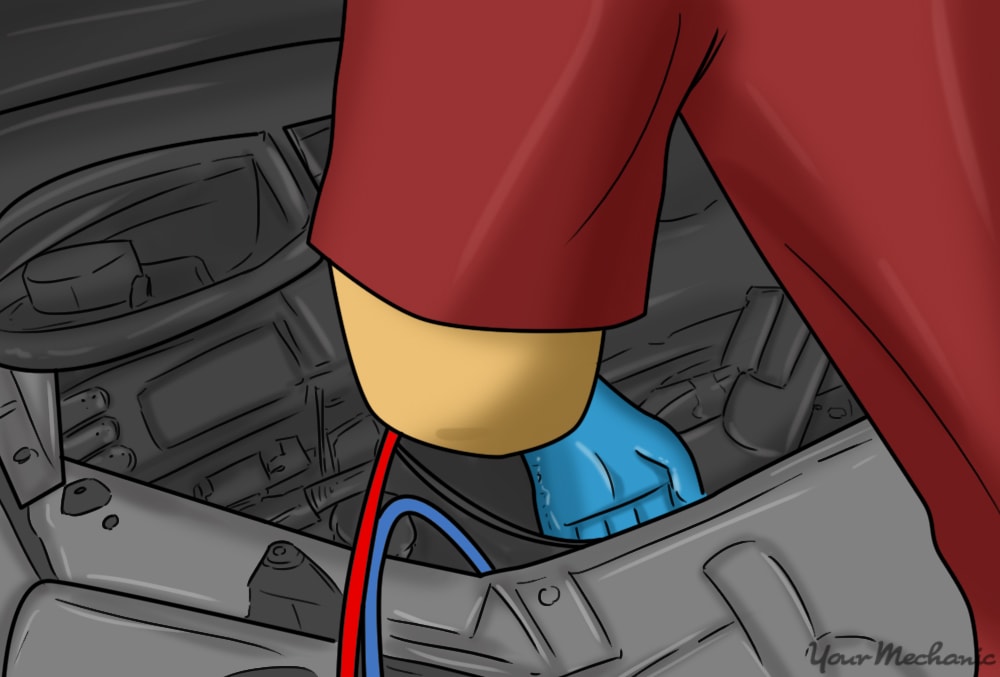
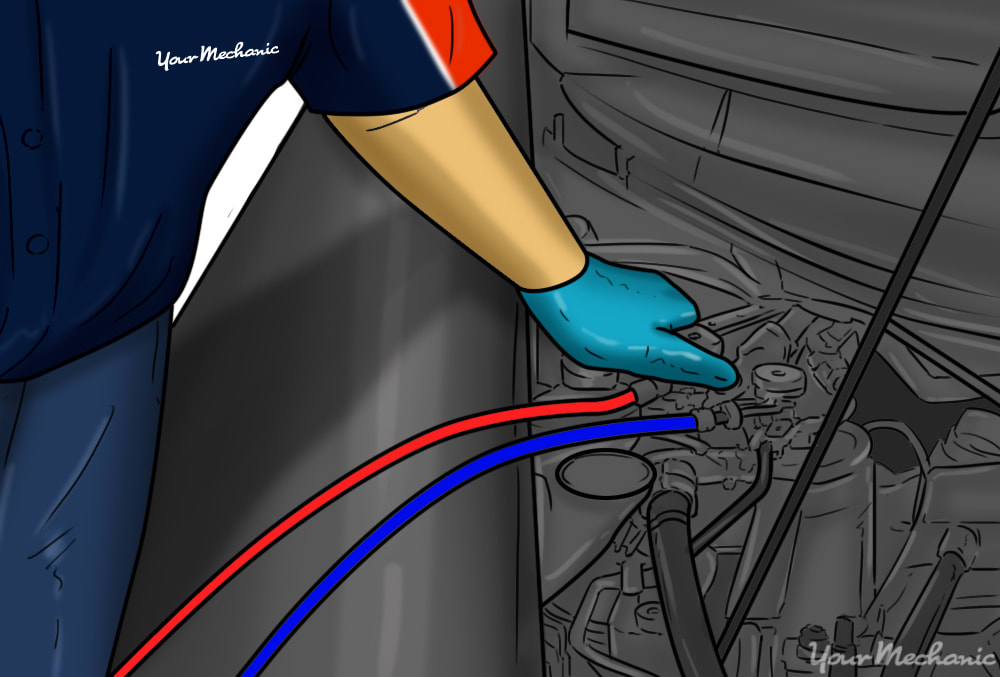
Step 1: Have the refrigerant recovered by a professional. Before the receiver/drier can be replace, the A/C refrigerant must be removed from the system. This can only be done by a professional using an evacuation machine.
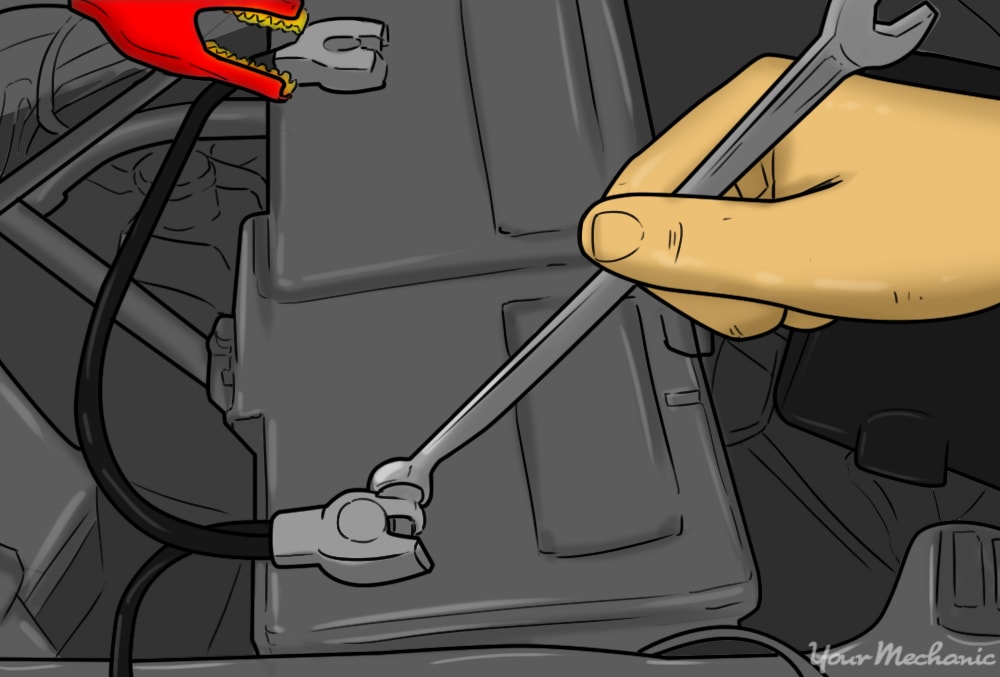
Step 2: Disconnect the negative battery cable. Disconnect the negative battery cable with a wrench of ratchet. Then set it aside.
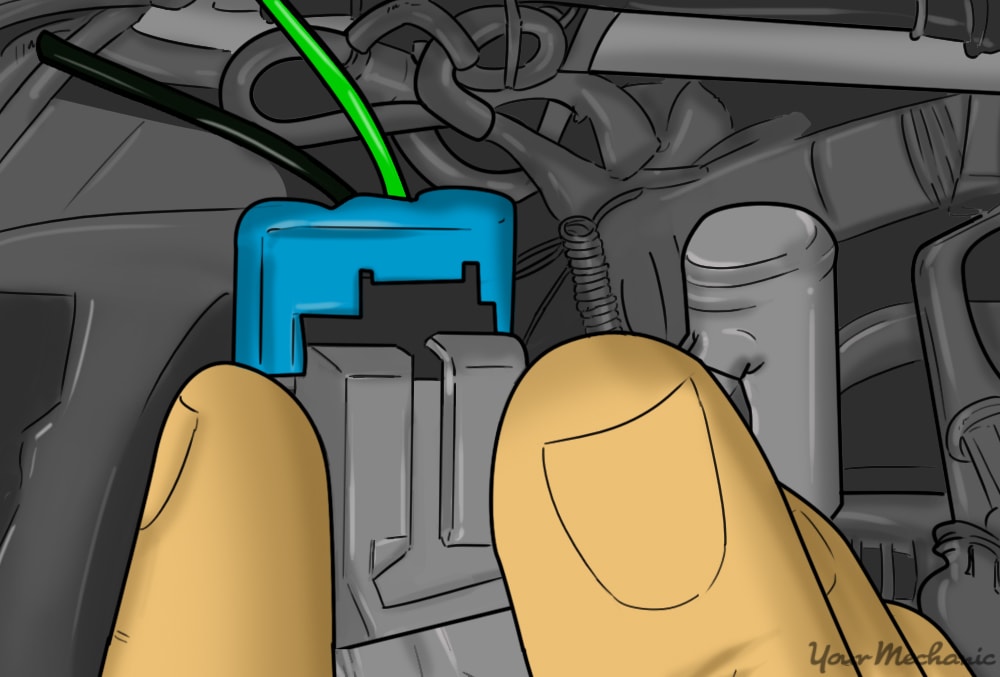
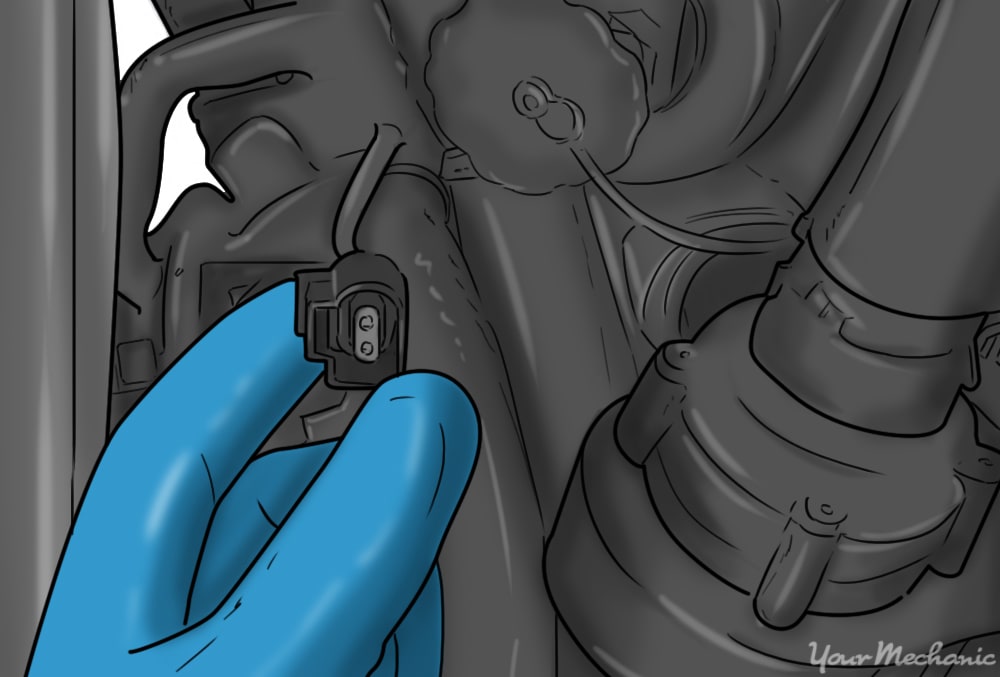
Step 3: Remove any electrical connections from the receiver/drier.
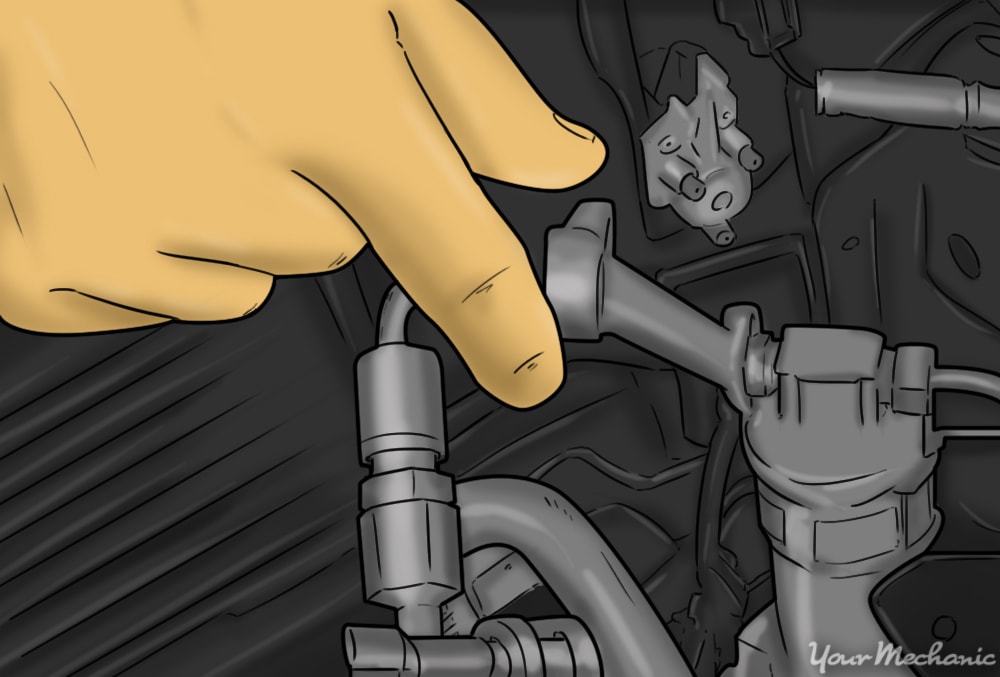
Step 4: Disconnect the lines from the receiver/drier. Disconnect the lines from the receiver/drier using a wrench. Cap the lines off to prevent contamination.
- Note: Most of the time the receiver/drier will have flarenut fittings which should be removed with a flarenut wrench to prevent rounding off.
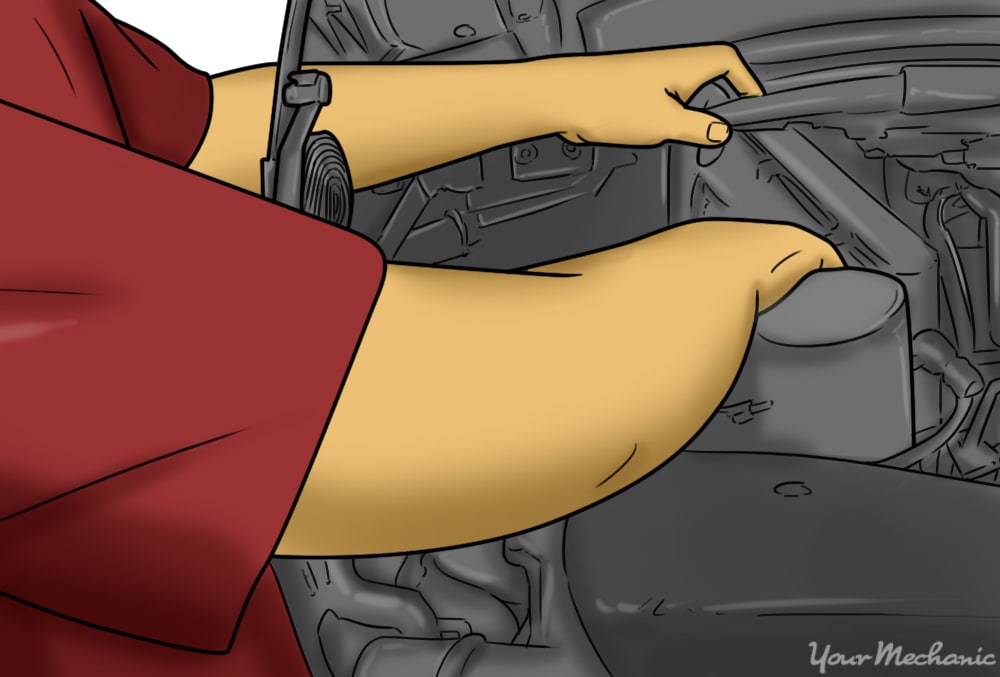
Step 5: Remove the receiver/drier. Remove any fasteners securing the receiver/drier and remove it from the vehicle.
Part 2 of 3: Installing the new receiver/drier
Step 1: Measure the amount of oil in the receiver/drier. Measure the amount of oil in the old receiver/drier by pouring it into a graduated glass.
If oil has leaked out of the system, use the manufacturer's recommended amount to refill the receiver/drier.
Step 2: Add oil to the receiver/drier. Add the correct amount of oil, as determined from the previous step.
Most A/C systems use PAG oil, but a few use Polyol Glycol, so it’s important to determine which is used in your vehicle.
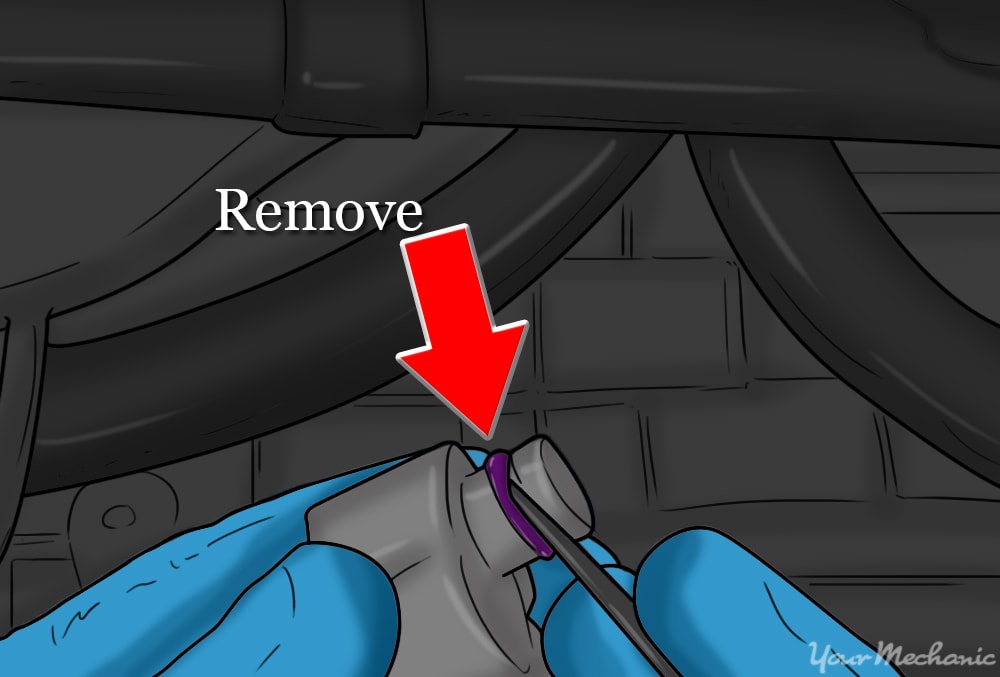
Step 3: Replace the pressure line o-rings. Remove the oil o-rings from the A/C pressure lines with a small screwdriver.
Some receiver/driers will come with replacement o-rings, or your can replacements from your local auto parts store.
Lubricate the new o-rings with refrigerant oil and slide them into place.
Step 4: Install the receiver/drier. Lower the new receiver/drier into position, reinstall any mounting fasteners and tighten them down.
Step 5: Reinstall the lines. Reinstall the lines and tighten down the fasteners
Step 6: Reinstall the electrical connectors. Reinstall any electrical connectors.
Step 7: Reconnect the negative battery cable.
Step 8: Have a professional recharge the system. Have the system recharged by a professional.
If everything went accordingly, you should now have air cold A/C. If after reading this article you feel like leaving this job to the professionals, the team at YourMechanic offers expert receiver/drier replacement.


