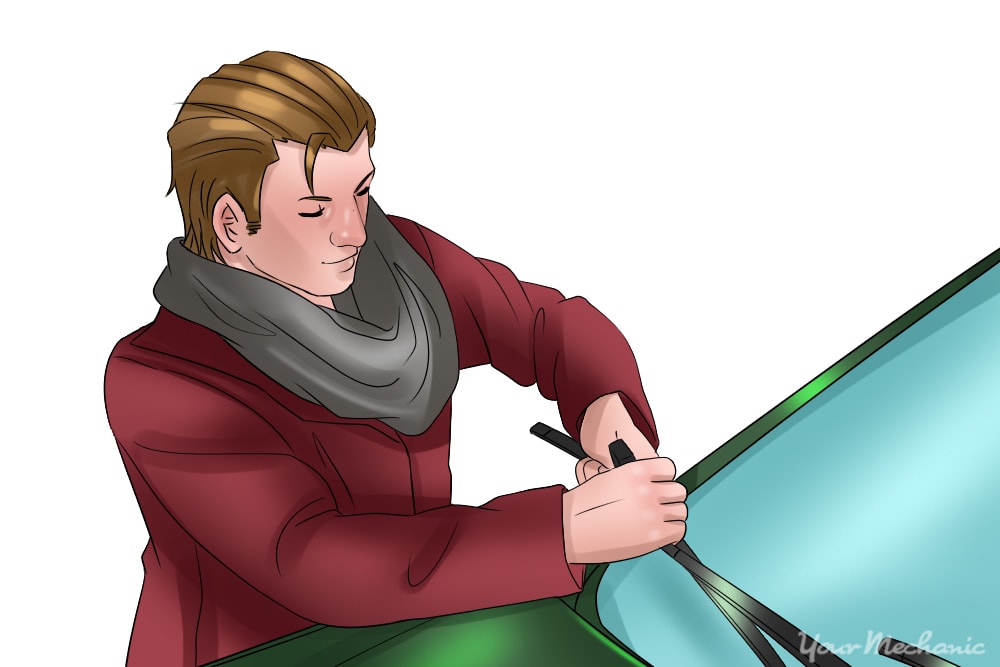

Properly working windshield wipers are essential to safe driving. A dirty windshield can drastically affect your ability to safely drive your vehicle by making it hard to see obstacles in your path, and increasing glare from oncoming vehicle headlights if you are driving at night.
If your windshield wipers are leaving un-wiped spots or are streaking, even after you have replaced the blades, there is a good chance that the wiper arms themselves could be the problem. Wiper arms can become bent due to corrosion. Regardless of the reason, if your wipers aren’t working after changing the blades, it’s time to switch out the wiper arms.
Windshield wipers use a couple of different technologies to keep your windshield sparkling clean. The wiper motor, which is an electric motor, uses a worm gear, that provides the power to move the wipers. The wiper linkage converts the rotational output of the wiper motor into the back and forth motion of the wiper blades.
Wiper arms are usually bent due to vandalism and once they are bent, they are almost impossible to correctly straighten out; the arms will have to be replaced.
Wiper blade arms come in a few different styles: bolt-on, clip-on, or push-on.
Regardless of which type you have, replacing a wiper arm is not a complicated procedure and should only take an an hour or so. But, if you’re uncomfortable doing the work or simply don’t have time, our experienced mobile mechanics at YourMechanic will be happy to come to your home or office to perform an windshield wiper inspection and repair.
Method 1 of 4: Bolt-on wiper arms
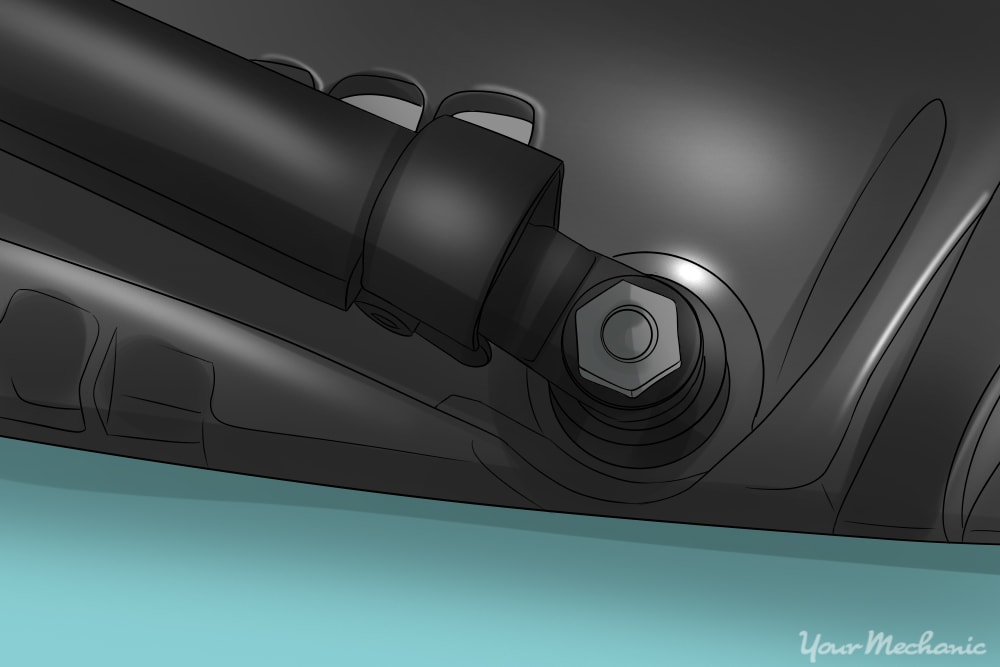
Determine whether you have a bolt-on wiper arm by following the wiper arm from the wiper blade to the base where it is attached. You may have to open the hood. Bolt-on wiper arms are attached to the wiper post by a nut. The nut is usually concealed under a plastic cover that must be removed or popped open.
Materials Needed
- Flathead screwdriver
- Socket set
- Wax crayon
Step 1: Turn the wipers on and stop them mid-way up the windshield. Mark their location with the wax crayon.
Step 2: Remove the plastic cover over the nut holding the wiper arm onto the post. If possible, simply twist the cover off.
If it resists, you may need to use the flathead screwdriver to pry it off. Once the cover is removed, place it in a safe location.
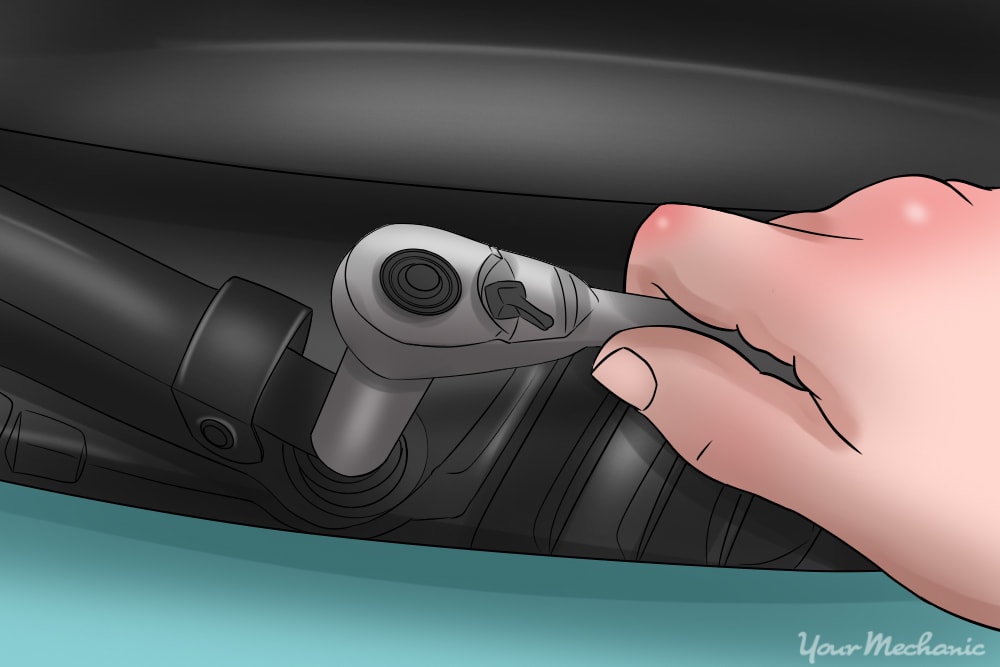
Step 3: Select the correct socket size for the nut on your vehicle. Then place the socket in the ratchet.
Use a ratchet extender if necessary to get the proper leverage on the nut.
Step 4: Find the optimum leverage point. Determine the best place to stand to get access to the nut and the proper leverage.
You may have to get under the hood or lean over the windshield.
- Warning: Getting the proper leverage on the nut is key, so you don’t end up stripping the nut or damaging the splined wiper blade shaft. Test your leverage on the nut before applying full force.
Step 5: Verify that the ratchet is set to counter-clockwise (CCW). This will allow the nut to be loosened.
Step 6: Loosen the nut by putting the ratchet over the nut and turning the ratchet. The wiper arm should be stabilized with your other hand to prevent damage to the linkage and blade shaft.
Step 7: Remove the nut. After the nut is sufficiently loosened, remove the ratchet and spin the nut off by hand.
The nut should be placed somewhere safe so it can be reused to attach the new wiper arm.
Step 8: Remove the wiper blade arm. Lift the wiper blade arm up from the windshield, and grab the wiper blade with one hand and the wiper arm near the bolt with the other hand.
Gently tug the wiper blade arm back and forth until it comes off of the drive post.
Method 2 of 4: Clip-on wiper arms
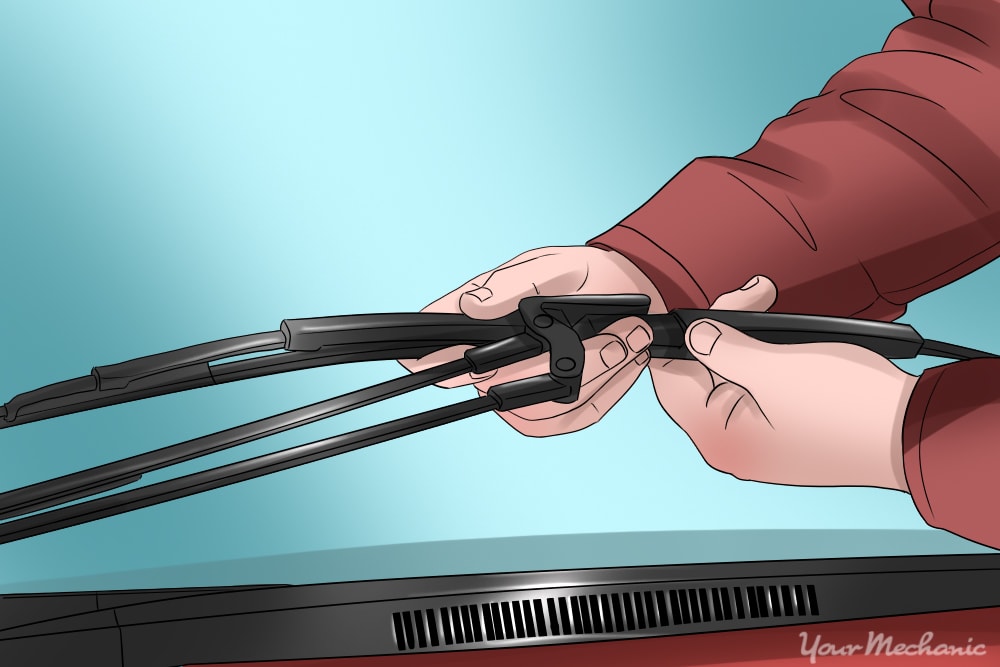
Determine whether you are removing a clip-on wiper arm by following the wiper arm from the wiper blade to the base where it is attached. It’s possible that you will have to open the hood. Clip-on wiper arms have a small tab at the base of the wiper arm.
Material Needed
- Flathead screwdriver
Step 1: Turn the wipers on and stop them mid-way up the windshield. Mark their location with the wax crayon.
Step 2: Inspect the base of the wiper arm and look for a slide lock, flange or lip. Identify the type of clip your particular wiper arm uses.
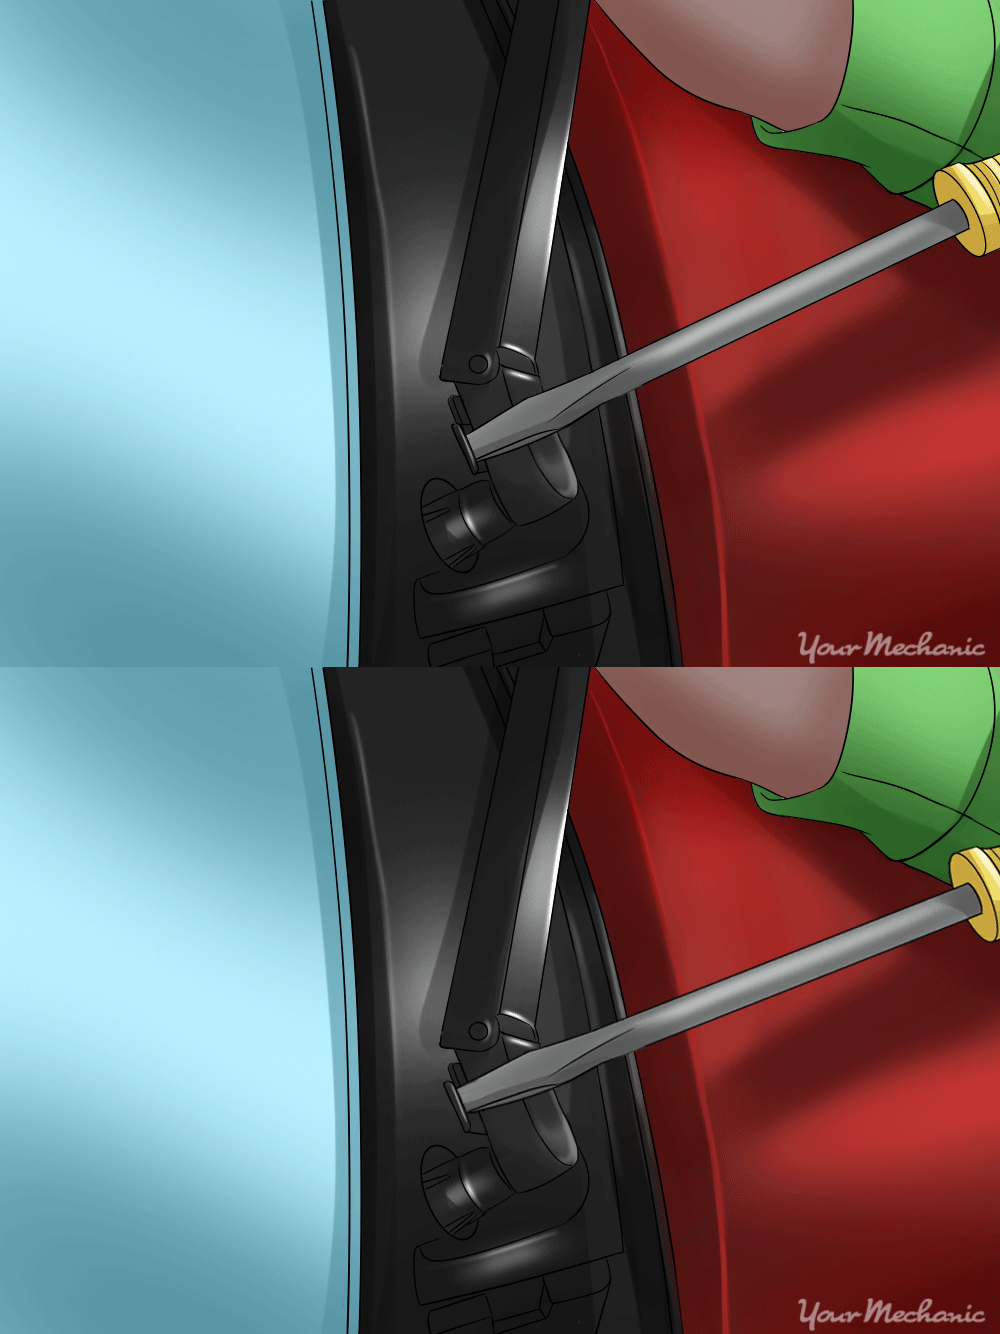
Step 3: Pivot the wiper arm away from the windshield. Then attempt to pry open the slide lock or flange.
You may be able to do this with your fingernail. If it is rusted or stuck, use a flathead screwdriver to pry it open.
- Warning: You may want to place a piece of cardboard or a rag over the finish of your car before attempting to pry it open with a screwdriver. If the screwdriver slips, it could damage your vehicle.
Step 4: Remove the wiper arm. Depending on the type of clip on wiper arm you have, either:
Release the slide lock on the wiper arm and rock the wiper arm back and forth, using both hands to stabilize the arm, until it comes off of the wiper post; or
Use the screwdriver to pry open up the space in the flange until it is roughly ¼” to 3/8” wide. Once it is loose enough, use both hands to stabilize the wiper arm while twisting it until it slips off of the wiper post.
Method 3 of 4:Push-on wiper arms
Some wiper arm do not clip or bolt on, but are simply pushed onto the wiper arm post.
Materials Needed
- Finishing nail or other narrow metal material that will fit in the hinge holes on the wiper arm
Step 1: Turn the wipers on and stop them mid-way up the windshield. Mark their location with the wax crayon.
Step 2: Locate the hinge on the wiper arm. It will be near the point where the wiper arm attaches.
Then locate the hole in the wiper arm, which is near the hinge pin.
Step 3: Lift the wiper arm off the windshield. Insert the finish nail or other metal object through the hole in the wiper arm.
Step 4: Let the wiper arm go. It should now stand up away from the windshield with the nail stopping it from falling back.
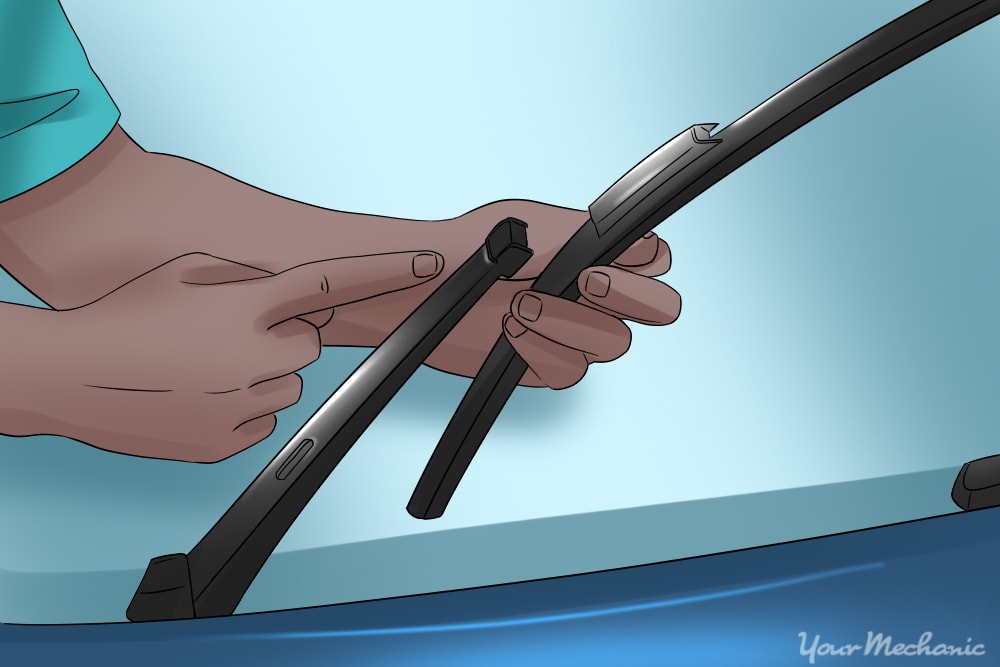
Step 5: Use both hands to grasp the wiper arm. Rock it back and forth while pulling up on it until the wiper arm slides off the wiper arm post.
Method 4 of 4: Installing a new wiper arm
Materials Needed
- New wiper arm
- Oil or WD-40
- Rubber mallet
- Steel wool or wire brush
Before beginning installation, make sure the new wiper arm is the same type as the one that you removed.
Step 1: Clean the wiper arm post with the steel wool or wire brush. Clean the ridges on the splined wiper blade shaft.
A dirty wiper blade post can lead to the failure of the wiper arm.
Step 2: Lubricate the wiper post. Apply a couple of drops of oil or a light coating of WD-40 to the wiper blade post; this will make installing the wiper arm easier.
Step 3: Install the replacement arm. Go in the reverse order of the above procedures, aligning the new wiper blade arm on the windshield with the wax crayon mark that you made on the windshield before removing the original wiper blade arm.
Bolt-on: Use one hand to stabilize the new wiper arm while tightening the bolt to ensure the new wiper arm is not bent.
Clip-on: Seat the base of the wiper arm on the wiper blade post and squeeze the flange around the base of the post until the clip locks.
Push-on: Using one hand to stabilize the wiper arm push the end of the wiper arm down on the wiper arm post. Use a rubber mallet if necessary to get it securely on the post.
Note: It may require numerous attempts to align the new wiper blade arm in the same position as the old one, due to the fact that the knurling pattern on the wiper arm post will prevent your from turning the arm to align it properly. It will be necessary to lift it off, adjust the position slightly and place it back on the wiper arm post.
Step 4: Turn the car on and test the new wiper arm. Make sure it follows the same arc as the previous one.
While replacing the wiper arm is fairly straightforward and only requires basic tools, it can be tricky if you are not comfortable working on a vehicle. If you have any doubts or simply don’t have time to do the work, do not hesitate to contact one of our experienced mobile mechanics at YourMechanic to come to your home or office to perform a windshield wiper inspection and replacement.


