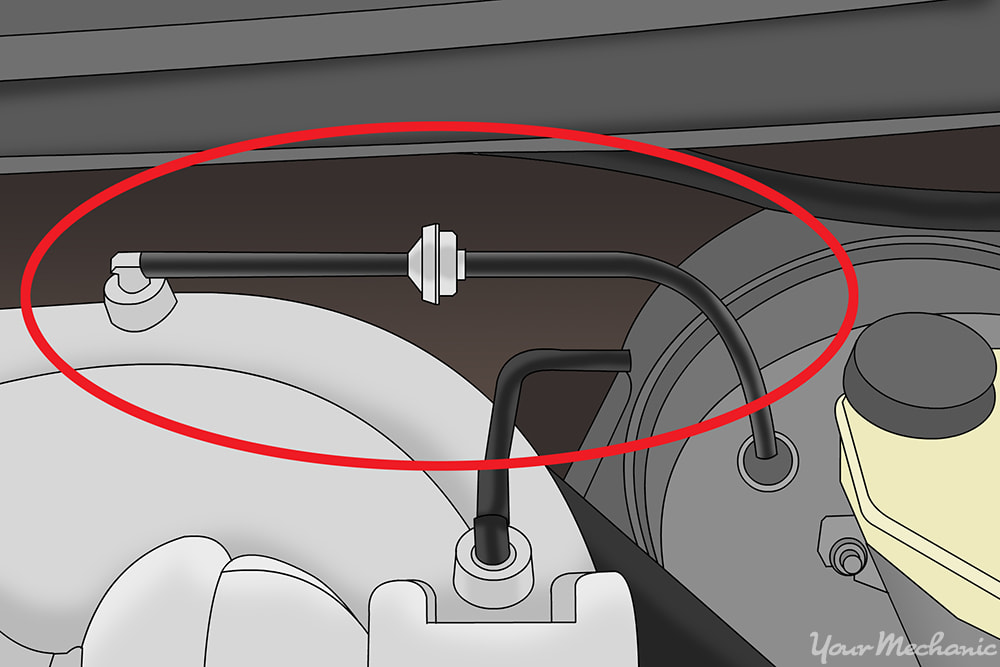

The vacuum brake booster check valve is located on the brake booster assembly. The vacuum brake booster check valve is a one way check valve that allows the vacuum to build up in the brake booster. The check valve prevents vacuum from leaving the brake booster assembly. A vacuum check valve is a one way valve that only allows airflow to go in one direction and closes in the opposite direction, which gives the brake booster a consistent supply of vacuum needed to assist the driver when braking.
When a vacuum brake booster check valve begins to fail the operator will notice that extra amount of force is needed to stop the vehicle when applying the brake pedal, the brakes feel spongy, or the pedal does not work at all. The whole purpose of the vacuum brake booster check valve is to help the brake booster hold the vacuum needed to make braking easier for the operator.
Part 1 of 1: Replacing the vacuum brake booster check valve
Materials Needed
- Brake booster check valve
- Pair of pliers
- Penetrating oil
- Screwdriver - Phillips and slotted
Step 1: Open the hood. Open and secure the hood.
Step 2: Locate the brake booster check valve. The brake booster check valve is typically found on the brake booster.
If it is not found on the brake booster, it may be in line with the vacuum hose. There are many types of check valves, though, and some check valves are built into the vacuum hose and are not serviceable separately.
This type requires the replacement of the vacuum hose assembly, which is provided by your parts store for your vehicle.
Step 3: Remove a gear type clamp. To remove a gear type clamp, loosen the screw head standard clamps by turning counter clockwise.
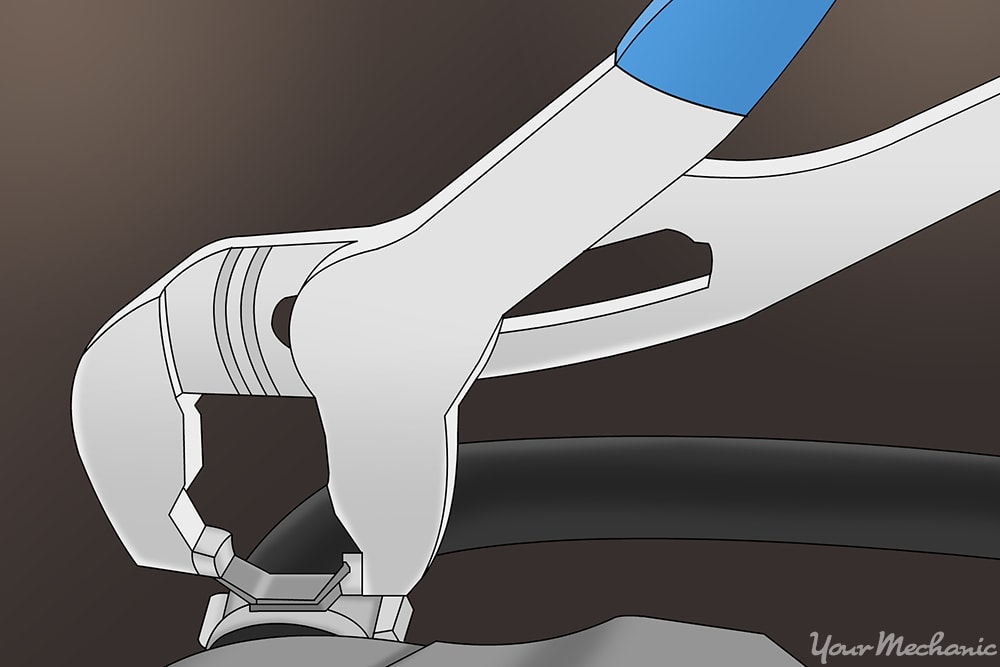
Step 4: Remove a spring type clamp. Using a pair of pliers, compress the spring by squeezing the tabs together.
Move the clamp away from the clamping location, so the hose can be removed.
Step 5: Remove the brake booster vacuum hose. When removing the vacuum hose from the vacuum brake booster check valve, use a twist and pull method.
The twist should break the seal and allow you to pull the hose off.
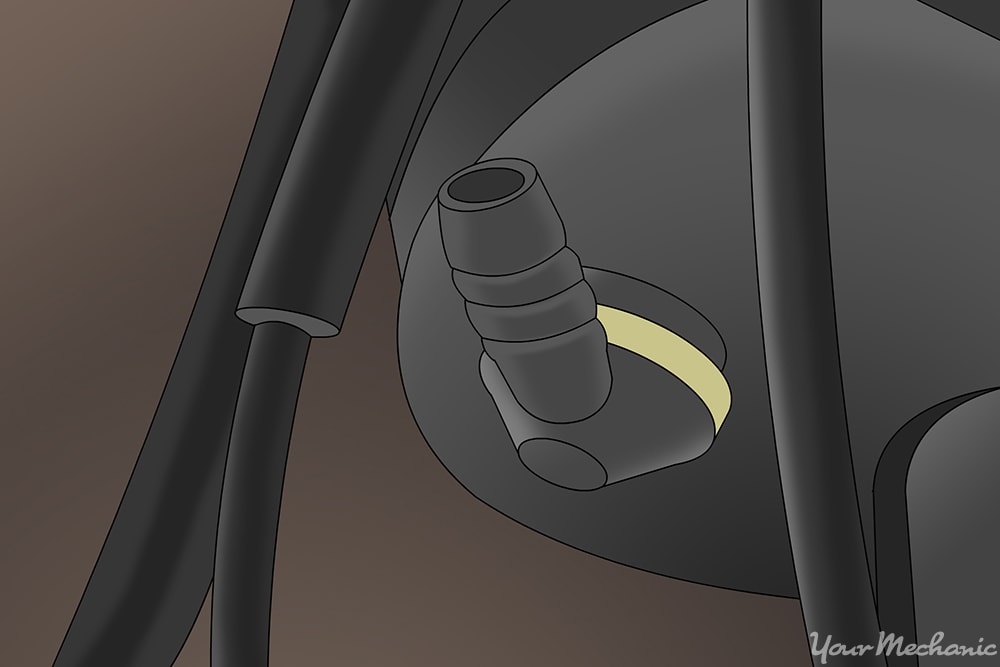
Step 6: Remove the vacuum brake booster check valve. Removing the check valve can sometimes be as easy as using the twist and pull method.
If it is really stuck, spray a little penetrating oil between the vacuum brake booster check valve and the rubber sealing grommet. You may have to use a pair of pliers to get a better grip. Now twist and pull and it will come out.
Step 7: Reinstall rubber sealing grommet if needed. If the rubber sealing grommet comes out, install it back onto the brake booster.
Step 8: Remove an in-line check valve in vacuum hose. If you are having to replace the vacuum hose assembly because of an internal check valve in the line, remove both ends.
Follow the above method for this as well.
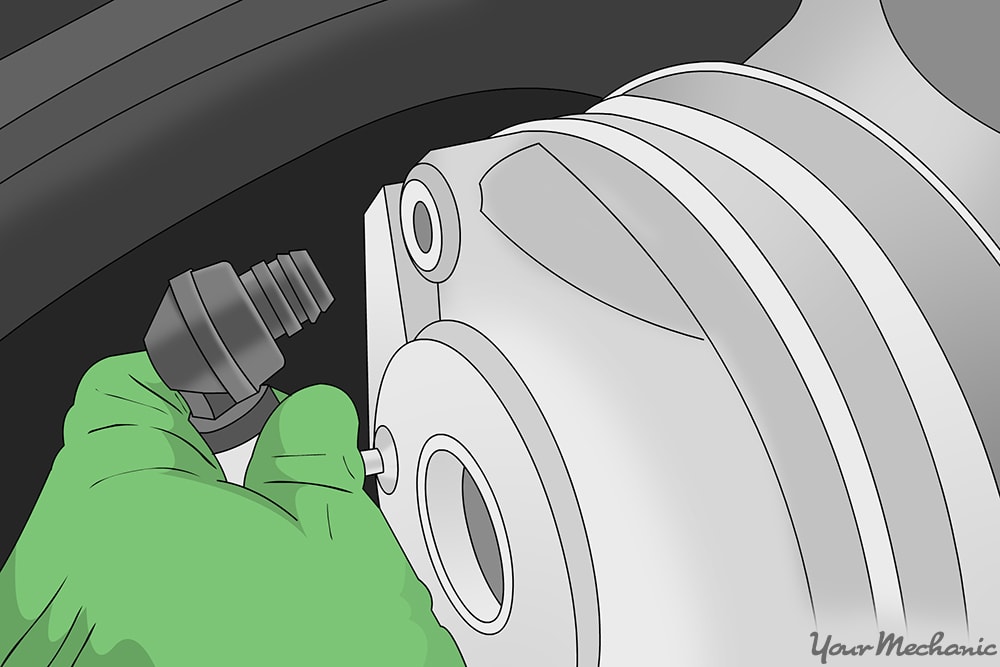
Step 9: Installing the vacuum brake booster check valve. Take the new vacuum brake booster check valve and push it into the rubber sealing grommet.
You may need to spray with a little penetrating oil to ease the process of installation.
Step 10: Install the vacuum hose. Install the vacuum hose by pushing the hose onto the barbed end of the vacuum brake booster check valve.
If there is any restriction, use a little penetrating oil to ease the installation process.
Step 11: Install the hose clamp. Install the hose clamp that was removed.
When tightening a gear type clamp, it doesn't require much tightening but just needs to be snug tight.
Step 12: Internal type check valves. When installing the vacuum hose with an internal check valve remember to put hose clamps in position on the hose before installing.
When installing push vacuum hose end over the barb fittings, they need to be put on. Remember there is only one way the vacuum hose can go on.
Replacing your faulty vacuum brake booster check valve ensures that your brakes work properly and keeps you safe on the road. If replacing your vacuum brake booster check valve is something you would rather leave to a professional, have one of YourMechanic’s certified technicians perform the replacement.


