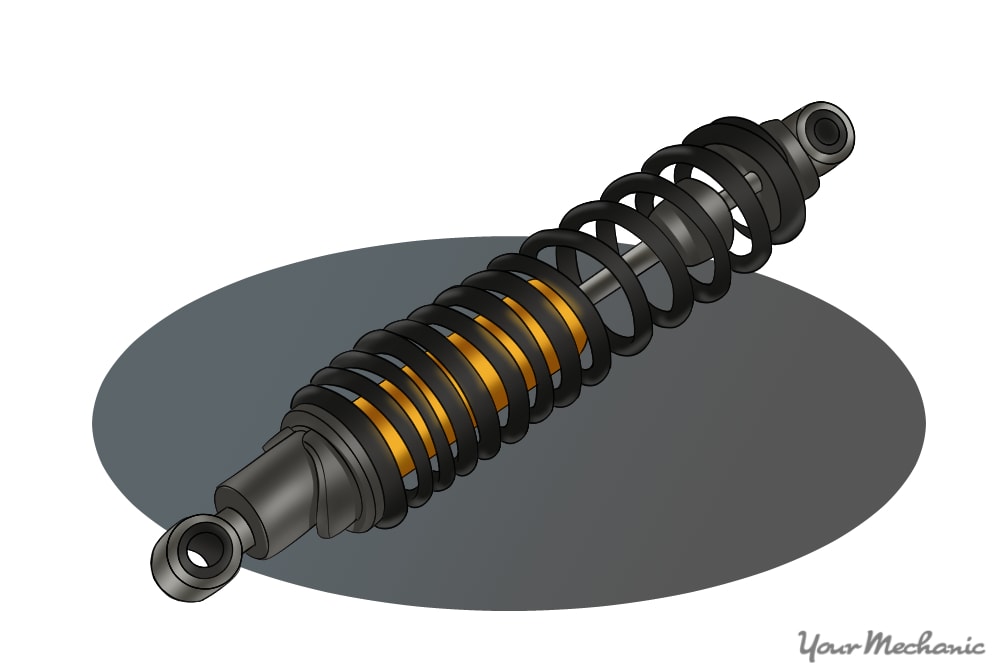

Shock absorbers play a vital role in the ride and comfort of your vehicle. Along with the oil-fill, most top quality shocks also are charged with nitrogen gas. This keeps the oil from foaming during the numerous up and down motions and helps retain better ride control, keeping your tires in better contact with the road. Also, shocks play more of a role in ride comfort than your springs do. The springs are responsible for your vehicle’s height and weight carrying capacity. The shocks control ride comfort.
Your ride gets soft and bouncy over time due to worn shocks. They generally wear slowly, so your ride comfort will degrade with time and mileage. If your vehicle bounces more than once or twice over bumps and dips, it’s time to replace your shocks.
Part 1 of 2: Lifting and supporting your vehicle
Materials needed
- Floor jack
- Jack stands
- Replacement shock absorber
- Sockets
- Ratchet
- Wheel chocks
- Wheel blocks
- Wrenches (box/open-end)
Step 1: Chock the wheels. Place wheel chocks and blocks in front of and behind at least one tire at the opposite end of the vehicle from where you are working.
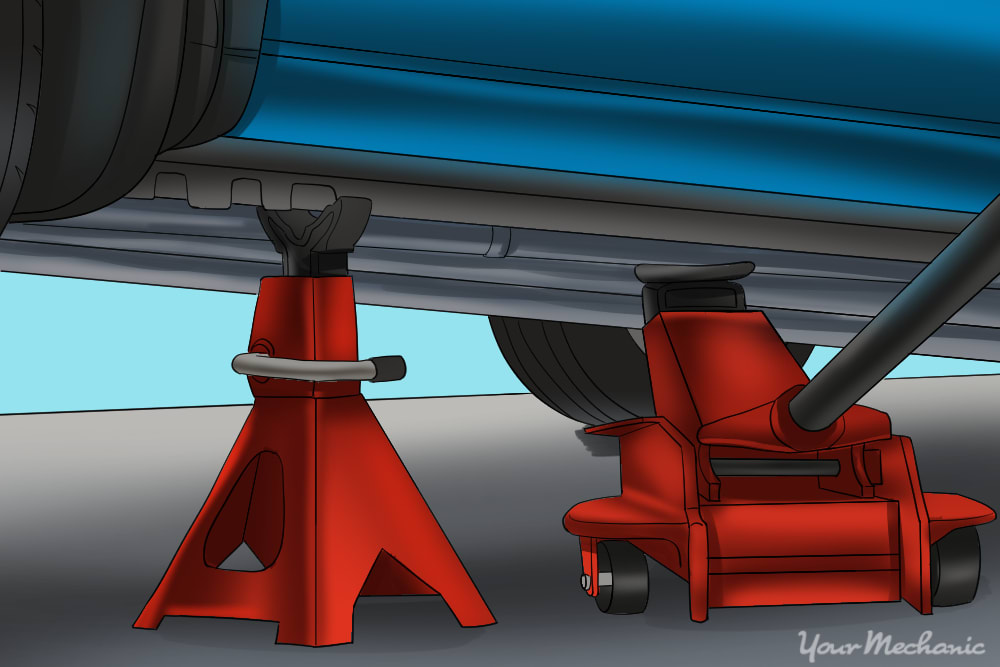
Step 2: Raise the vehicle. Jack the vehicle up from the appropriate jacking points or a strong frame/unibody location.
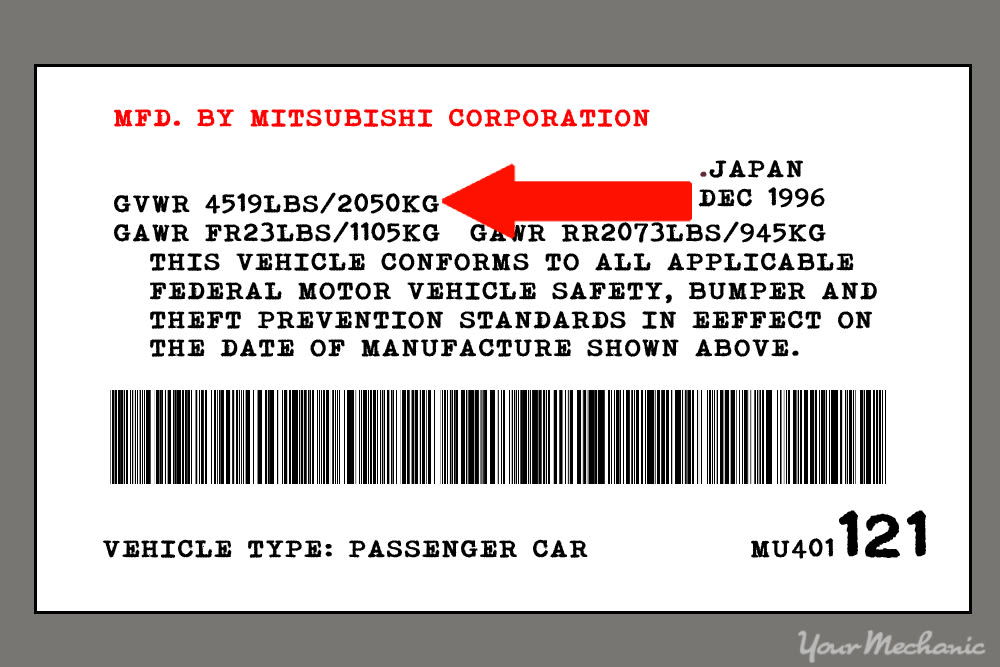
- Note: Be certain the floor jack and jack stands are of the correct lifting capacity for your vehicle. Check your vehicle’s VIN tag for the GVWR (Gross Vehicle Weight Rating) if you are unsure.
Step 3: Place the jack stands. Just like jacking the vehicle up, place the jack stands at a strong chassis location to support the vehicle. Once placed, slowly lower the vehicle onto the stands.
Move the floor jack to support the suspension under each corner as you’re replacing the shocks because the suspension will droop down a bit when you remove the shock.
Part 2 of 2: Remove and install shocks
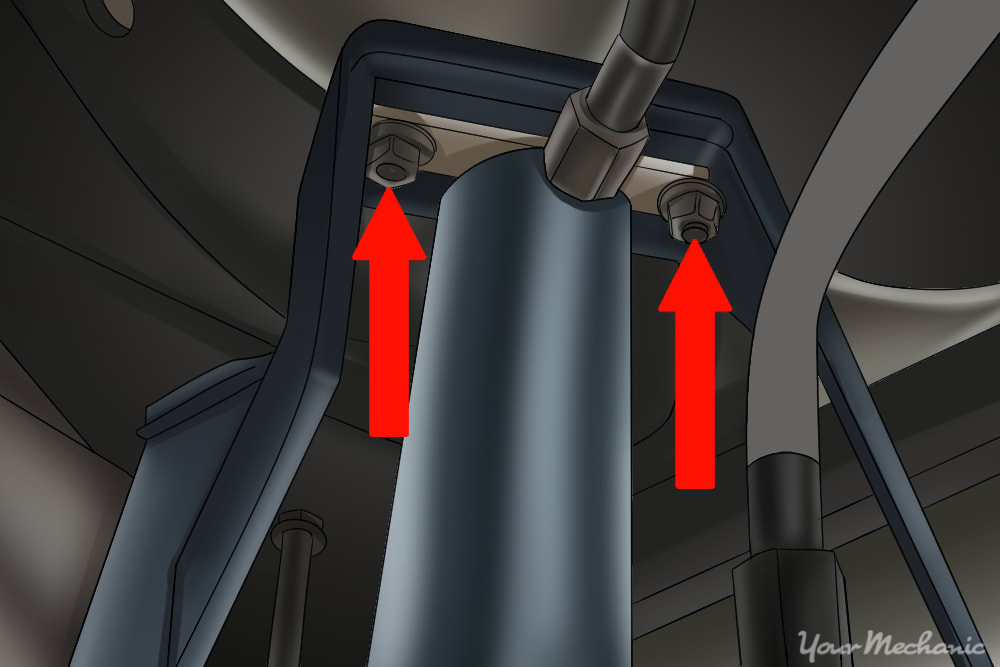
- Note: Replacing front and rear shocks are pretty much the same process with a couple of exceptions. Access to the lower shock bolts is generally from under the vehicle. The top bolts for the front shocks are typically accessed under the hood. Rear shocks can be accessed from under the vehicle on some vehicles. With others, the top mounts are sometimes accessed from inside the vehicle in areas such as the rear parcel shelf or in the trunk. Verify your shock mounting locations before starting.
Step 1: Remove the upper shock bolt. Removing the upper shock bolt first makes it easier to slide the shock out from the bottom.
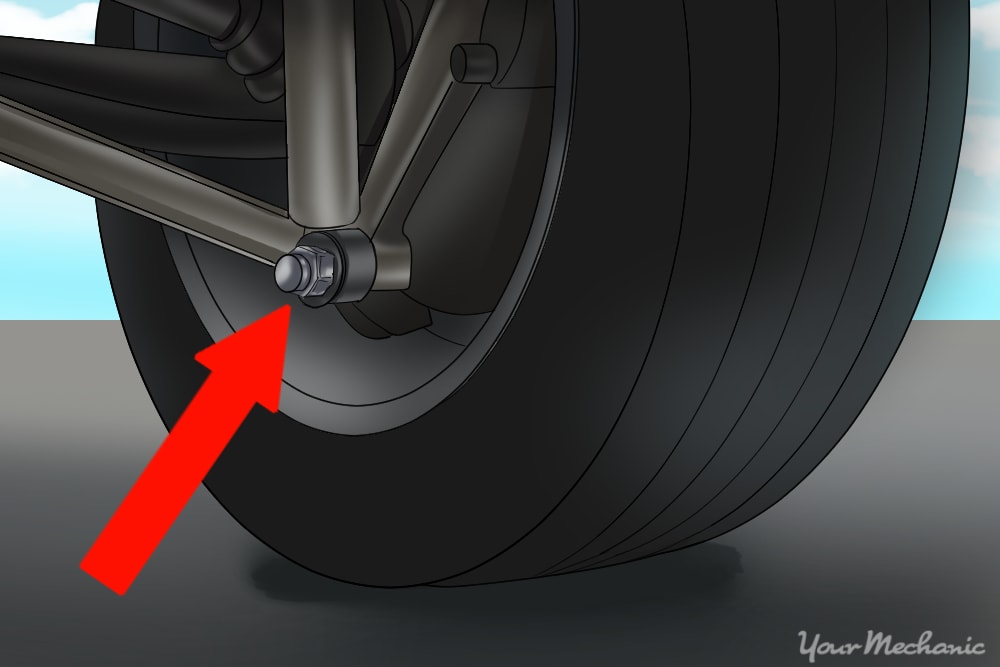
Step 2: Remove the lower shock bolt. By having removed the upper shock bolt first, you can now lower the shock out of the bottom of the vehicle. Otherwise, it would drop out if you remove the bottom bolt before the top.
Step 3: Install the new shock. From under the vehicle, push the upper part of the shock into its upper mount. Have a friend help you secure the shock bolt into the upper mount as you are pushing it up.
- Tip: The shocks are generally packaged in the compressed position, held by a plastic strap. The gas charge in the shocks can make them difficult to compress by hand. Leaving that strap in place until you secure the upper mount usually makes installation easier. Cut it off once you secure the top shock bolt.
Step 4: Install the lower shock bolt. Once you have aligned the shock to the suspension mounting, secure the lower shock bolt.
- Note: If you are replacing all four shocks, there’s no order you need to follow. Change the front first or rear first if you choose. Jacking and supporting the vehicle is the same front and rear. But always replace them in pairs!
If the ride quality of your vehicle has gone soft and you need help replacing your shocks, have a mobile technician from YourMechanic come to your home or office today.


