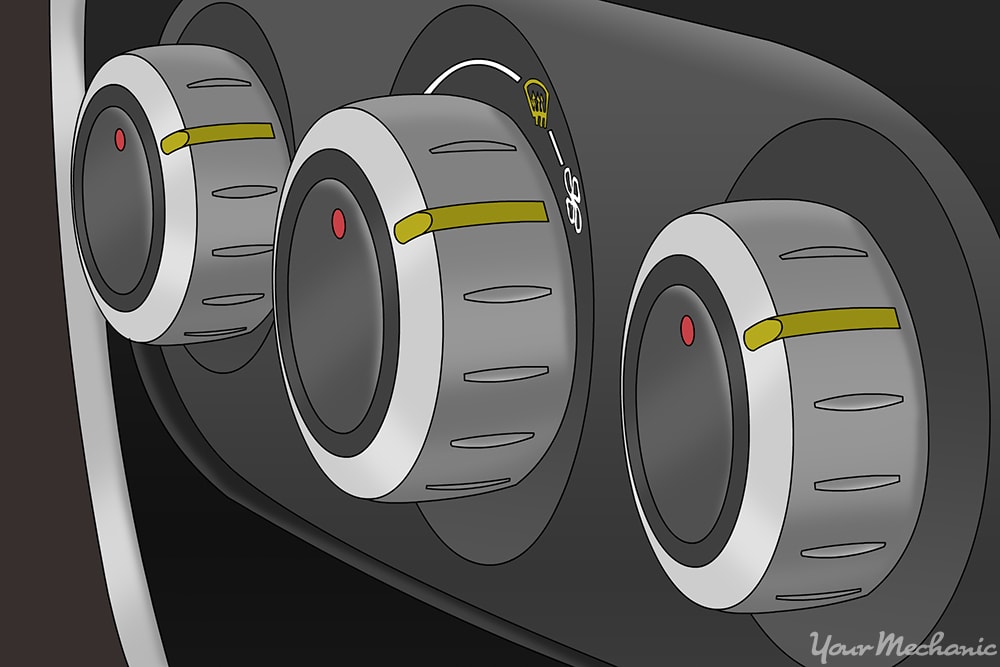

It can be a frustrating moment when you turn on your air conditioning, heater, or defroster and no air blows out. If you drive a car made in the 1980’s or early 1990s, there may be something you can do. Later cars often have fully integrated climate control systems that require specific computer equipment for accurate diagnosis. But earlier cars still have many parts in the heating and air conditioning systems that the owner can troubleshoot and repair. While there are differences from car to car, there are a few common elements to the job.
Some common signs of a broken blower motor switch are if the switch only works on certain air settings, which occurs when a contact wears out, or if the switch is stuck or often gets stuck, indicating that the switch is not working properly. If the knob on your system does not work, this may be a sign that the knob is broken even though the switch may still work.
Part 1 of 4: Evaluate the system
Materials Needed
- Owner’s manual or workshop manual
Step 1: Determine what kind of system your car has. Your workshop or owner’s manual will be helpful here.
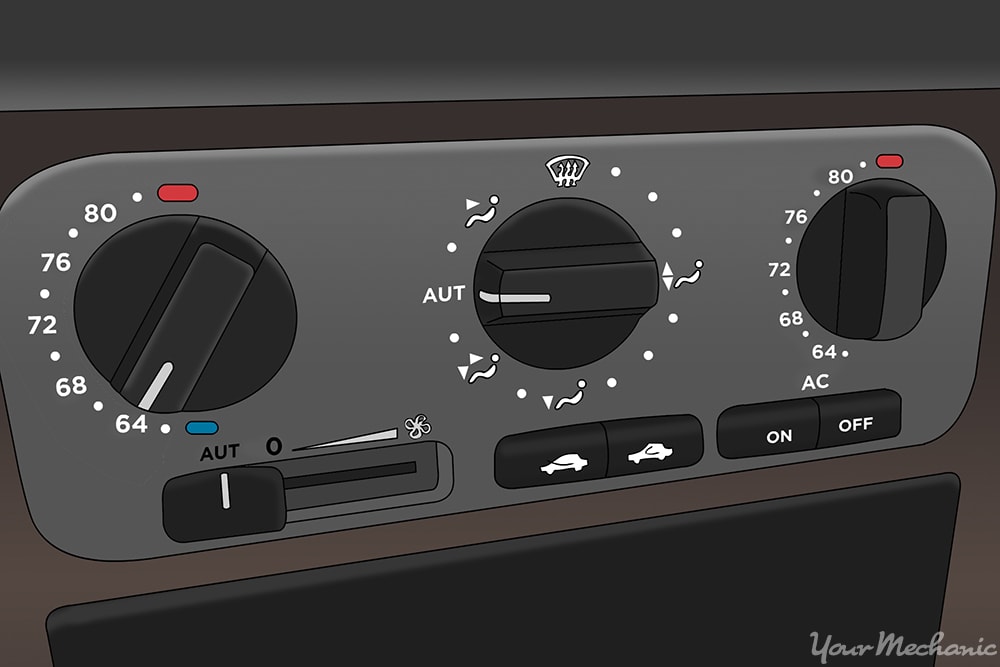
Some cars were available with either manual or automatic climate control. If it’s a fully automatic system, there may not be a switch that you can change. Fully automatic climate control usually has a temperature control dial and some kind of auto setting.
Most fully automatic systems integrate the blower switch with a control panel that is replaced as a unit. These panels are usually quite expensive so careful diagnosis and specific computer software are required to be sure you don’t throw away a lot of money replacing one unnecessarily.
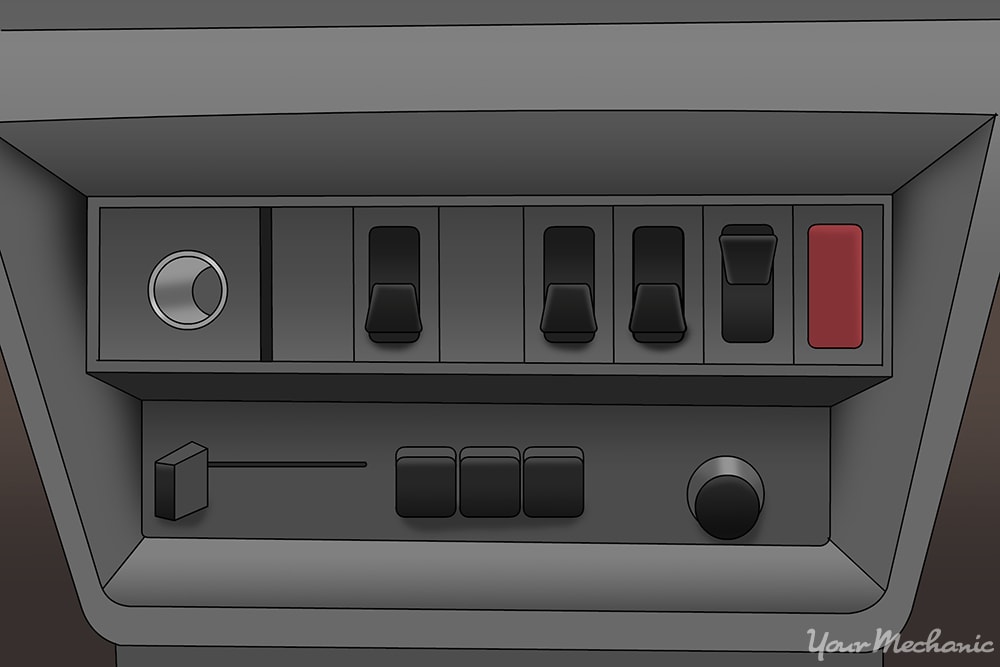
A manual system will usually just have a few simple switches and buttons that are often easy to diagnose and replace.
Step 2: Put the system to the test. Try all positions of the fan switch and take note of what happens.
Does it work on some of the speeds but not others? Does it work intermittently if you jiggle the switch? If so, there’s a chance your car just needs a new switch. If the fan works in the slower speeds, but not the high speed, there may be a problem with the fan relay. If the fan does not work at all, start in the fuse panel.
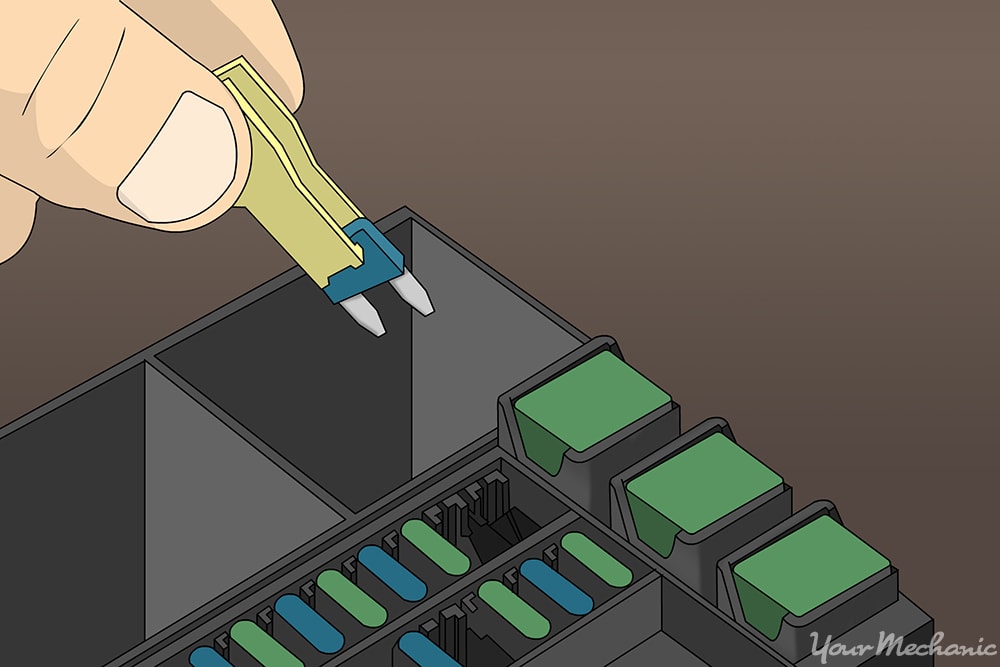
Step 3: Check the fuse panel(s). Check the workshop or owner’s manual for the location of the fuse and relay panel(s).
Be careful, sometimes there is more than one. Be sure that the fuse installed is the correct value. Make note of the condition of the fuse panel. Many of the European cars from the 80’s and 90’s were built with fuse panels that were not originally durable enough to endure the heat in the blower circuit. The repair involves installing factory updates to make the fuse panels equal to the task.
Step 4: Replace the fuse. If the fuse is blown, replace it and then try the blower.
If the fuse blows right away, your car may have a bad blower motor or some other problem in the system. If the blower works when you change the fuse, you may not be out of the woods yet.
When the motor gets old and tired it will draw more current through the wires than a new motor. It may still draw enough current to blow the fuse after it runs for a while. In that case, a motor replacement is in order.
Part 2 of 4: Accessing the switch
Materials Needed
- Allen wrenches
- Deep-well socket set
- Inspection mirror
- LED flashlight
- Plastic trim panel tool
- Open-end wrench (10 or 13 mm)
- Screwdrivers of various size and style
Step 1: Disconnect the battery. Put on your safety glasses and disconnect the battery at the negative cable.
If the system is live, a metal tool in the wrong place can cause arcing and possible damage to your car’s electrical system.
- Tip: If your car has a tamper proof radio, be sure you have the radio’s code written down somewhere so you can activate it when you reconnect the power.
Step 2: Remove the knob. Replacing the fan switch begins by removing the knob.
Most of the time the knob just pulls off, but sometimes it’s a little more tricky. Carefully inspect the knob all around using your inspection mirror to look underneath.
If there are holes in the knob, either unscrew an allen-head set screw or press the push pin to release the knob from the shaft.
Step 3: Remove the fastener. Remove the nut that holds the switch to the dashboard with the appropriate sized deep well socket.
You should be able to push the switch toward the inside of the dashboard and get it out where you can handle it.
Step 4: Access the switch. Accessing the switch from behind can be very tricky.
The older your car is, the easier this job will be. Most of the time, the switch is accessed from the back of the dash panel and can only be reached by removing a few pieces of trim.
Cardboard panels held on by plastic pins or screws cover the bottom of the dashboard and are easily removed. Switches located in the center console can often be reached by removing individual panels on the side of the console.
Look carefully for plastic plugs covering screws that hold the trim panels on. If you have to pry on the corner of something to see how it comes off, do that without damaging the panel using a plastic wedge trim panel tool.
On some cars you can pull the radio and other accessories straight out of the front of the console and leave a hole large enough to reach inside and pull out the heater switch. Once you’ve made enough room, whether it is from below or in front, the wiring harness to the switch should be long enough to pull the switch out while it is still connected.
Part 3 of 4: Replace the switch
Materials Needed
- Needle nose pliers
Step 1: Replace the switch. At this point you should have the switch in a position to easily disconnect it.
Be careful, there are usually locking tabs on the connector that have to be squeezed before it will release and pull off. The plastic connectors are brittle and break easily.
You can now connect the replacement switch and test it before putting everything back together. As long as there are no bare wires exposed, reconnect the battery cable and try running the heater fan to see if there is other diagnostic work to be done.
If everything checks out, disconnect the battery again, route the switch back through the hole, and attach it with the nut. Put everything back together the way it came and re-program the code into the radio if needed.
Part 4 of 4: Replacing the heater blower relay
Materials Needed
- Owner’s manual or workshop manual
If you’ve checked the fuse panel, and the fan motor doesn’t run at all, or if it runs only on the lower speeds, the blower motor relay may be at fault.
Relays are used to carry electrical loads that are too large for conventional switches. In some cases, the relay may be wired to only the high-speed circuit. If that’s the case, the blower will operate at lower speeds, but when switched to high, will not work. This may be true of the fully automatic systems as well.
Step 1: Locate the relay. The manual may refer to a blower relay, an AC relay, or a cooling fan relay.
If it says blower relay, you’re golden; if it says AC relay, you might have what you want. If it says cooling fan relay, it’s talking about the relay that controls the radiator fans. Some cars have something called a power relay or an “unloader” relay. These relays power the blower fan as well as some other accessories.
Thanks to some bad translation issues, some of the Audi manuals call this part the “comfort” relay. The only way to know for sure is by reading a wiring diagram to see if the relay powers the part you’re trying to fix. Once you have decided which relay you’re after, you can use the manual to find its location on the car.
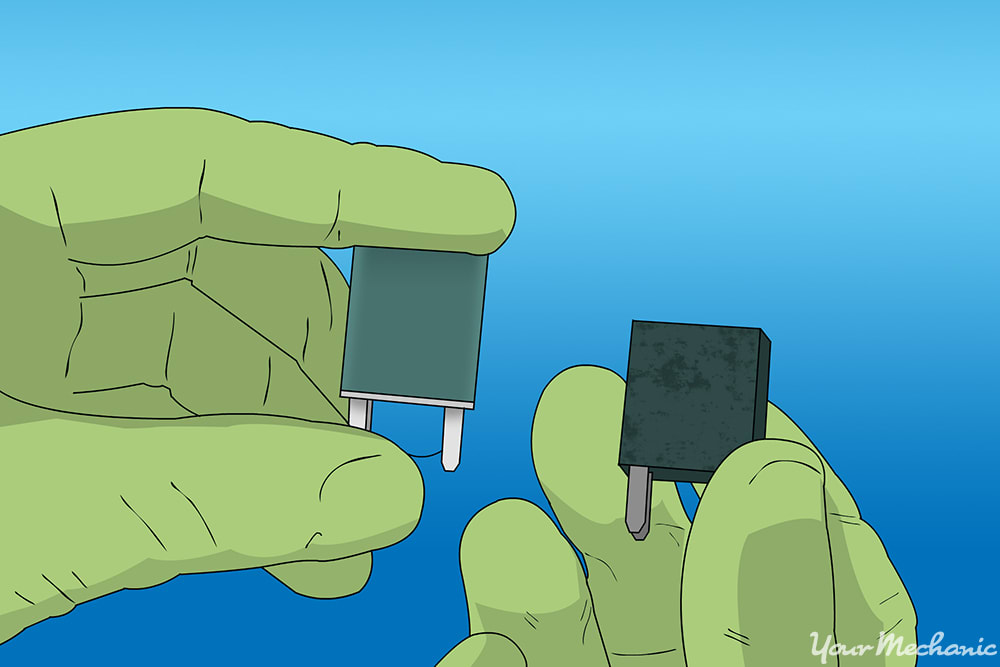
Step 2: Shop for the relay. With the key off, pull the relay out of its socket.
It’s best to have it in your hand when you call the parts department. The relay has identifying numbers on it that will help your parts professional find the right replacement. Don’t try to install anything except the exact replacement.
Many of these relays look very much alike, but are quite different internally and installing the wrong one can damage your car’s electrical system. Some of these relays are pretty inexpensive, so trying one out is not a risky proposition.
Step 3: Replace the relay. With the key still in the off position, plug the relay back into the slot.
Turn on the key and try the blower. Some relays may not activate until the car is running and have a built in delay so you may need to start the engine and wait a few seconds to see if your repair was successful.
Depending on what you drive, this job could be a breeze or a nightmare. If you don’t want to take a crash course in electronics to tackle the diagnosis, or you just don’t want to spend a lot of time lying upside-down under the dashboard groping for the right parts, have one of YourMechanic’s certified technicians replace your blower motor switch for you.


