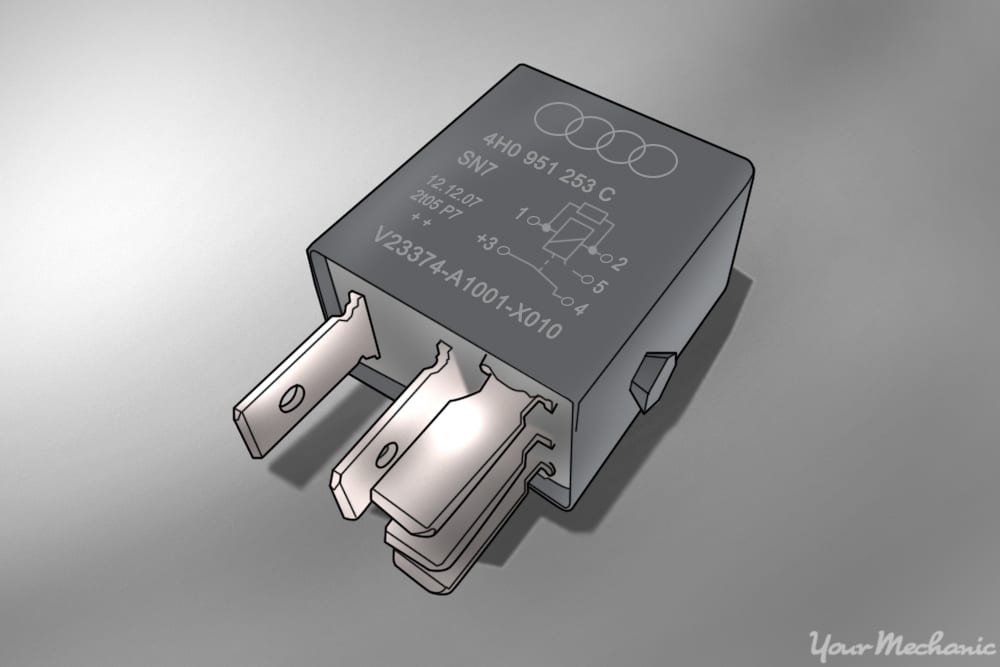

The fuel pump relay helps your vehicle start the car by pressurizing the fuel system for the first few seconds before the oil pressure’s level takes over. The fuel pump relay is usually located in the vehicle’s long black box with the other relays and fuses. The location can be different, however, in some other cars.
Without this relay, the engine would not receive fuel while starting. The pump that delivers fuel to the engine while the engine is running requires electricity in order to operate. This electricity is created by an oil pressure device in the engine. Until oil pressure is created and in turn generates electricity to run the fuel pump, the pump cannot provide fuel to the car’s engine.
When the vehicle’s ignition is initiated, a magnetic coil with an open contact is activated; the contact then closes an electric circuit in an electronic mechanism and the fuel pump relay is ultimately activated. As the vehicle’s ignition is turned on, the pump relay produces a humming noise. If this sound is not audible, it is an indication that the pump relay may not be functioning as it should.
When this relay fails the engine will start after the starter motor has pumped up sufficient oil pressure to send electricity to the fuel pump and run it. This can make the cranking of the engine last longer than normal. If you hear no humming from the fuel pump but the car eventually starts and runs fine, then the fuel pump relay has failed.
If the fuel pump relay fails, the engine management system records this event. A fuel pressure sensor lets the computer know if the fuel pressure has not created any pressure during cranking operation.
There are several engine light codes related to the fuel gauge sender:
P0087, P0190, P0191, P0192, P0193, P0194, P0230, P0520, P0521, P1180, P1181
Part 1 of 4: Removing the fuel pump relay
Materials Needed
- Needle nose plyers
- Ratchet with metric and standard sockets
- Wheel chocks
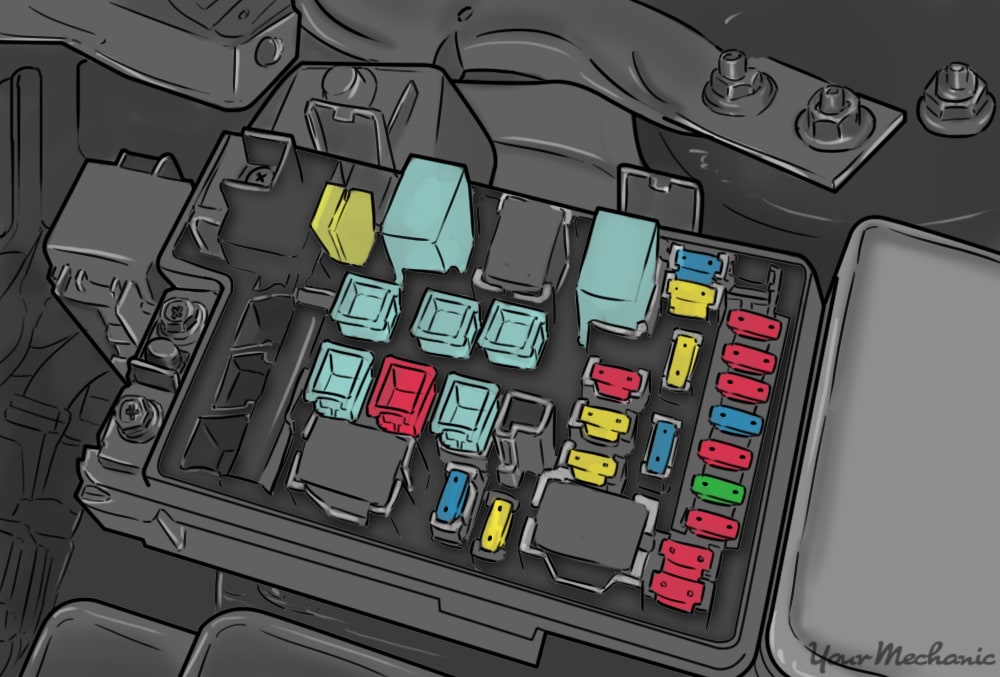
Most fuel pump relays are located in the engine compartment inside the fuse box.
Step 1: Turn on the ignition key to run. Listen for the fuel pump to actuate.
Also, listen to the fuel pump relay for any buzzing or clicking noise.
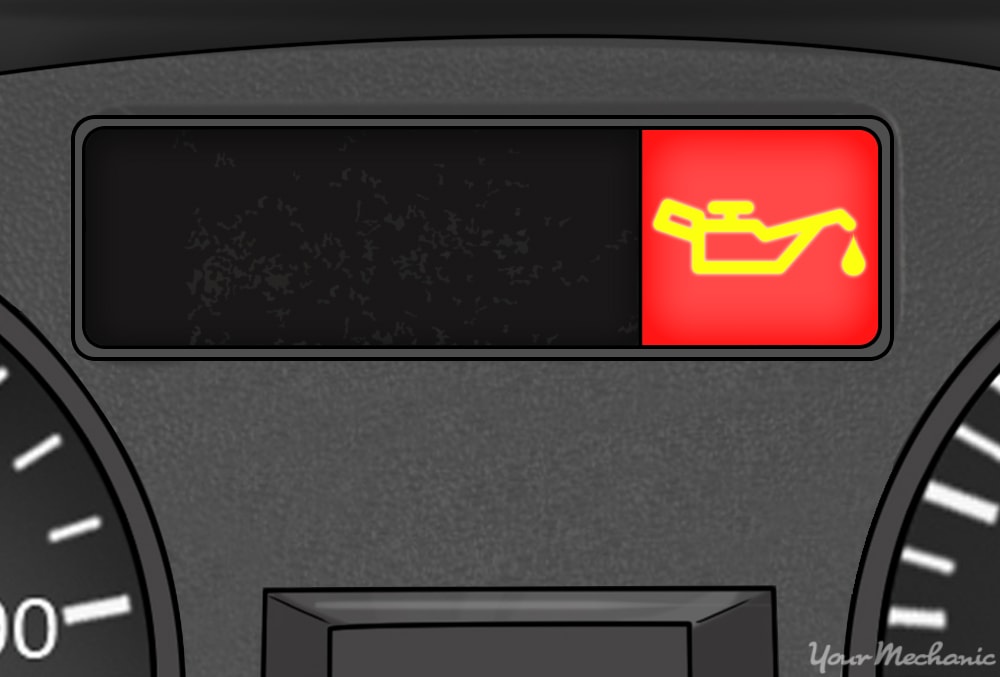
Step 2: Start the engine. Check that there is oil pressure.
On some vehicles, there will only be an oil light indicator. When the indicator light goes out, then there is oil pressure.
Step 3: Park your vehicle on a flat, hard surface. Make sure that the transmission is in park (for automatics) or in 1st gear (for manuals).
Step 4: Place wheel chocks around the tires. In this case, the wheel chocks will be around the front tires since the rear of the vehicle will be lifted up.
Engage the parking brake to the lock the rear tires from moving.
Step 5: Install a nine volt battery saver into your cigarette lighter. This will keep your computer live and keep your setting current in the vehicle.
If you do not have a nine volt battery saver, that is okay.
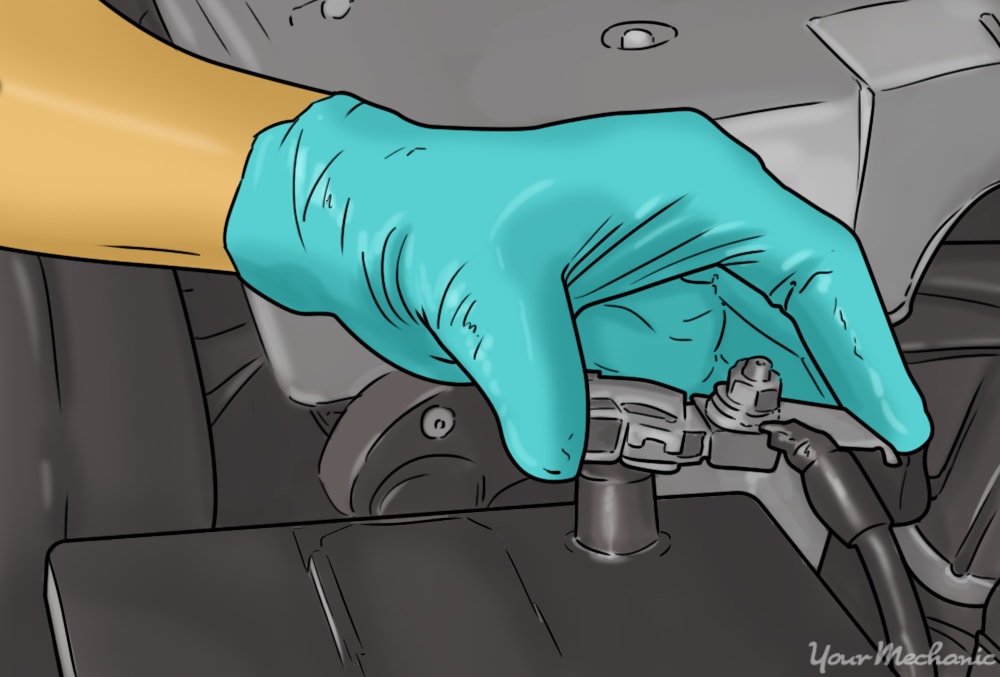
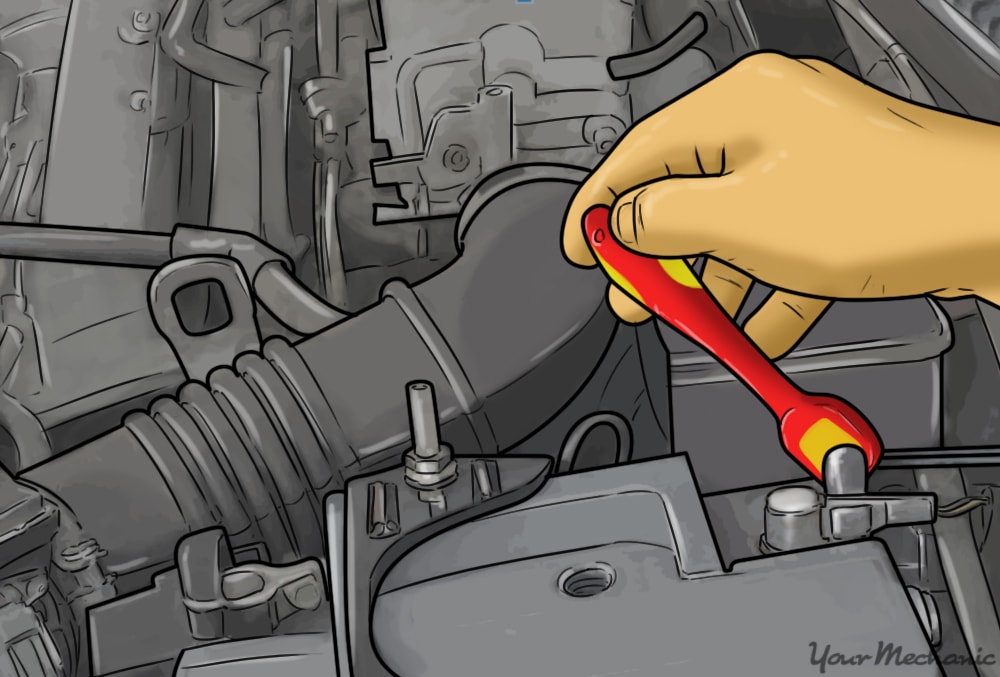
Step 6: Open the vehicle’s hood to disconnect your battery. Take the ground cable off of the battery’s negative post disabling the power to the fuel pump and sending unit.
Step 7: Locate the fuse box in the engine compartment. Remove the cover to the fuse box.
- Note: Some fuse boxes are held on with hex screws or bolts and require to use a ratchet to remove them. Other fuse boxes are held on with clips.
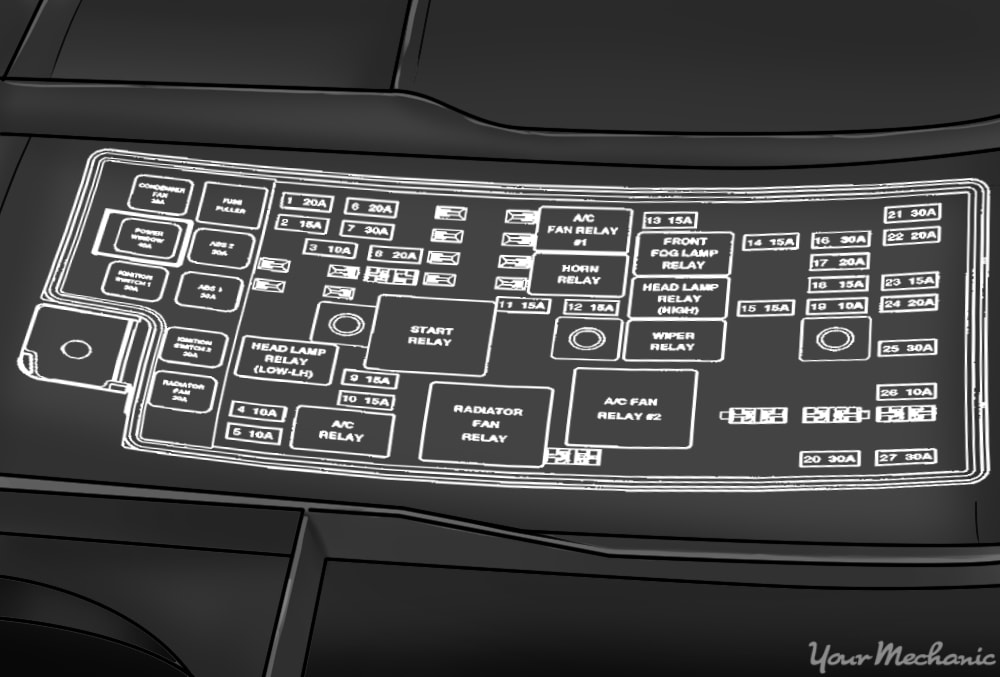
Step 8: Using the diagram on the fuse box cover, locate the fuel pump relay. Once you open up the fuse box, you can use the diagram on the fuse box cover to find the fuse to the fuel pump relay.
Step 9: Remove the fuel pump relay from the fuse box. Play attention to how the relay comes out as the new one needs to go in the same way.
Also, if your fuse box cover does not have any diagrams on it, you can refer to your owner's manual for the engine compartment fuse box diagram. Usually, owner's manuals will have numbers listed next to the fuel pump relay for you to find the number on the fuse box.
- Note: You may need to use a pair of needle nose plyers to pull out the fuel pump relay.
Part 2 of 4: Installing the new fuel pump relay
Materials Needed
- Replacement fuel pump relay
Step 1: Install relay. Install the relay into the fuse box the same way the old relay was removed.
Step 2: Put on the fuse box cover. Snap it into place.
- Note: If you had to remove screws or bolts from the cover, be sure to install them. Do not over tighten them for they will strip out.
Step 3: Remove the fuel cap from the fuel tank. Put the fuel cap back on and make sure that it makes a good seal.
This will ensures that the fuel system fully pressurizes properly as the fuel pump activates.
Part 3 of 4: Checking for fuel pump relay operation
Step 1: Reconnect the ground cable back onto the battery’s negative post. Remove the nine volt battery saver from the cigarette lighter.
Step 2: Tighten the battery clamp up tight. Ensure that the connection is good.
- Note: If you did not have a nine volt battery saver, you will have to reset all of the settings in your vehicle, like your radio, electric seats, and electric mirrors. If you had a nine volt battery saver, you will need to clear the engine codes if any before starting the vehicle up.
Step 3: Turn the ignition key on. Listen for the fuel pump to activate.
Turn off the ignition after the fuel pump stops making noise. Turn the key on again and listen for the fuel pump relay to buzz or click. You may have to have an additional person touch the fuel pump relay to feel the buzz or clicking motion.
- Note: You will need to cycle the ignition key on and off 3 to 4 times to ensure the fuel rail is full of fuel prior to starting the engine.
Step 4: Turn the key to start and start up the engine. Monitor how long the start will be engaged for during the cranking period.
- Note: Most modern day vehicles will not start up until the oil pressure has built up.
Step 5: Remove the wheel chocks from the wheels. Put these aside.
Part 4 of 4: Test drive the vehicle
Step 1: Drive the vehicle around the block. During the test, listen for any unusual noise from the fuel pump or fuel pump relay.
Also, accelerate the engine quickly to make sure that the fuel pump is working correctly.
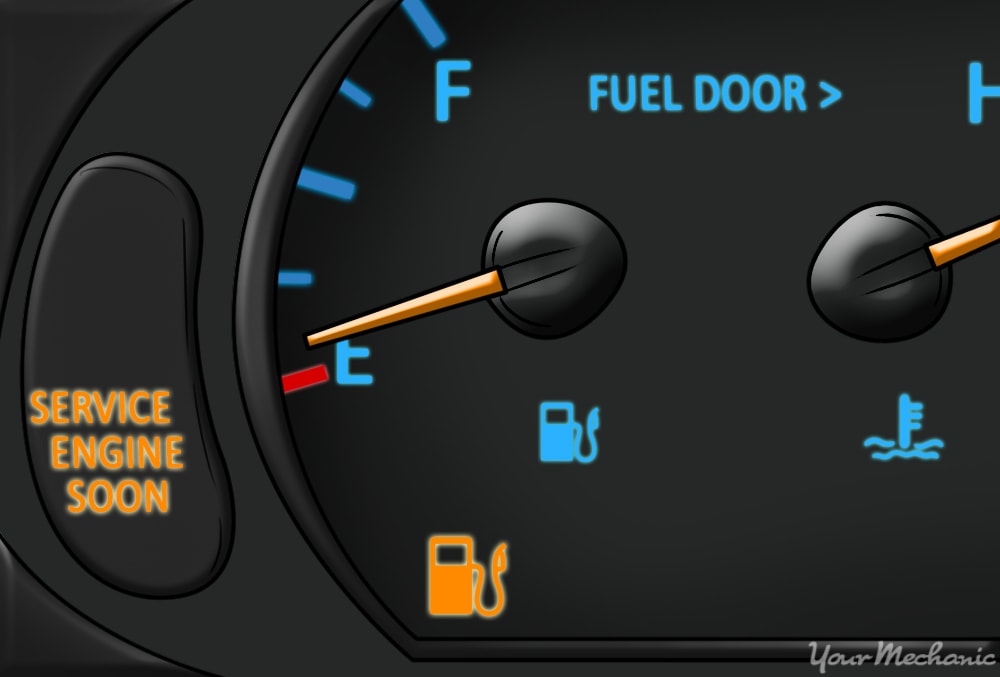
Step 2: Monitor the dash for any engine lights.
If your engine light comes on after replacing the fuel pump relay, then there may be further diagnosis of the fuel pump assembly needed or even a possible electrical issue within the fuel system. If the problem persists, then you should seek out help from one of YourMechanic’s certified technicians who can inspect the fuel pump relay and diagnosis the problem.


