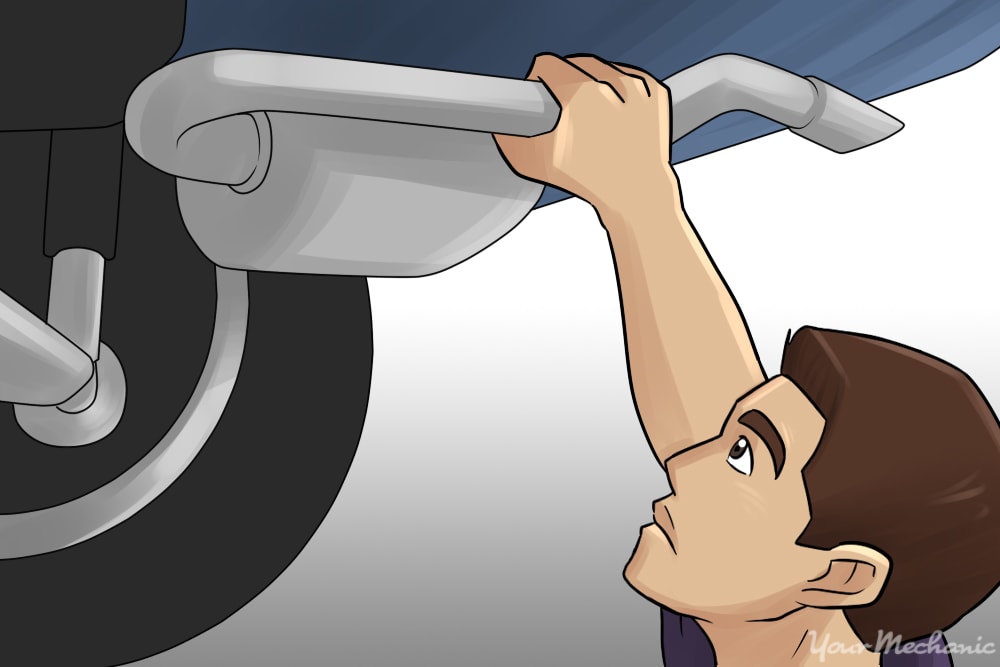

Your car’s exhaust system is a series of pipes, mufflers, and emission control devices that are attached end-to-end. Taken together, it’s nearly as long as your car and might weigh as much as 75 pounds or even more. The exhaust system is attached to the engine at one end and hangs from the body of the car for the rest of its length. The exhaust system must be able to soak up all the noise and vibrations from the engine, without transferring it to the body of the car and the passengers.
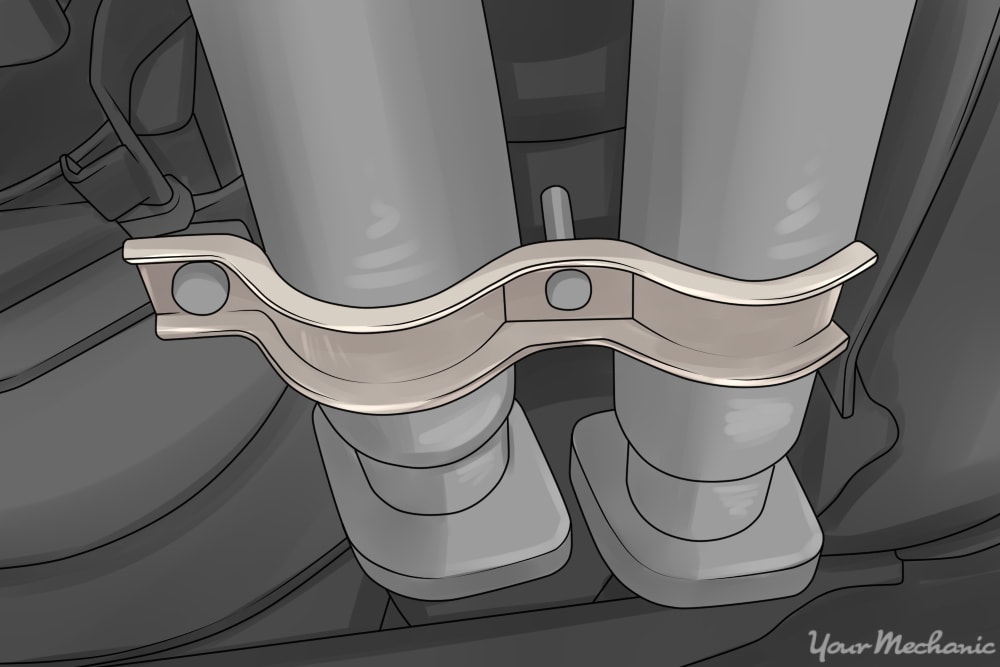
A series of flexible hangers keep the exhaust in place while allowing it to move with the engine. Most cars have a rigid supporting bracket, usually at the rear of the transmission that firmly attaches the engine and transmission to the exhaust pipe, so that the front of the pipe can move with the engine as it vibrates and twists with the torque reaction. If this support breaks, other parts of the exhaust like the flex pipe or the exhaust manifold are likely to crack from the strain and fail shortly afterward.
The first signs of a problem with this support may be rattling or banging noises from under the car, sometimes associated with stepping or letting off the gas pedal. You may even notice knocking and vibrations when you put the car in reverse. In some cases, you may not notice any symptoms and you may not find out about the problem before a pipe or manifold breaks unless you get an exhaust system inspection done.
Part 1 of 1: Replace the exhaust support bracket
Materials Needed
- Combination wrenches
- Floor jack
- Jack stands
- Mechanic’s creeper
- Owner’s manual
- Safety glasses
- Socket wrench set
- Support bracket and related fittings
- WD 40 or another type of penetrating oil
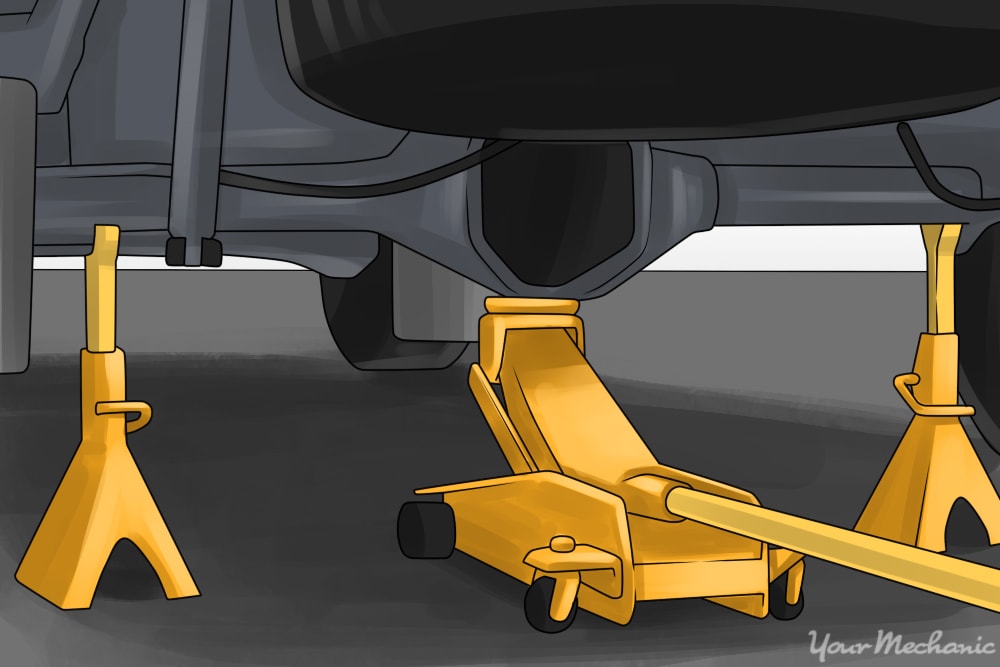
Step 1: Raise the car and put it on jack stands. Look in the owner’s manual to determine the recommended jack-points on the car. These points will be slightly reinforced to handle the load of a jack.
Jack the car up and let it rest on the jack stands.
- Note: Working under a car can be very dangerous! Be extra careful to ensure that the car is well supported and not likely to fall off the jack stands.
After you secure the car on the stands, pull the floor jack back out as you may need to put it under the exhaust later.
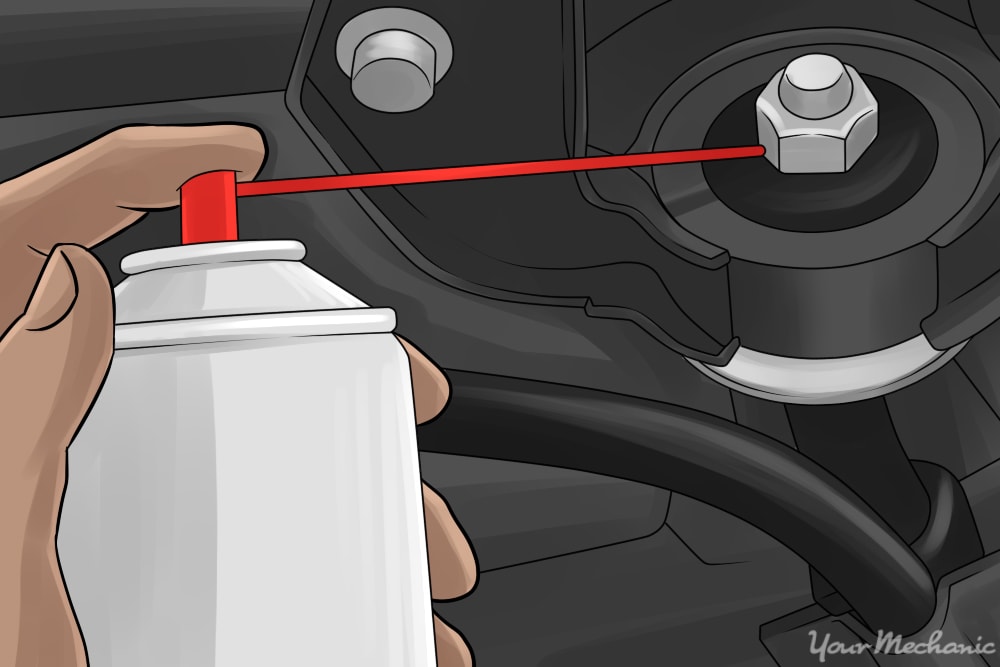
Step 2: Spray penetrating oil on the bolts. Exhaust system fasteners are usually rusty and it will make the whole job easier if you pre-treat all the nuts and bolts with WD 40 or some other kind of rust-removing, penetrating oil.
- Tip: It works best if you can spray the bolts with the oil and then go do something else for a couple of hours. When you approach the job again, everything should be able to move easily.
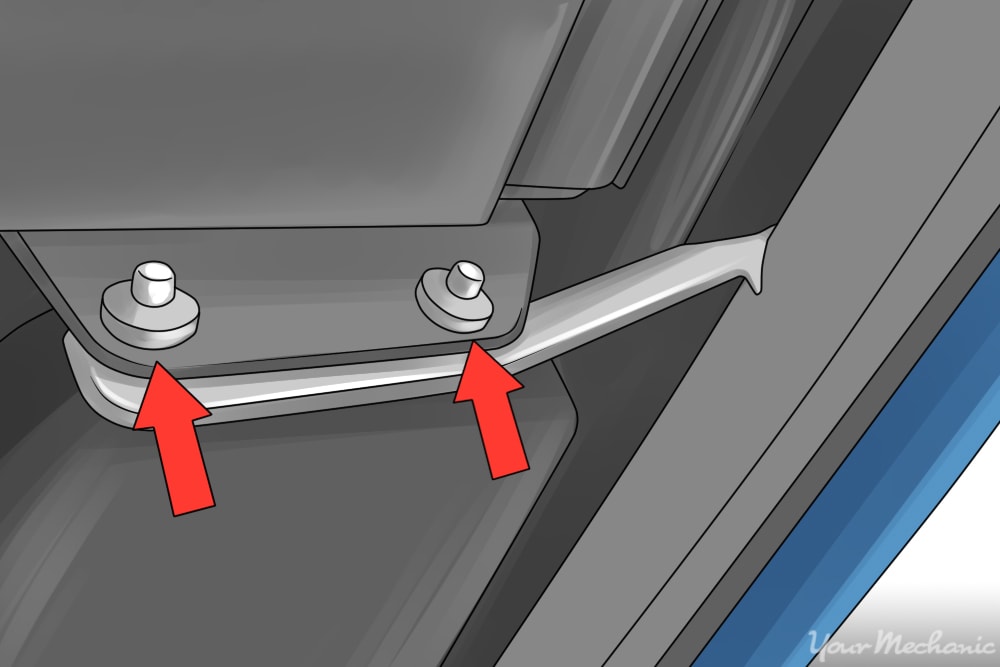
Step 3: Remove the bolts. Take out the bolts attaching the support to the transmission and the exhaust pipe. In many cases, there will be rubber dampening washers under the bolts. Save all of these parts or replace them as necessary.
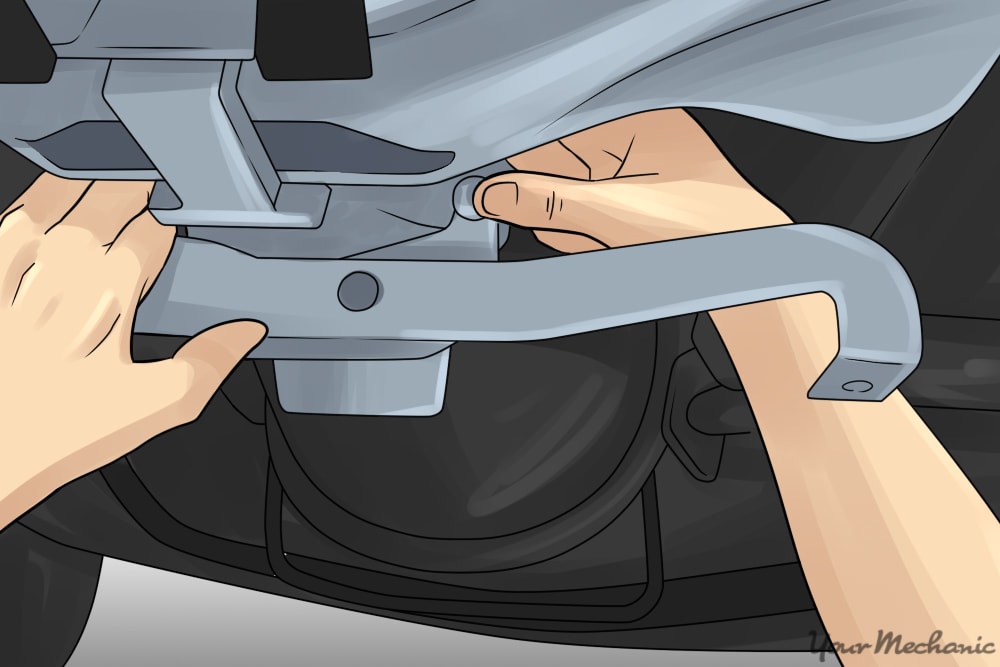
Step 4: Install the new support. Install the new support and re-attach the exhaust pipe.
- Tip: It might be helpful to put the floor jack under the exhaust and jack it up so that it meets the exhaust pipe before you try to put the fasteners back in.
Step 5: Test your work. Grab the exhaust pipe and give it a good shake to check for unwanted movement. Ensure that the exhaust does not bang against any other part of the car.
If everything is alright, lower the car back onto the ground and start the engine.
After a few minutes, you might see a little bit of smoke from the penetrating oil on the fasteners. Don’t be alarmed, it will stop smoking after a few minutes of running.
Take the car out for a drive and go over a few speed bumps to be sure that no part of the exhaust is banging on the car.
A broken exhaust support increases the strain on all the other attaching points of the exhaust system. Neglecting a cracked or broken support can lead to more expensive damage.
If you have any reason to suspect a problem with the exhaust system, get a trained mechanic from YourMechanic to come to your home or office and inspect the exhaust system.


