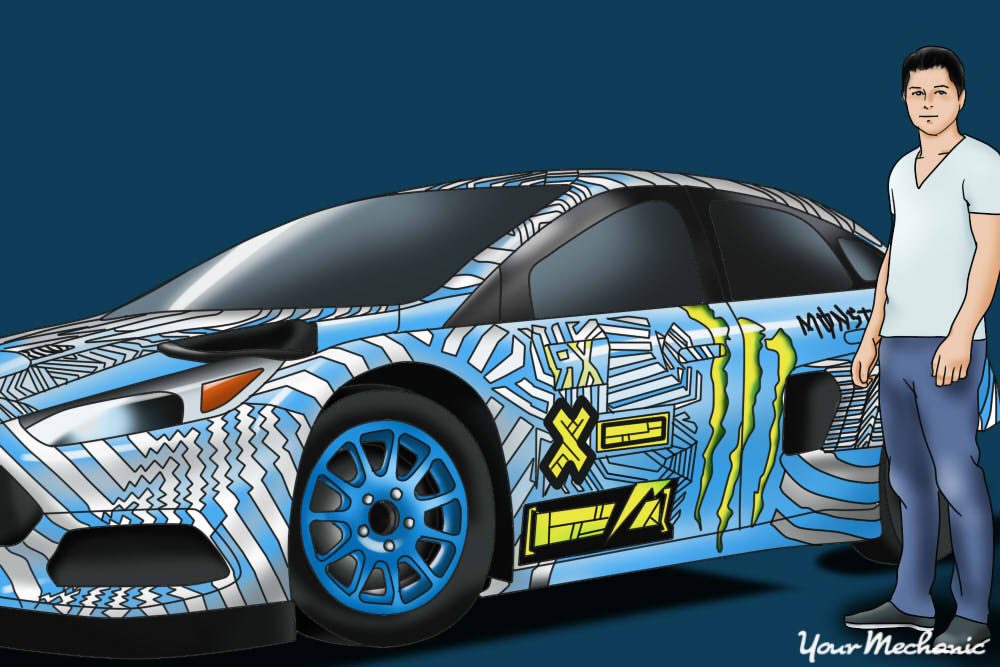

In the 1970s, in the middle years of the pop art movement, race car driver Hervé Poulain had an idea. Inspired by the unconventional artistry surrounding the 70s, he commissioned his friend, artist Alexander Calder to create art using a BMW 3.0 CSL as his canvas. The resulting “Batmobile” car is the first in a series of BMW Art Cars that included some of the most famous names in the pop art movement, including Andy Warhol and Roy Lichtenstein, inspiring a legacy of art cars that endures today.
The art car movement has since moved out of BMWs and remains a prevailing medium amongst amateurs and professional artists alike. Every year, parades and festivals and conventions are held nationwide, drawing the attention of thousands of car artists, many who are self-taught, who travel from far and wide to show off their motorized masterpieces.
If you are an artist, or if you’ve ever wanted to create an art car for your own enjoyment (or as a conversation starter), here’s a handy guide on how to get started.
Part 1 of 7: Choose the right car
The first and most important question you have to ask yourself is, what car will become your canvas? Is it a car that you expect to get a lot of mileage out of, or one that you will not drive often.
Step 1: Make practical considerations. If your canvas of choice is your usual commuter vehicle, consider a design that incorporates practicality, and see if the car in question is well-maintained and working properly.
Your design should allow for proper, legally-enforced use of the car’s safety features (such as side/rearview mirrors, windshields, brake lights, etc.).
- Note: Always keep in mind that modifying your car’s body may void a warranty or two - not to mention restrict you from using automatic car washes.
Part 2 of 7: Design your artwork
After you have chosen your car and ensured that it is free from any rust that can ruin the paint finish, then it’s time to design!
Step 1: Brainstorm your design elements. Don’t be afraid to come up with as many different concepts as you can - you can pick the one you like the best and modify it, or combine a few together into a brand-new one.
Step 2: Finalize the design. Once you’ve gotten ideas down, pick the one design that appeals most to you, fine-tune it as necessary, and start planning how you will execute it.
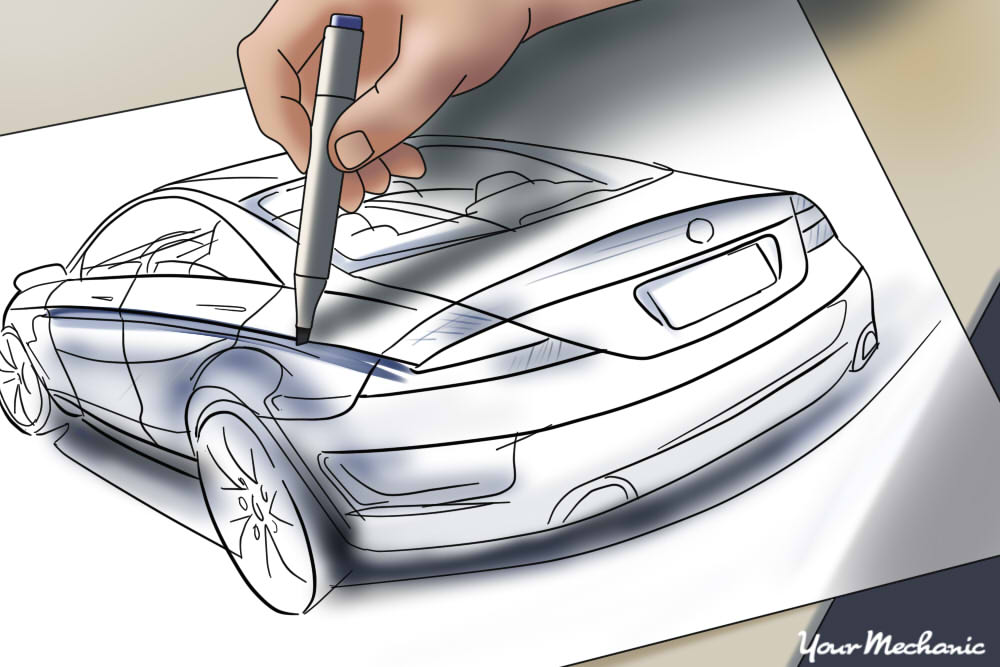
Make a detailed sketch of the design, including all the elements you are considering, so that you can see how it will look before you actually start working on your car.
Part 3 of 7: Sculpt your design
Step 1: Plan out your sculpting. Create any sculptures or larger items that you want to attach to the car. Any sculpture work your design encompasses should be done first and separately, so that you have the chance to adjust your placement and design accordingly.
You can also expand the surface of the car using expandable spray foam or body-filler. This may reduce the need to attach separate large objects to the car.
Step 2: Stay practical. Sculpt your designs while keeping in mind that if you’re planning to drive your car, the attachments shouldn’t create any sort of hazard or obstruction to other drivers on the road, or to yourself. Attach your sculptures after the paint job is finished.
Part 4 of 7: Prepare your canvas
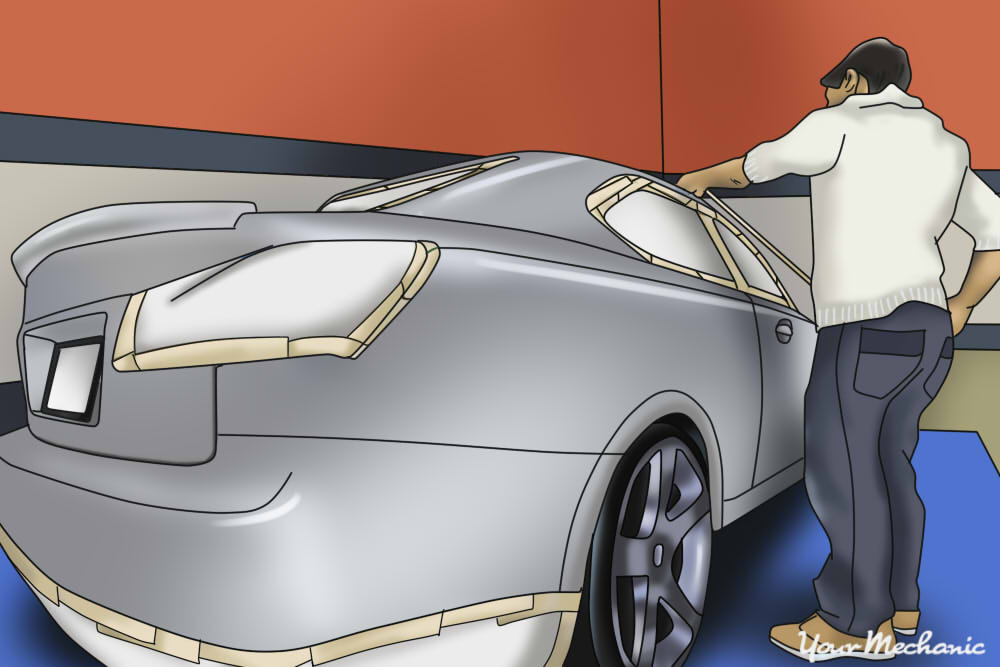
Step 1: Prepare your car. Your car will need to be prepped for any paintwork you have planned. Mark off any design elements and cover the remaining areas with plastic or masking tape.
If you’re planning on removing any sections of the steel plate as part of your design, then do it before painting for the sake of practicality and so that there’s no threat of damage to the paint job once it’s done.
Step 2: Ensure that you do not damage your car. Bear in mind that if you are planning on removing steel plate, ensure that you do not cut out any crucial sections of the car frame - if you do so, the remaining acrylic alone can’t support the structure of the car the way that steel can, and your car will be ruined.
Part 5 of 7: Paint the car
Painting the car can either set the foundation for the design or even be the entire project - there are no rules that say an art car can’t be limited to just a great paint job.
Options for paint are as varied as the color spectrum, and include one-shot enamel, oil paint, or even acrylic paint for a temporary piece so that your canvas can be reused - but these are standard options.
If you have a steady hand, you can even use markers to draw on your car.
Step 1: Clean your car. Prepare your work area by removing any dust or dirt, and give your car a good wash. Eliminating rust, dirt, and any other stuck-on debris will help ensure that the paint job is smooth and consistent.
Step 2: Sand your paint job, if needed. If you’re planning on painting the entire car, consider having the old paint job sanded away. Also ensure that you mask any areas you’re not planning to paint before you start.
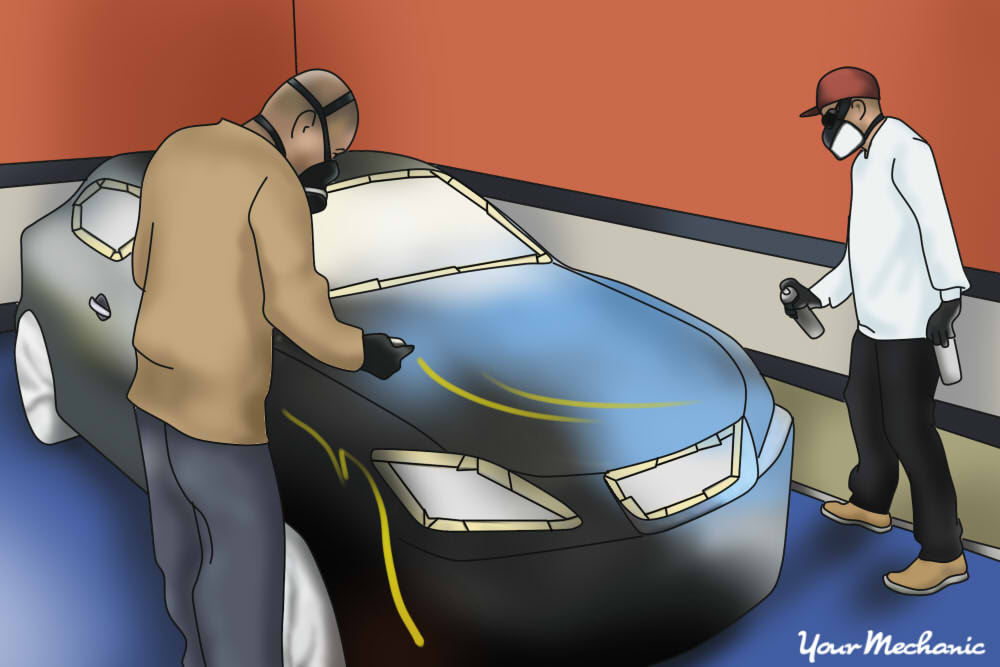
Step 3: Paint your car. Prime the surface, if necessary, and depending on the type of paint you use, be sure to follow any and all available instructions for curing and drying between coats, or better yet, consult a professional to do it for you.
Part 6 of 7: Attach sculpture work
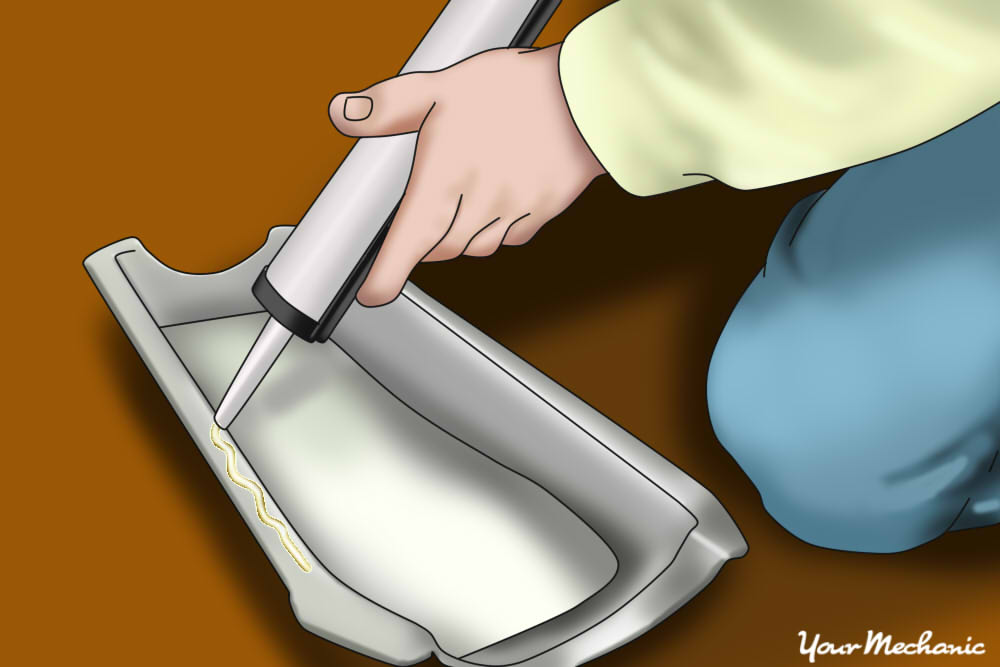
Step 1: Attach your sculpture work. Once the paint is dry, it’s time to attach any sculpture work that you’ve made, starting with the largest pieces. Use heavy-duty adhesive all around the edges of the sculpture.
- Note: Any piece that is attached with adhesive should be left to dry for at least 24 hours before the car is moved.
Step 2: Secure your work. Heavier pieces will need equally heavy-duty fastening, such as bolts, rivets, or even welding, to hold them in place.
Keep in mind all vibrations, acceleration, deceleration, or any shock that might lead to damage or even dislodge any huge pieces. If you’re not a hundred percent sure whether any sculpture is secure, get a second opinion from a professional.
Part 7 of 7: Add finishing touches
Now that the bulk of the work is done, it’s time to finish the design!
Step 1: Add some lighting. Lighting such as LEDs, neon tubes, or even Christmas lights can be rigged onto the car using an independent power supply, through the car’s electrical ports, or even directly off of the battery.
If you’re not familiar with handling electricity, find someone who is, to ensure you end up with a good design.
Step 2: Seal the paint. Permanent paint designs should be finished off with a few coats of shellac and any gaps sealed off with caulk.
Step 3: Decorate your car’s interiors. After the outside is done, if you’re planning on decorating the inside to match, now’s the time to do so!
Just remember not to impede your doors or mirrors, and be considerate of your passengers when you add any decor to the interiors.
Once the artwork on the car has dried, you can test everything and ensure that your car is safe to operate. To be fully sure, get a certified mechanic, such as one from YourMechanic, to perform a safety inspection of your car.
Take some pictures, post them online, look for local art car parades and shows, and most importantly, drive your artwork around! Be prepared to be the center of attention everywhere you go, and be ready to answer questions - art is, after all, meant to be enjoyed and shared!


