
Spark plug wires have become nearly non-existent on many modern vehicles. With the introduction of coil-on-plug ignition, there is no long wire that is needed to connect a coil to the spark plug.
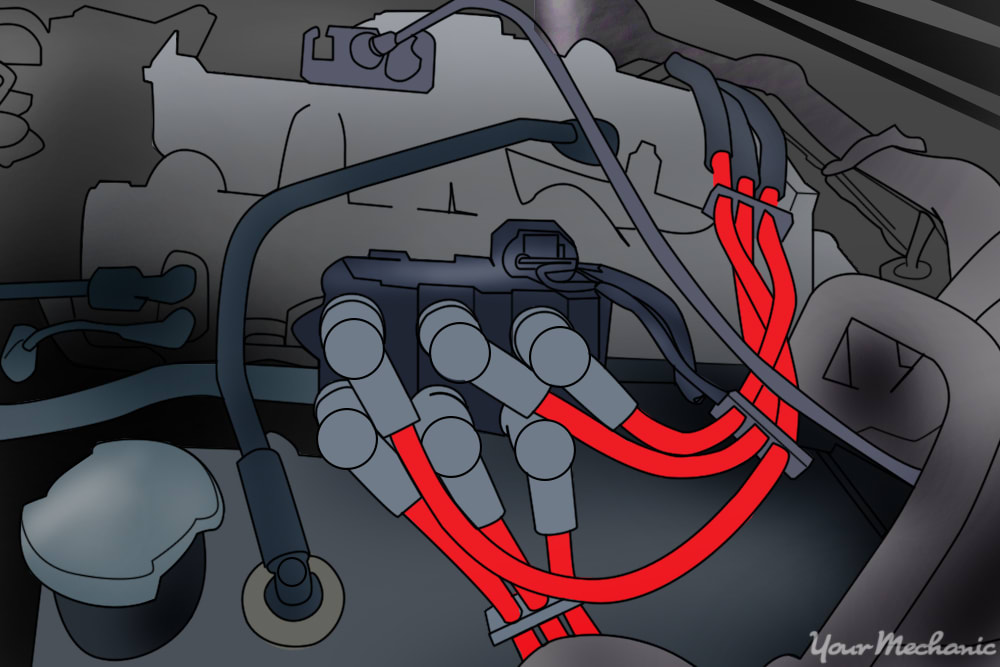
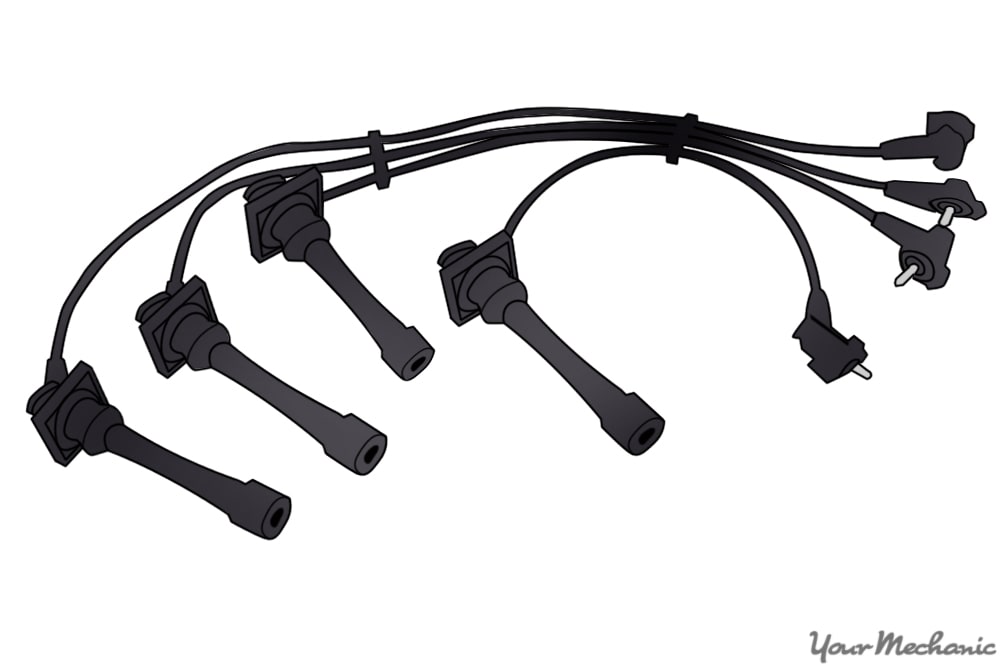
On engines that are equipped with a distributor or a remote coil pack, spark plug wires are used to transfer the spark from the coil to the spark plug. The wire can be several inches or several feet in length. Spark plug wires are typically constructed with a silicone jacket that keeps them insulated and resistant to high temperatures, and have internal shielding which keeps them from producing any electrical interference.
The spark plug wire needs to carry thousands of volts of electricity to the spark plug. That voltage needs to be high enough to produce a spark that is strong enough to jump the gap of the spark plug. Over time the spark plug wire may melt and short out to a metal part of the engine or it may be worn, causing high internal resistance. If either of these instances occur, there will not be enough voltage to produce a spark at the spark plug.
If your car is equipped with spark plug wires, they typically need to be replaced at tune-up intervals, but knowing how to test them can help you to diagnose small problems before they become large ones.
Part 1 of 1: Visual inspection and testing of the wire
Materials Needed
Step 1: Park your vehicle and allow the engine to cool.
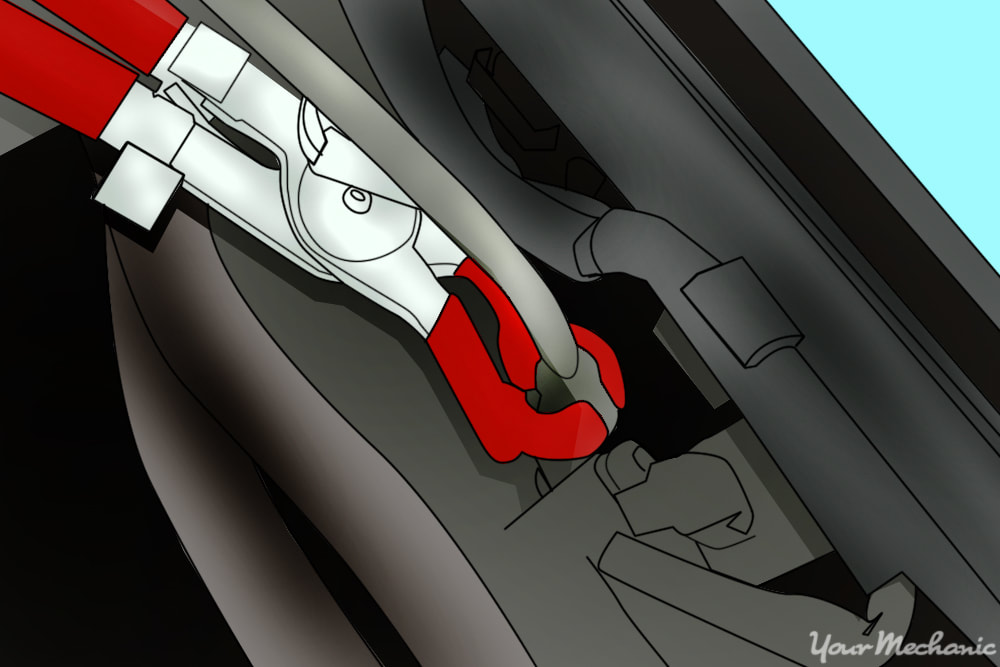
Step 2: Remove the spark plug wire at the spark plug. Use the pliers as close to the end of the spark plug boot as possible.
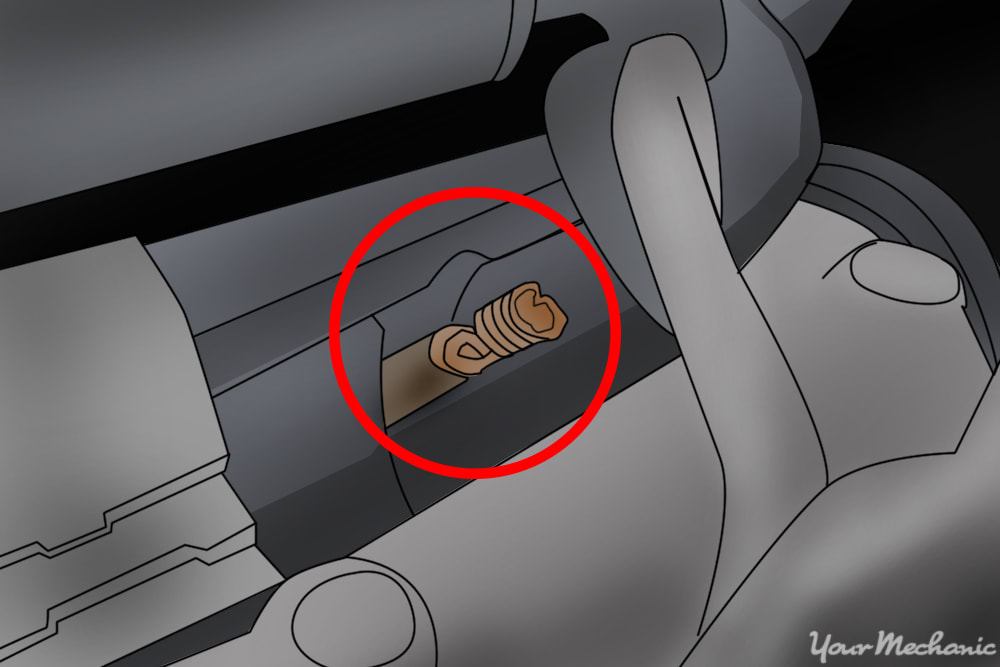
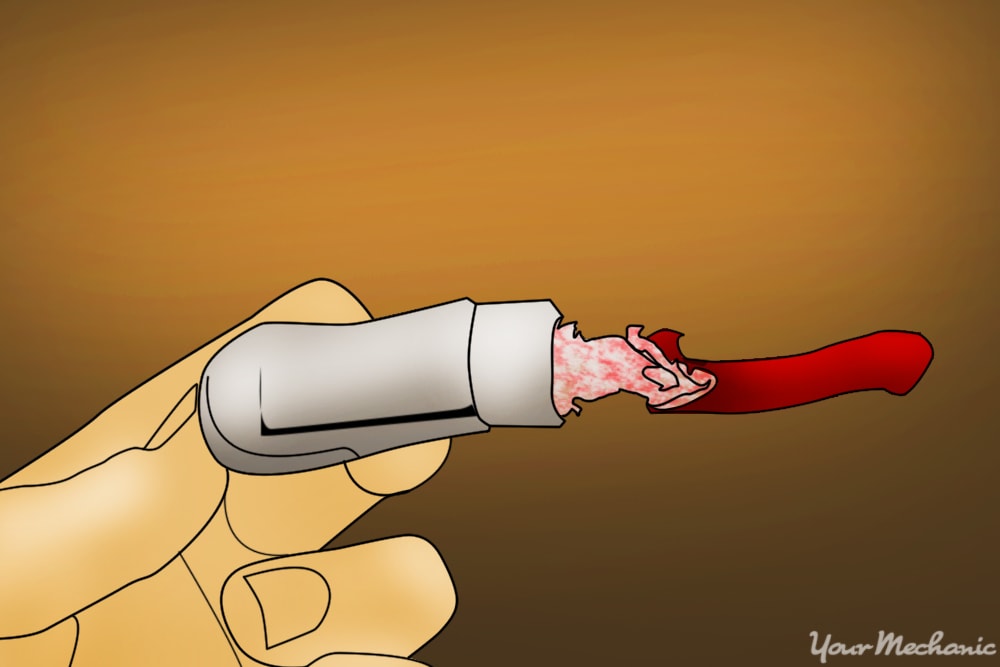
- Tip: Use a slight twisting motion to loosen the spark plug wire from the spark plug. In some cases, the spark plug wire’s internal connector will break and remain on the spark plug, as shown above. If this occurs, the wire must be replaced.
Step 3: Remove the spark plug wire. You will detach the wire either at the coil pack or at the distributor cap by twisting it slightly and pulling on it.
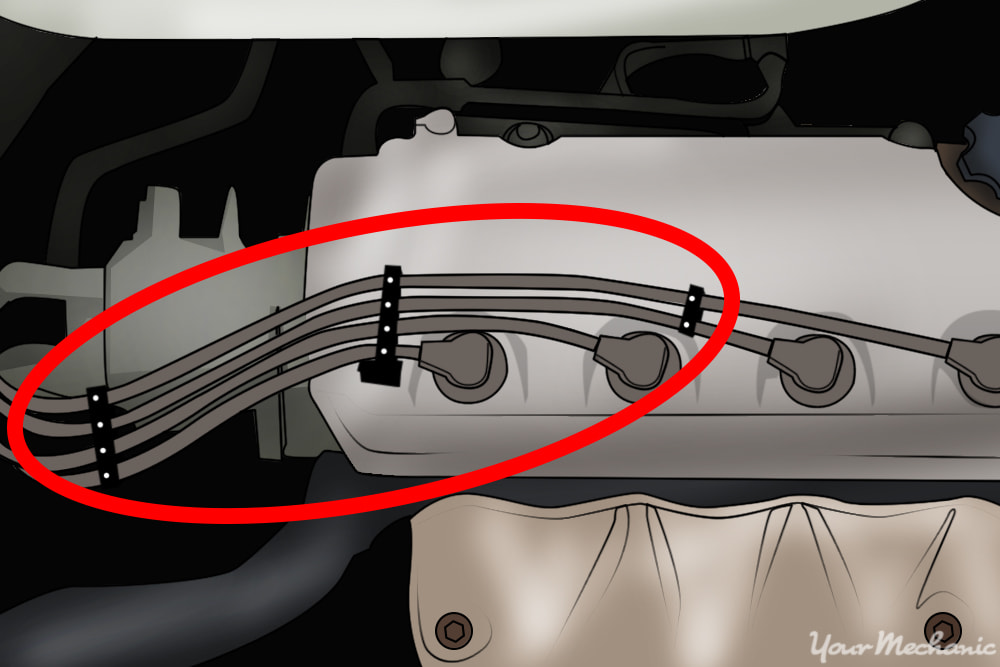
Step 4: Unclip the spark plug wire from the retaining clips.
Step 5: Visually check the spark plug wire for damage. Look for any signs of melting or cracking.
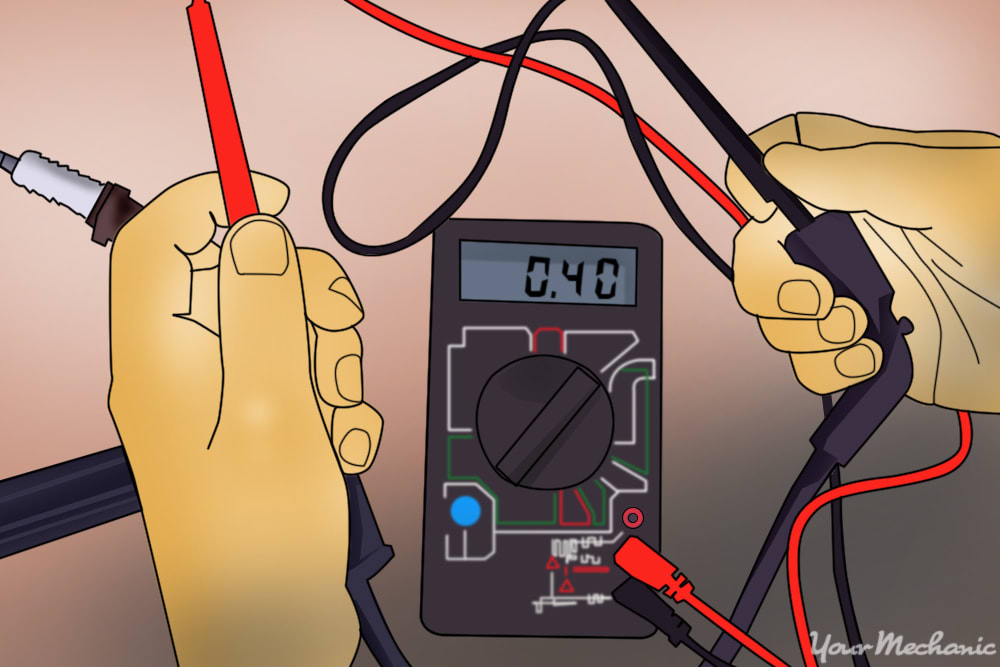
Step 6: Check the resistance of the wire. Use the digital multimeter, set to Ohms.
- Tip: When testing the wire, you must make sure that the tester leads are touching the metal contacts inside both ends of the spark plug wire.
If your spark plug wires do not meet the manufacturer’s specifications for internal resistance readings, or if they show signs of cracking or melting, then they need to be replaced.
In some cases, spark plug wires should also be checked when the engine is hot, as the resistance can change due to heat.
Step 7: Apply the boot grease. Place a small amount of spark plug wire grease into each end of the spark plug wire boot.
Applying spark plug wire grease will make it easier to remove the spark plug wires next time.
Step 8: Install the spark plug wire using the same routing that it was originally in. Make sure that the spark plug wire does not get too close to other electronics, or on anything hot such as the exhaust.
Step 9: Place the spark plug wire firmly into the same wire clips and lock them in place.
Step 10: Push the spark plug wire onto the spark plug until you feel it snap into place.
Step 11: Push the spark plug wire onto the coil or distributor cap. Again, you should feel it snap into place.
Step 12: Start the engine. Verify that there are no running issues with your vehicle.
Spark plug wires that are failing can cause a series of running issues such as engine misfires, low power, stalling, and Check Engine Light illumination. Therefore, it is important to change the spark plug wires are every tune-up interval.
Spark plug wires can also be upgraded to high performance replacements if modifications are made to the ignition system.
If you are not comfortable with testing your spark plug wires on your own, a certified mechanic from YourMechanic will be glad to come out and test your spark plug wires and your ignition system for you.


