
The engine drive belt on your vehicle is used to run a number of different engine accessories. You may have one belt that runs every accessory, or you may have multiple belts on the engine. No matter which setup you have, the belt is a crucial part of how well your vehicle functions. Knowing how to inspect your belts and how to identify possible problems with the belt can help you to avoid costly and dangerous breakdowns.
Part 1 of 2: What is the engine drive belt
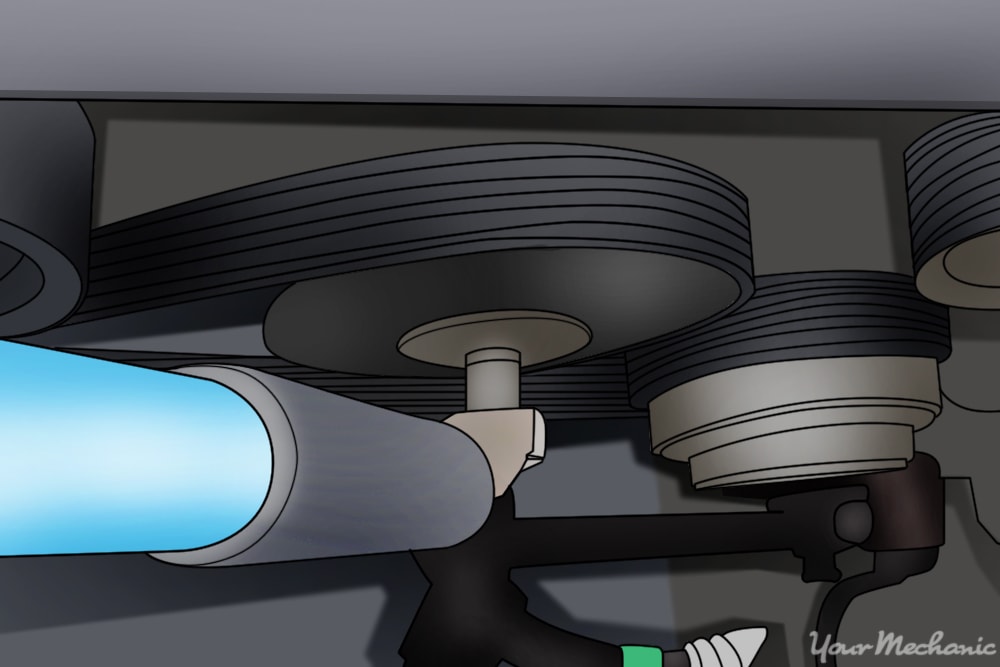
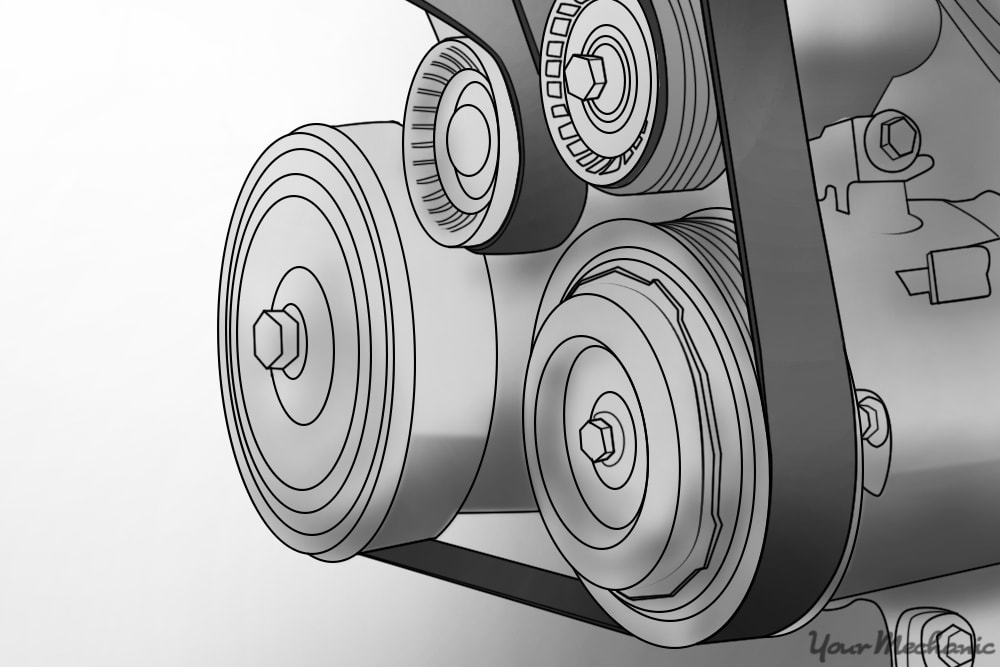
The engine drive belt is located on the front of your engine and is used to rotate the engine accessories. The belt is driven by the engine crankshaft, and while the engine is running, the belt turns with the crankshaft, which in turn rotates any pulley that the belt wraps around.
The belt can rotate the water pump, the air conditioning compressor, the alternator, the power steering pump, the smog pump, an idler pulley, or any number of other accessories whether they are factory or aftermarket.
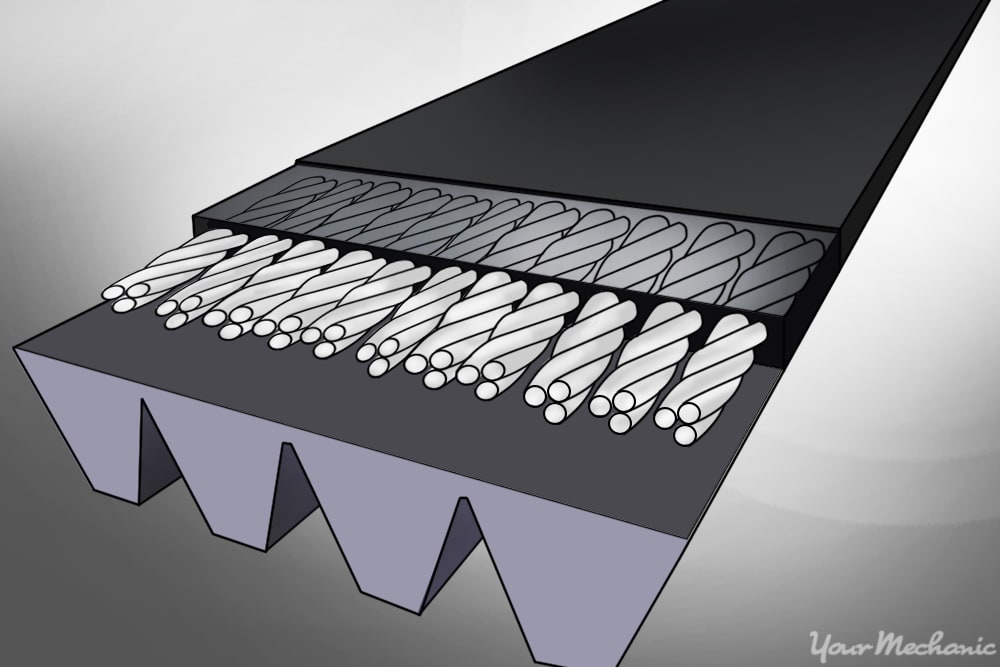
Step 1: Know how bets are constructed. Belts are made out of a rubber material and typically have metal or other nylon fibers molded into the belt to give it strength.
Over time the belt will wear out and need to be replaced.
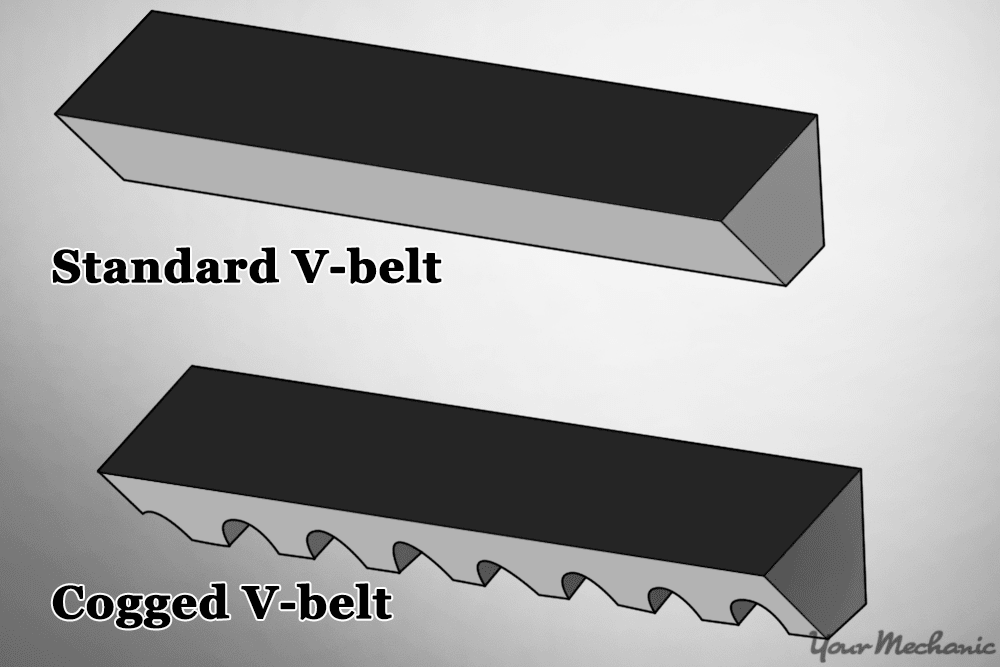
Step 2: Know the different types of belts. There are two main types of belt: the serpentine and the v-ribbed belt.
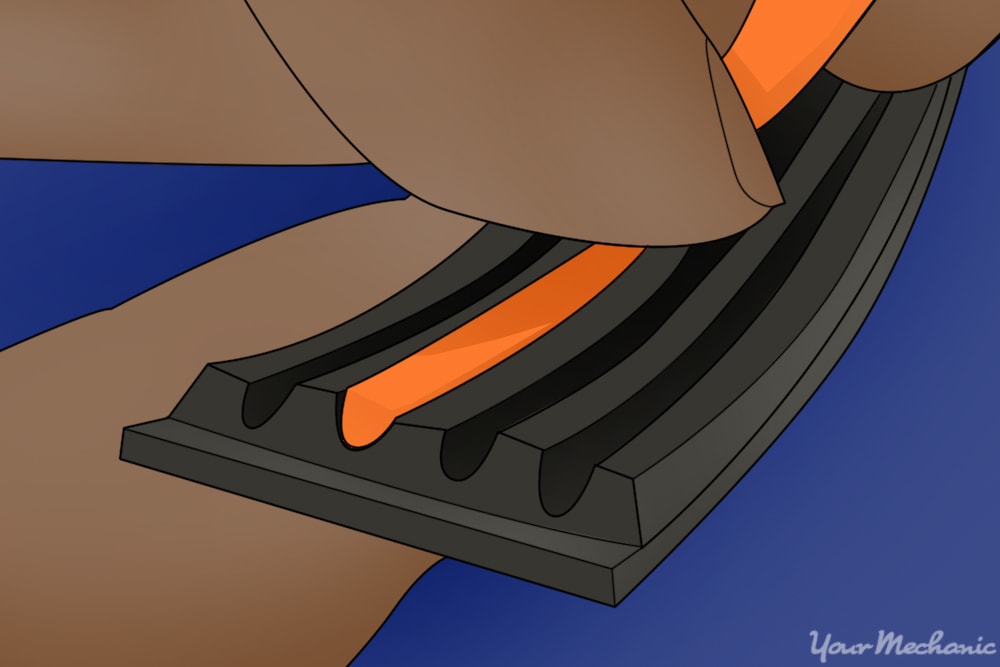
- Serpentine belts: These are the most common engine drive belts used today. They are a multi-rib belt which makes them longer lasting and quieter when they are moving.
- V-Ribbed belt: V-Ribbed belts were commonly used on older vehicles. They are called this because of their “V” shaped design. This design was good for longevity, but the belts tended to be noisy and less efficient as they created more drag on the engine.
Part 2 of 2: Inspecting the belts
When inspecting the belt, if it shows any signs of wear then it should be replaced.
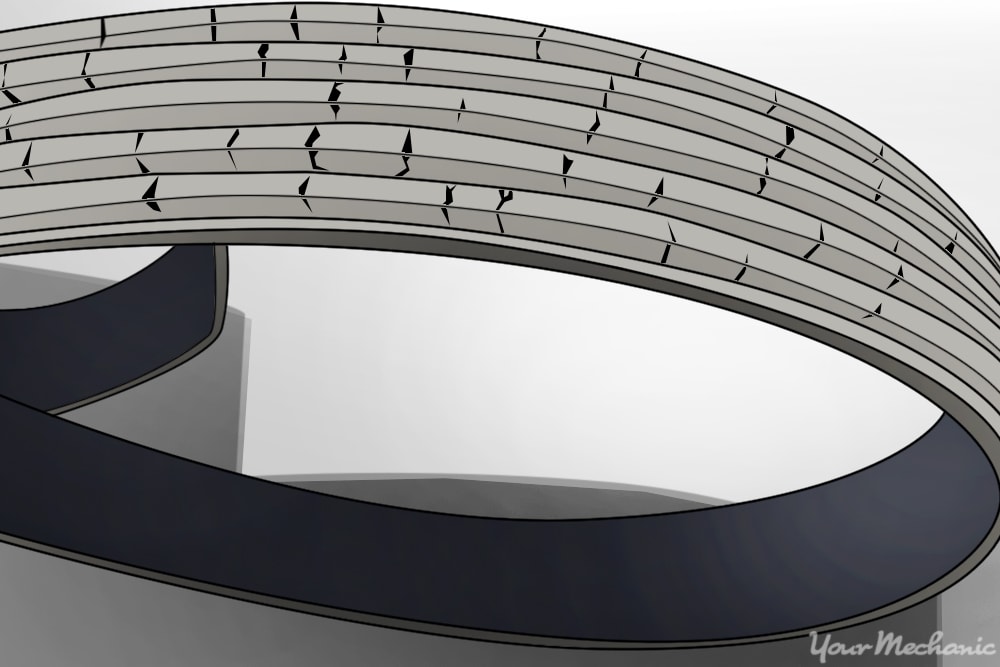
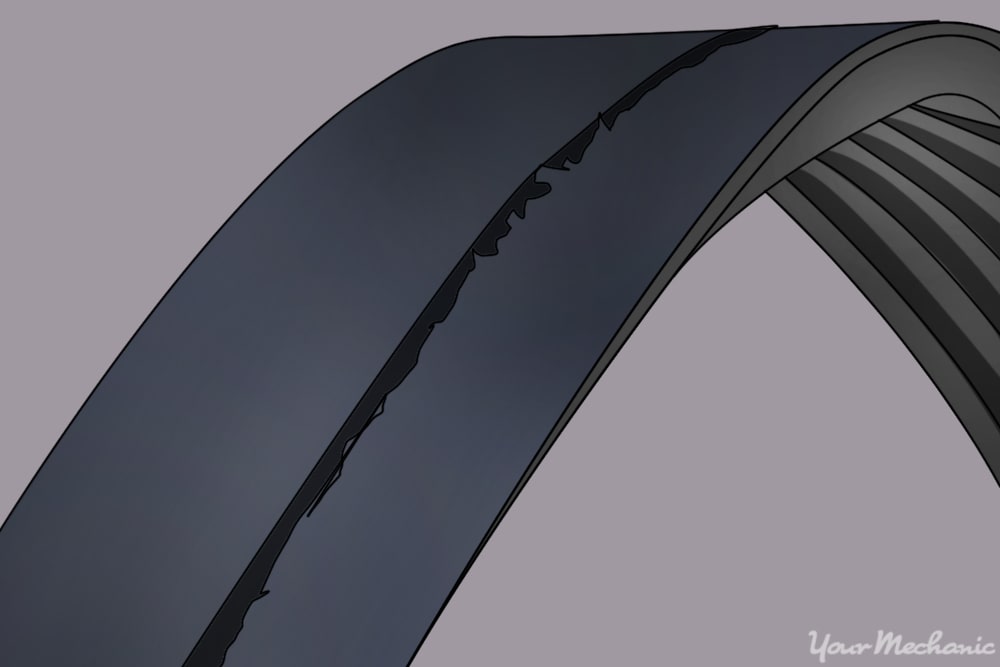
Step 1: Check for cracking. The belt needs to be inspected for cracking.
As the belt ages, the rubber becomes brittle which will cause it to crack. Once the belt begins to crack, it should be replaced as it can fail at any time.
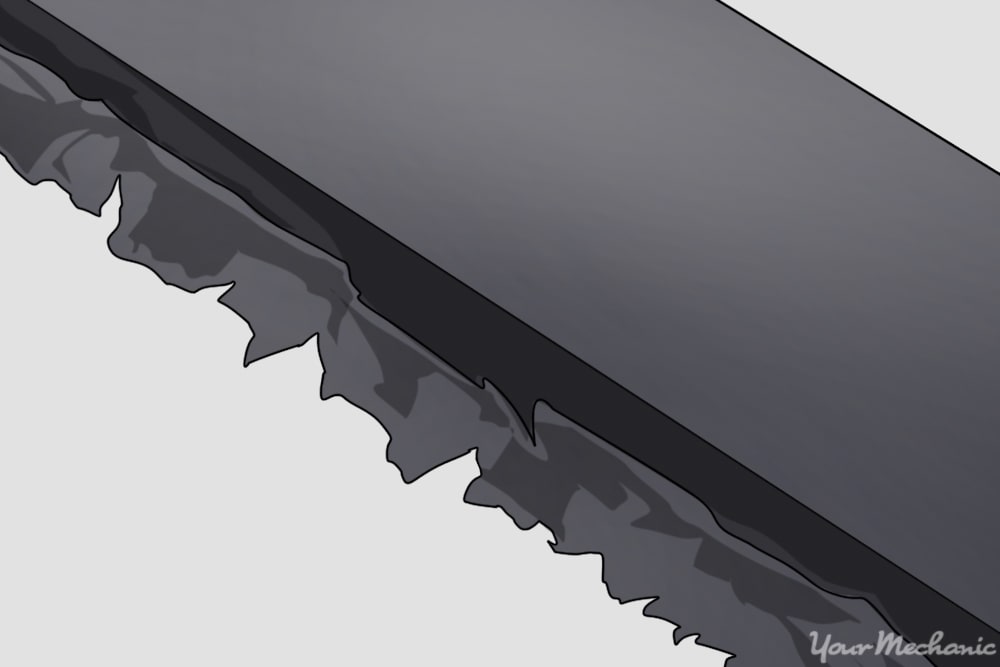
Step 2: Check the edge wear. If the belt is showing signs of wearing on its outer edge, then it will need to be replaced.
Prior to replacing the belt, you will need to diagnose why it is wearing in this manner. If a belt is showing outside edge wear then that is an indication that the belt is misaligned. This can be caused by a failing pulley, a loose accessory, or possible a warped pulley.
Step 3: Check for splitting. As the belt wears over time, it not only will become brittle but it will start to become thinner.
As this occurs the belt may begin to split. If you find that the belt is splitting, then it needs to be replaced.
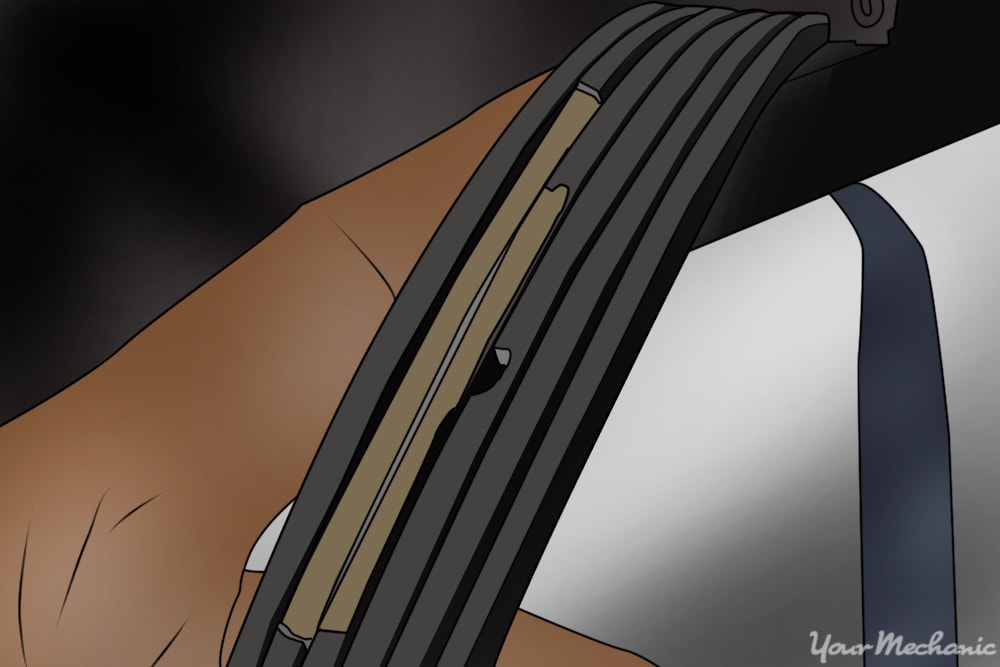
Step 4: Check for missing ribs. If the belt begins to lose large pieces of the rubber, then it needs to be replaced.
This is an indication that the belt is starting to fail.
Step 5: Check for a contaminated belt. If the belt appears to have any sort of contamination on it, then it needs to be replaced.
If the engine has developed an oil or coolant leak, or a leak of any of the other fluids, which can get on the belt, then the belt must be replaced. Any contamination on the belt will cause the rubber material to become soft which causes the belt to fail.
Prior to replacing the belt, the source of the leak needs to be identified and repaired to prevent the new belt from becoming contaminated.
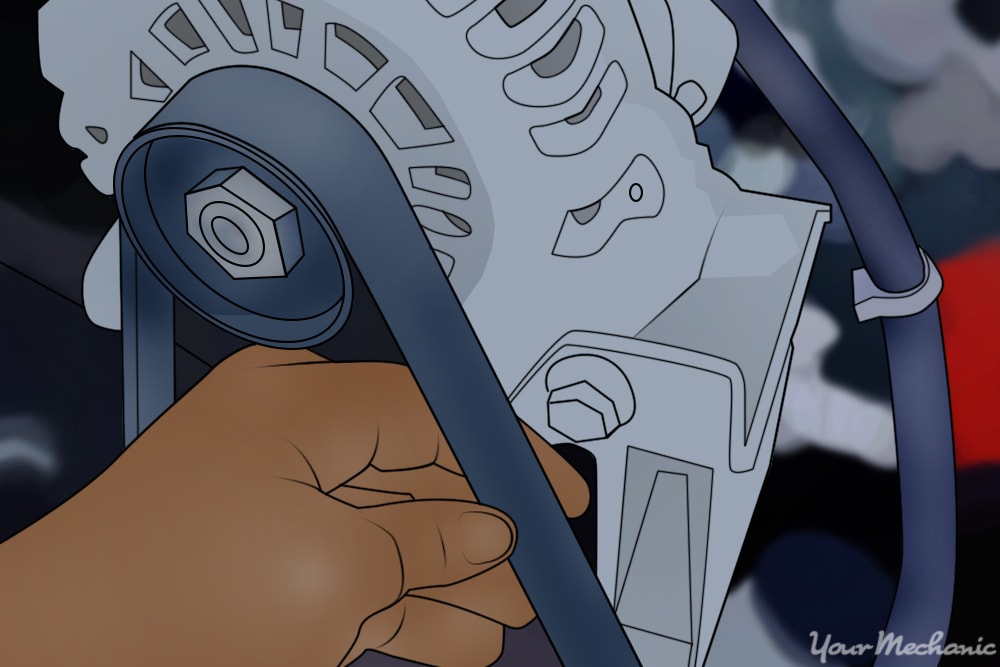
Step 6: Check for a loose belt. If the belt is loose then it may need to be tightened, or it may be failing.
Most belts should not have more than about ½” of movement between pulleys. If it does, then the tension on the belt needs to be adjusted. If the belt is fully tightened and the tensioner or tension bolts cannot be moved any further, then the belt must be replaced. This is an indication that the belt is stretched.
Step 7: Use a belt gauge. This test can only be done on a serpentine belt.
Modern serpentine belts last longer than previous belts and do not show any visible signs of wear that you can see with your eye. As the belt wears, it may look fine until it suddenly fails. Using a serpentine belt gauge, you can place it in the grooves of the serpentine belt.
This gauge identifies how deep the grooves are. When the belt is new, the grooves are fairly shallow. As the belt wears, the grooves become deeper due to the loss of rubber material. If the grooves in the belt are too deep, then it needs to be replaced.
Doing a routine check of your belts can prevent you from having a sudden belt failure. If your belt breaks on your vehicle, it can cause a number of unsafe conditions from the failure of power steering to overheating. If you are not comfortable with inspecting your belts, you should have one of YourMechanic’s certified mechanics check and replace your belts for you.


