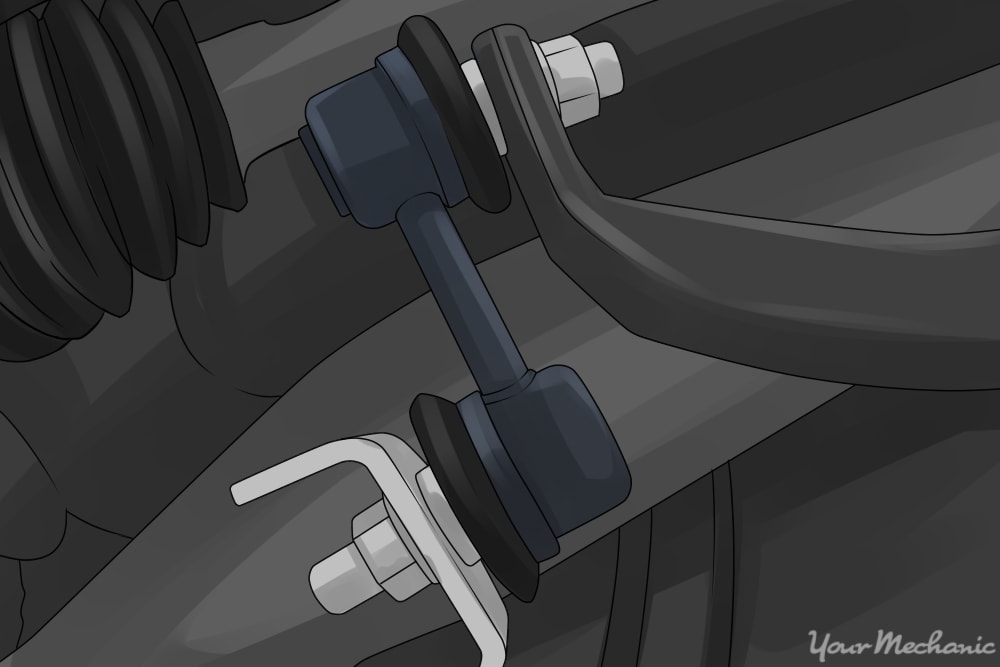

A vehicle needs to be reliable and safe, and that is a reason why stabilizer bar links are installed. They are there to prevent oversteering and understeering as well as to keep the vehicle stable when going through a hard turn or a bump. Some common symptoms that your stabilizer bar links are faulty are clunking or rattling noises from the tire area, poor handling, and a loose steering wheel. This article informs you why your vehicle needs stabilizer bar links and also how to change them yourself.
Part 1 of 1: Installing stabilizer end links
Materials Needed
- ⅜ drive rachet
- ⅜ drive socket set metric & standard
- ⅜ or ½ drive torque wrench
- ½ inch drive breaker bar
- ½ inch drive wheel socket set
- Allen set metric & standard sockets
- Brass hammer
- Combination wrench set metric & standard
- Disposable gloves
- Flashlight
- Floor jack
- Jack stands
- Pry bar
- Stabilizer bar end links
- WD40
Step 1: Prepare your work area. Park the vehicle on a level surface and set the parking brake.
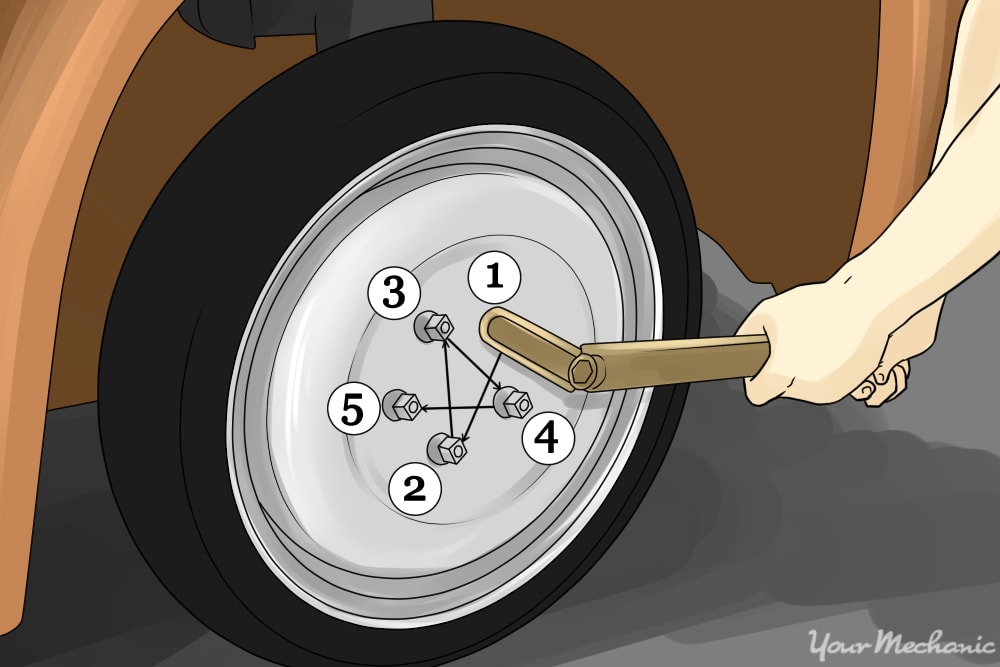
Step 2: Loosen your lug nuts. Grab the ½ inch drive breaker bar and lug nut socket set, and loosen all your lug nuts before you jack the vehicle up in the air.
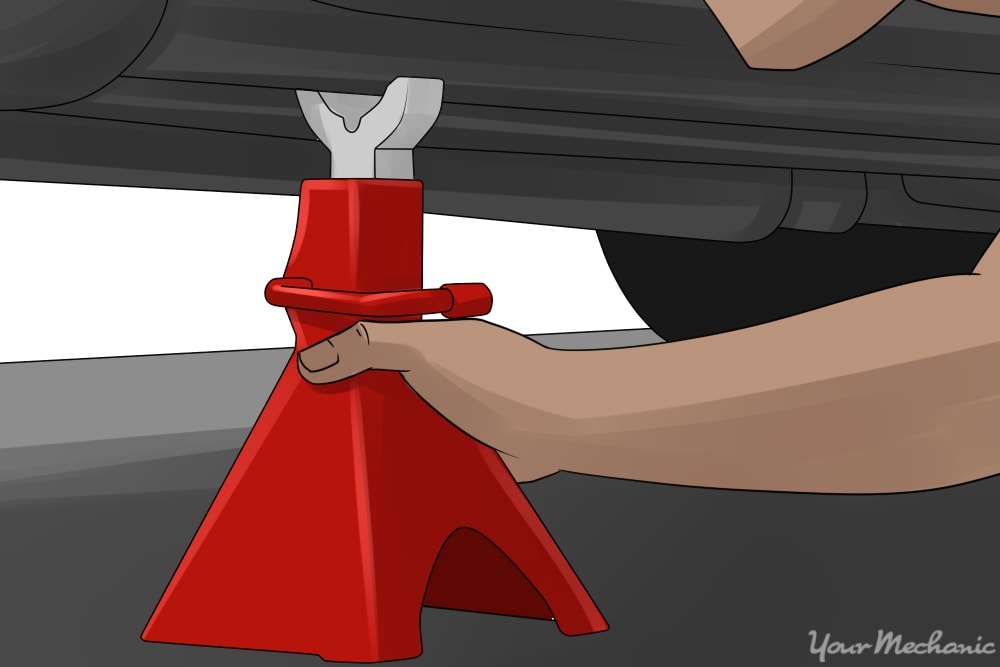
Step 3: Jack the vehicle up and use jack stands. Jack your vehicle up and put it on jack stands.
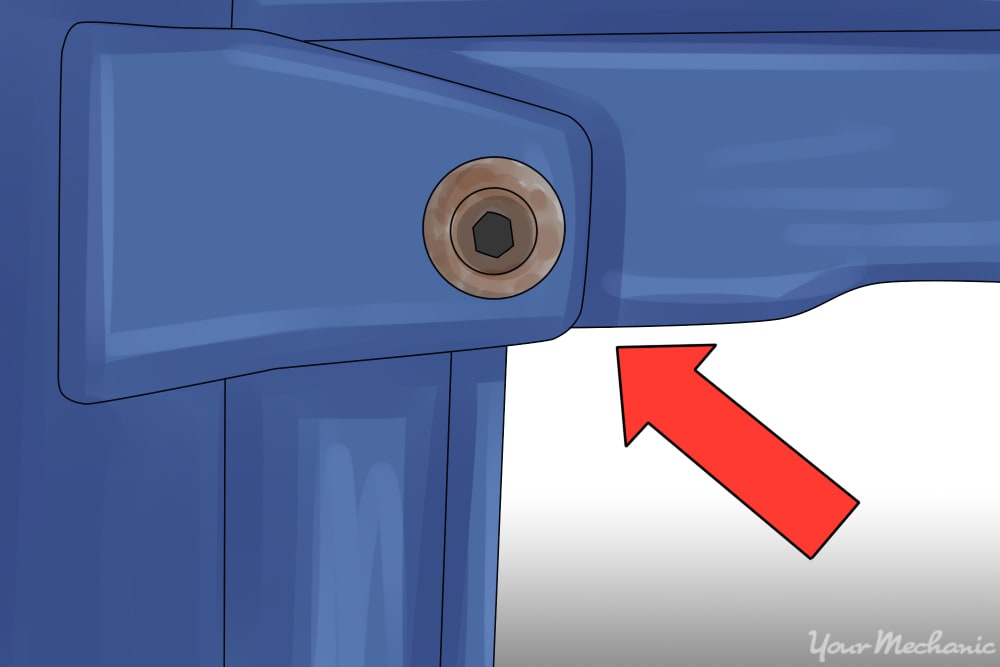
Place the wheels off to side away from the work area. Be sure to jack the vehicle up in the correct location; usually, underneath the sides there are pinch welds you can use to jack from. Then, make sure you place the stands on the body or frame and lower down onto the stands.
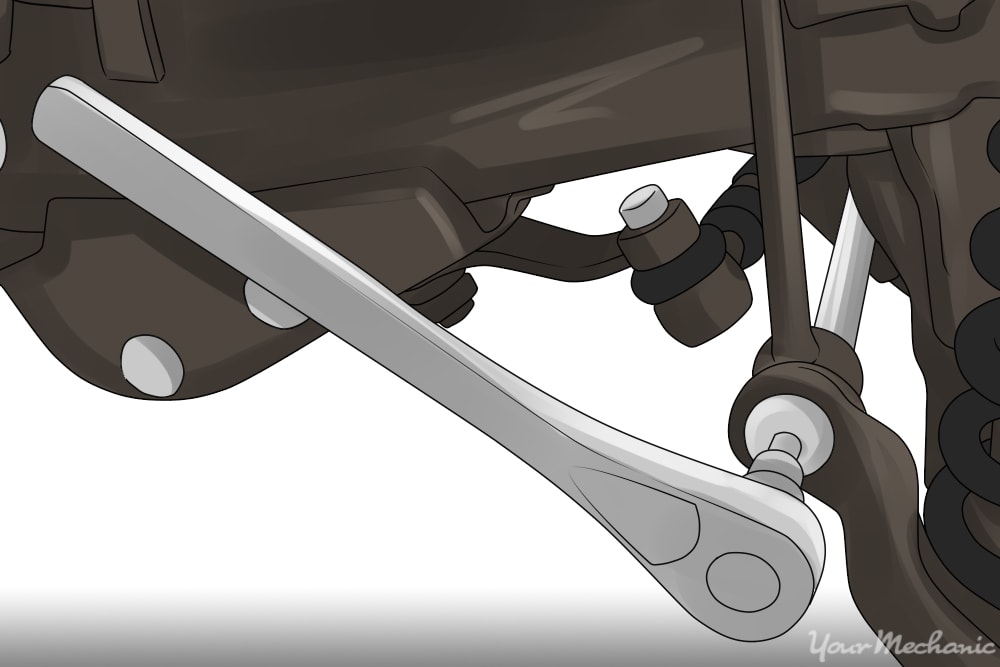
Step 4: Remove the old end links. Start by spraying some WD40 on the existing nuts holding the links on the vehicle.
Then, figure out which combination of tools you will need to use in order to remove those nuts.
Step 5: Preparing to install the new end links. Once removed, go ahead and clean the area where the link ends bolt to the vehicle.
Make sure you remove any rust or debris before taking the next step and installing the new ones. Then, compare the old parts with the new ones to ensure they are correct and will fit with no issues. Make sure you have the correct torque specs, so when you are done installing you can torque them to the correct specs.
Step 6: Installing the new end links. Install the new end links in the reverse order as you did removing them.
Place both ends onto the vehicle and start threading the nuts onto the studs. Then, grab the tools you need to tighten them up. Once you snugly tighten them down by hand, grab the torque wrench and torque them down to specs.
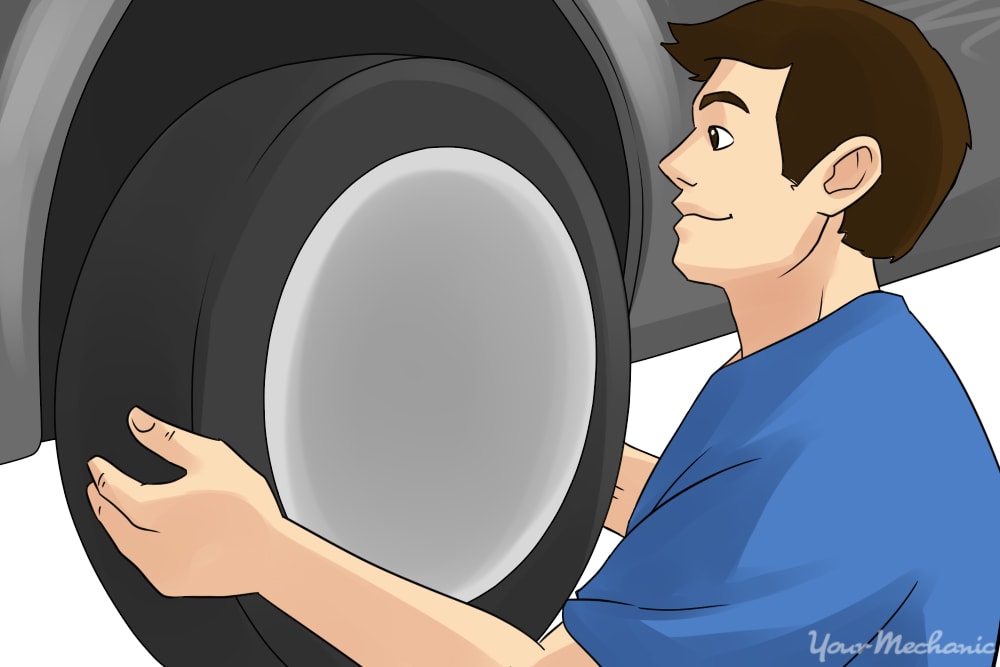
Step 7: Reinstall your wheels. Reinstall your wheels and hand tighten all the lug nuts.
Step 8: Jack vehicle back up off the jack stands. Jack the vehicle back up to get it off the jack stands.
Remove the jack stands from under the vehicle and set them aside. Lower the vehicle onto the wheels and remove the jack.
Step 9: Torque your wheels. Most cars use a torque from 80 ft-lbs to 100 ft-lbs. Suv and Trucks usually use anywhere from 90 ft-lbs to 120 ft-lbs.
Torque the nuts to the proper rating.
Step 10: Clean up your tools. Make sure you organize all your tools and wipe them off before you go on your test drive.
Step 11: Test drive vehicle. Test drive your vehicle to ensure you have done the job correctly.
Listen for any clunks or pops when you're driving over bumps and turning your wheels. If you do not hear anything, then you can consider this job done.
This job is pretty straightforward and easily accomplished with the right tools and knowledge. Remember stabilizer bar links play a key role in how your vehicle handles and the safety of the people inside the vehicle, so if you do not feel comfortable performing this job on your own, have one of YourMechanic’s certified technicians come to your home or place of business and perform the replacement of your stabilizer bar links for you.


