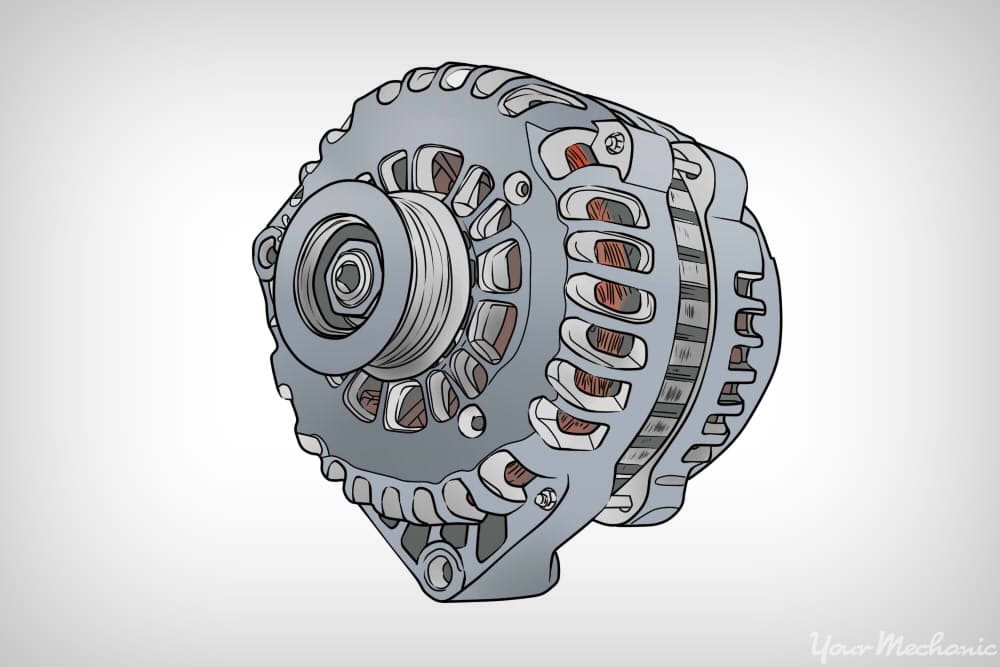

Having your alternator fail can leave you stranded on the side of the road. Though it is not necessary to know every aspect as to how the alternator works, knowing a few easy tests and some initial signs of failure can keep you from having a costly breakdown. To test your alternator, follow these simple steps.
How to test your alternator
-
Gather your materials - You will first need the following: Rubber hose (Approximately three feet), Safety glasses, Voltage meter or digital multimeter, Wheel Chocks
Warning: When working under the hood with the engine running you want to always exercise caution around moving parts. Make sure that you do not have any loose clothing that can get caught in the engine.
-
Park car on level ground - Make sure that your car is parked on a level surface if possible and switch the engine off.
-
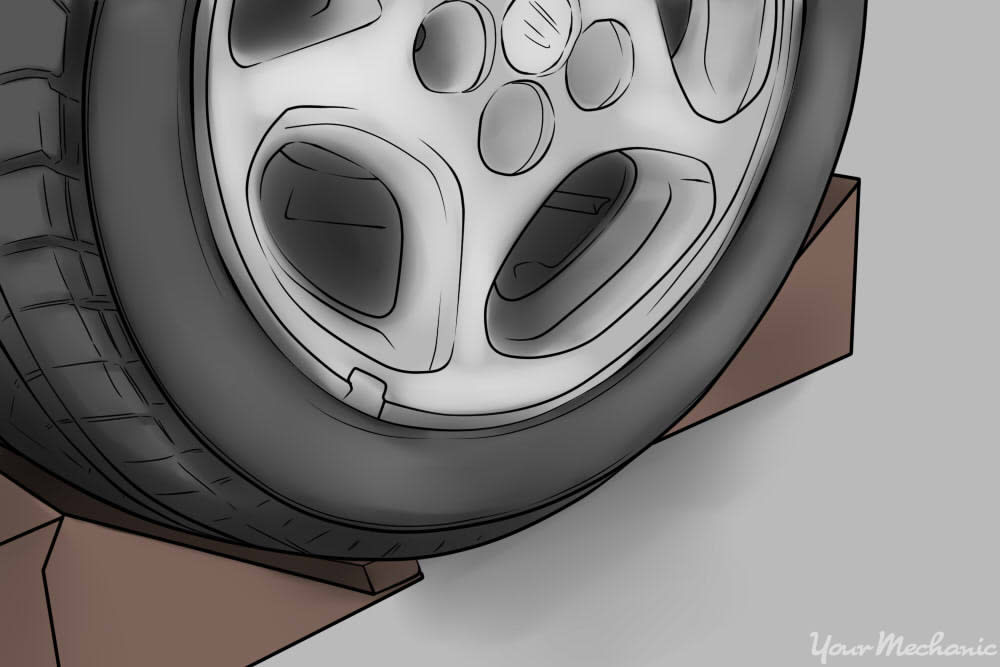
Apply the wheel chocks - Place the wheel chocks around the driver side rear tire.
-
Open the hood.
-
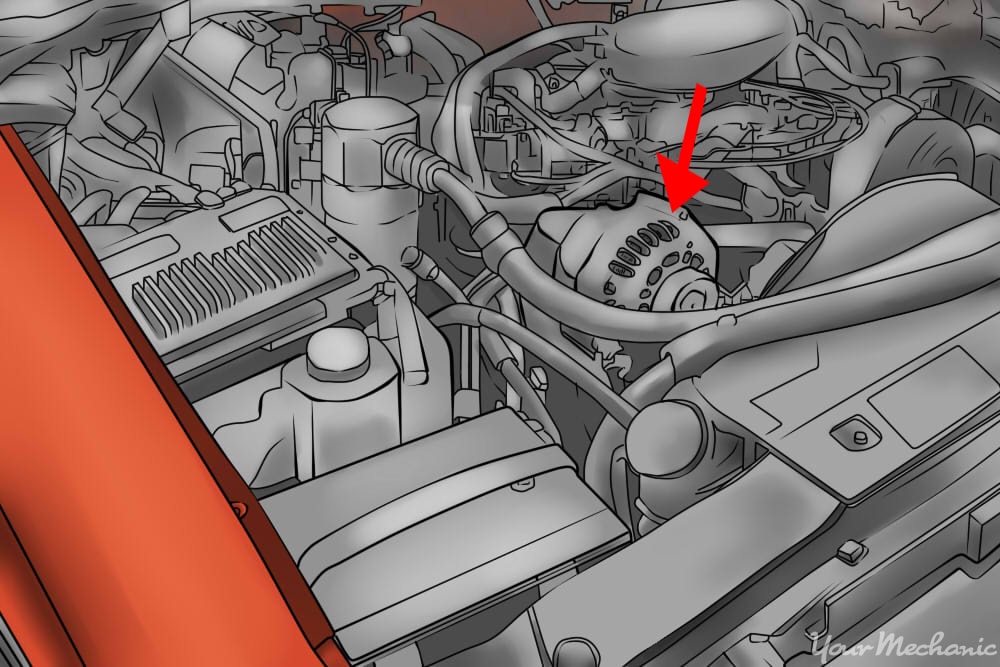
Locate the alternator - On most vehicles the alternator is located near the top, front of the engine. On other vehicles it can be buried towards the bottom making it more difficult to get to.
-
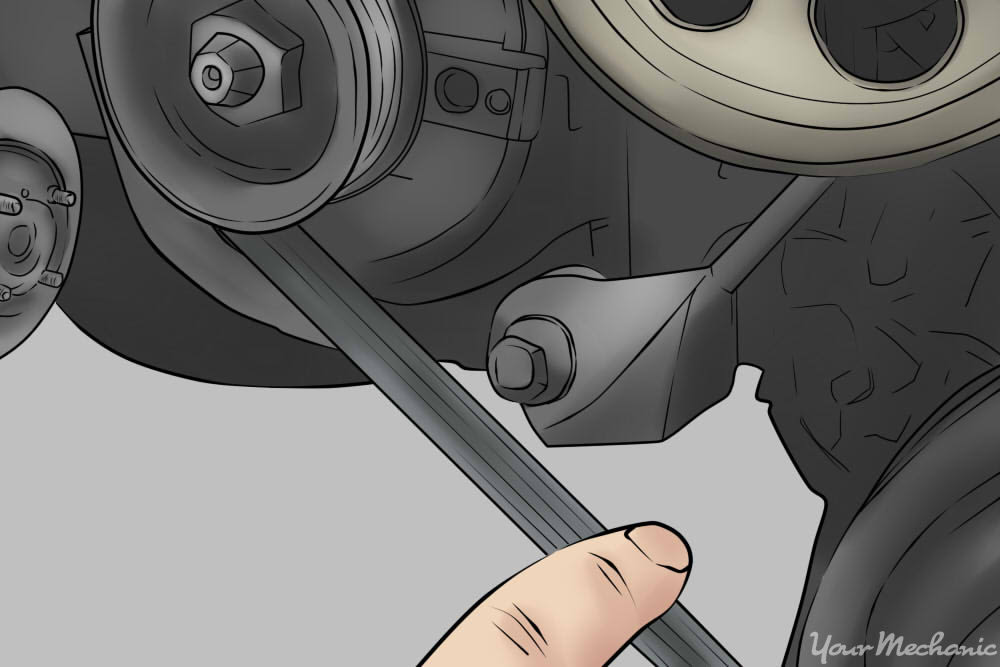
Check the engine drive belt - Inspect the engine drive belt for tightness.
Tip: Press on the belt between any two pulleys and make sure that there is not much movement. A loose belt can cause the alternator to not charge properly.
Listen for noises - Start the engine and listen for any strange noises such as squeaking or grinding.
-
Check the alternator's bearings - Place one end of the rubber hose on the alternator case and the other end to your ear. This works like a doctors stethoscope.
Tip: If the grinding or squeaking is very loud listening through the hose then you may have a bearing failure beginning in the alternator so it will need to be replaced.
Begin testing the alternator - Now you are ready to begin the actual testing. First turn the engine off.
-
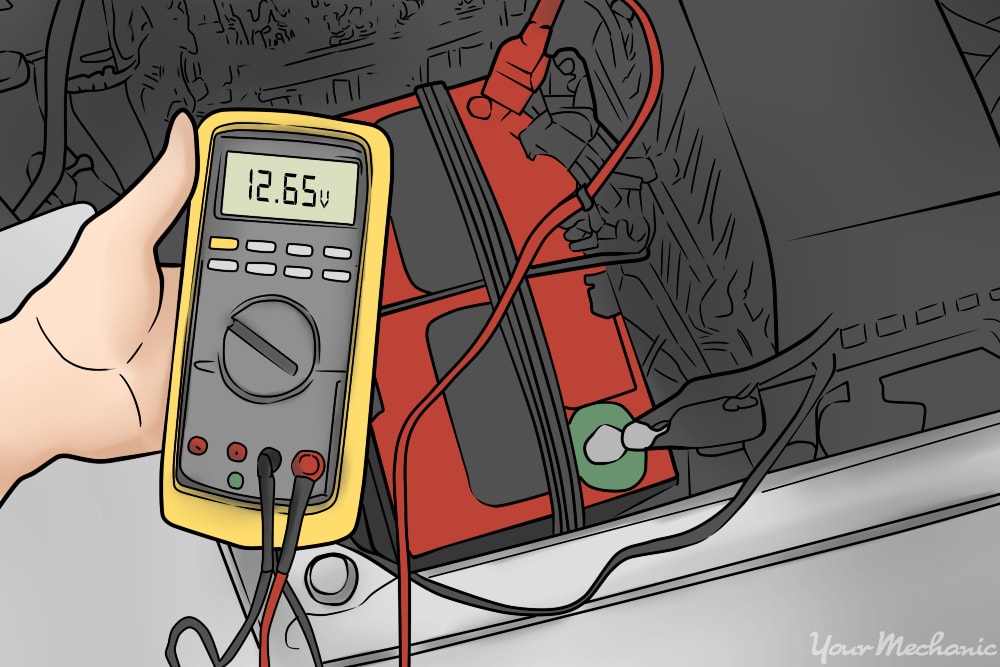
Connect the voltage meter - Turn your voltage meter on and set it to DC volts, place the positive lead to the positive (+) terminal on the battery and the negative (-) lead to the negative terminal on the battery.
Tip: If the battery terminals are loose or corroded you want to address that issue first.
-
Observe the battery voltage - It should read 12.5-12.65 volts.
Tip: If the battery is low you may want to have it load tested.
Read the voltage on the meter - Start the engine and observe the voltage on the meter. The voltage should read a minimum of 13 volts. A good alternator should put out between **13.5-14.5 volts.
-
Stress test the alternator - Place a load on the alternator by turning on the headlights, the radio and the air conditioning. The voltage should remain high with these circuits on. If the voltage does not change when the engine is started, if it does not get above 13 volts, or if it charges above 15 volts then the alternator may be faulty.
Tip: If the voltage is low, you can lightly wiggle the electrical connections on the back of the alternator to see if the voltage changes. If it does then it may just be a bad connection. Loose or corroded connections on the alternator or the battery can cause bad alternator readings.
These tests are a good way for you prevent sudden breakdowns.
If your tests do not result in any problems, but you continually get a battery warning on the dash of the vehicle, have issues with dead batteries, further testing is needed.
If are not comfortable performing these steps, you should enlist the help of a certified mechanic, that can test or replace your alternator for you.


