
Though some cars still come with manual windows, they are few and far between. Manual windows had few failures as there were not many moving parts. Electric windows, on the other hand, have more moving parts, as well as electrical switches and motors that are prone to failure. And as many of us have experienced, these failures tend to happen at the least convenient time. The failure typically occurs while the window is down, and this seems to happen when the weather starts to turn bad. Knowing how most electric windows work, and what can be done to repair it, can assist you in repairing the problem quickly - or at the very least make you an informed consumer.
Part 1 of 6: How an electric window works
Most electric or power windows are very similar to one another. They contain a few different components that allow the window to move up and down when you press on the window switch. The components in this system are:
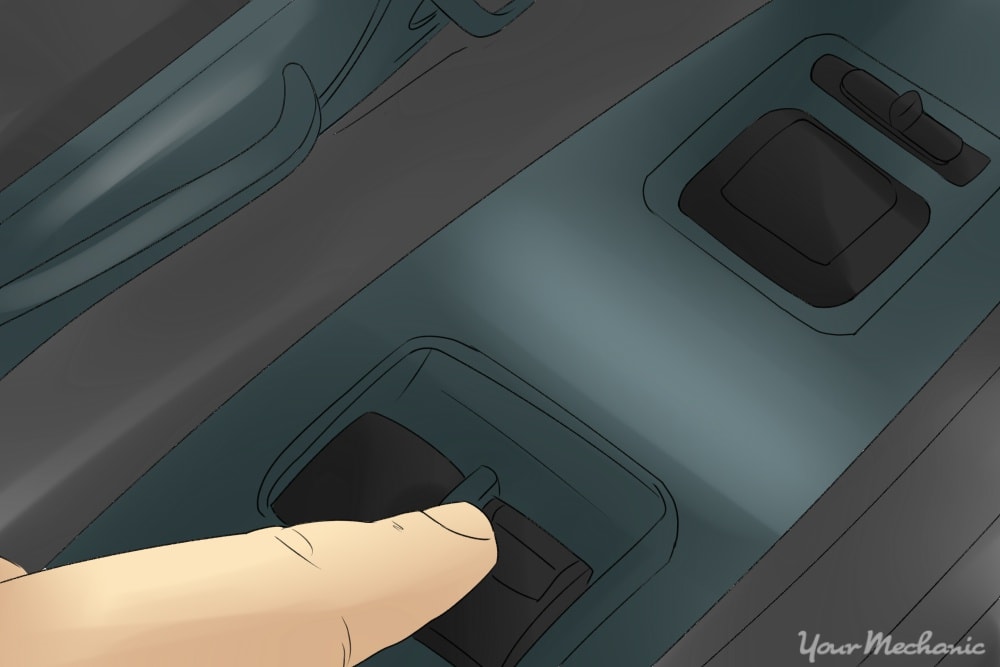
Component 1: Window switch. The window switch it typically located on the driver door. In some vehicles it is located on the center console. The switch may only operate the window while holding it down, but on some vehicles it has an express feature which allows you to press it once and the window rolls all of the way up or down on its own.
Component 2: Window motor. The window motor is an electric motor that gets power when the window switch is pressed. The motor can run in two directions as the voltage to the motor changes depending on if the window is commanded up or down.
Component 3: Window regulator. The window is mounted to the regulator. The regulator may consist of a series of gears or cables that are moved with the window motor when the switch is pressed.
When the window motor or window regulator fails they should be replaced as an assembly. Failure to replace them together can result in premature failure of the other parts.
When changing a window motor it is important to know what types of safety equipment your vehicle has to prevent injury or damage.
Warning: Some vehicles have air bags installed in the door panel. If the airbag is not properly shut down then deployment can occur and cause injury.
Warning: If your vehicle has side air bags it may have impact sensors in the door. If these sensors are damaged while replacing the window motor it can result is a much more expensive repair.
Part 2 of 6: Tools and materials
When replacing the window motor it will make the job much easier to have all of the parts, tools, and materials with your prior to starting.
Materials Needed
- Door panel hold down clips (these are car-specific so make sure you get the right ones for your make, such as these ones for Ford
- Flat-head screwdrivers (long and short)
- Masking tape
- Phillips-head screwdriver
- Ratchet w/metric and standard sockets
- Small metal pick
- Torque wrench
- Window motor w/regulator
Part 3 of 6: Removing the door panel
Step 1: Park your car and turn off the ignition.
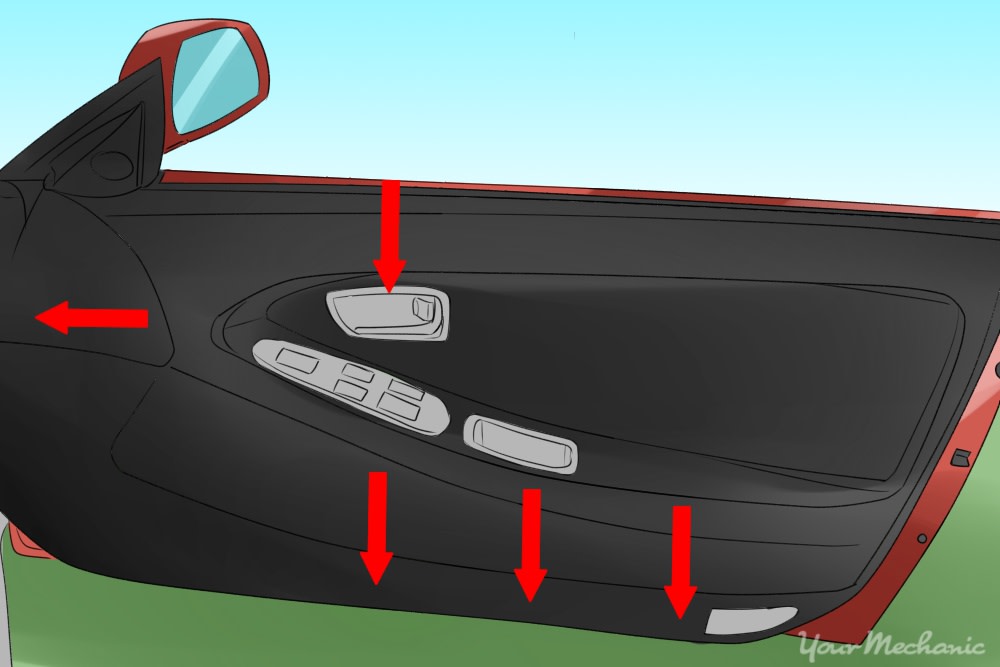
Step 2: Find the retaining screws. Locate all of the door panel retaining screws.
- Tip: The retaining screws are not always easy to find. They are usually under small access panels or lights that can be pried off. These are typically around the door release handle and in the door pull handle.
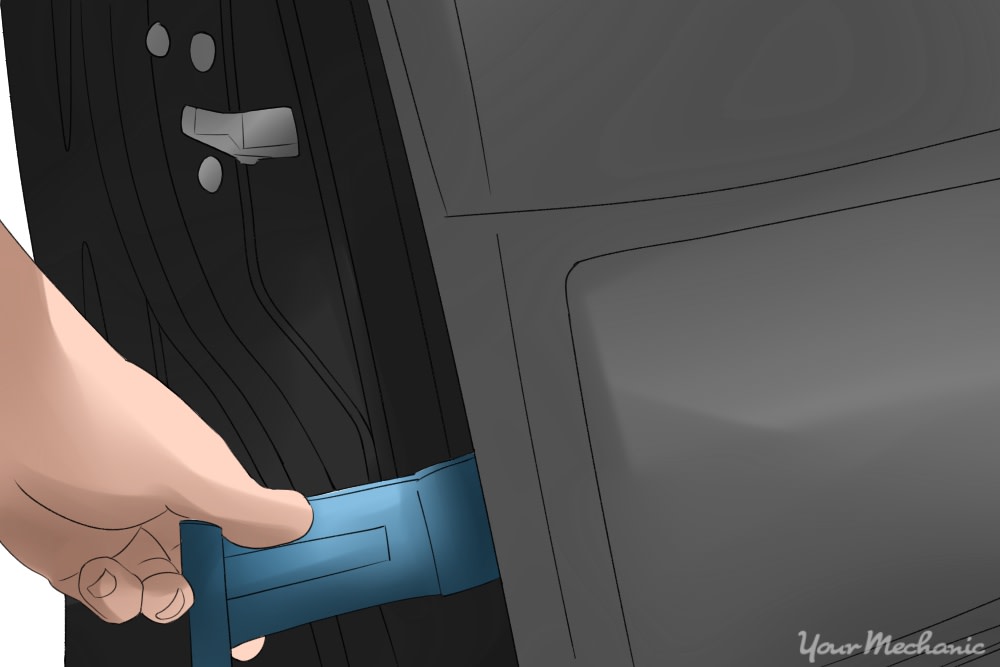
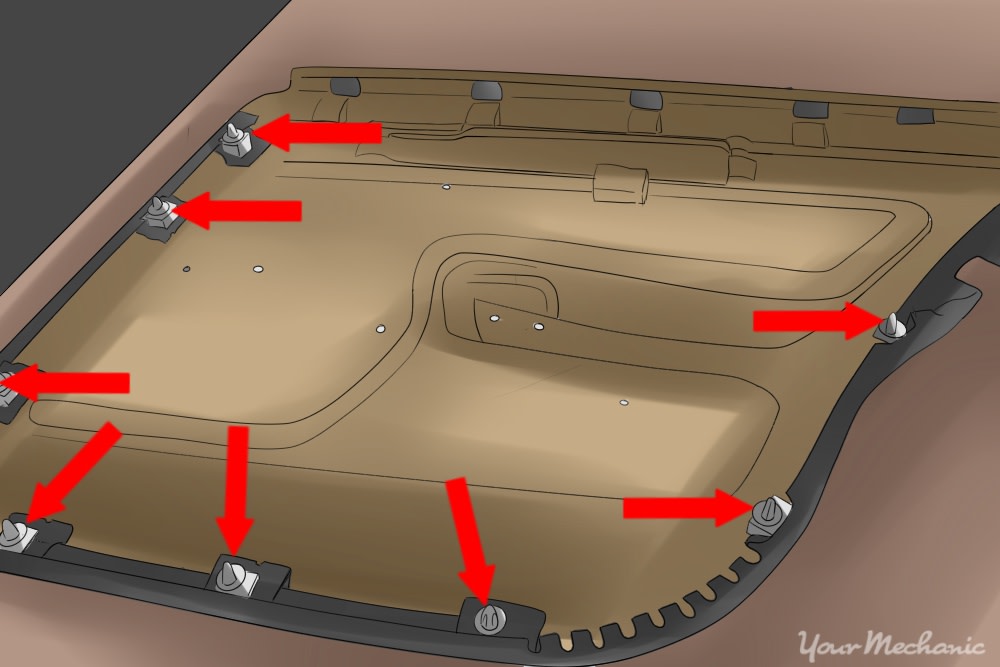
Step 3: Release the door panel from the clips. Insert your long, flat-head screwdriver between the bottom of the door panel and the door itself. Gently pull out on the door panel until the plastic clips release from the door.
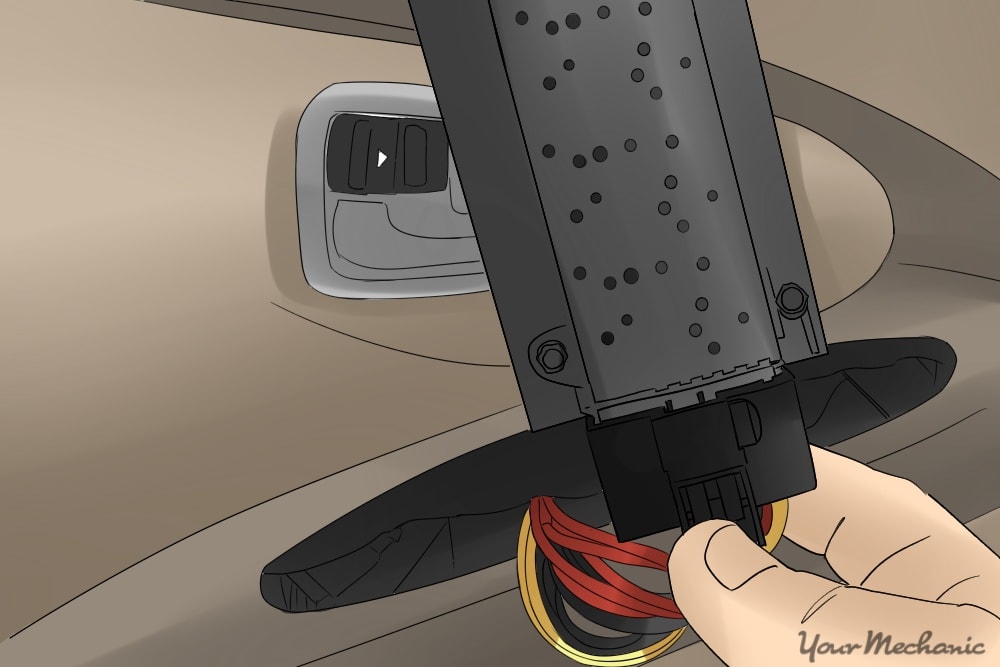
Step 4: Disconnect electrical connections. Remove any electrical connections from the door panel.
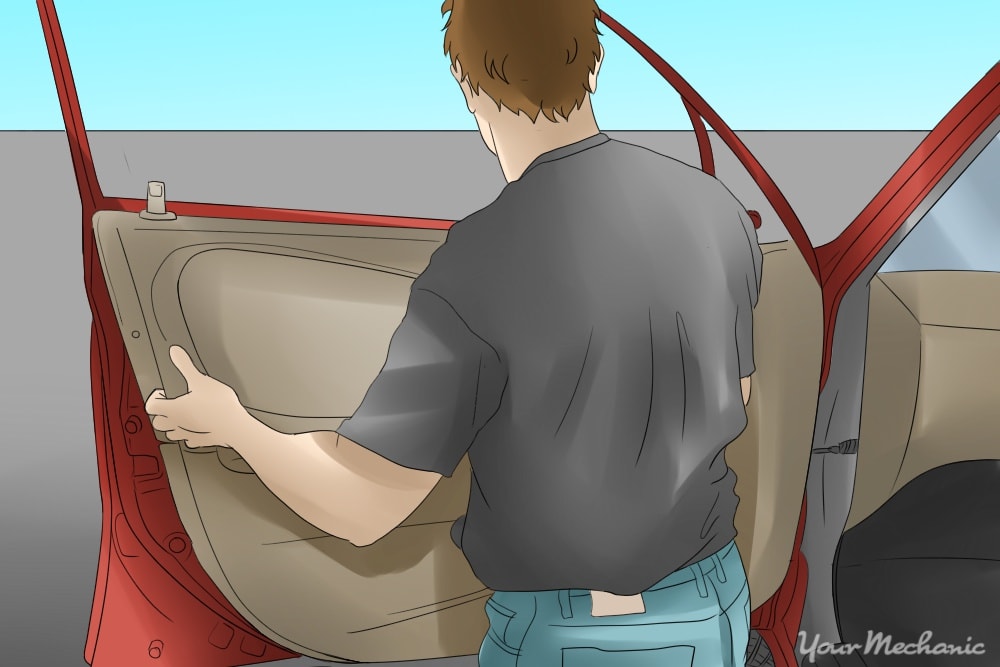
Step 5: Remove the door panel from the vehicle.
Part 4 of 6: Removing the window motor and regulator assembly
Step 1: Take out the electrical connector. Remove the electrical connector from the window motor by pressing on the release clip.
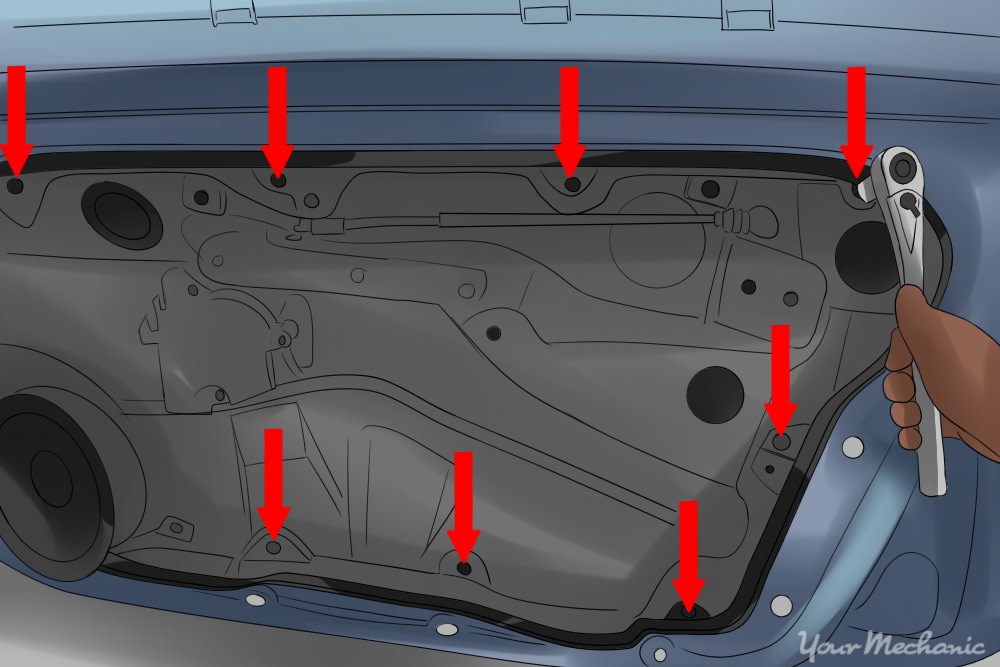
Step 2: Remove the window regulator bolts. Locate the bolts that hold the window glass to the window regulator and remove them with the ratchet and the appropriate socket.
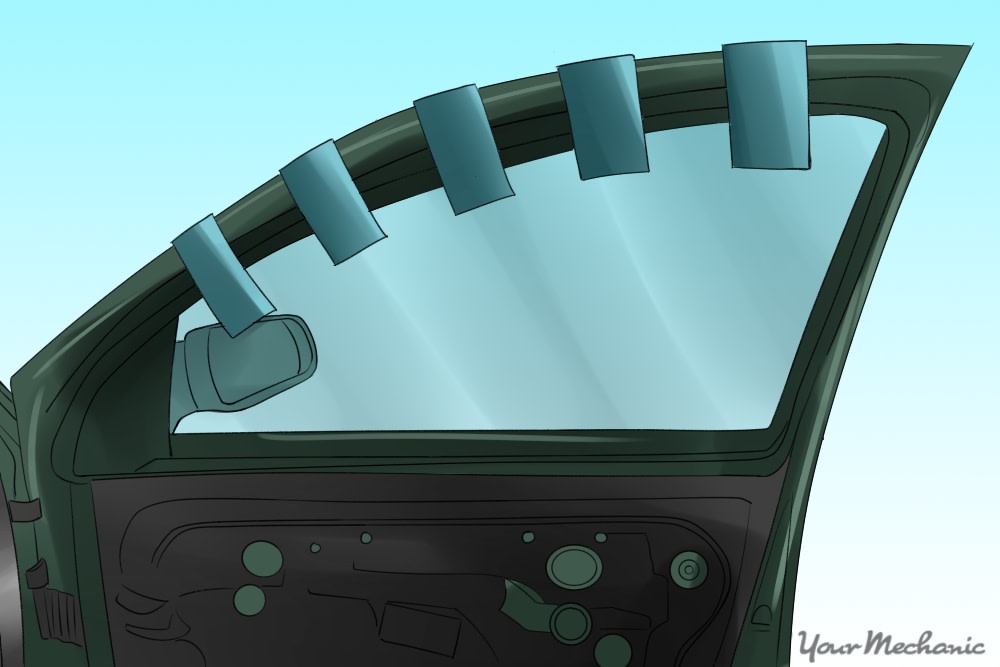
Step 3: Keep the window up with tape. Once the glass is unbolted move the glass all of the way up in its track as high as it will go. Wrap some masking tape around the top of the door and attach it to the glass to hold it in place. Use as much tape as needed to keep the glass from falling.
Step 4: Unbolt the window motor. Remove the bolts that are holding the window motor to the door.
Step 5: Unbolt the regulator. Remove the bolts that are holding the regulator to the door.
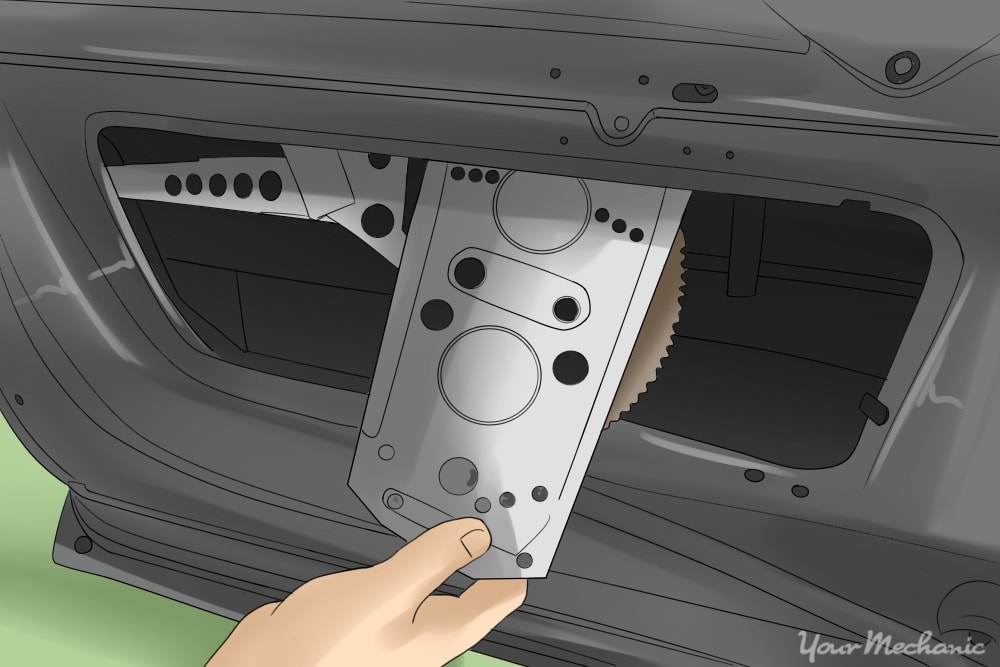
Step 6: Remove the window regulator from the door.
- Tip: With the door panel removed you will typically see a cut out in the door. This cut out typically provides just enough room for you to maneuver the motor and regulator from inside of the door.
Part 5 of 6: Installing the window motor and regulator
Step 1: Attach the regulator and motor. Place the window regulator and motor inside of the door through the access panel.
Step 2: Install the mounting bolts. Align the regulator with the mounting holes and install the mounting bolts, torquing them to specifications.
- Tip: When installing the regulator, make sure that the regulator and its cables do not get twisted.
Step 3: Mount the window motor. Install the window motor and tighten the mounting bolts to specifications.
Step 4: Install the electrical connector. Attach the electrical connector to the window motor making sure that it snaps into place.
Step 5: Lower the window. Carefully remove the tape that is securing the window to the door and lower the window into the regulator.
Step 6: Mount the bolts for the window. Install the window glass mounting bolts and tighten them to specifications.
Part 6 of 6: Installing the door panel
Step 1: Inspect the door mounting clips. Check all of the door mounting clips and replace any of them that are broken or damaged.
Step 2: Attach the electrical connections. Hold the door panel close to the door and attach the electrical connections to the door.
Step 3: Snap the door panel into place. Install the door panel by aligning the mounting clips with their mounting holes. Once they are aligned push the door panel into place until you hear the clips snap into place.
Step 4: Reinstall the mounting screws. Install the mounting screws that were removed**.
Step 5: Reattach the access panels. Install the access panels that were previously removed.
Step 6: Test the door. Turn the ignition on and check the function of the switches on the door to make sure that everything is functioning.
Replacing a window motor can be simple with the correct tools and with thorough directions. Certified mechanics, such as ones from YourMechanic, can easily [replace a window motor] as they have the tools and the knowledge to do so.


