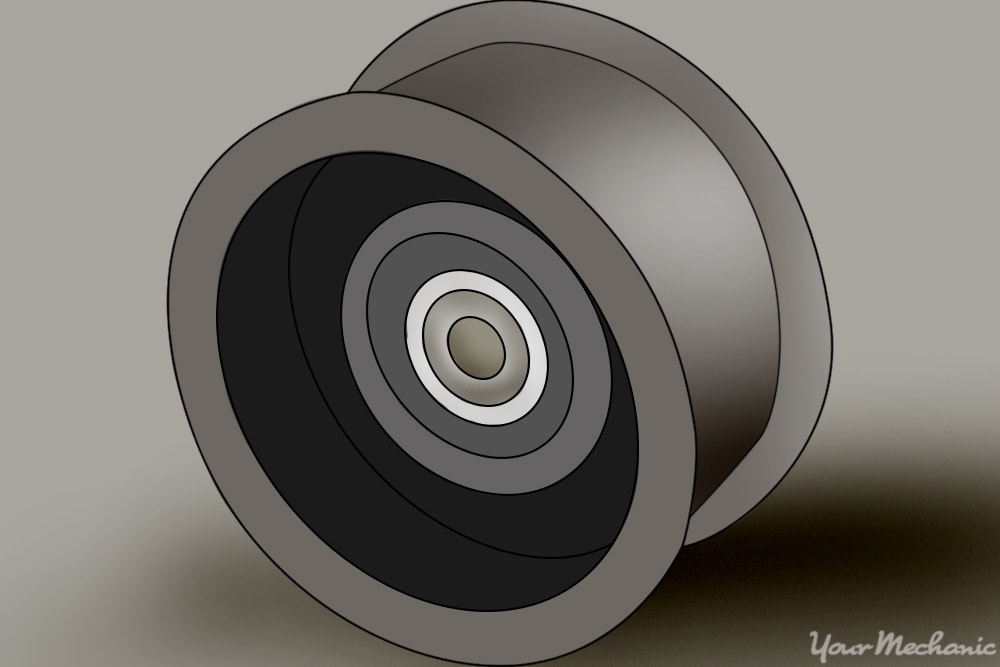

Idler pulleys are a newer style of tensioner and guide for your vehicle’s drive belt. They help to maintain control and tension on the belt as it rotates at high speeds. Failure in this pulley can result in a loose or dropped drive belt, noises from failed bearings, and or a damaged drive belt. With the right tools, replacing this part can be done in a short amount of time.
Part 1 of 1: Replacing an idler pulley
Materials Needed
- Replacement idler pulley
- Socket set and ratchet
- Torque wrench
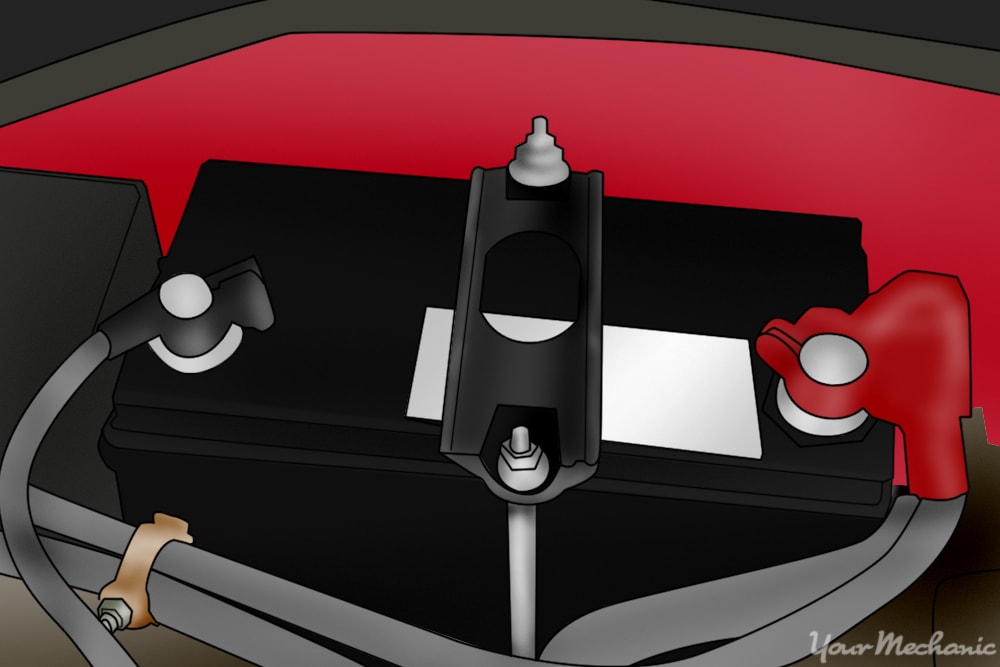
Step 1: Disconnect the battery. Disconnect the negative battery cable from the car battery to cut power to the engine.
Set the cable aside where it cannot make contact with anything metal.
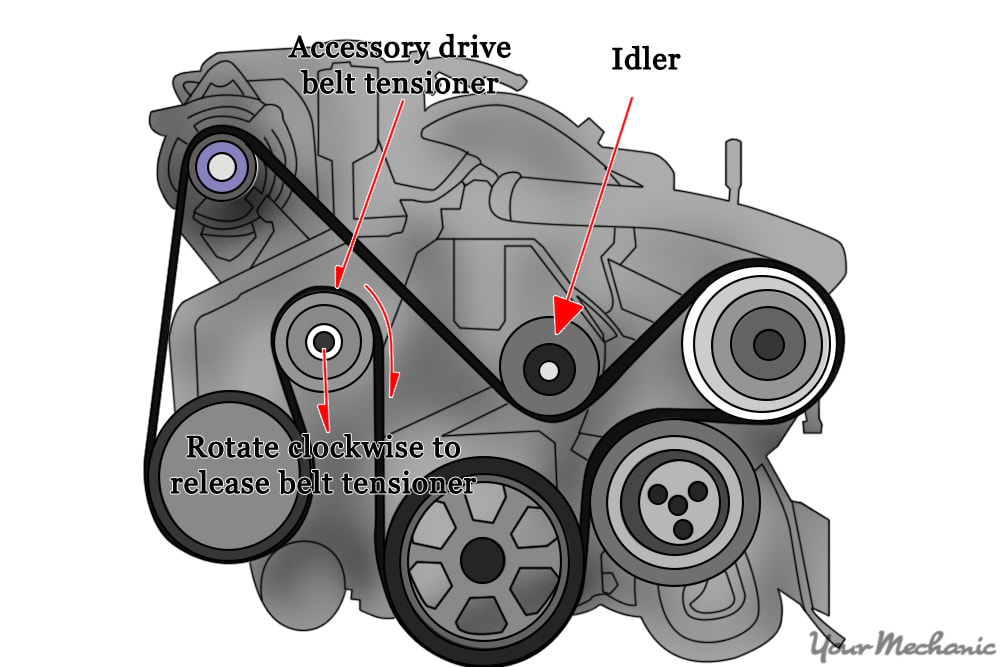
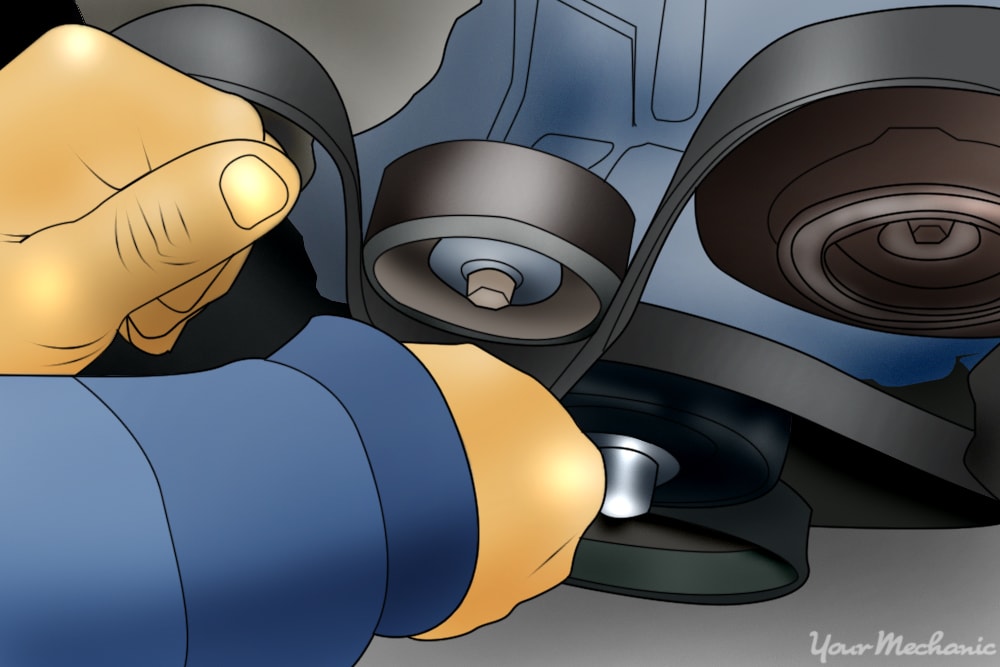
Step 2: Remove the drive belt. To remove the drive belt, first release the tension to the belt.
If your idler pulley attaches to the alternator, you will have to remove the bolt attaching the pulley to the alternator and push the entire alternator down to relieve the tension on the belt. If your pulley attaches to the engine block, then loosen the bolt attaching it to the engine block and push the pulley back to release the drive belt.
- Note: Some vehicles have will have engine covers with bolts around the perimeter that need to be removed before you can access the drive belt below.
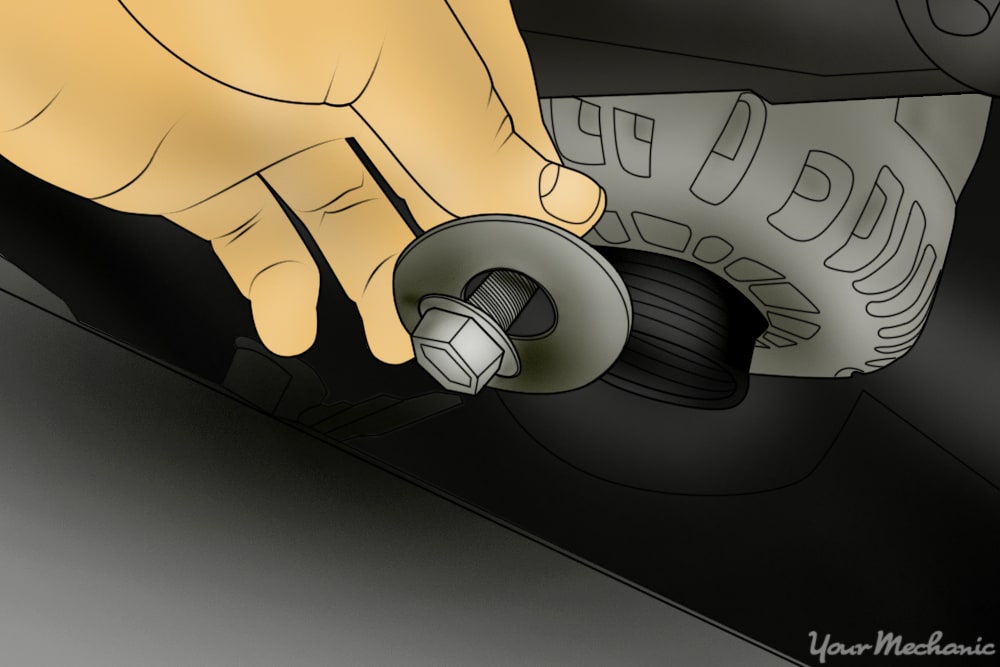
Step 3: Remove the old pulley. With the belt set out of the way, remove the retaining bolt and pull the pulley out.
Keep the pulley and any gaskets or hardware that come off with the pulley. You will need to install the new pulley with this hardware in the exact same order.
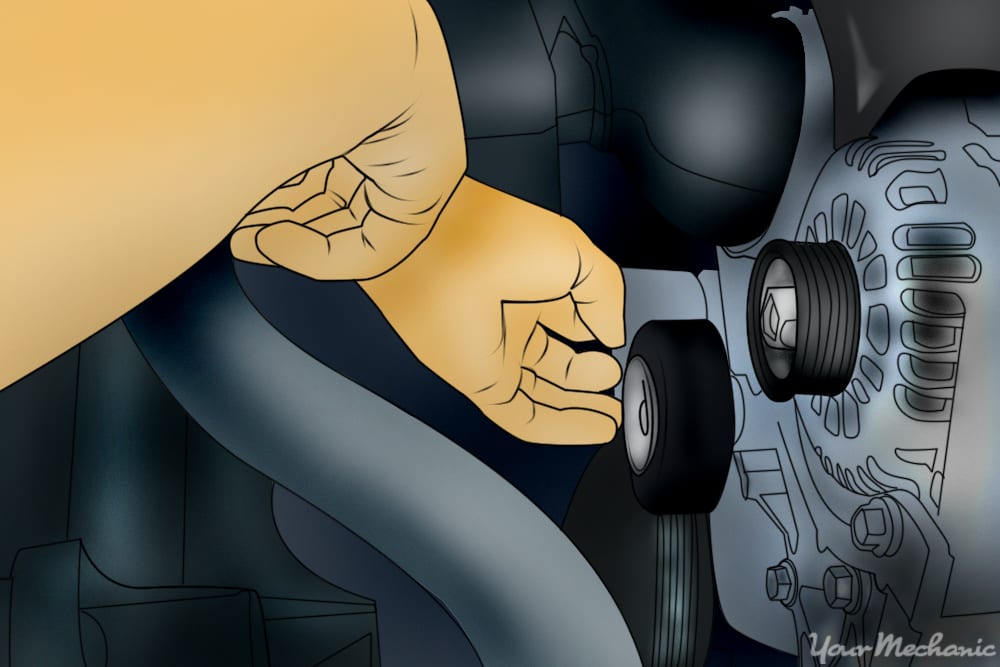
Step 4: Install the new pulley. Compare the new pulley with the old to confirm it is a proper replacement. Assemble and install the new pulley with the appropriate hardware.
Use the existing hardware from the old pulley if the new pulley doesn’t come with bolts and gaskets. Make sure you are assembling and installing the new pulley and hardware in the same order as the old pulley and hardware.
Once the pulley and hardware are in place, hand tighten the retaining bolt.
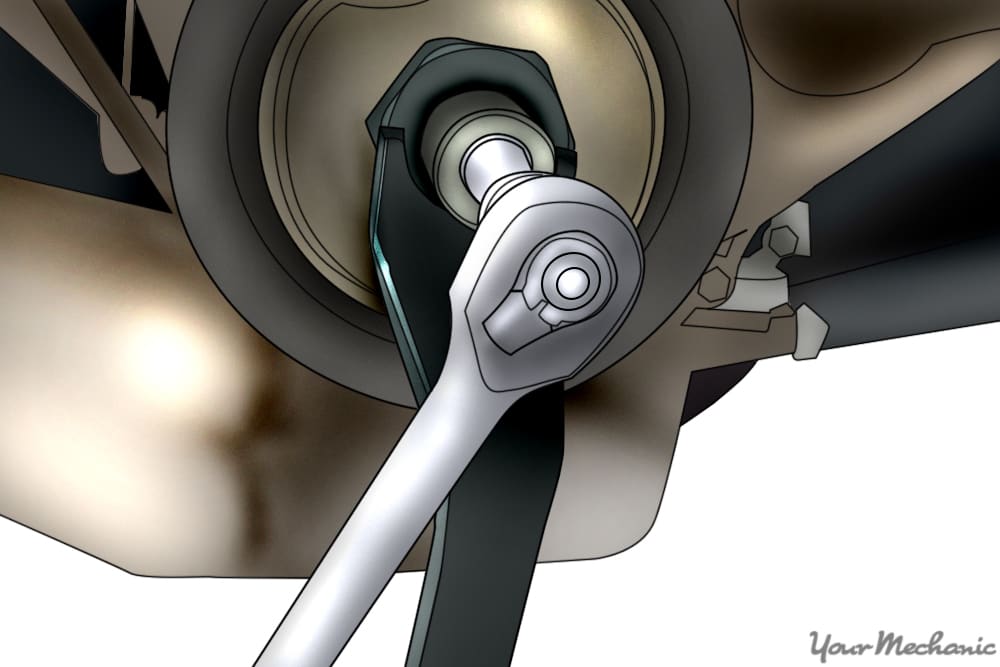
Step 5: Torque the pulley. Using a torque wrench (and a socket to keep the pulley from spinning if needed), torque the pulley bolt to 40 ft/lb.
Set the wrench to 40 ft/lb and apply pressure to the bolt with the wrench until it clicks and you know you’ve hit the required torque.
Step 6: Replace the drive belt.
- Note: Replace any covers or plastic shields you may have removed to access the belt.
Step 7: Reconnect the battery. Reinstall the negative battery cable.
Replacing an idler pulley can be done in a reasonable amount of time and for a decent price. If you find that you need assistance, or you would simply prefer that a professional perform the repair, feel free to contact one of the certified technicians at Yourmechanic to replace your idler pulley at your home or office for you.


