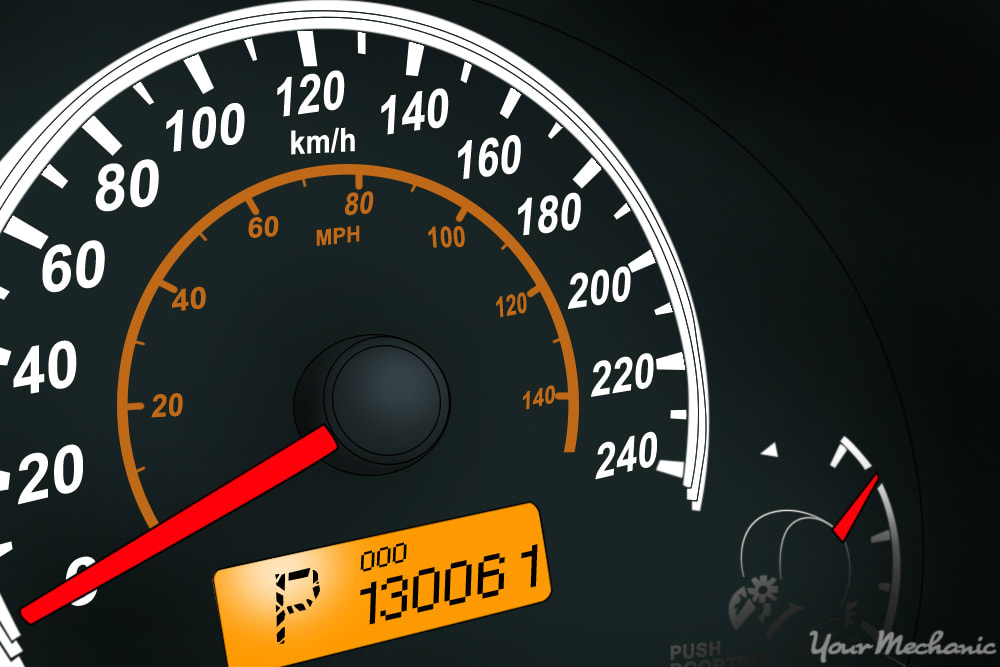

Most of the time, we all take a speedometer for granted. We get into our vehicle, fire it up, and take off. We just expect it to perform without having to think about how it does its job until it malfunctions.
The speedometer needle may start to jump around, show a speed on the dial that just seems off, or it may not function at all. These are all signs that there is a possible problem with the speedometer. There are several individual components that contribute to the erratic behavior noticed on the speedometer, but we will be focusing on replacing the speedometer sensor.
Symptoms that your speedometer sensor is failing include a speedometer that does not work, a vehicle that loses power, a cruise control that does not function, or an illuminated Check Engine Light.
This article is written with a focus on an electronic speedometer system that uses a sensor to supply a signal to the speedometer. There are several minor variations on how the different manufacturers do this, but this article is written in such a way that it is adaptable to your vehicle.
Part 1 of 1: Replacing the speedometer sensor
Materials Needed
- Drain pan
- Hydraulic jack
- Jack stands
- Pliers
- Screwdriver set
- Socket set
- Wheel chocks
- Wrench set
-
Warning: Always be sure jacks and jack stands are set on solid ground. Setting either on soft ground can lead to injury.
Step 1: Jack up the vehicle and set jack stands. Jack up the vehicle and set jack stands using the factory recommended jacking and stand points.
-
Warning: Never leave the weight of the vehicle on the jack. Always let the jack down and place the weight of the vehicle on the jack stands. Jack stands are designed to handle the weight of a vehicle of an extended period of time, whereas a jack is only meant to support this type of weight for a short period.
Step 2: Place wheel chocks on both sides of wheels still on the ground. Place wheel chocks on both sides of each of the wheels that are still on the ground.
This lessens the likelihood of the vehicle rolling forward or back, and falling off of the jack stands.
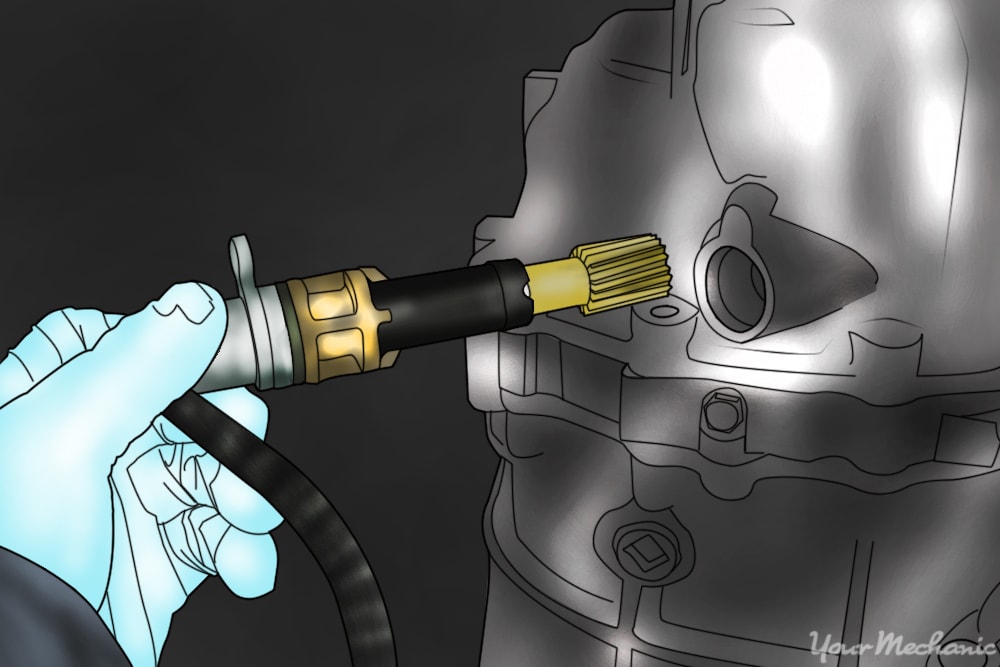
Step 3: Remove the speedometer sensor mounting bolt. Remove the bolt holding the speedometer sensor in place.
Step 4: Remove the speedometer sensor. Pull the speedometer sensor out of the transmission.
You may have to wiggle it back and forth while pulling it out. It may be necessary to use a screwdriver to carefully and gently pry the sensor free.
Step 5: Unplug the electrical connector. Release the retaining tab on the speedometer sensor electrical connector and pull the connector off of the sensor.
Step 6: Compare replacement speedometer sensor to the one being removed. Check that the dimensions are the same and there is the correct electrical connector.
Step 7: Install the replacement speedometer sensor. Put a little oil or grease on the o-ring seal on the speedometer sensor and install it into the transmission.
If you encounter some resistance when installing the sensor, try repositioning the gear and then reinstall. Be careful not to exert too much force as damage can occur.
Step 8: Reinstall the electrical connector. Reinstall the electrical connector onto the speedometer sensor.
Be sure to insert the connector far enough to engage the retaining tab.
Step 9: Remove the jack stands. Jack the vehicle up with the hydraulic jack and remove the jack stands.
Also, go ahead and remove the wheel chocks.
Step 10: Test drive the vehicle. Test drive the vehicle to verify that the speedometer is functioning properly.
The needle should move smoothly on the speedometer throughout its range of movement.
When a speedometer is functioning properly, it allows for a smooth and accurate operation. Having the speedometer work properly is not only aesthetically pleasing, but it can also keep you from getting a ticket due to an improper reading. If at any point you feel that you could use a hand with replacing the speedometer sensor on your vehicle, have one of YourMechanic’s certified technicians come to your home or business and perform the repair for you.


