
Almost all vehicles are equipped with courtesy lights. Courtesy lights are also sometimes referred to as dome lights by some manufacturers. A courtesy light is a type of illumination inside the vehicle that will normally come on when the door is opened. The courtesy light illuminates the passenger compartment.
The courtesy light can be located in the headliner in the passenger compartment under the dash in the footwell area or on the door. Most courtesy lights in these locations will have an assembly that holds the bulb in a socket with a plastic cover.
For most of these assemblies, it is necessary to remove the plastic cover to in order to access the bulb. On other models, the whole assembly may need to be removed to access the bulb. Below we will address the two most common types of courtesy light assemblies and the steps needed to replace the bulbs in each.
Note: It is important to identify whether the courtesy light has a removable cover, or if the entire assembly will need to be removed to access the courtesy light bulb. If it is unclear which method is required, contact a skilled professional to help identify which method to follow below.
Warning: It is important to follow the correct procedure in order to avoid damage to parts and/or personal injury.
Method 1 of 2: Replacing a courtesy light bulb with removable cover
Materials Needed
- Pliers
- Small screwdriver
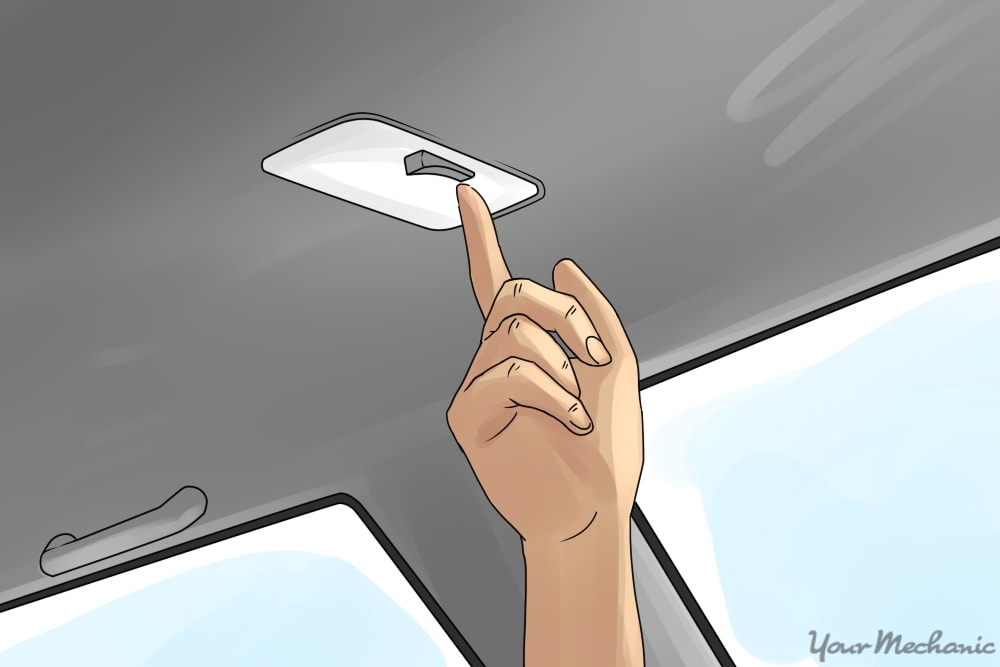
Step 1: Locate courtesy light assembly. Locate the courtesy light assembly that is in need of bulb replacement.
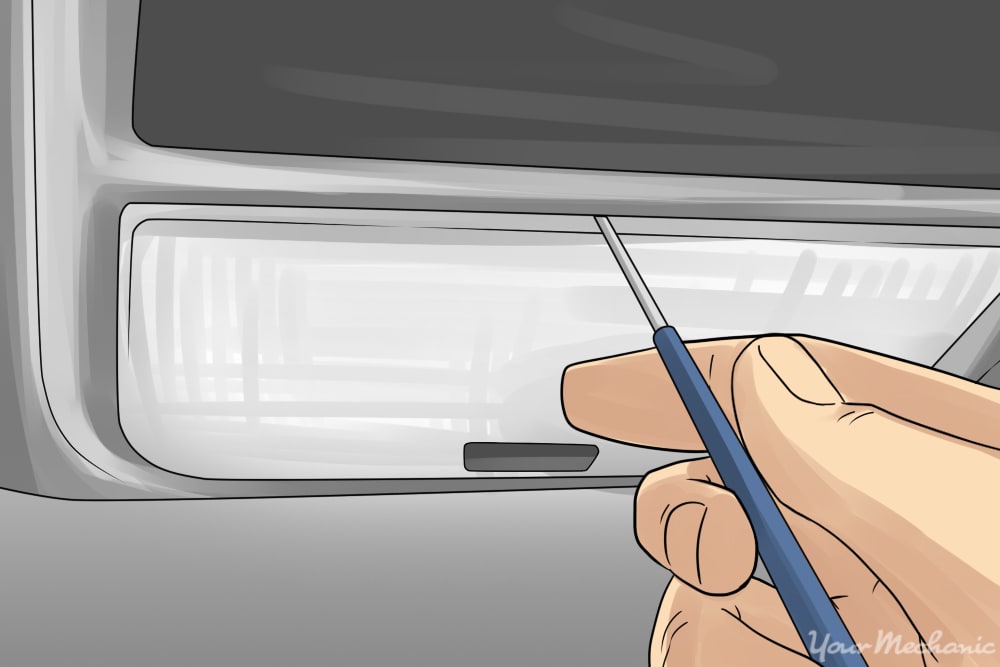
Step 2: Remove courtesy light cover. In order to remove the cover over the courtesy light bulb, there is normally a small notch on the cover.
Insert a small screwdriver into the notch and gently pry the cover free.
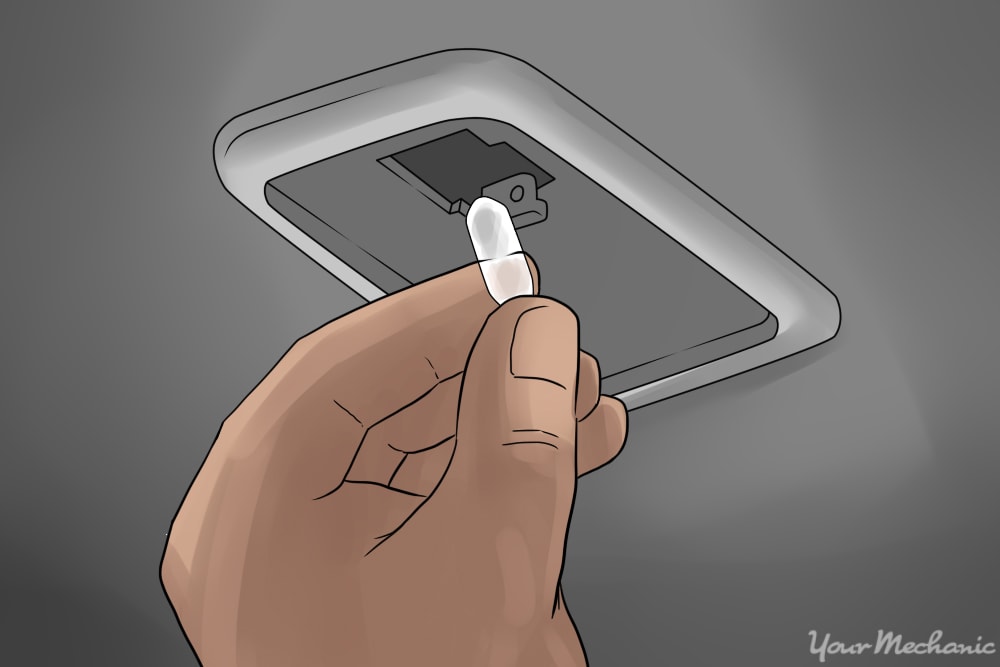
Step 3: Remove bulb. In some cases, the easiest way to replace the bulb is with your fingers.
Pinch the bulb between your fingers and gently rock it side to side while pulling on it, being careful not to pinch it hard enough to break it.
- Note: It may be necessary to use a pair of pliers to gently pull the bulb from its socket. Be careful not to apply too much pressure on the bulb as this may crush it.
Step 4: Compare replacement bulb to the old bulb. Visually inspect the bulb pulled out with the replacement bulb.
Both should be the same diameter and have the same type of connection. Most bulbs will also have the part number printed on either the bulb itself or on the base.
Step 5: Insert replacement bulb. Once it has been determined you have the correct replacement courtesy light bulb, gently place the new bulb into place.
Step 6: Verify operation of courtesy light. To verify the installation of the replacement courtesy light bulb, either open a door or use the switch to command the light on.
If the light turns on, the problem is fixed.
Step 7: Reassembly the courtesy light. Complete the above steps in the reverse order in which the assembly was removed.
Method 2 of 2: Replacing a courtesy light bulb with non-removable cover
Materials Needed
- Pliers
- Screwdriver assortment
- Socket set
Step 1: Verify location of courtesy light bulb replacement. Locate the courtesy light assembly that is in need of bulb replacement.
Step 2: Remove courtesy light assembly. Either pry the assembly from its location or there may be any combination of retaining hardware that holds it in place.
This could include clips, nut and bolt, or screws. Once all retaining hardware has been removed, pull the courtesy light assembly out.
- Note: If it is not apparent what type of hardware in place is, please consult a professional to avoid damage.
Step 3: Remove faulty courtesy light bulb. Remove the faulty bulb and socket assembly.
Set the assembly off to the side in a safe area to avoid damage. Remove the bulb from the socket. This can usually be done by pinching the bulb between your fingers, but in some cases the bulb will stick in the socket, so gently using a pair of pliers may be necessary.
Step 4: Compare replacement bulb to old bulb. Visually inspect the bulb pulled out with the replacement bulb.
Both should be the same diameter and have the same type of connection. Most bulbs will also have the part number printed on either the bulb itself, or on the base.
- Warning: Courtesy light bulbs are seated in different ways according to manufacturer. Some are static fit (push/pull) type bulbs, some will thread in and out, and others will require you to push in on the bulb and twist it one quarter turn counterclockwise to remove it.
Step 5: Install replacement courtesy light bulb. Install the replacement light bulb in the reverse manner in which it was removed (push/pull type, screw in, or quarter turn).
Step 6: Verify the function of replacement courtesy light bulb. To verify the installation of the replacement courtesy light bulb, either open a door or use the switch to turn the light on.
If the light turns on, then the problem is fixed.
Step 7: Reassemble the light. To reassemble the courtesy light, complete the above steps in the reverse order in which the assembly was removed.
Most people will not fully appreciate a functioning courtesy light until it is truly needed, so replace it before the moment comes. If at any point you feel like you could use a hand in replacing your courtesy light bulb, contact one of YourMechanic’s certified professionals.


