
Many heavy duty, or extreme use, vehicles employ a oil temperature gauge. These heavy duty vehicles typically see more stress than an average vehicle due to carrying heavier weights, working in more adverse conditions, or from towing a trailer. All of these put greater stress on the vehicle and its components.
The harder the vehicle works, the more likely it is to see increased oil temperatures. This is why these vehicles normally have an auxiliary oil cooling system and an oil temperature gauge. The gauge uses an oil temperature sensor to relay information that gets displayed on the instrument cluster to let the driver know when the oil is reaching an unsafe level and a loss of performance may occur. Excessive heat leads to the oil breaking down and losing its ability to cool and lubricate.
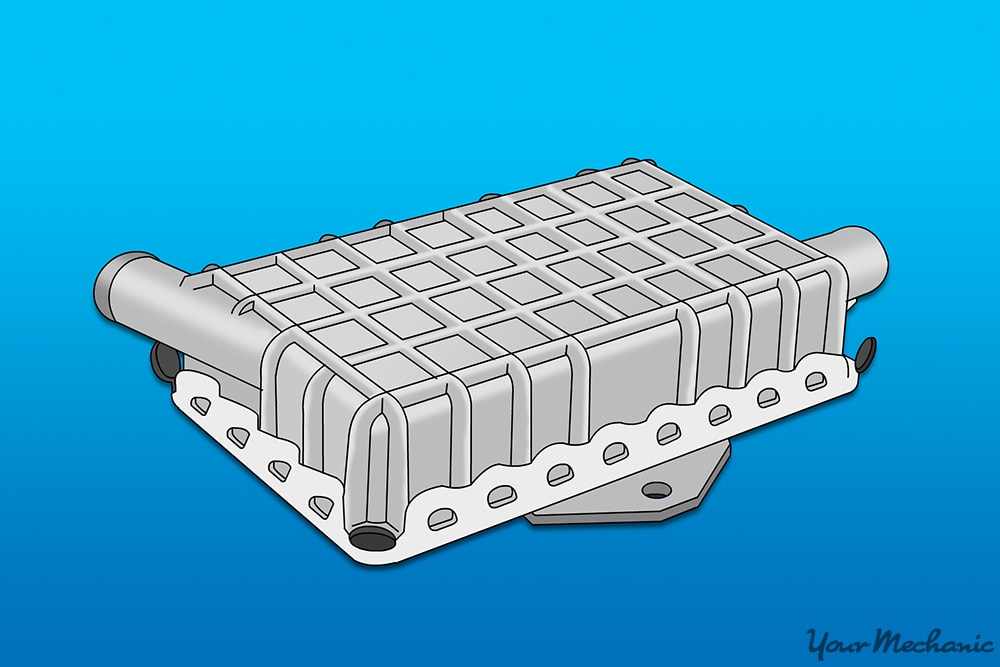
These vehicles also typically include an oil cooler that gets mounted in the front to help keep the oil temperature down. These oil coolers are connected to the engine by oil cooler lines, which carry the oil between the cooler and the engine. Over time, these oil cooler lines break down and require replacement.
This article is written in a way that it is adaptable for most applications. Most manufacturers use either a threaded connector on the ends of the oil cooler lines or a connector that requires the removal of a retaining clip.
Method 1 of 1: Replacing oil cooler lines
Materials Needed
- Drain pan
- Hydraulic jack
- Jack stands
- Screwdriver set
- Shop towels/rags
- Socket set
- Wheel chocks
- Wrench set
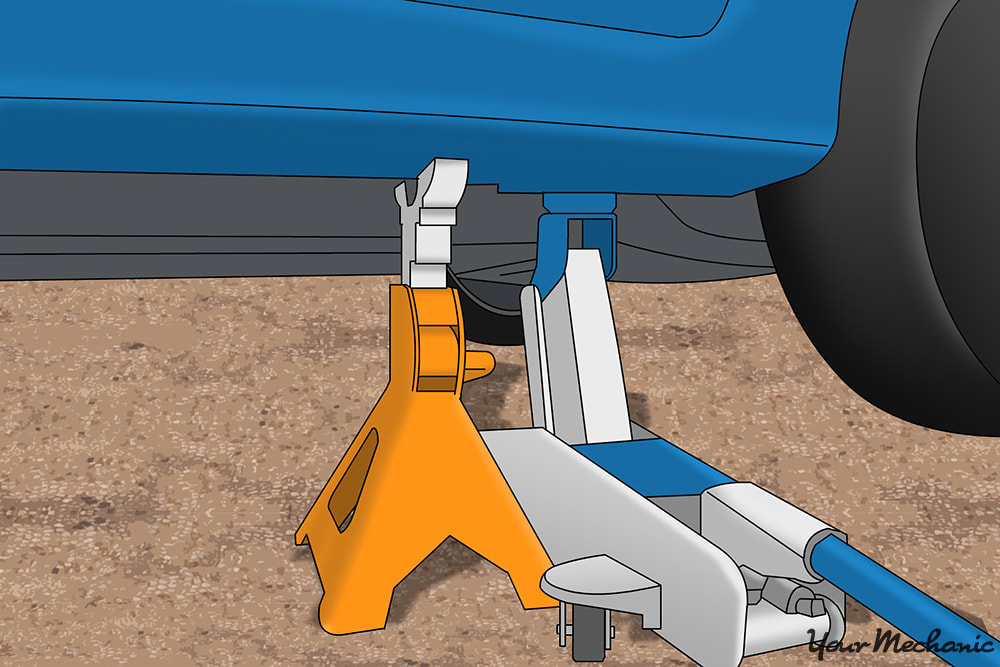
Step 1: Jack up the vehicle and set jack stands. Jack up the vehicle and set jack stands using the factory recommended jacking and stand points.
Warning: Always be sure jacks and jack stands are set on solid ground. Setting either on soft ground can lead to injury.
Warning: Never leave the weight of the vehicle on the jack. Always let the jack down and place the weight of the vehicle on the jack stands. Jack stands are designed to handle the weight of a vehicle of an extended period of time, whereas a jack is only meant to support this type of weight for a short period.
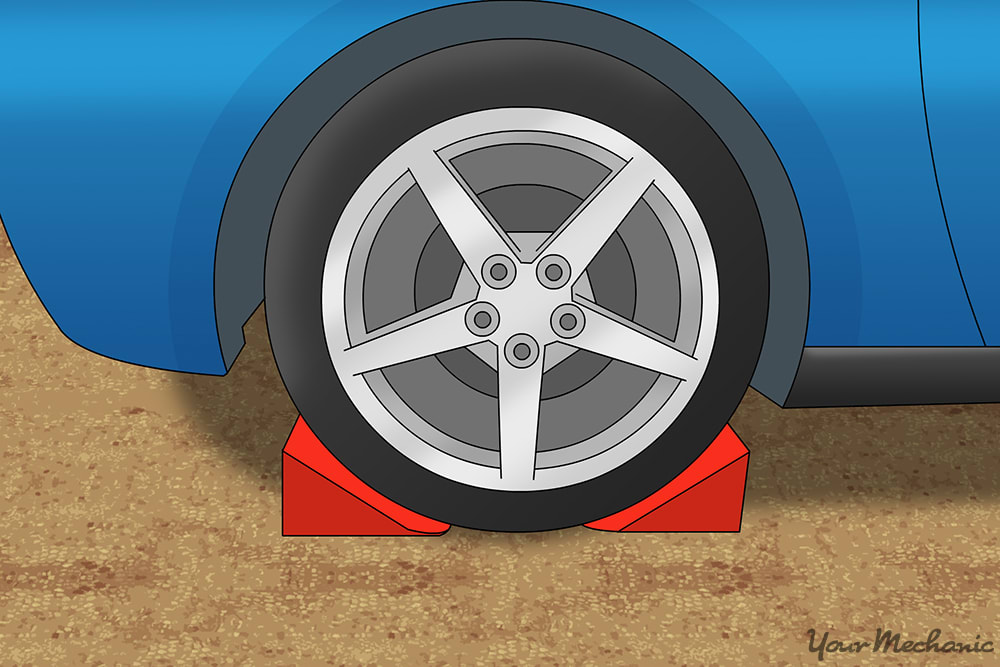
Step 2: Place wheel chocks on both sides of wheels still on the ground. Place wheel chocks on both sides of each of the wheels still on the ground.
This lessens the likelihood of the vehicle rolling forward or back and falling off of the jack stands.
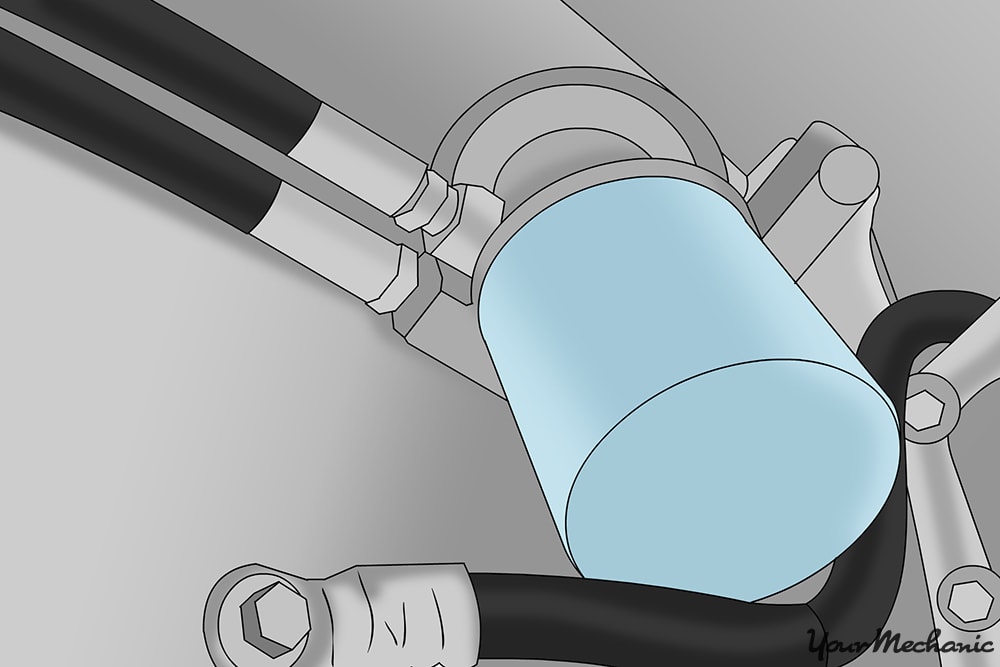
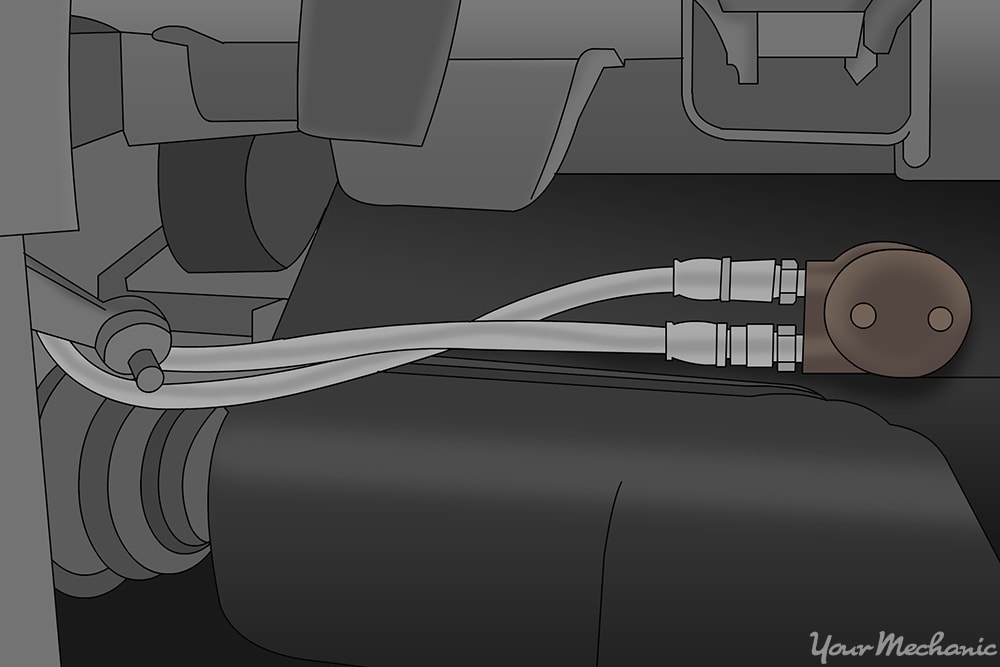
Step 3: Locate the oil cooler lines. The oil cooler lines typically move oil between an oil cooler, mounted on the front of the vehicle, and an access point on the engine.
The most common point on the engine is the oil filter housing.
Warning: Oil is lost whenever disconnecting oil cooler lines and their components. It is recommended you have a drain pan under the oil line connection points to catch any oil that is lost during these processes.
Note: Oil cooler lines can be retained by any number and type of retaining hardware. This includes clips, clamps, bolts, nuts, or threaded fittings. Take a minute to identify what type of retainers you will need to remove to complete the job.
Step 4: Remove the oil cooler lines at the engine. Remove the oil cooler lines where they mount to the engine.
Remove the hardware that retains the oil cooler lines in place. Go ahead and remove both of the oil cooler lines on this end.
Step 5: Drain excess oil from the oil cooler lines. Once both oil cooler lines have been disconnected at the engine, lower them down and allow the oil to drain into the drain pan.
By lowering the lines closer to the ground, this should allow the oil cooler to drain which can help to cut down the mess when disconnecting the other end of the oil cooler lines.
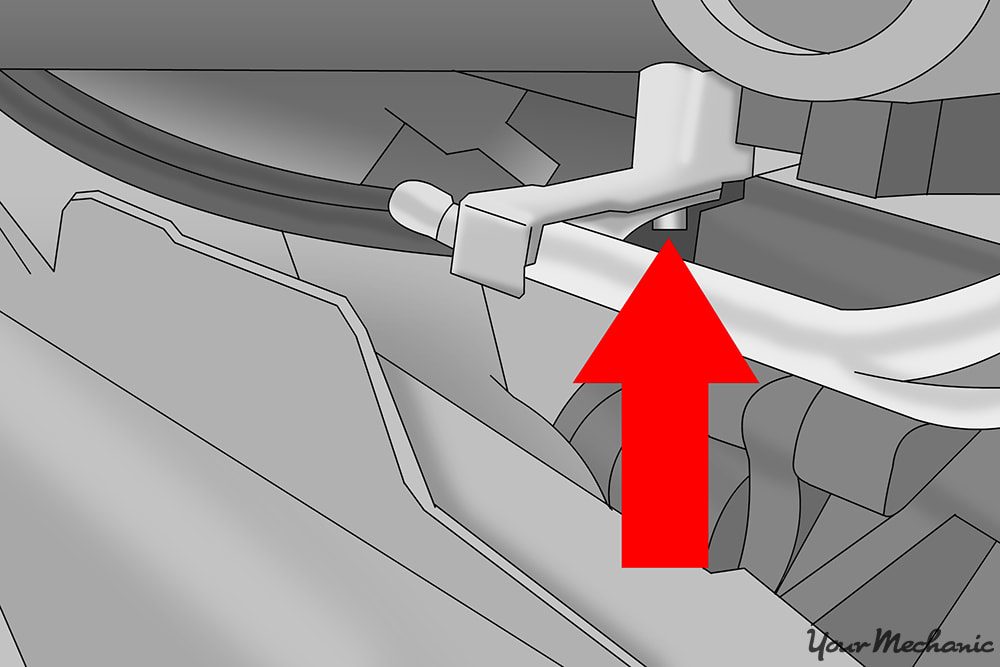
Step 6: Remove any oil cooler line support brackets. Because of the length of most oil cooler lines, there is typically a support bracket(s) to support them.
Trace the oil cooler lines up to the oil cooler and remove any support bracket(s) that keep the oil cooler lines from being removed.
Step 7: Remove the oil cooler lines at the oil cooler. Remove the hardware that secures the oil cooler lines to the oil cooler.
Again, this could be any combination of clips, clamps, bolts, nuts, or threaded fittings. Remove the oil cooler lines from the vehicle.
Step 8: Compare replacement oil cooler lines to the ones removed. Lay the replacement oil cooler lines beside the ones that were removed.
Take note that the replacements are of an acceptable length and that they have the required bends to enable the clearance required to reinstall them.
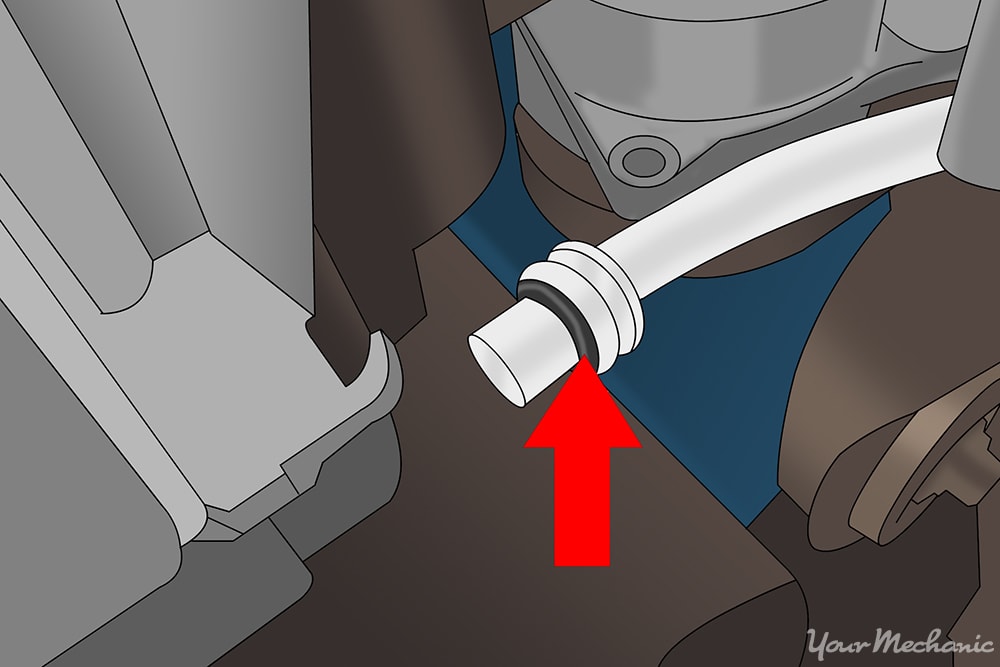
Step 9: Check seals on replacement oil cooler lines. Check the replacement oil cooler lines to see if the seals are installed.
Some replacement lines have the seals already installed while others supply them in a separate package. These seals could be in the form of o-rings, seals, gaskets or grommets. Just take a minute to match up the correct seals on the replacements to those that were removed.
Step 10: Install replacement oil cooler lines to the oil cooler. With the correct seals installed on the replacement oil cooler lines, go ahead and install them onto the oil cooler.
Once installed, go ahead and reinstall the retaining hardware.
Step 11: Install replacement oil cooler lines onto the engine side. Reinstall the replacement oil cooler lines onto the end that get mounted to the engine.
Be sure to get them fully seated and reinstall the retaining hardware.
Step 12: Reinstall any cooling line mounting brackets. Reinstall any support brackets that were removed during the disassembly process.
Also, be sure that the replacement oil cooler lines are routed so that they do not rub on anything that will cause premature failure.
Step 13: Remove jack stands. To check the engine oil level, the vehicle needs to be sitting level.
You will need to jack the vehicle back up and remove the jack stands for this.
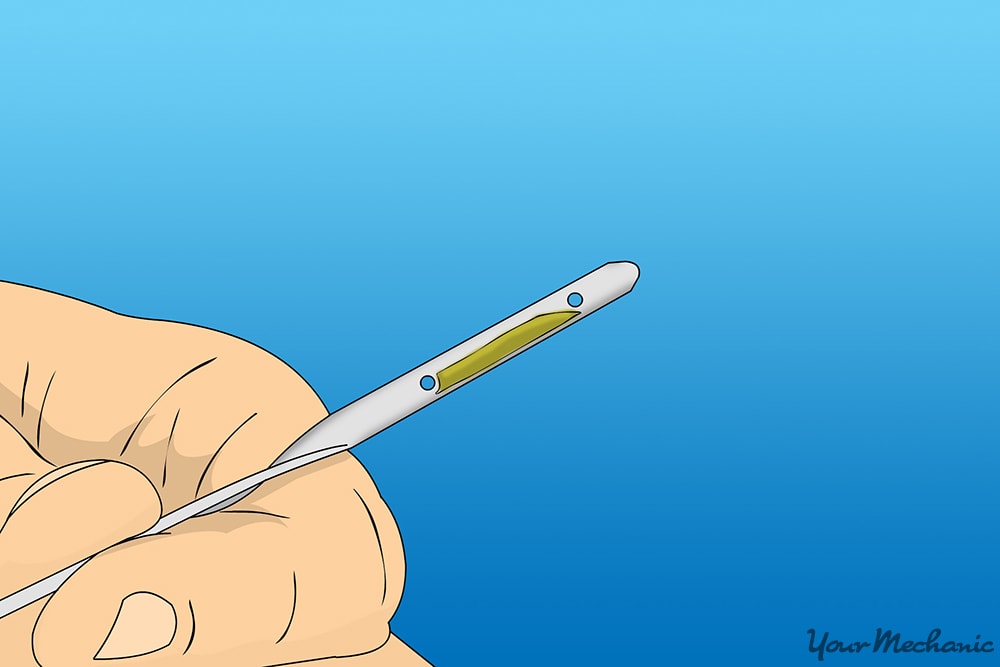
Step 14: Check engine oil level. Pull the engine oil dipstick and check the oil level.
Top off with oil as necessary.
Step 15: Start the engine. Start the engine and it run.
Listen for any abnormal noises and check underneath for any signs of leaking. Let the engine run for a minute or two, so that the oil can circulate back into all of the critical areas.
Step 16: Shut the engine off and recheck the engine oil level. It is not uncommon to have to add oil at this time.
The addition of oil coolers on heavy use vehicles can extend the life of engine oil significantly. When oil is allowed to operate under cooler conditions, it can fend off thermal breakdown much better and allow it to function better and for a longer period of time. If, at any point, you feel that you could use a hand replacing the oil cooler lines on your vehicle, have one of YourMechanic’s certified technicians do the repair for you.


