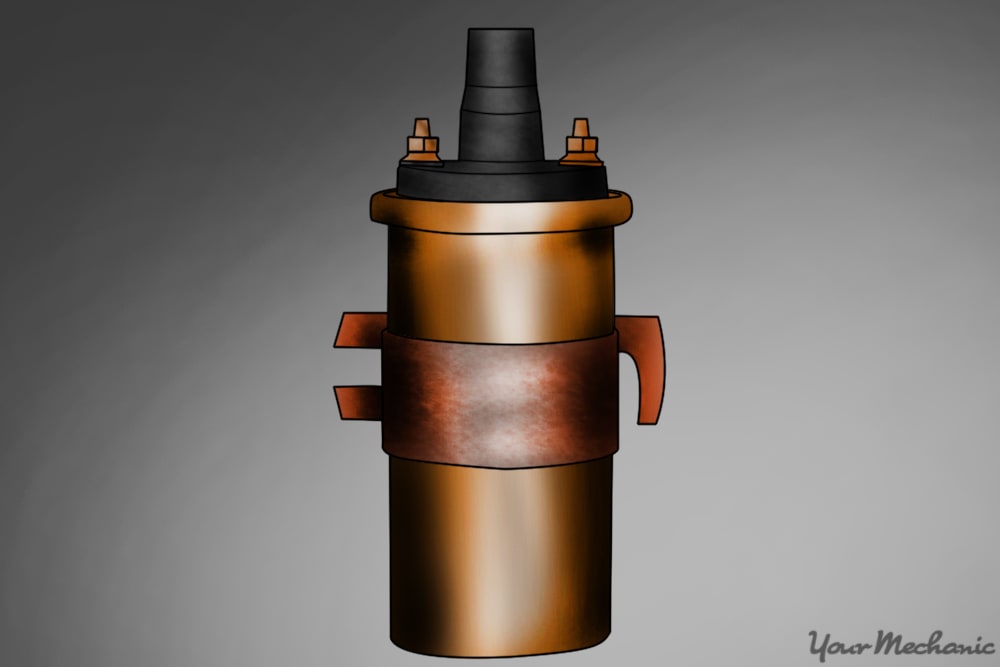

Your vehicle’s ignition coil sends an electrical signal from the computer to your spark plugs. An ignition coil lifespan depends on a number of things and can vary depending on vehicle type. A failing ignition coil can result in a number of problems, such as a stalled vehicle, rough idling, or vehicle failure just to name a few. You’ll want to test your ignition coil if you suspect it is going bad or failing. Replacing the ignition coil is a relatively simple and inexpensive process. This step-by-step guide will teach you everything you need to know about how to replace an ignition coil.
Replacing an Ignition Coil
Materials Needed
- Replacement ignition coil
- Screwdrivers
- Service manual specific to your vehicle
- Socket set and ratchet
- Wrenches
Step 1: Disconnect the Battery
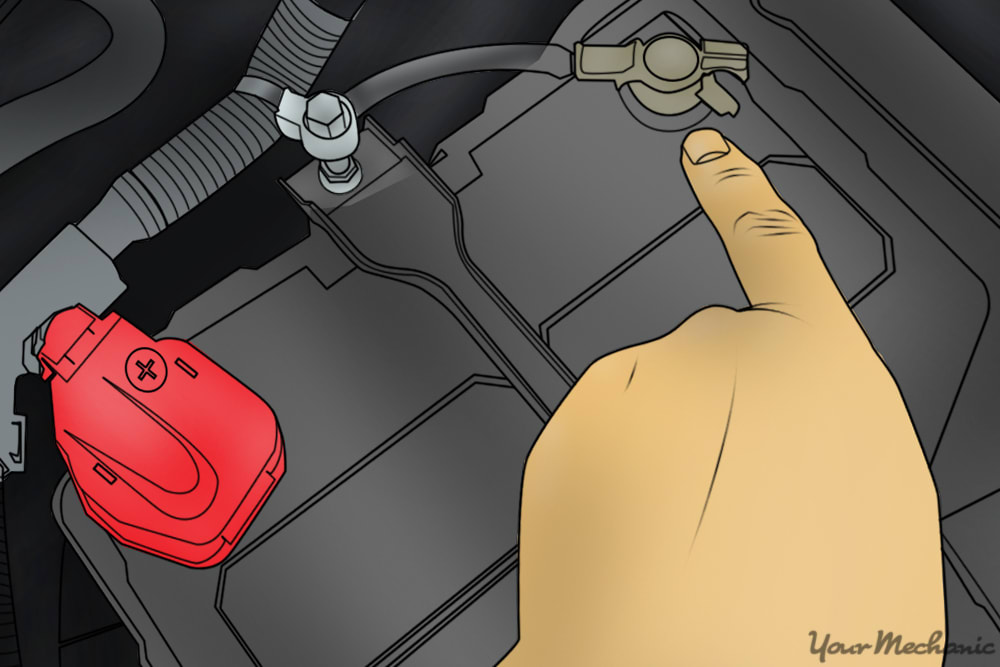
The first step of replacing an ignition coil is to disconnect the battery. Disconnect the negative battery cable to cut power to the vehicle. Use a socket or wrench to disconnect the clamp bolt holding the cable to the terminal.
- Tip: Always disconnect the battery when working on electrical systems of any kind.
Step 2: Locate the Ignition Coils
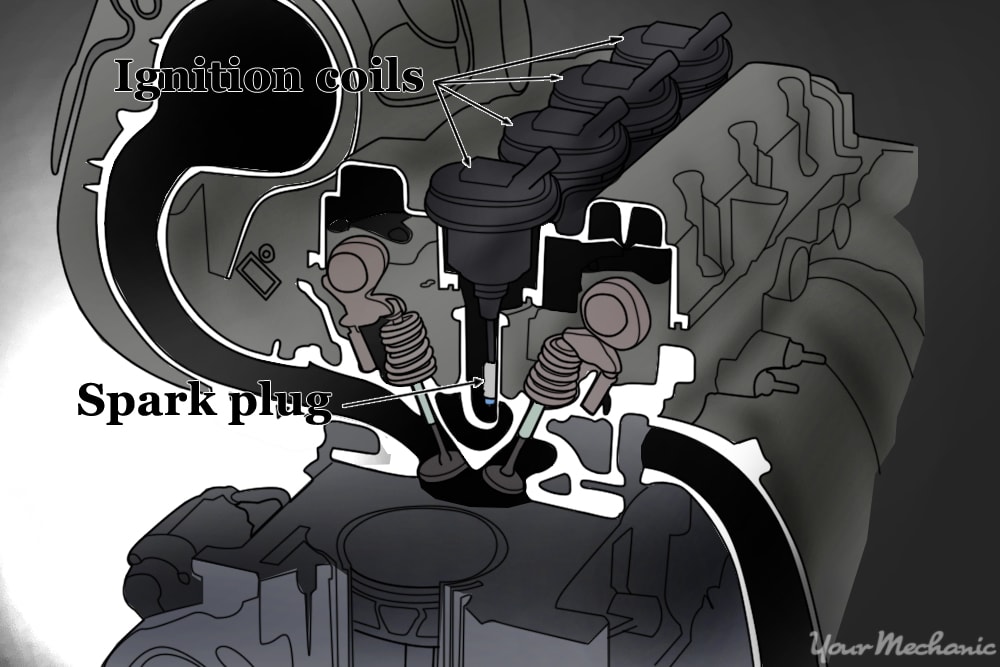
Locate the ignition coils on top of the engine. They will be attached to the engine block or surrounding components.
Step 3: Disconnect and Remove Old Ignition Coil
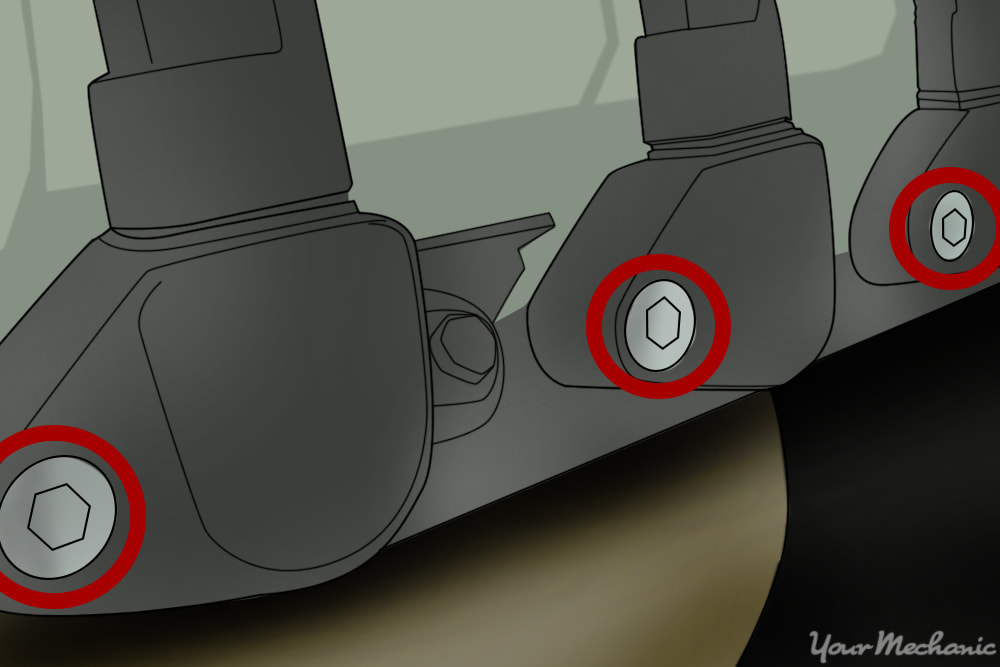
You will need to disconnect the bolts or screws attaching the coil to the vehicle. You will also need to disconnect the electrical connectors from the coil.
Determine which connection needs to be broken first depending on your particular make and model.
On some vehicles, the electrical connections need to be unscrewed or unplugged first, while on others, you will need to unbolt the unit before you can disconnect the electrical connectors. You can refer to your vehicle’s service manual to determine the proper procedure for your particular car.
- Tip: Ignition coils which run multiple plugs from one coil will have multiple electrical connections to remove. Be sure to mark or label these connectors for reassembly. You MUST reattach the wires to the correct corresponding connections on the new coil, otherwise the ignition coil replacement will not work.
Once the old coil has been disconnected, you can remove it from the vehicle.
Step 4: Install New Ignition Coil
Installing a new ignition coil is pretty simple. Simply repeat the steps in reverse of the order in which you disconnected the old ignition coil.
If you previously disconnected the electrical connectors first, reconnect them last after securing the mounting bolts or screws.
- Tip: If you had to label multiple electrical connections when removing the old coil, make sure you are reconnecting these wires to the proper terminals on the new coil. Doing so ensures your efforts to change the ignition coil will not fail.
Step 5: Reconnect Battery
Reattach the negative battery terminal to the car battery to restore power to the vehicle. Hand-tighten the electrical connection, and then use a socket or wrench to tighten down the terminal bolt.
- Warning: Never over-tighten the bolts. This could cause damage and replacements are often hard to find. You want to tighten the bolts just enough so that any engine vibration will not loosen them.
Once the replacement is complete, close the hood. Your ignition coil replacement is now finished! The next step is to perform a test to ensure the ignition coil installation was successful.
Step 6: Test the New Coil
Start the engine with the vehicle in park to test the new ignition coil. If the vehicle starts and idles normally, you can then test drive the vehicle.
Ignition coil failure can cause one or more cylinders to misfire which can result in driveability issues. By following the above guide, the stressful stuttering and sluggish nature of a malfunctioning coil can be resolved with minimal expenses and in a short amount of time.
However, if you find yourself in need of assistance, have a certified mechanic from YourMechanic come to your home or office to replace your ignition coil for you.


