
The air injection system is used to reduce hydrocarbon and carbon monoxide emissions. The system does this by introducing oxygen into the exhaust manifolds during cold engine operation and into the catalytic converter during normal operation.
An air pump is used to force air into the exhaust system. The powertrain control module (PCM) directs pumped air to the desired location by operating a control valve. A one-way check valve is also used to prevent exhaust gases from being forced back through the system in the event of a backfire or system failure.
If you notice any signs of a failing air pump check valve, you will need to replace it.
Part 1 of 2: Locate and remove the old air injection check valve
You will need a couple of basic tools to replace your air injection check valve safely and efficiently.
Materials Needed
- Free repair manuals - Autozone
- Protective gloves
- Repair manuals (optional) - Chilton
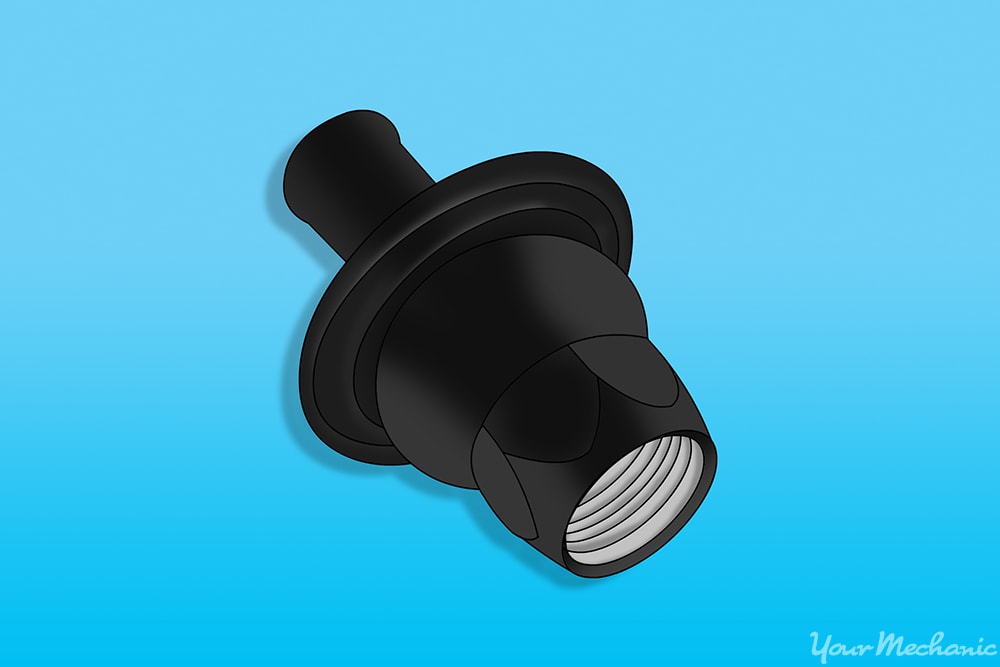
- Replacement air pump check valve
- Safety glasses
- Wrench
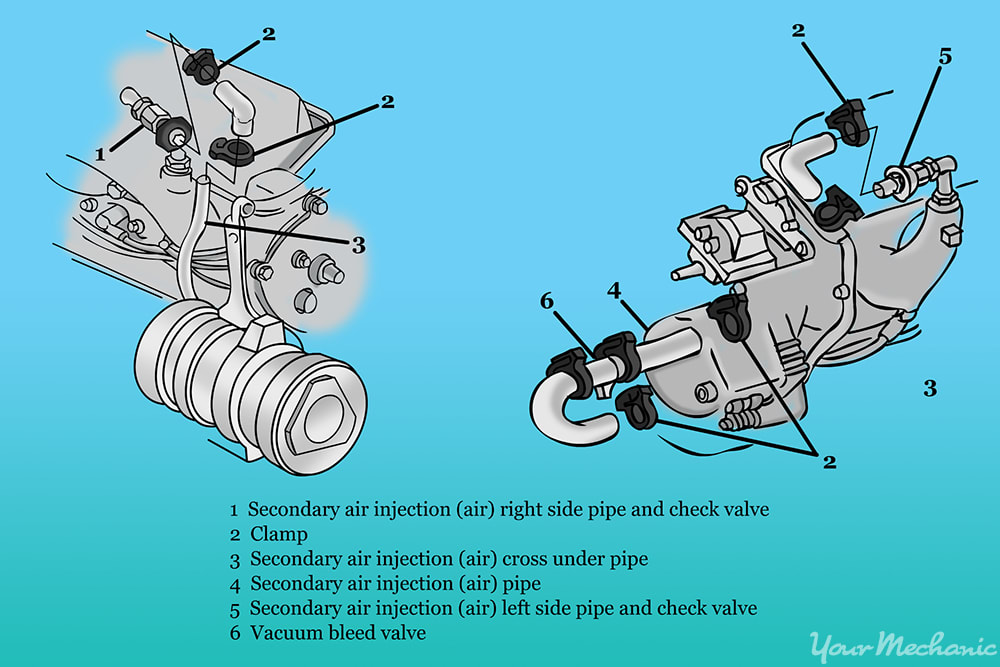
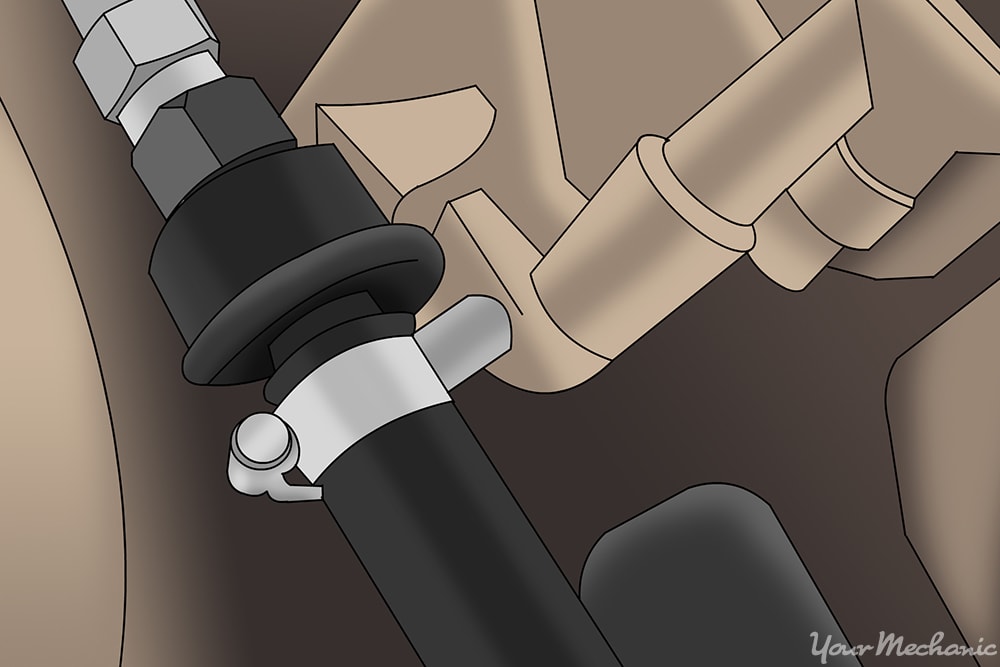
Step 1: Locate the air injection check valve. The check valve is generally found near the exhaust manifold.
On some cars, like the example shown above, there may be more than one check valve.
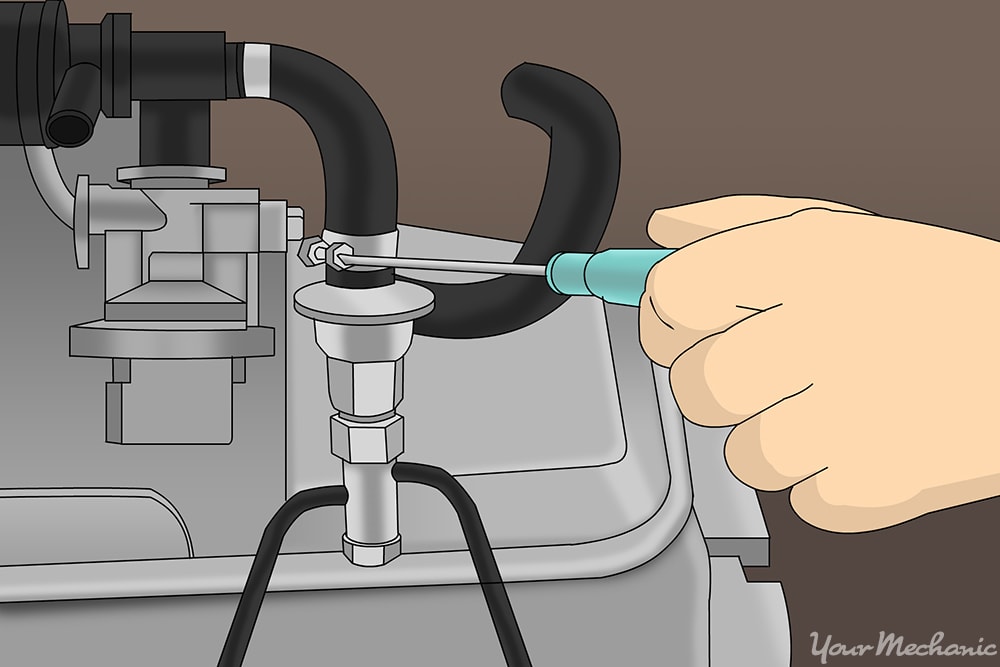
Step 2: Disconnect the outlet hose. Undo the clamp with a screwdriver and carefully pull the outlet hose off the air injection valve.
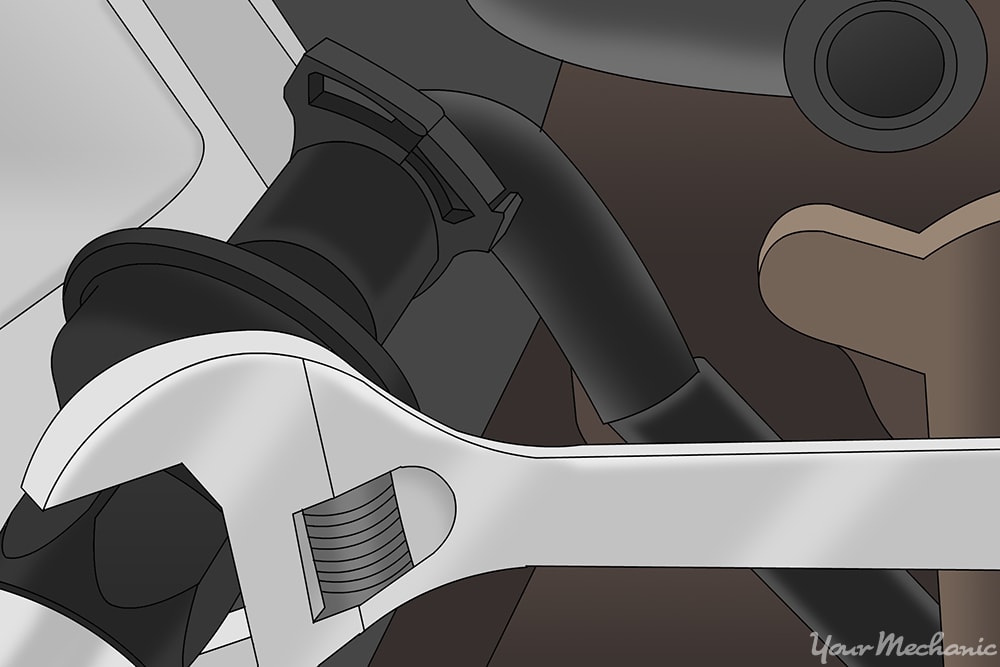
Step 3: Remove the check valve from the pipe assembly. Use a wrench to carefully remove the valve from the pipe assembly.
- Note: In some cases, the valve might be held in place by a couple of bolts instead, which must be removed.
Part 2 of 2: Install the new air injection check valve
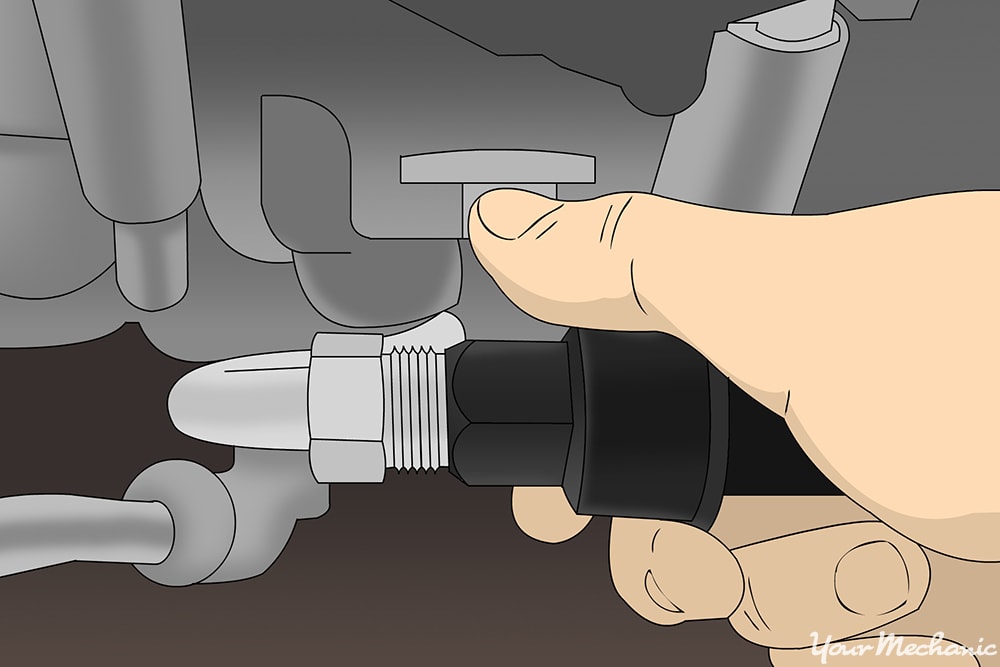
Step 1: Put in the new air injection check valve. Install the new air injection check valve on the pipe assembly and tighten it down with a wrench.
Step 2: Put back the outlet hose. Reinstall the outlet hose on the valve and tighten down the clamp.
If you prefer to leave this task to the professionals, a certified technician from YourMechanic can replace the air injection check valve for you.


