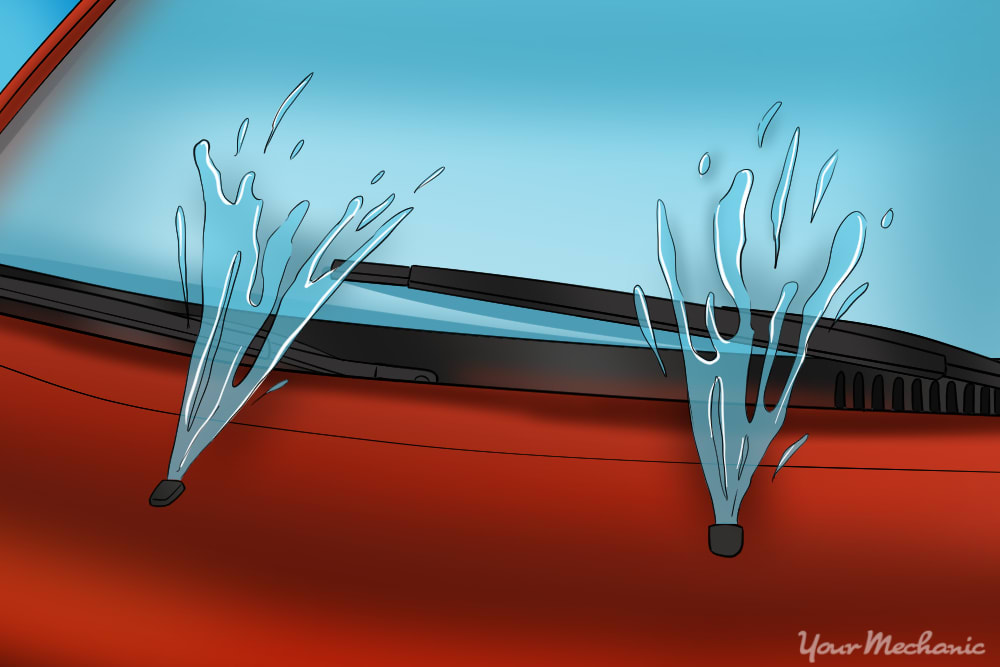

Your windshield washer fluid tank is full. You just used the windshield washer and plenty of fluid sprayed up on the glass. Yet, that “low washer fluid” warning is still staring you in the face. The most likely cause is a broken or shorted washer fluid level sensor. It’s possible that the bad level sensor can render your windshield washer inoperative. Common signs that the washer fluid level sensor has failed are the Windshield Fluid Warning Light staying on and unusual noises coming from the washer pump.
With the engine compartment of newer vehicles being so tightly packaged, the filler cap and/or filler neck may be the only part of the reservoir that is visible from the engine bay. You will probably have to remove the front wheel wheel and fender liner corresponding to which side your washer fluid reservoir is located. With larger vehicles and SUVs, you may simply be able to remove it from the engine bay.
Part 1 of 1: Replacing the washer fluid level sensor
Materials Needed
- Floor jack
- Hand/dish soap
- Jack stand
- Lug wrench
- Multi-bit driver set
- Ratchet/sockets
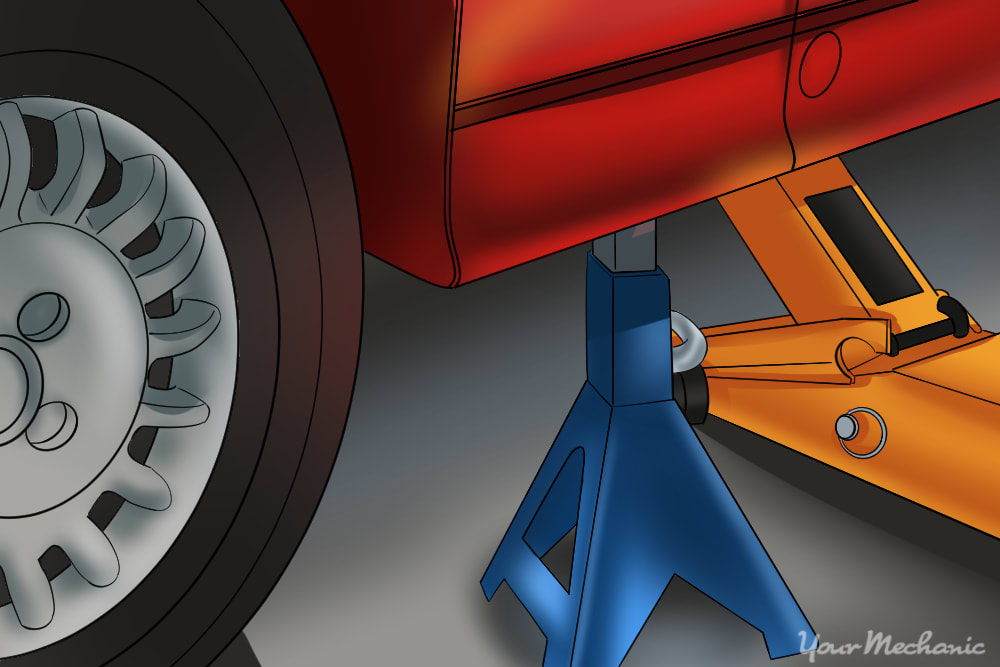
Step 1: Lift and support the vehicle. Apply the parking/emergency brake.
Place the jack at the appropriate lifting point for whichever side you are listing. Slowly lift the vehicle to the height of the lowest setting for the jack stand. Place the jack stand at an appropriate position and slowly lower the vehicle onto it. Leave the jack in position as a precaution.
Step 2: Remove the wheel well liner. Remove the wheel for easy access.
The wheel well liner will be fastened with numerous screws or plastic trim clips. Select the appropriate driver bit and remove them. Pull the wheel well liner out of your way and set it aside.
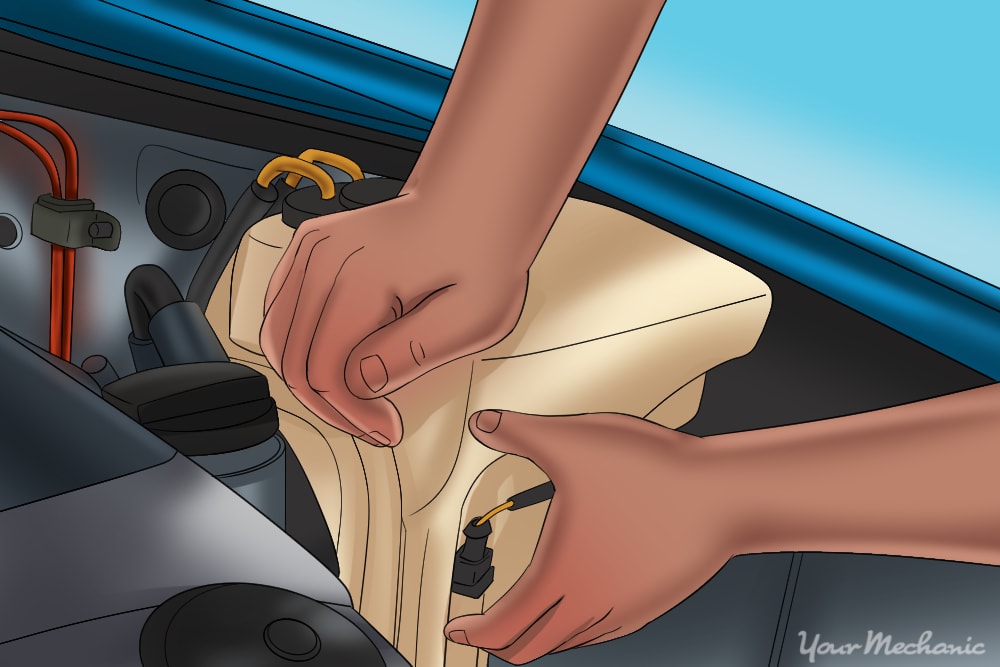
Step 3: Remove the reservoir. Unplug the electrical connector or connectors. There may be more than one. Unplug the hose from the washer fluid pump and let any remaining fluid drain out. Select the appropriate socket or driver bit to remove the reservoir mounting bolts.
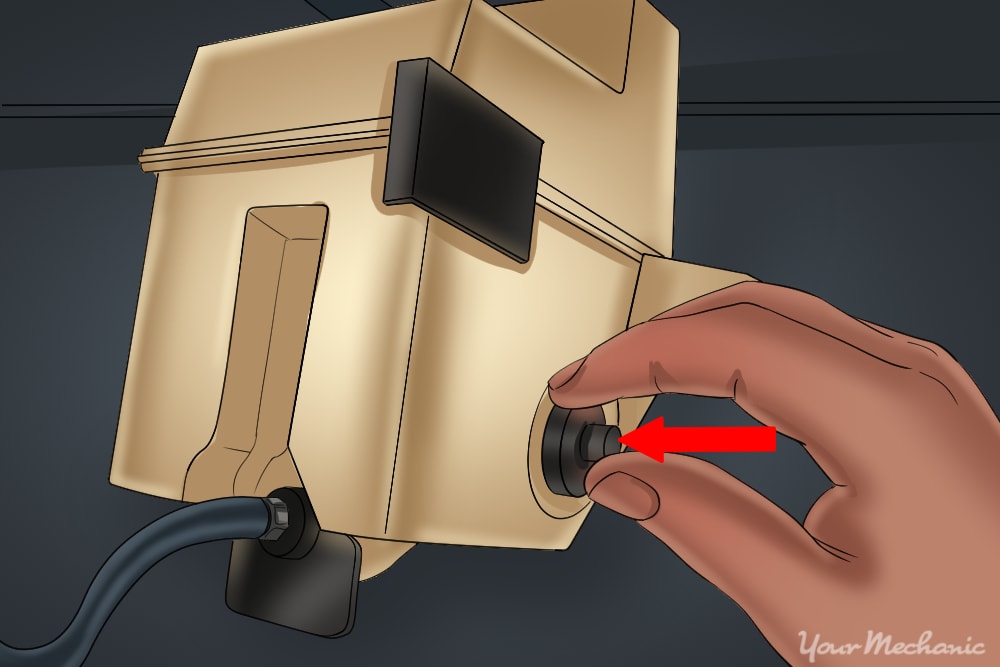
Step 4: Remove the level sensor. The level sensor may be held in place by a clip, or simply by friction between it and the seal.
Whichever pertains to your vehicle, gently pry the level sensor out as not to crack the reservoir. If the replacement level sensor comes with a new seal, gently pry the old one from the reservoir.
Step 5: Install the new level sensor. If you are replacing the seal/o-ring as well, apply a dab of dish/hand soap to it and gently press it into the reservoir, making sure it is seated properly.
Do the same to the level sensor when placing it into the seal if needed as well. The soap makes it easier to install and any residue will be diluted by the washer fluid. Do not use a petroleum-based lubricant.
Step 6: Reinstall the reservoir. Secure the reservoir in place and plug in any electrical connectors.
Fill the reservoir halfway with water to check for leaks. If no leaks are found, start the vehicle to verify the low washer fluid warning is off.
Step 7: Reinstall all the parts removed. If the low washer fluid warning is now off, turn the vehicle off.
Reinstall the fender liner and wheel and lower the vehicle back to the ground. Top off the reservoir with washer fluid as needed.
Having a fully function windshield washer system is essential. If your windshield washer system is not functioning properly, have one of YourMechanic’s certified technicians come to your home or business and perform a windshield washer system inspection.


