
With engines getting smaller but demand for power along with efficiency increasing, variable valve timing (VVT) gives you the best of both worlds. At low speeds, you have a small efficient engine. At higher engine speeds, the VVT solenoid supplies oil pressure to the camshaft lobes to alter their profile. The valve will open farther and longer to give you the power of a larger engine. When the VVT switch is not functioning properly, you can have loss of power and/or an illuminated check engine light.
- Note: There is typically a VVT switch/solenoid on both the intake cam and the exhaust cam. Make sure you are replacing the correct one.
Part 1 of 1: Replacing the VVT solenoid
Materials Needed
- Engine oil (any grade)
- Multi-bit driver set
- Ratchet/sockets
Wrenches - box/open-end
Tip: It’s a good idea to have one of these multi-bit driver sets in your tool collection. In today’s vehicles, you can have a number of different types of fasteners - phillips, flat-head, torx-head - so having interchangeable bits makes life easier than having complete sets of different screwdrivers.
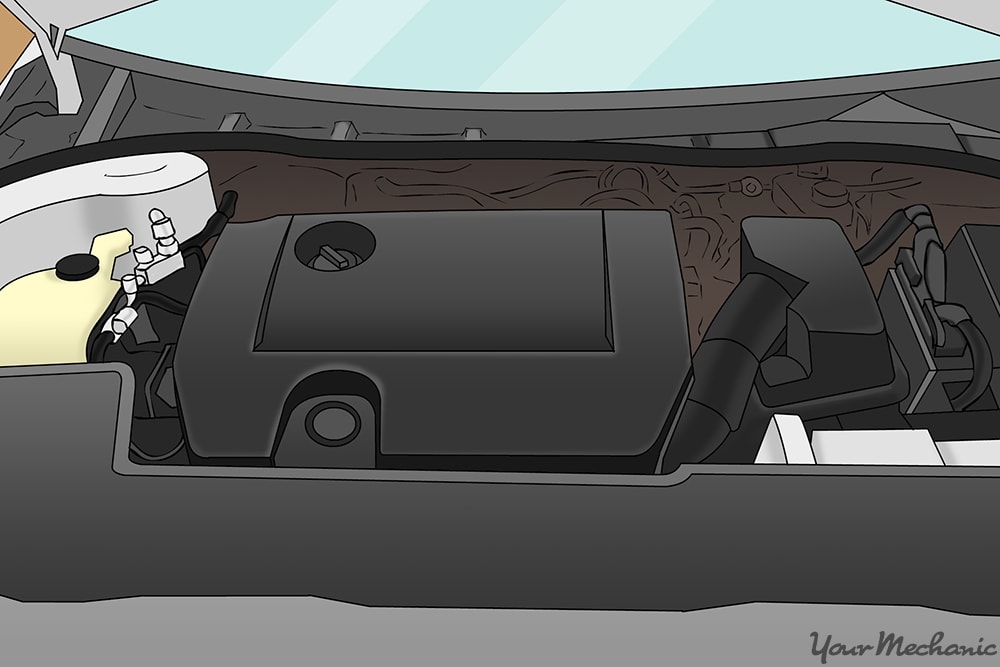
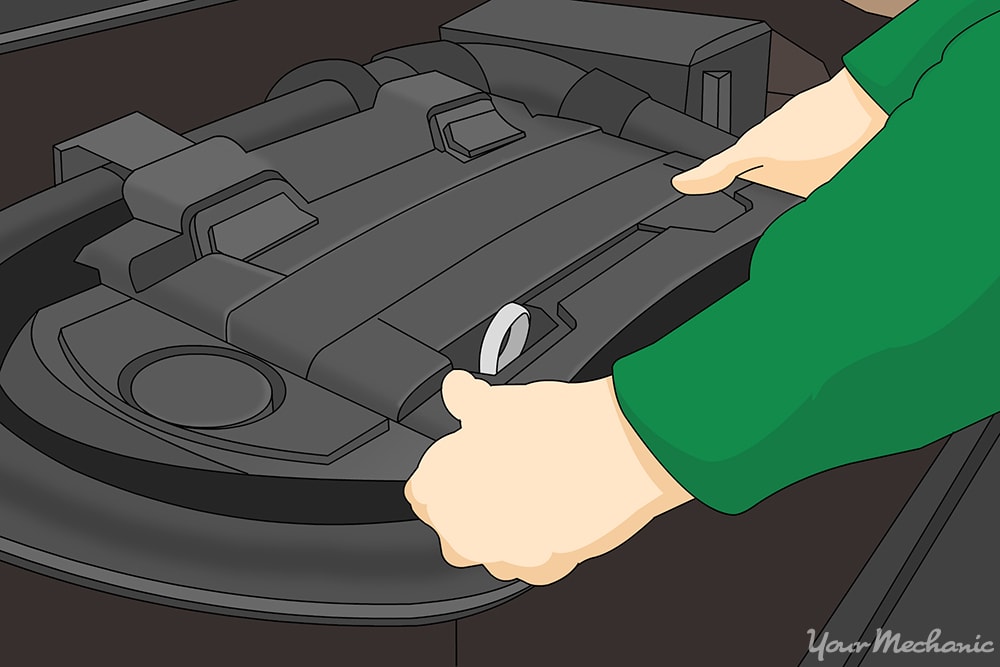
Step 1: Locate the VVT switch. If so equipped, remove any intake covers for ease of access.
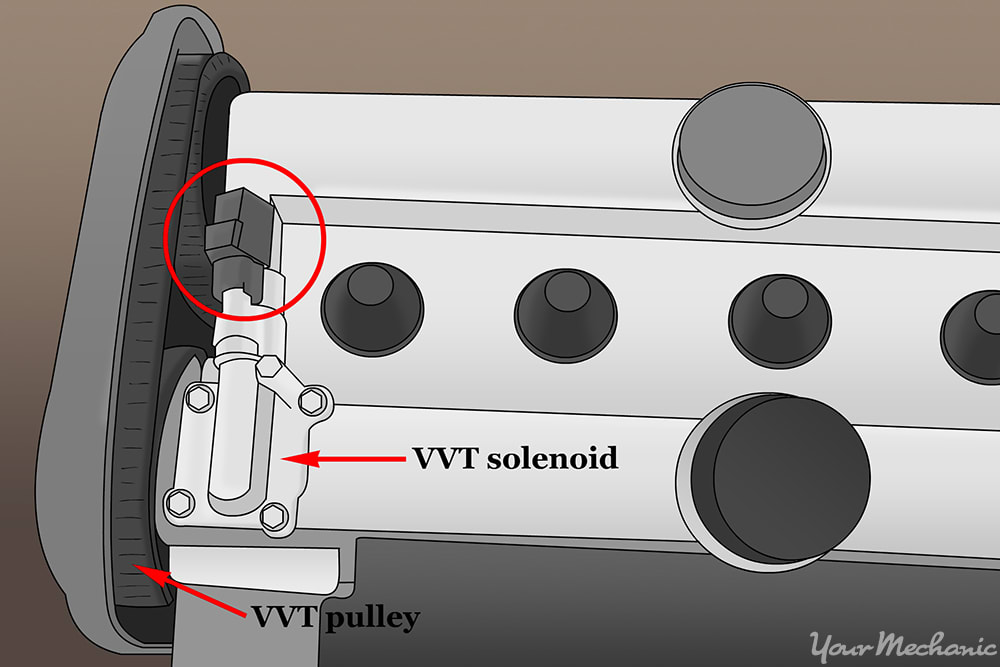
Once removed, locate the correct VVT switch you are replacing - intake or exhaust side.
Once located, remove the electrical connector, being careful how much force you use. Plastic components underhood become brittle due to the engine’s heating and cooling cycles.
Step 2: Remove the VVT switch. The VVT switch is typically held in place with one mounting bolt.
Remove it and set it aside. Carefully pull the switch out of its mounting, making sure the o-ring or seal is removed along with it.
Step 3: Clean the VVT switch mounting area with a rag. Wipe the mounting area as to keep any dirt or debris from getting into the mounting surface/bore.
Making sure the new o-ring/seal is in place on the new VVT switch, dab a bit of engine oil on the o-ring so it slides into place without damage. Secure it in place with the mounting bolt and reattach the electrical connector.
Step 4: Check for leaks. Before replacing any engine covers removed to access the VVT switch, start the vehicle and check for leaks.
Also, check that the Check Engine Light is not on. Once verified, turn the engine off and reattach any covers.
Step 5: Clear the codes. If you do not have a code reader available, most vehicles typically self-clear fault codes after 5-10 ignition cycles - starting the vehicle, driving it, then turning it off.
If this does not happen, get a fault code reader to clear the code or visit a local auto part store that may be able to do it for you.
If you do not feel confident performing this repair on your own and your vehicle is showing signs of reduced power or has a fault code set, have one of YourMechanic’s certified technicians come to your home or business and perform a replacement.


