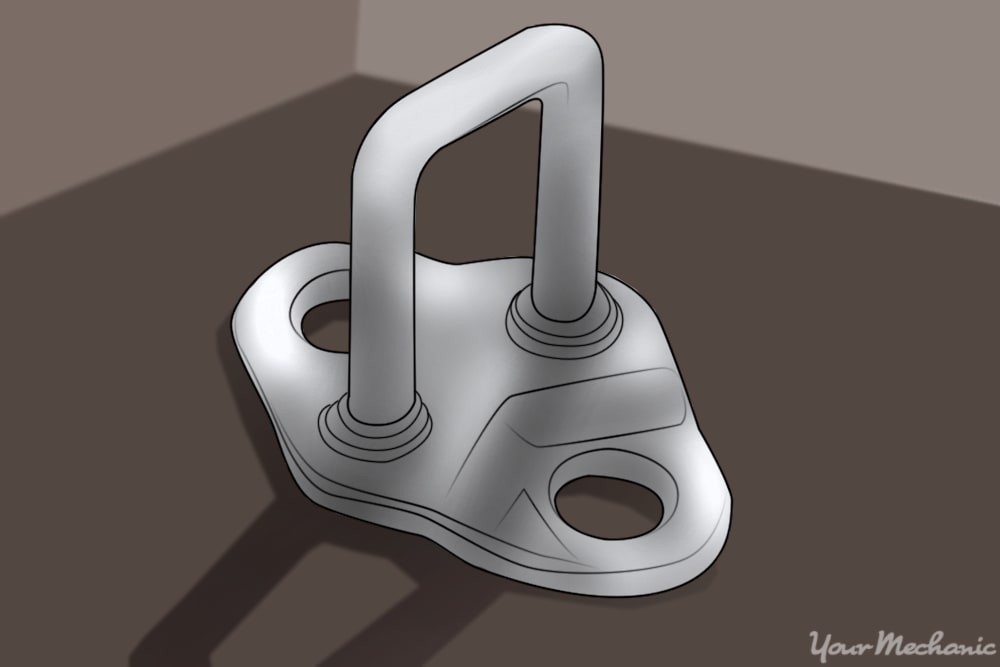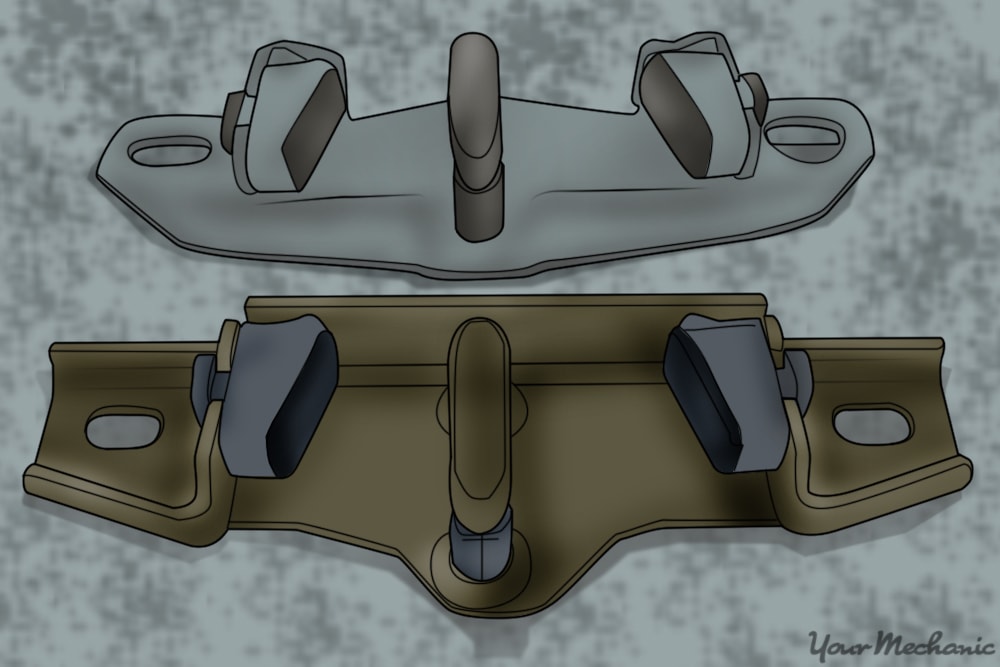

The trunk striker plate is the piece that the trunk latch grabs and holds when you close the lid. Some cars have the striker on the body with the latch on the trunk lid, and others have the opposite arrangement. The striker may have a couple of rubber or plastic blocks to guide the latch, and have some kind of pin for the latch to engage. Most strikers are adjustable to enable you to compensate for a small amount of misalignment in the trunk panel. It may be time to replace the trunk striker plate if you hear rattling noises, see trunk warning lights, or have to slam the trunk lid repeatedly to get it to stay shut.
Part 1 of 1: Replacing the trunk striker plate
Materials Needed
- Combination wrenches
- Screwdrivers, Phillips and straight
- Silicone lock lubricant
- Socket wrench set
- Torx bit set
Step 1: Inspect the latch and striker. Open the trunk and look carefully at the latch and the striker. You may have to pull off some pieces of plastic or cardboard trim to see them.
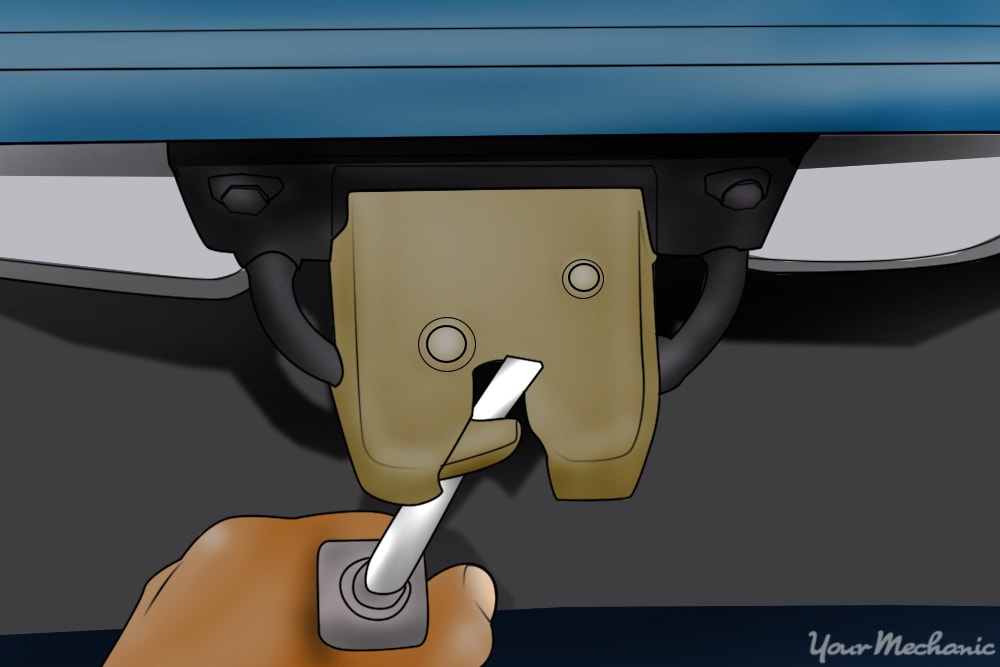
Operate the latch by inserting a screwdriver or other tool into the latch where the striker normally goes. You will be able to observe the operation of the latch that way. Resist the urge to get in the trunk with a flashlight and pull down the lid. That might turn out badly.
Pay attention to the area where the latch engages the striker. Wear occurs where the metal parts engage, or at the rubber blocks that provide the tension. You will want to replace all the parts that show wear.
Step 2: Obtain the replacement part. If you’ve determined that the striker is worn, it is better to get the new part before you begin.
With the new part in hand, you can engage the latch and see where and how well it grabs the striker. That may help you when it’s time to adjust it.
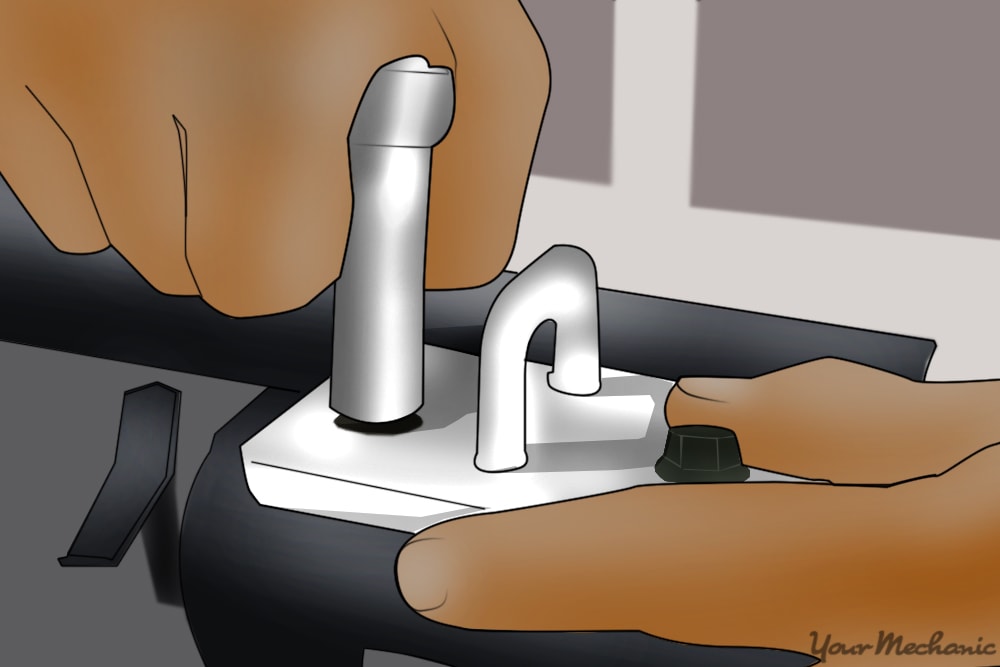
Step 3: Replace the striker. Most strikers are held on by a pair of bolts. Frequently, they will be countersunk fasteners with Torx socket heads. Simply unscrew the bolts and remove them. The replacement part is installed the same way.
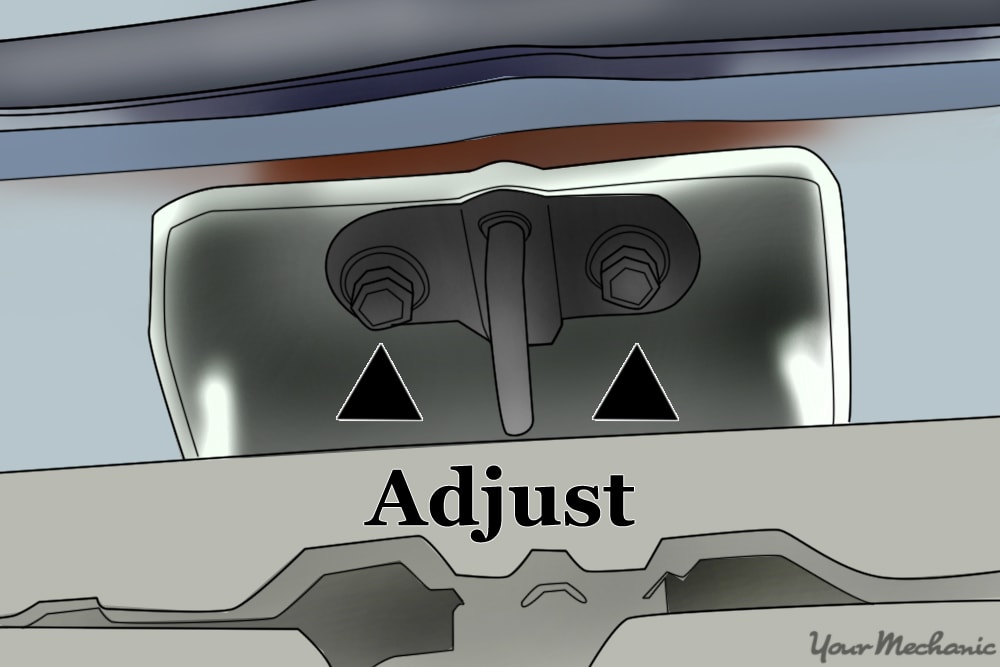
Step 4: Adjust the striker. The mounting holes on the striker are usually bigger than the bolts to allow for some movement. With the mounting bolts loose, you can slide the striker around a small amount.
Lower the lid and carefully watch the latch to see if the pin on the striker centers in the latch. If it is off a bit, slide the striker until the parts line up correctly and tighten the bolts.
The depth of engagement is also adjustable, usually by moving the latch up and down in its mount. Adjust the depth so that it takes a little bit of pressure on the trunk lid to make it click. You want to ensure that the weather strips are compressed when the trunk is closed.
Step 5: Lubricate the latch. There are many spray lube products available that will work well. Make sure to get one that doesn’t leave a greasy mess on the latch.
If you leave grease on the trunk latch or striker plate, it may end up on your clothes or luggage when you next load the trunk.
Silicone lubes will work well for this. While you’re at it, lube the trunk hinges as well.
Replacing a trunk striker is rarely difficult. For an amateur mechanic, it shouldn’t take more than a couple of hours. But the final adjustments might be frustrating if you don’t have the knack. A call to YourMechanic is all you need to get the trunk striker plate replacement job off your to-do list.


