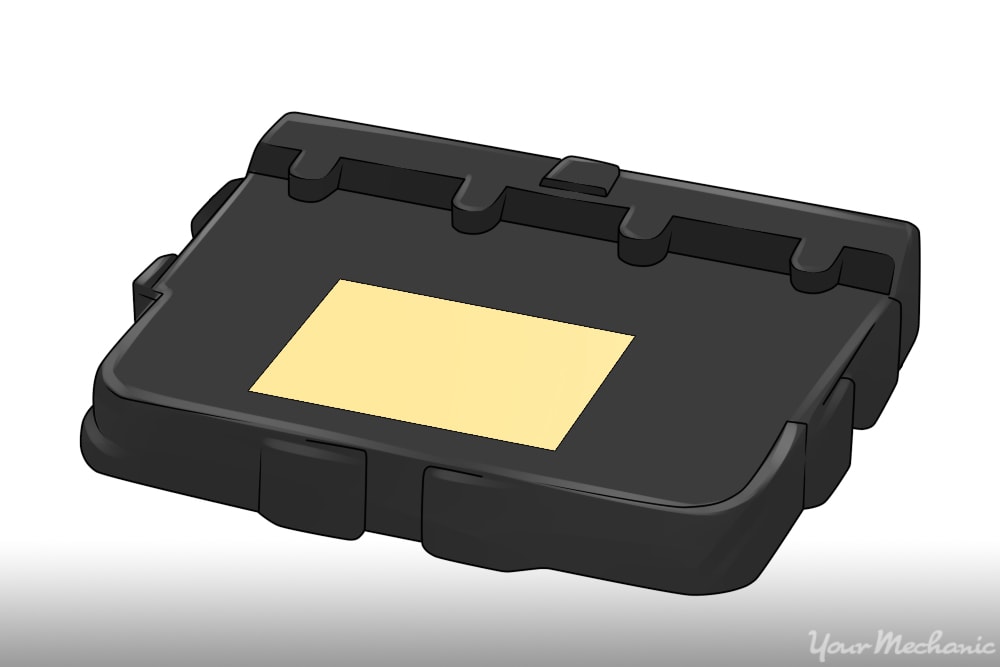

Traction control is available in most modern cars, from the most basic economy car to luxury cars and SUVs. An outgrowth of the anti-lock brake systems, traction control relies on braking and reducing engine power to limit or prevent wheel spin on low traction surfaces such as rain, ice, and snow-covered roads. With the growing use of electronic throttle bodies over mechanical cable types, the traction control module can reduce engine power or apply braking to an individual wheel up to 15 times per second without your intervention. You may experience issues with the traction control module such as the traction control system becoming inactive, a check engine or ABS light coming on, or the traction control sticking on or off.
Part 1 of 1: Replacing the traction control module
Materials Needed
- Driver set
- Plastic sheet or rubber mat
- Replacement traction control module
- Rubber gloves
- Sockets/ratchet
- Wrenches - open/box-end
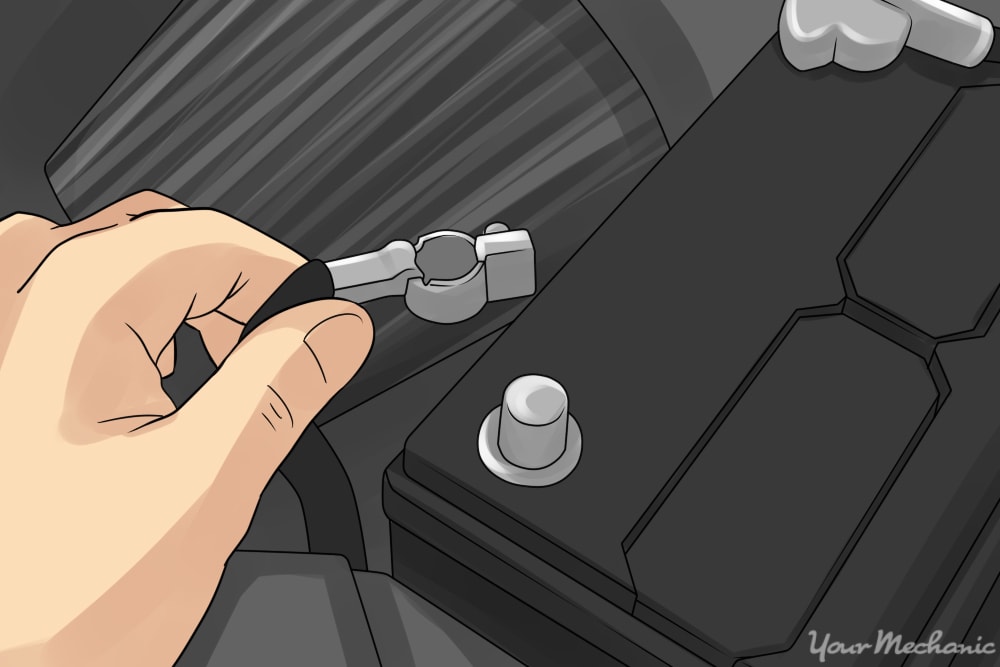
Step 1: Disconnect the battery. Always disconnect the negative battery terminal when working on electronic components in a vehicle. Since most of the electronic components work by controlling ground, the worst thing that can happen if the loose negative terminal contacts the body is the circuit is complete. If you loosen the positive terminal and it contacts the body/chassis, you will cause a short that can damage the electronic components.
- Tip: Wearing rubber gloves reduces the chances of static discharge between you and the vehicle electronics.
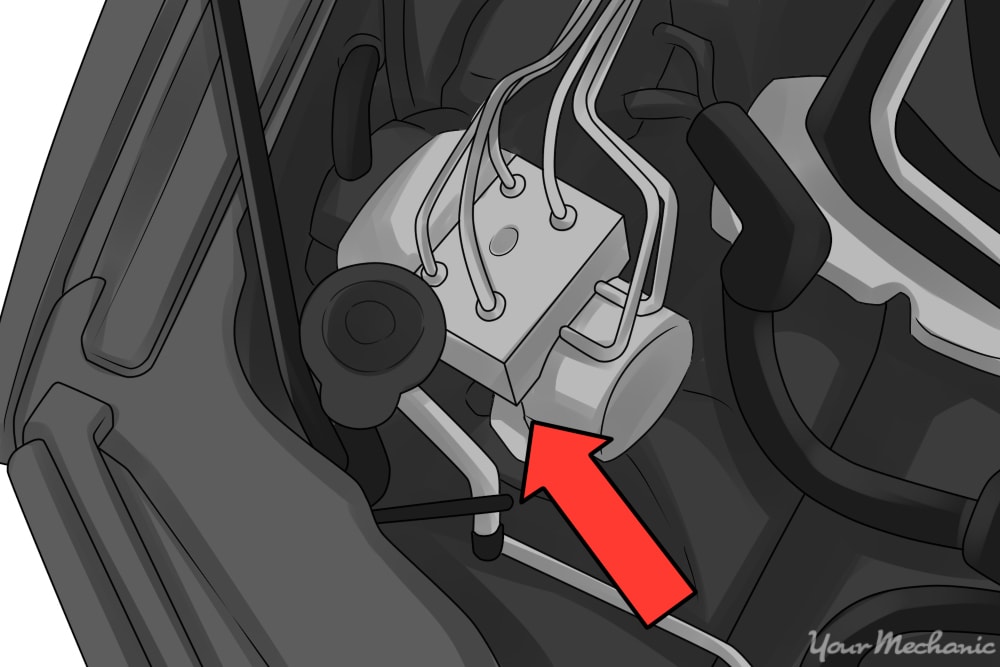
Step 2: Locate the traction control module. In some vehicles it is located under the hood and/or is a part of the ABS control module. Other vehicles may have the traction control module located in the interior or trunk areas.
When replacing a module located in an interior/trunk location, be sure to spread a plastic sheet or rubber mat in the areas you will be working. Modern vehicle electronics are very sensitive to voltage spikes. Placing yourself on plastic or rubber reduces the chance of any static discharge between you and the upholstery/carpeting damaging any electronics.
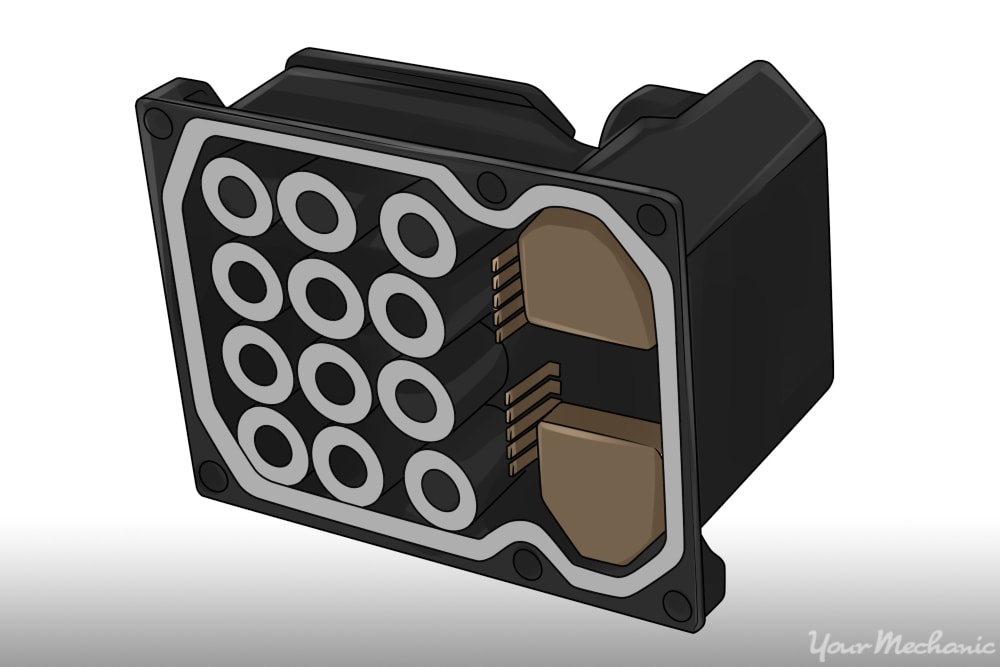
Step 3: Disconnect the traction control module. Once located, unplug any electrical connectors to the module. Take pictures or use masking tape to label any connectors so you have no questions as to where they belong later. Remove the screws securing the module; typically four screws hold it in place.
Step 4: Reconnect the wiring to the new module. With the new module in hand, reconnect all the connectors unplugged from the old module. Be careful as plastic gets brittle with age and can break easily. Carefully snap the connectors in place.
Step 5: Align the new module in place. When placing the new module on the mounting surface, make sure all orifices on the underside of the module align with all plungers on the mounting surface before pushing it into place. Once in place, replace the mounting screws, being careful not to over tighten.
Step 6: Start the vehicle. Reconnect the negative battery terminal and start the vehicle. The ABS and/or check engine light should flash and then go out. Typically, a few ignition cycles -- starting the vehicle, driving it, then shutting down -- should clear any faults that may have been stored in the system. If not, your local auto parts store may be able to clear the codes for you.
If you have any traction control issues with your vehicle, schedule a visit from a YourMechanic mobile technician to your home or office today.


