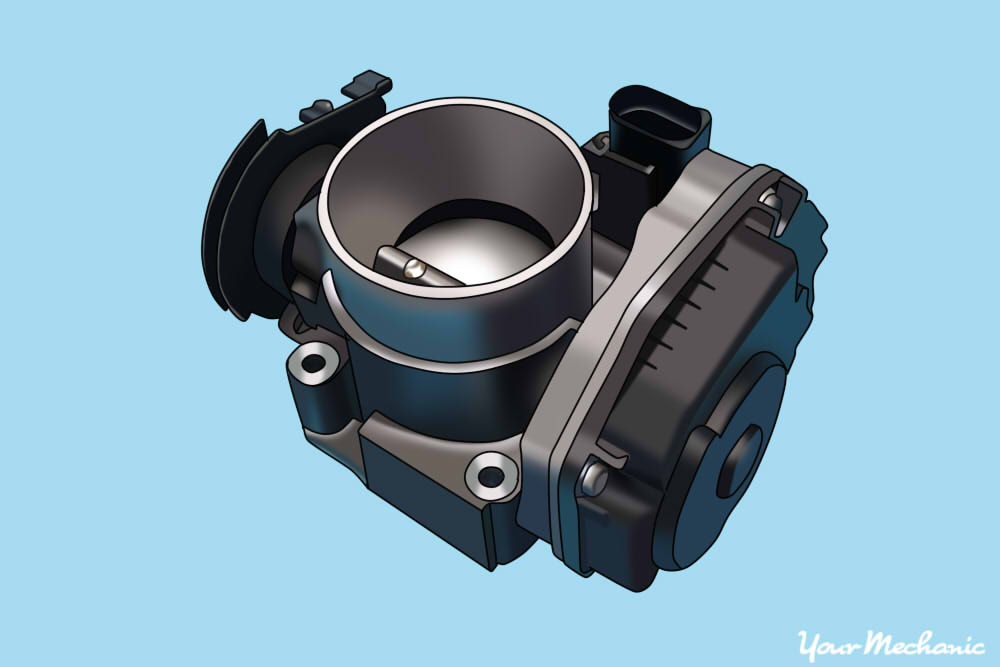

Most modern vehicles do not have a traditional throttle cable. Instead, they use what’s referred to as electronic throttle controller or throttle actuator control. This system typically consists of a control module, sensors (such as the throttle position sensor and accelerator position sensor) and the throttle actuator. The control module receives input from these sensors. It then uses this information to determine actuator control to open and close the throttle. Common symptoms of a failed throttle controller include poor performance, rough idle, stalling and an illuminated check engine light.
Part 1 of 2: Removing the throttle controller
Materials Needed
- Brake cleaner
- Free repair manuals - Autozone provides free online repair manuals for certain makes and models
- Protective gloves
- Ratchet and appropriate size sockets
- Replacement throttle controller
- Safety glasses
- Screwdrivers
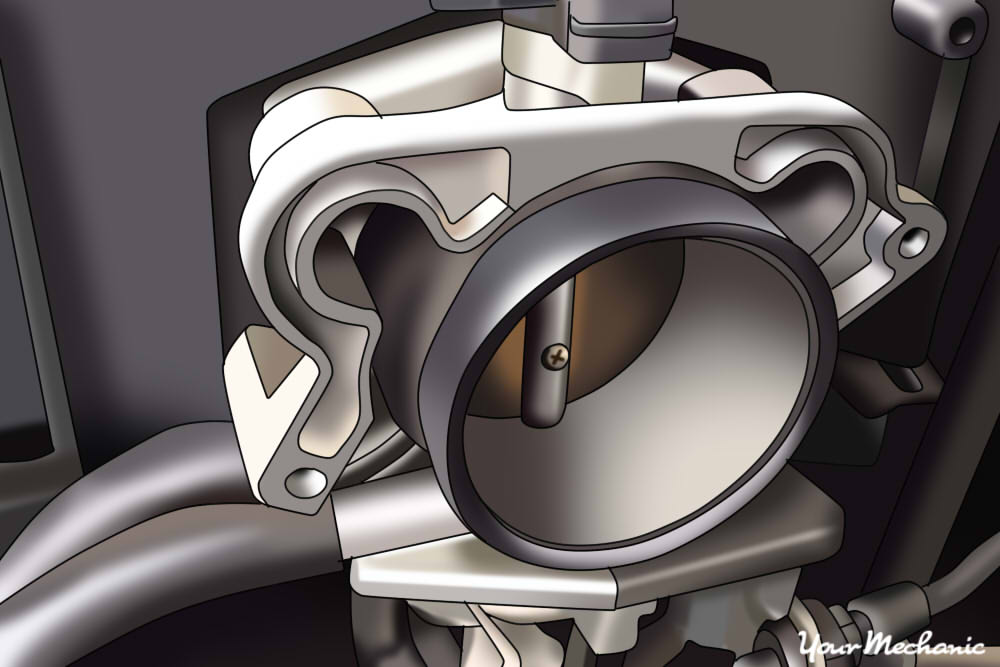
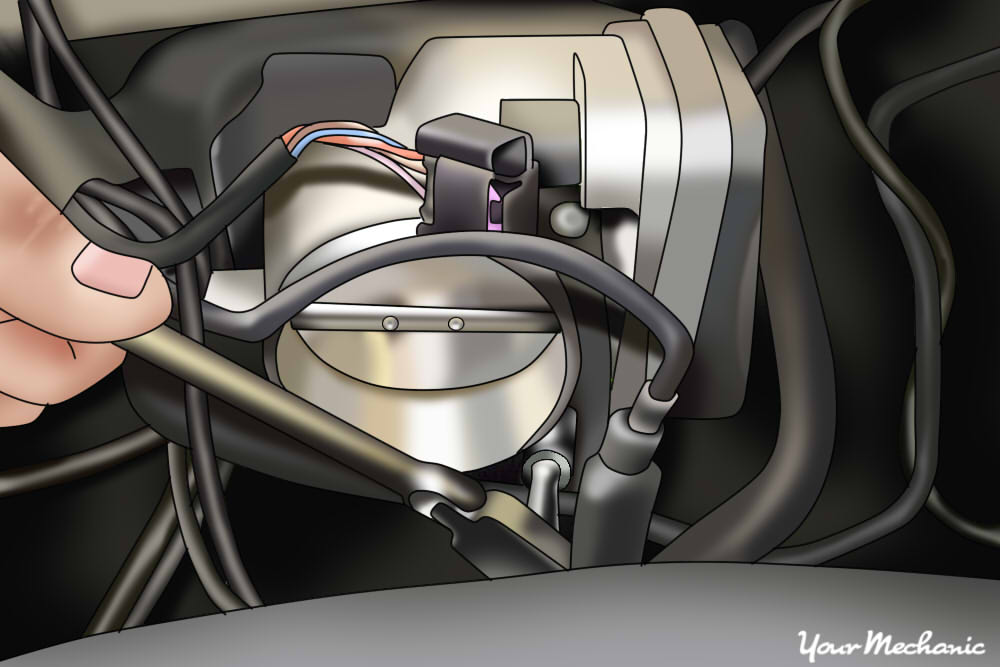
Step 1: Locate the throttle controller. The throttle controller is located on top of the engine between the air intake and the intake manifold.
- Note: Some throttle controllers must be initialized using an OEM level scan tool after replacement. Consult the factory repair information for your vehicle prior to replacement.
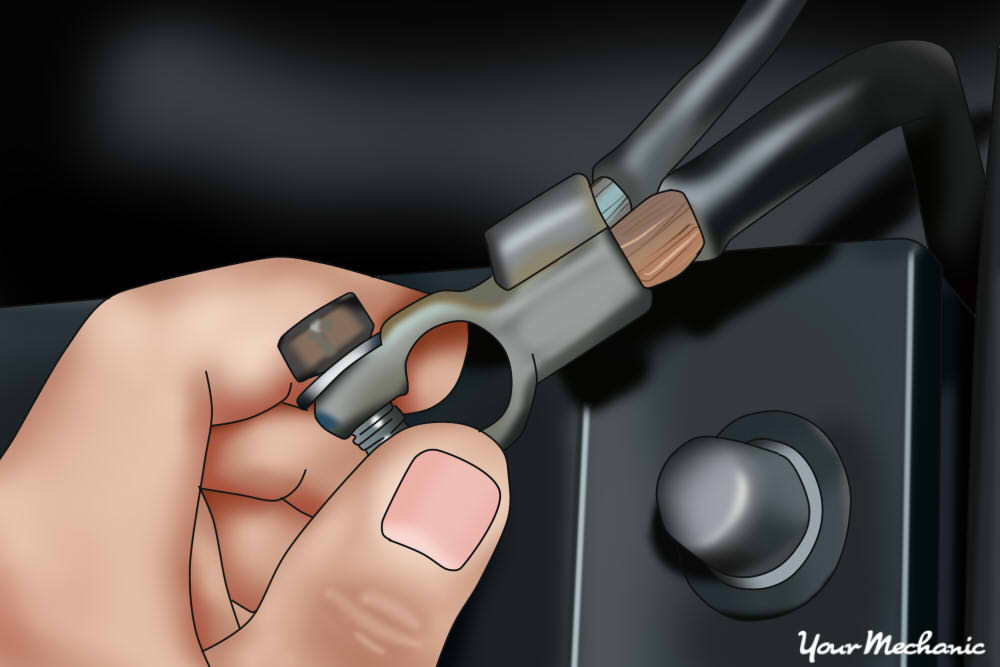
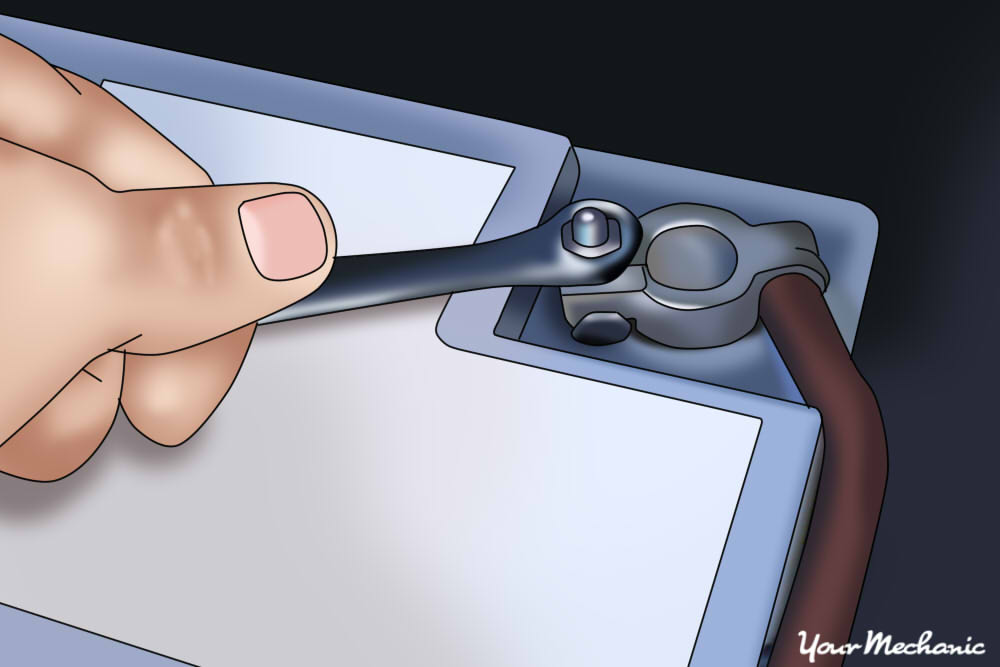
Step 2: Disconnect the negative battery cable. Disconnect the negative battery cable and set it aside.
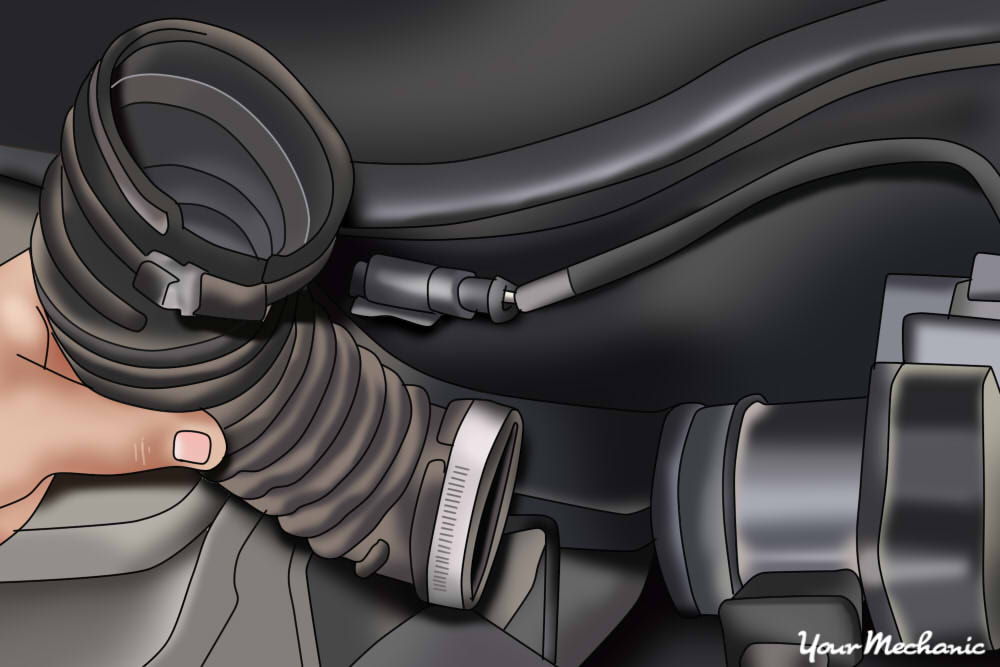
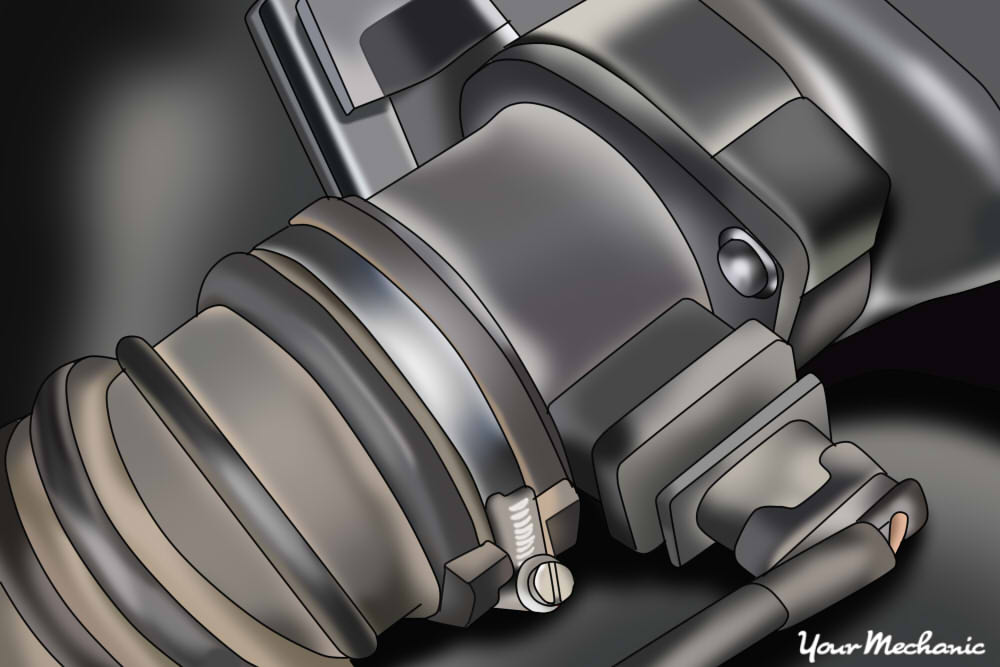
Step 3: Remove the air intake tube. Loosen the clamps on each end of the air intake tube with a screwdriver. Then slide the air intake tube off.
- Note: In some cases, the air intake tube may also have hoses and electrical connectors attached to it that must also be removed.
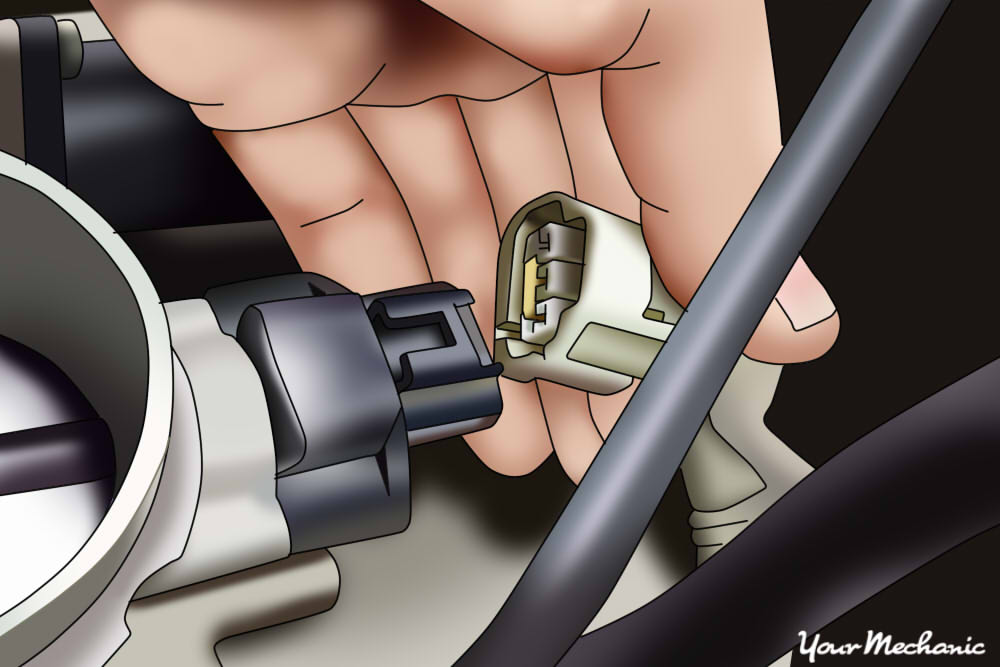
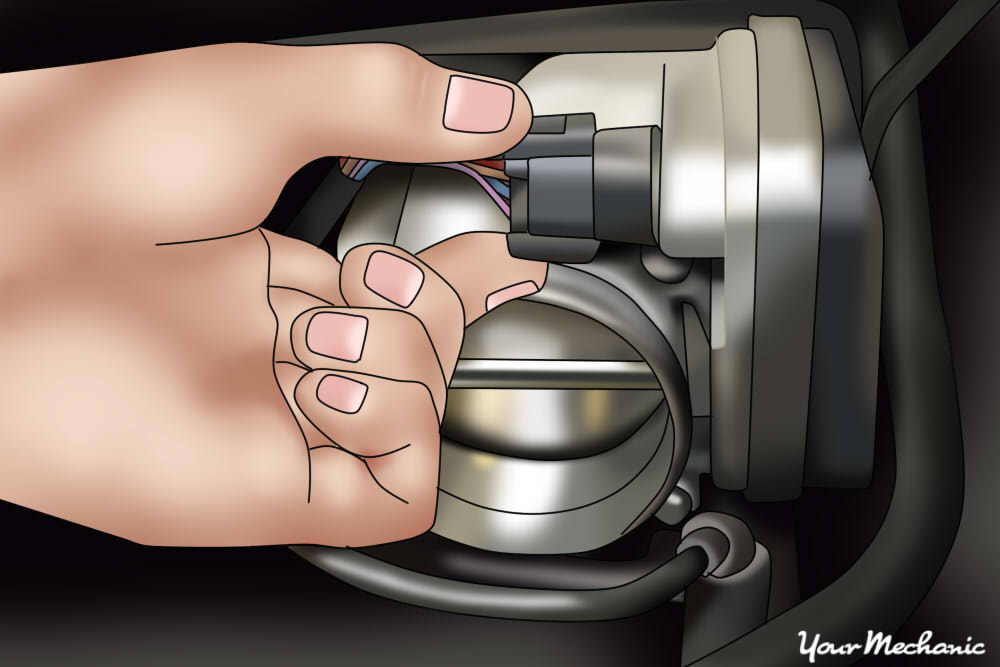
Step 4: Remove the throttle controller electrical connector(s). Remove the throttle controller electrical connector(s) by pushing down on the tab and pulling it off. In some cases, the connectors may also have tabs that need to be pried back using a small flathead screwdriver.
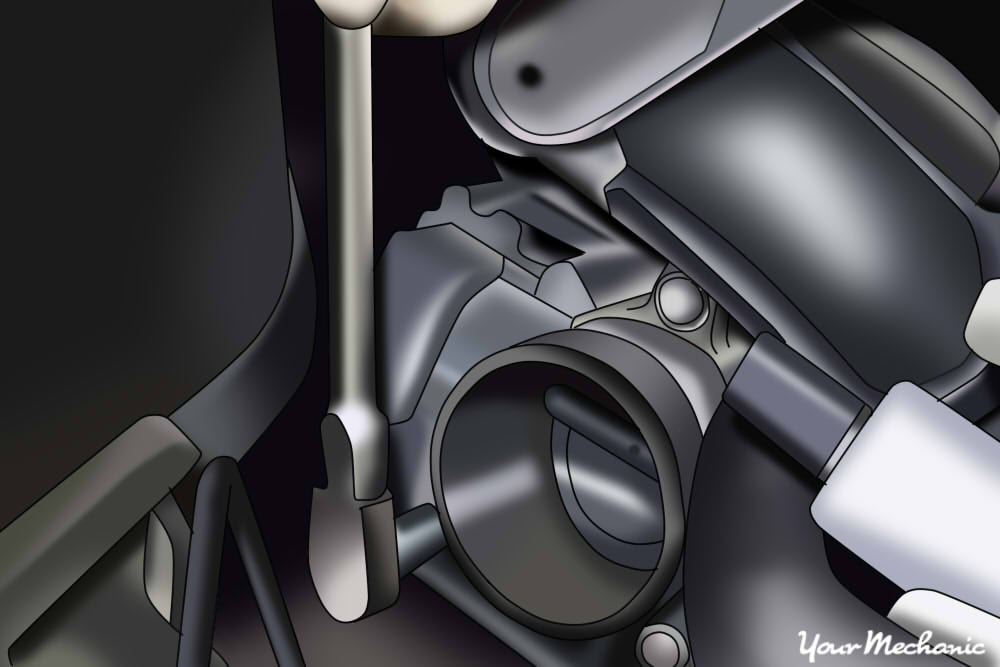
Step 5: Remove the throttle body bolts. Using a ratchet, remove the bolts holding the throttle body to the intake manifold.
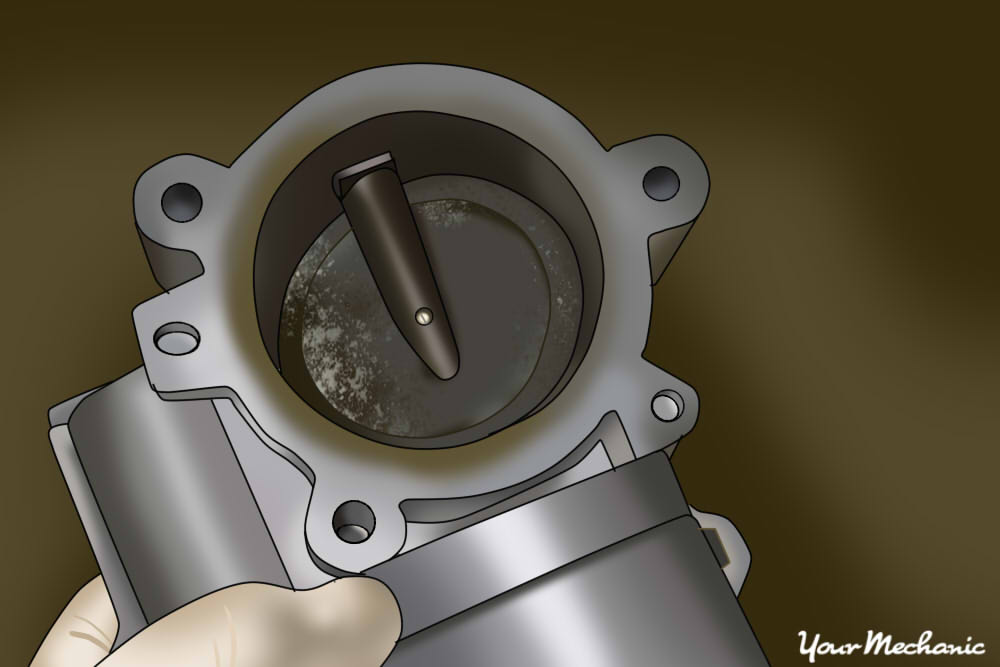
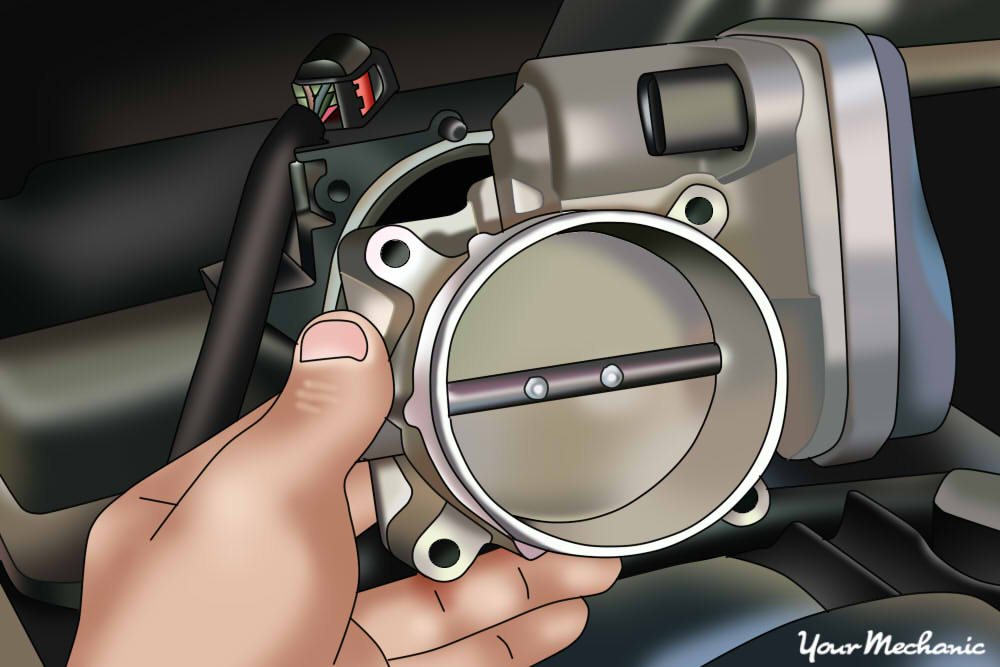
Step 6: Remove the throttle controller. Remove the throttle controller from the vehicle.
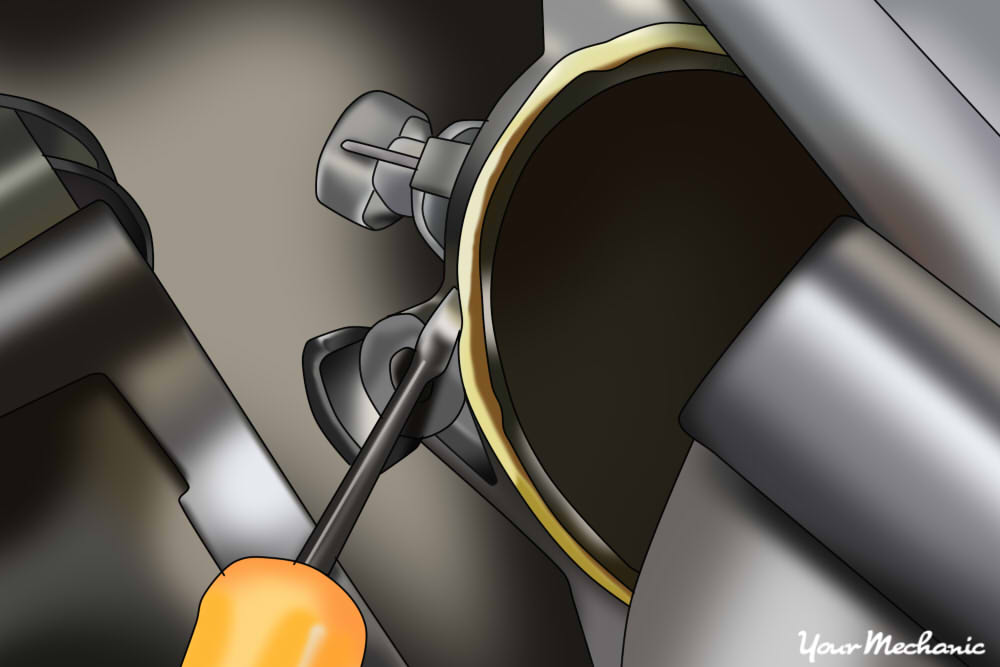
Step 7: Remove the throttle controller gasket. Carefully remove the throttle controller gasket by using a small screwdriver to pry it off. Clean any remaining gasket material by using brake cleaner applied to a rag.
Part 2 of 2: Installing the new throttle controller
Step 1: Install the new throttle controller gasket. Install the new gasket and mount the new throttle controller in position.
Step 2: Install the throttle body bolts. Install the throttle body bolts by hand one at at time. Then tighten them down using a ratchet.
Step 3: Reinstall the electrical connector(s). Reinstall the connectors in the same way that you removed them.
Step 4: Reinstall the air intake tube. Slide the tube into place and tighten down the clamps using a screwdriver.
Step 5: Reconnect the negative battery cable. Reconnect the negative battery cable and tighten it down.
That’s what it takes to replace your throttle controller. If this seems like a task you’d prefer to leave to a professional, YourMechanic offers expert throttle controller replacement at a time and place of your choice.


