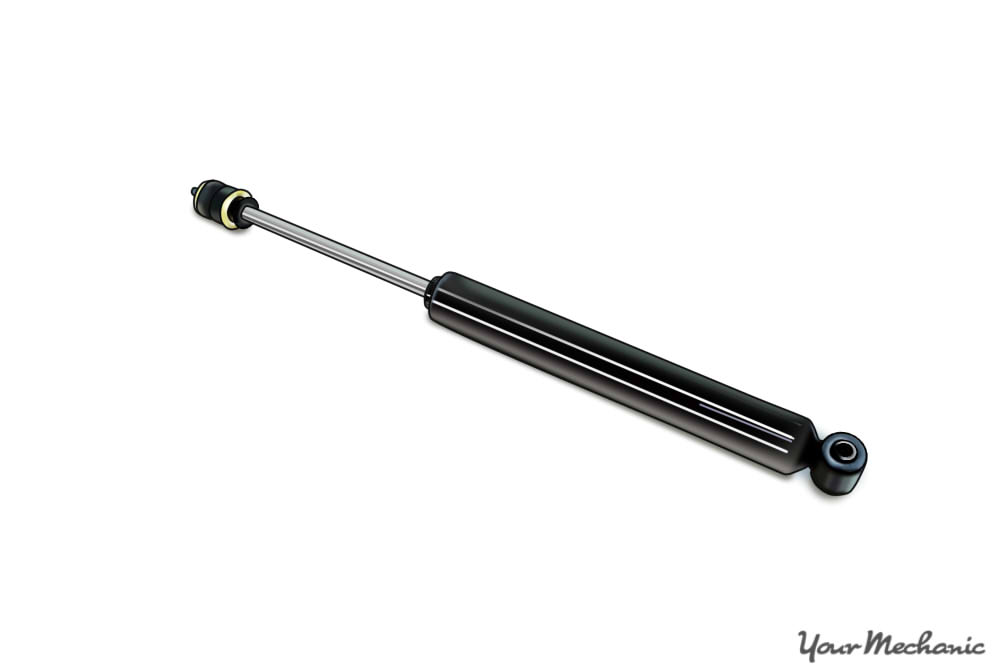

One of the most popular upgrades that truck and Jeep owners like to make is increasing the size and width of their wheels and tires. However, if suspension upgrades are not made at the same time, the vehicle can develop serious handling issues, chew up those new tires rather quickly, and in some cases lead to fatalities due to vehicle instability and a tendency to flip over. In order to reduce these dangerous circumstances, engineers worked with aftermarket part manufacturers to create a steering stabilizer stop, designed to provide additional support to the suspension and reduce the dreaded "death wobble". Today, many manufacturers have included a steering stabilizer stop as part of the original equipment for vehicles with upgraded tire and wheel packages.
Like all mechanical parts, eventually the steering stabilizer stop will wear out or show signs of failure. If this happens, you may notice that the vehicle shakes while driving, or that the steering wheel feels loose.
Part 1 of 1: Replacing of the steering stabilizer stop
Materials Needed
- Boxed end wrench or ratchet wrench
- Flashlight
- Jack and jack stands or hydraulic lift
- Impact wrench/air lines
- Large hammer
- Penetrating oil (WD-40 or PB Blaster)
- Replacement OEM steering stabilizer kit (shock, bushings, mounts)
- Safety equipment (safety glasses and gloves)
- Steel wool
Step 1: Raise the vehicle on a hydraulic lift or jack stands. This job is best completed if you have access to a hydraulic lift. If you don't, you'll have to raise the front end of the vehicle with jack stands. Make sure to use wheel chocks behind and in front of a rear wheel for safety.
Step 2: Disconnect the vehicle's battery. Locate the vehicle's battery and disconnect the positive and negative battery cables before proceeding.
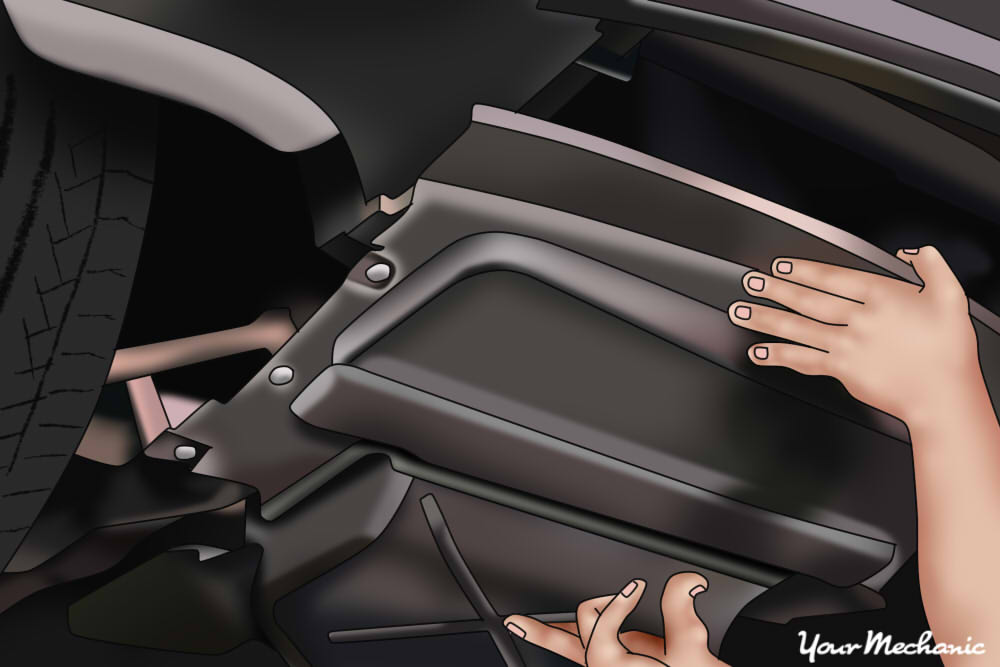
Step 3: Remove the lower belly pans/skid plates. On most Jeeps and trucks, you'll have to remove the belly pan in order to replace the steering stabilizer stop. There may also be a cross member bar underneath the engine compartment that must be removed. Refer to your service manual for instructions on how to remove your belly pans and cross member bar.
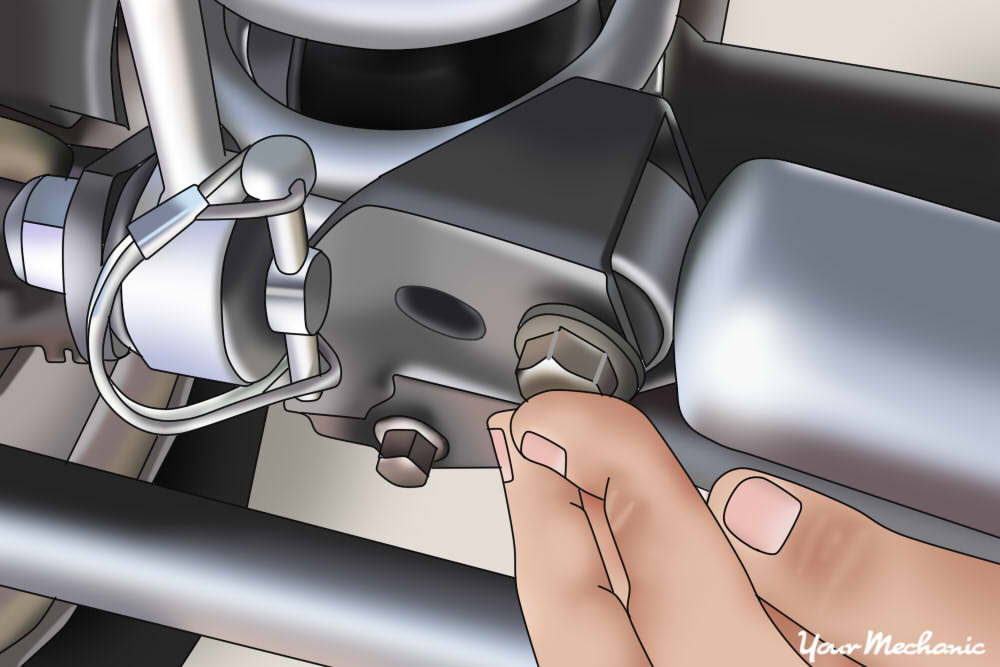
Step 4: Remove the bolt connected to the frame. After you have clear access to the steering stabilizer stop, you'll need to remove the two bolts that are holding this component onto the vehicle. The first bolt that should be removed is the one attached to the frame.
Spray the bolt with penetrating oil (WD-40) and let it soak in for about five minutes. Using either two boxed end wrenches, or an impact wrench and end wrench, remove the bolt, keeping one wrench on the nut end and the other on the bolt end.
Once the nut has been removed, drive the old bolt out of the mount with a hammer by hitting the male end of the bolt. Keep the shock inside the mount until the other end has been removed in the next step.
Step 5: Remove the bolt on the tie rod end. The steering stabilizer bar will be attached to the tie rod end as well. First, spray the bolt with penetrating oil and let it soak for about five minutes.
The bolt securing the shock to the tie rod is typically solid and is inserted to the housing inside the tie rod. Use an end wrench or socket and ratchet to remove the nut. Once the nut has been removed, hit the end of the bolt with a hammer to drive the bolt loose from the tie rod ends.
Once the steering stabilizer shock has been loosened on both sides, remove the unit. In some cases the bushings will stick in between the mounts, which will require you to hit them loose with a hammer.
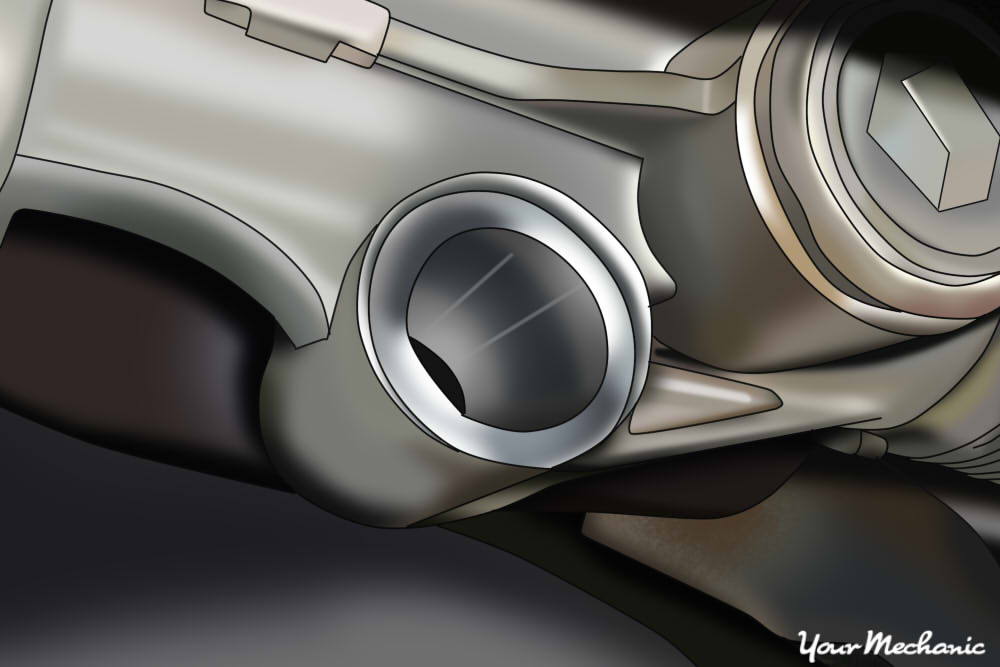
Step 6: Clean the mounting brackets with steel wool. By taking the time to clean the old brackets before you install the new bushings, you will ensure that the new bushings will fit easier and will secure the steering stabilizer stop better as it will be free of debris. The image above shows you how the bushing mount should look before you install the new bushings and steering stabilizer stop.
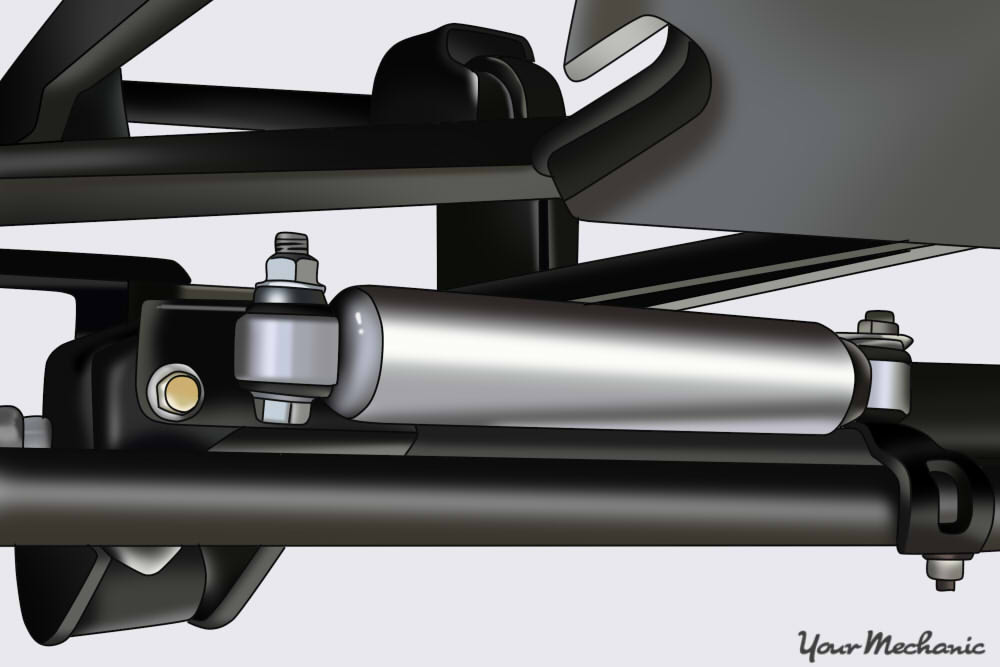
Step 7: Install the new steering stabilizer stop. Installing the new stabilizer stop is rather simple, but should be done in a certain order to reduce potential mistakes. Once the area has been cleaned, follow these basic instructions for installing the new system if it is an OEM replacement part ONLY. If you're using an aftermarket equivalent or upgrade, refer to the part manufacturer's installation instructions.
Insert the new bolt from the bottom of the tie rod through the bushings of the new steering stabilizer stop. Install the nut onto the new bolt by hand threading the bolt until it is solidly installed.
Tighten the nut on the tie rod shaft to the manufacturer's recommended torque settings. Install the other side of the stabilizer stop by inserting the new shock end into the frame bracket.
Slide the bolt in between the shock hole and the frame bracket. Install the nut onto the bolt and tighten it to the recommended torque pressure.
As always, the exact steps will be unique for your vehicle, so verify these steps with your service manual.
Step 8: Lower the vehicle. Lower the vehicle from the lift or jack stands.
Step 9: Reconnect the battery cables. Reconnect the positive and negative battery cables to the vehicle.
Step 10: Have the front end professionally aligned. Proper suspension alignment will not only help keep the tires directionally solid, but will reduce tire wear and keep the vehicle driving safe. After you replace the steering stabilizer stop, set up an appointment with a suspension shop to have the front end suspension professionally aligned.
If you've read these instructions and don't feel 100% confident in completing this repair, please contact one of the local ASE certified mechanics at YourMechanic to complete the steering stabilizer stop replacement job for you.


