
The secondary air injection system introduces oxygen into the exhaust during engine warm up. This causes the fuel injectors to read lean, which in turn causes the powertrain control module (PCM) to add more fuel. This additional fuel helps warm up the catalytic converter faster. Forcing air into the exhaust system also directly reduces hydrocarbon (HC) and carbon monoxide (CO) emissions.
Typical air injection system components include the PCM, air injection relay, air injection pump (either pump driven or electric), hoses and valves. Intake air enters the pump. Pump air is then directed to the desired location by PCM controlled valves. During engine warm up, the air is directed to the exhaust manifold. Then, in most systems, air is directed to to catalytic converter once the engine reaches operating temperature.
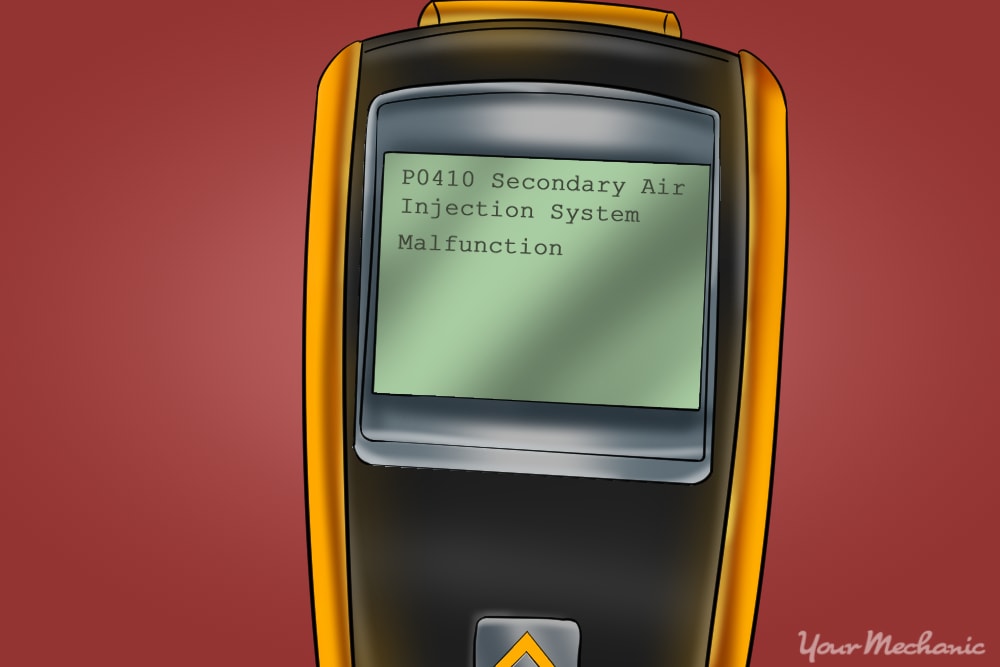
A faulty air injection system can result in increased emissions and engine performance issues. Typically, the check engine light will be illuminated and diagnostic trouble codes (DTCs) will be stored in the PCM.
Part 1 of 3: Locate the air injection hose
Materials Needed
- Free repair manuals - Autozone provides free online repair manuals for certain makes and models
- Protective gloves
- Chilton repair manuals (optional)
- Safety glasses
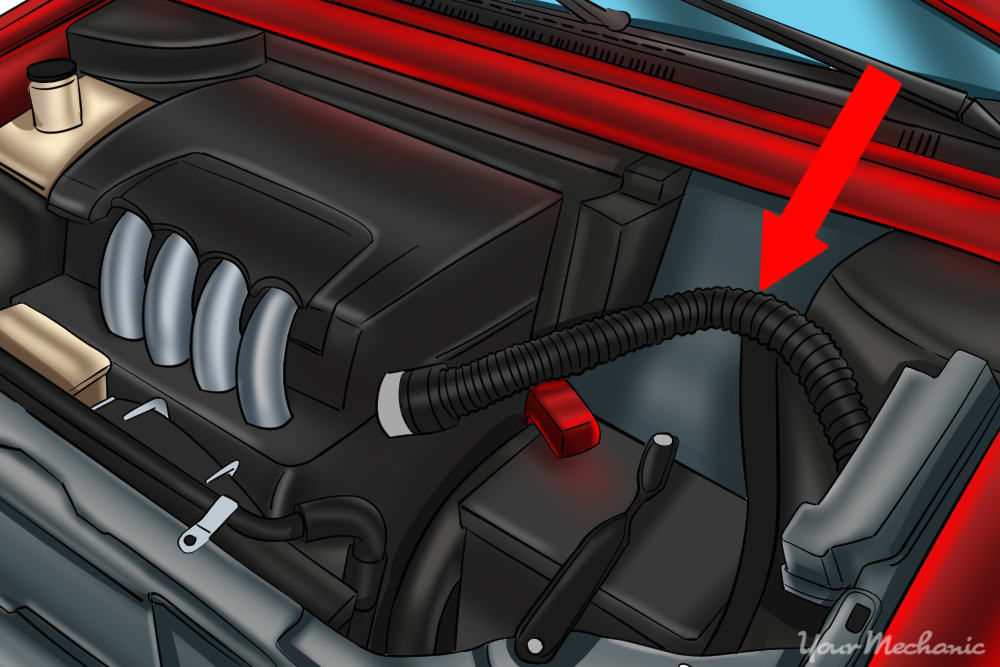
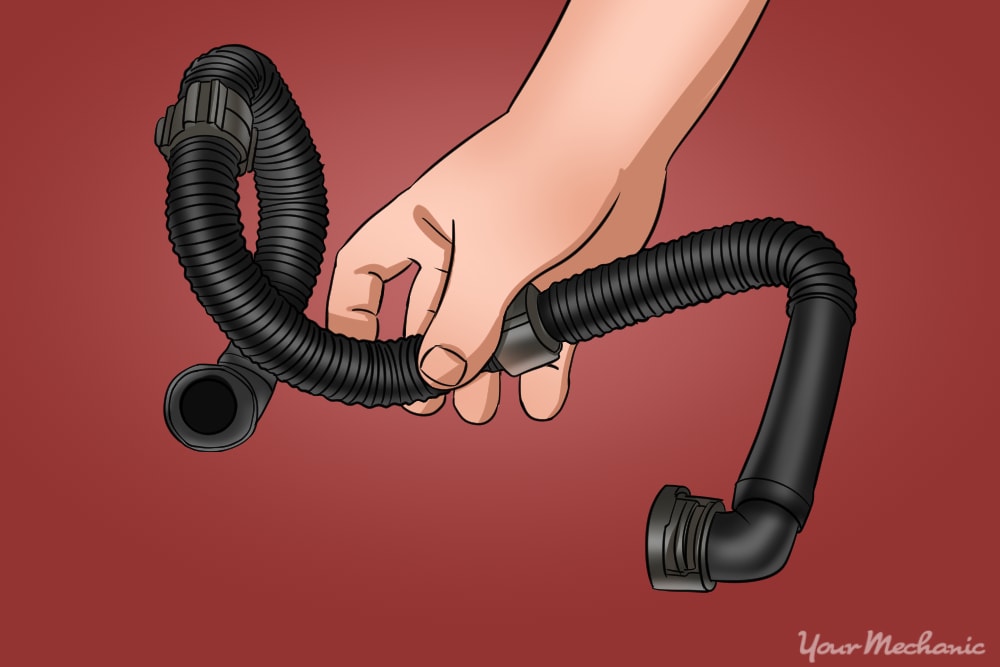
Step 1: Locate the air injection hose. There are typically two air injection hoses: the intake hose and the pressure hose. The intake hose, which goes between the air intake and injection pump, and the pressure hose, which goes between the injection pump and check valve.
Determine which needs to be replaced by inspecting the hose for cracks and listening for leaks.
Part 2 of 3: Remove the air injection hose
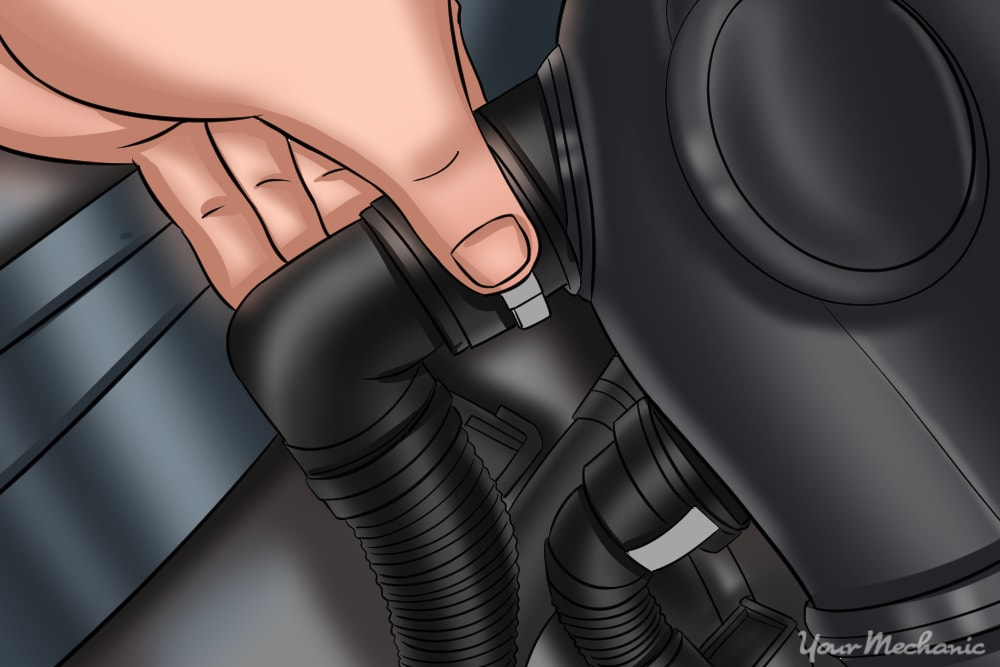
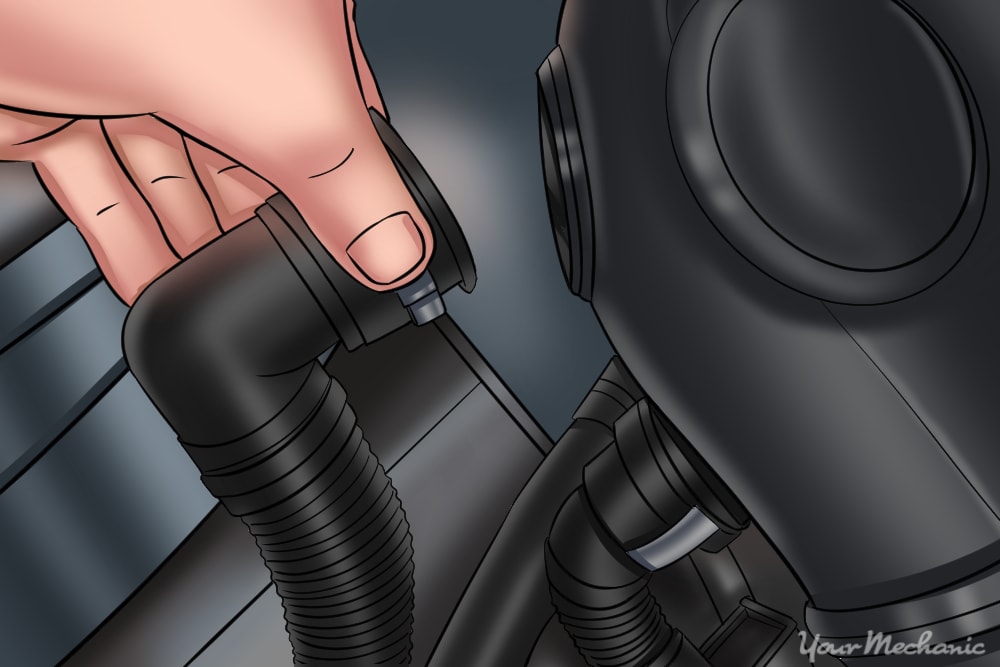
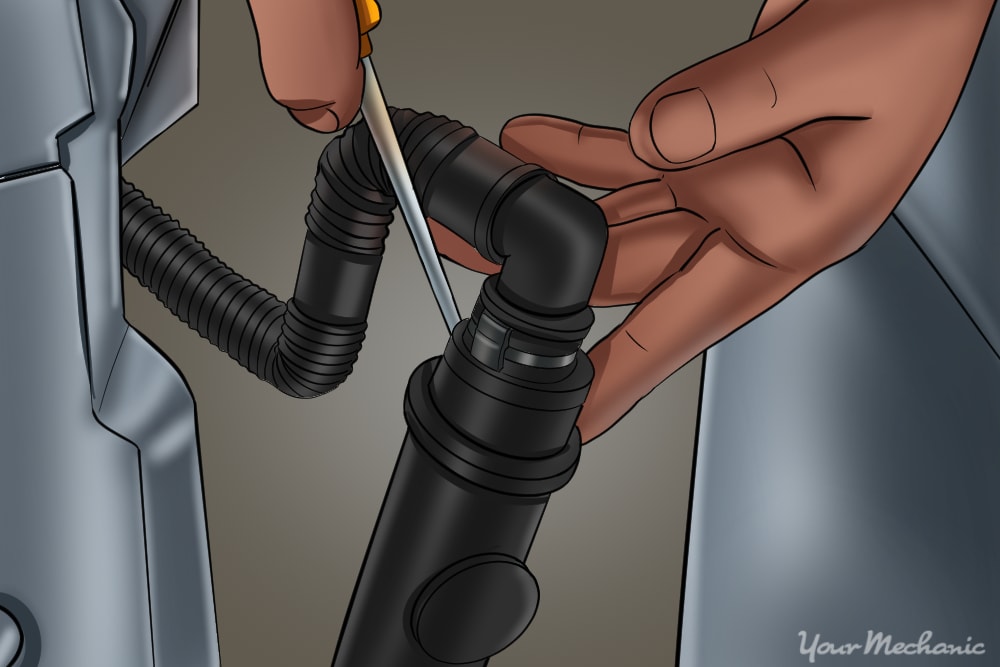
Step 1: Release or remove the hose clamps. If the hose has the tradition style band camp, loosen it with a screwdriver and slide it away from the connection.
If the clamp is of a clip on design, apply pressure on the clip and then slide it away from the connection.
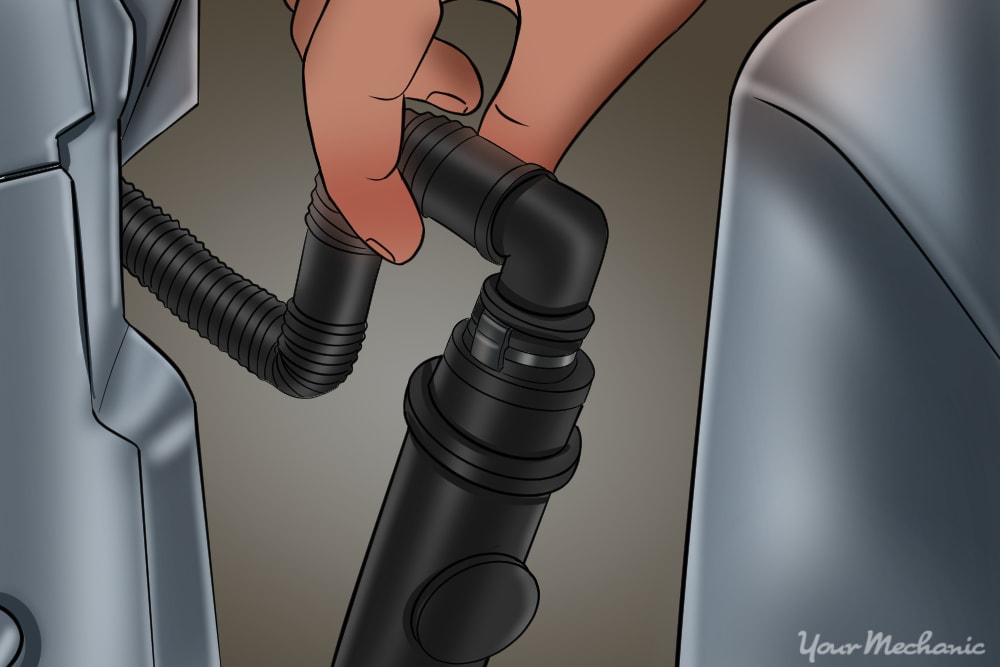
Step 2: Remove the hose. Slide the hose off of the connection and remove it from the vehicle.
Part 3 of 3: Install the A/C clutch cycling switch
Step 1: Install the new hose. Lower the new hose into the vehicle and slide it into position.
Step 2: Reinstall the hose clamps.
Step 3: Clear the diagnostic trouble codes. Clear any related diagnostic trouble codes (DTCs) using a scan tool or code reader. If you don’t own one of these tools, your local parts store can typically do the job for you.
Once the codes have been cleared, the check engine light will turn off. If they system has been fixed properly, it will stay off. To use the code reader, plug it into the OBD-II port under the dash. Power up the tool and select “clear codes” from the menu.
Of course, if you’d rather have someone do the dirty work for you, the team at YourMechanic offers expert secondary air injection hose replacement at the convenience of your home or office.


