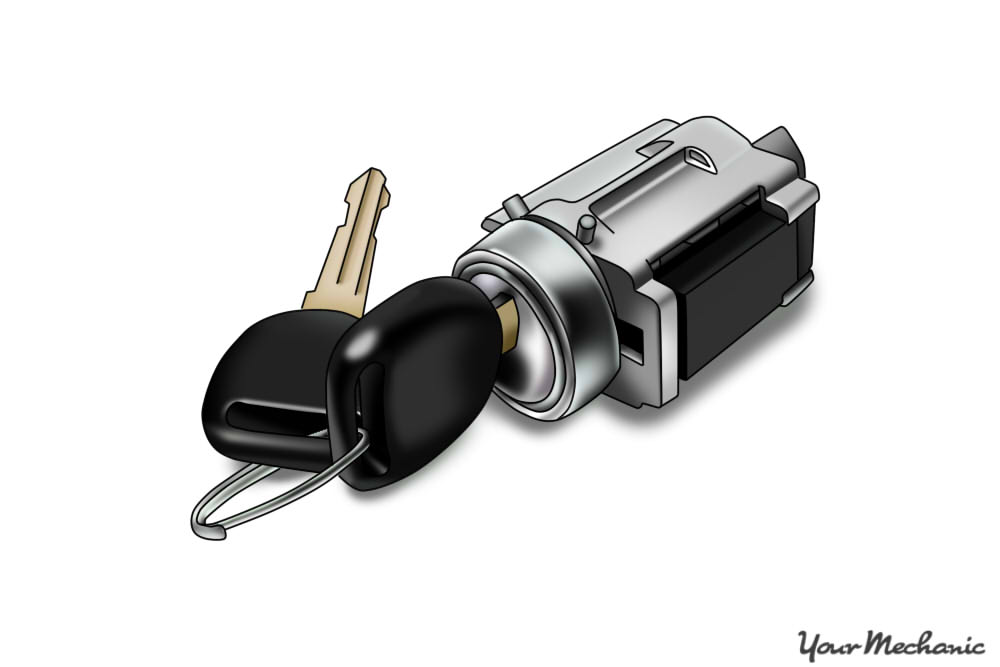

Lock cylinders are used in a wide variety of key-locking devices. When the hatch door fails to open with a key, there are several parts that could cause the issue. Even though hatch door cylinders are made to last as long as the vehicle it is in, there are still cases where they become worn out and need to be replaced.
Symptoms of a failing hatch lock cylinder can range from issues with the key to the endless turning of the cylinder without any results.
On older models, the cylinders can be replaced by accessing them from inside the door panels.
Part 1 of 1: Remove the lock cylinder
Materials Needed
- Door panel removal tool (optional)
- Pliers
- Replacement cylinder
Screw drivers
Note: Keep in mind that these replacement cylinders are specific to the vehicle you own, so you will need the VIN (vehicle identification number) to order a replacement.
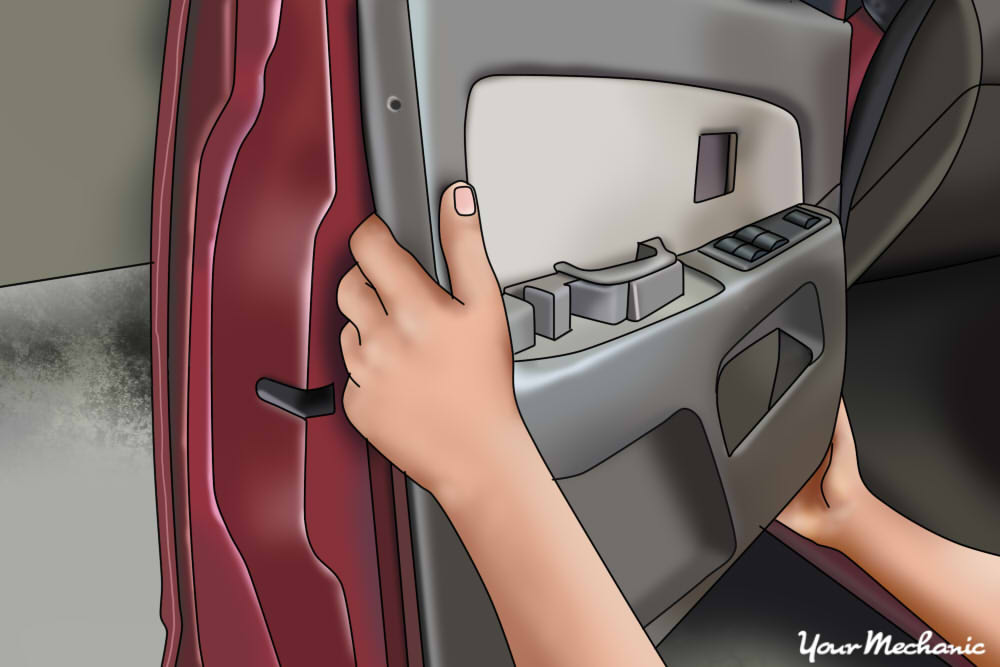
Step 1: Access the cylinder. Raise or open the hatch.
You may need to remove a handle or panel accessory before the panel can be removed. Using a flathead screwdriver or a special tool designed for panel removal, slowly remove the panel from the clips attaching it to the door.
- Note: Do this step carefully. If you break a clip, you will need to replace it or the panel will not sit flush with the door. This can cause a vibration or similar noises while driving.
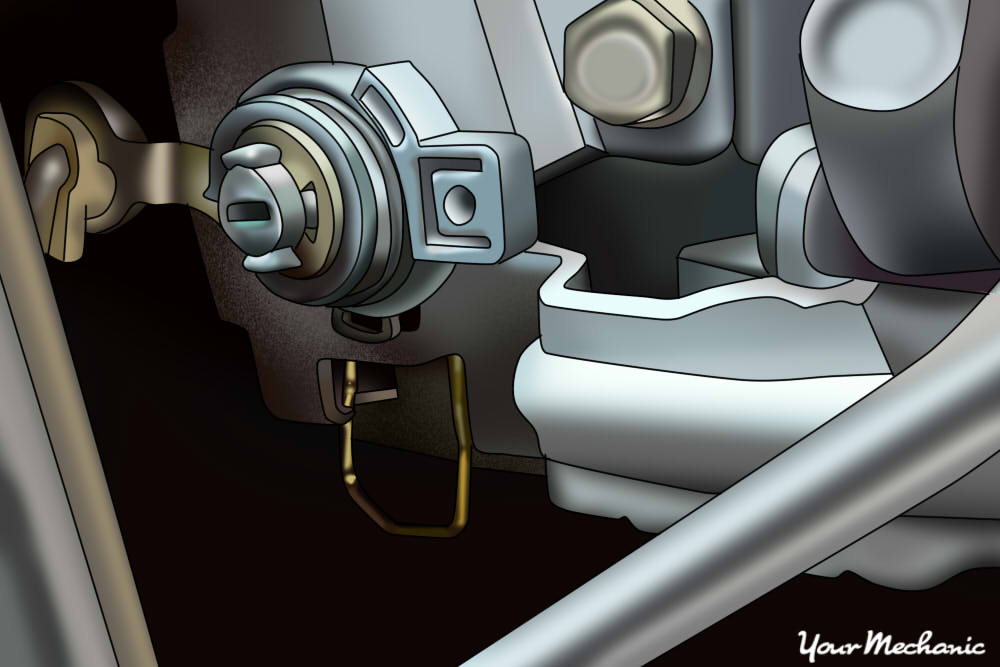
Step 2: Access and remove the defective lock. Once you have access to the cylinder, look for a set of tabs that will release the cylinder. Use a set of pliers (needle nose pliers, if necessary) to remove the bracket clip that holds the cylinder in place. Remove the part that connects the lock stem to the cylinder.
- Note: Once the old cylinder is removed, verify that the new hatch lock cylinder is an exact replacement for your vehicle. These cylinders are specific to your vehicle and they ensure proper protection from theft.
Step 3: Install the new cylinder. Place the new rubber gasket where it will touch the outside of the door. Place the bracket over the cylinder, securing the gasket into place.
Insert the cylinder into its designated hole and secure with the retaining clip. The bracket holding the assembly should be secured at this point. The hatch lock cylinder is ready for initial testing.
- Note: Make sure to test the lock once you are able to. If you reassemble the door panel and the lock fails to function, you will have to remove the panel again. Removing the panel twice increases the risk of breaking the clips that hold it on the door frame.
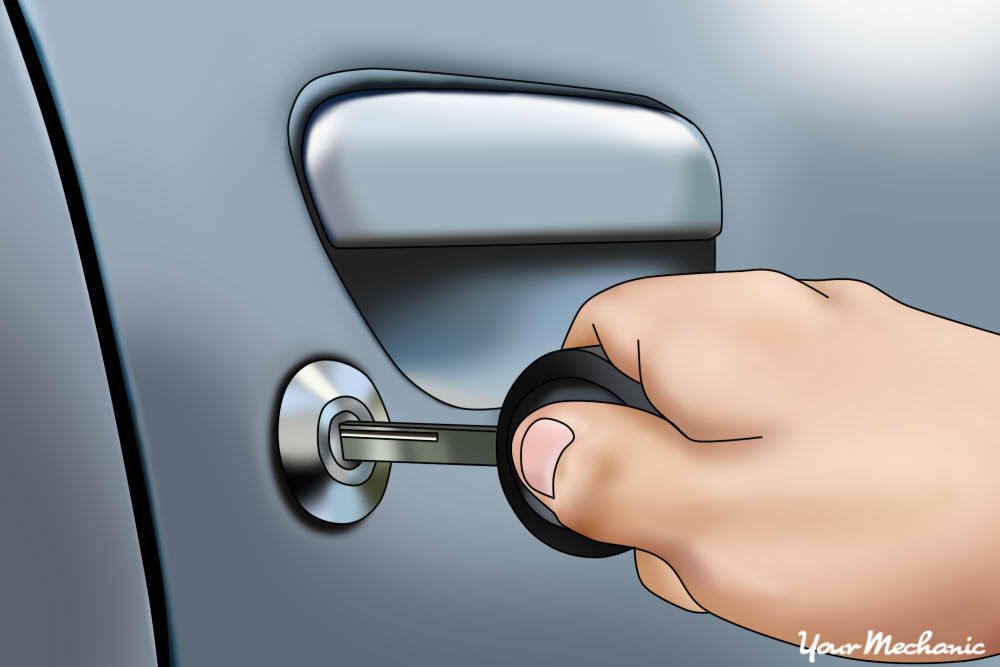
Step 4: Test the cylinder. Insert the key and test the mechanism. If the cylinder is triggering the locking mechanism, then the installation process is complete and you can continue to step 5 for the finishing steps.
If there is something wrong with the new cylinder, remove the clip and check the cylinder installation. Make sure the tabs and clips align properly, and assure the placement in the door is correct.
Step 5: Reinstall the door panel and accessories. The door panel can now be reinstalled with the hatch cylinder correctly replaced. Reattach any parts you removed to disconnect the door panel.
One by one, gently pop the clips on the panel back onto door frame. Push the clip in as far as it will go, and tap or softly bump the clip into place if needed.
Attach any accessories that you removed to get to the panel. Shut the door and retest the cylinder with the panel reinstalled.
- Note: If for any reason the lock cylinder is not working correctly, you may need to remove the panel and verify proper installation.
Not having proper use of the hatch on your vehicle can be a pain. Replacing the hatch lock cylinder can be done in about an hour, depending on your level of experience. If you find you are unable to complete the lock cylinder repair yourself, contact a certified technician from a place such as YourMechanic for service at your home or office on your schedule.


