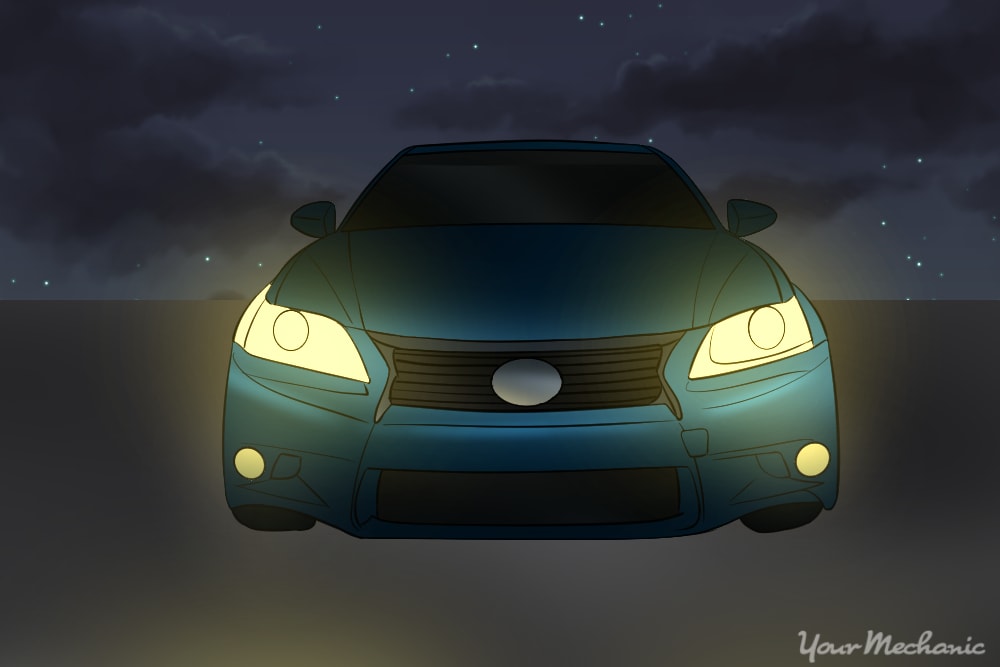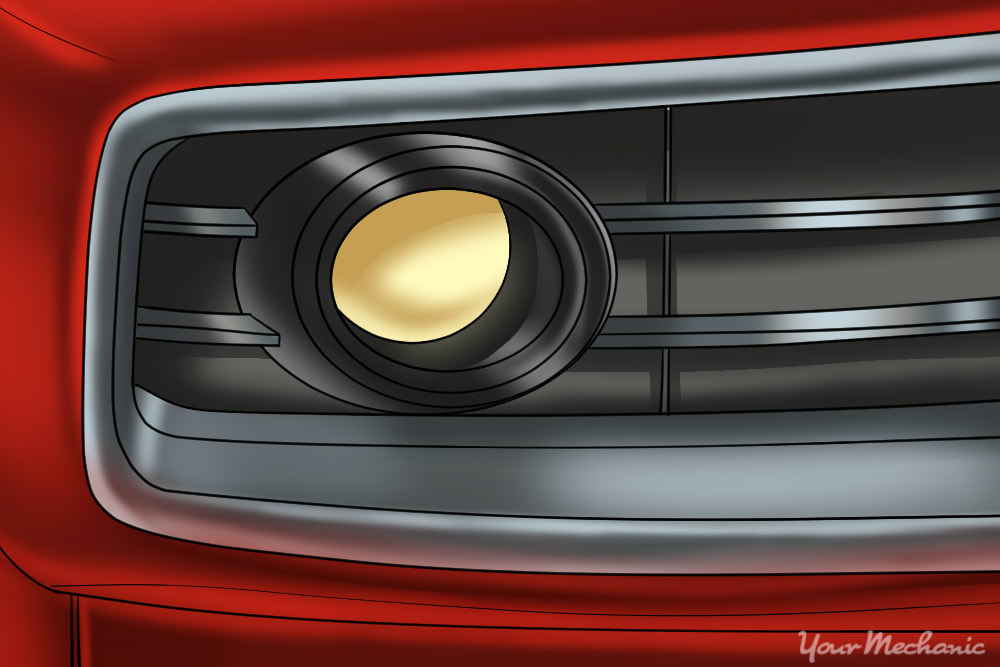

Most, but not all, vehicles today come equipped with fog lights. Fog lights were originally intended to aid with visibility in the presence fog. For this reason, most manufacturers typically mount the fog lights in the front bumper or on the lower valance.
Fog is normally less dense the closer you get to the ground. This is the biggest reason fog lights are normally mounted lower on the front of the car than the other lights. The light is able to penetrate the less dense fog at the lower level and therefore project its beam much further.
Additionally, fog lights are typically an off-white or amber color. These also have a tendency to penetrate fog easier, as a bright white light tends to reflect back from the fog and actually hinder vision the brighter it gets. When you try turning on the high beam headlights, you will notice that distance and field of vision actually get worse.
Most manufacturers mount a switch on the dash to activate the fog lights. This switch sends a low voltage signal to a relay. The relay is designed to use the low voltage signal to trip a switch internally that also controls a battery voltage signal that is sent to the fog lights. This switch can fail, and symptoms of this range from a blown fuse to a flickering lights or lights that do not work at all.
This way, there is much less draw on the charging and electrical systems throughout the vehicle. This is not only less stress on all of the components involved, but also allows carmakers to save a considerable amount of weight. With the sophistication of the modern vehicle, and the needs for more and more wiring, weight has become a major factor in the engineering of the car of today.
The focus of this article will be changing a fog light switch. The common location that most manufacturers use is on the dashboard. There are several minor variations, as far as the actual location of the fog light switch, but this article is written in a way that you will be able to apply the basic principles to get the job done.
Note: A traditional fog light assembly is also aimed at a little more of an angle, off to the side of a vehicle, to improve the field of vision.
Note: The fog light switch can be mounted in any of several different locations on the dashboard.
Part 1 of 1: Replacing a fog light switch
Materials Needed
- Screwdriver assortment
- Shop light or flashlight
- Small pry bar
- Socket set
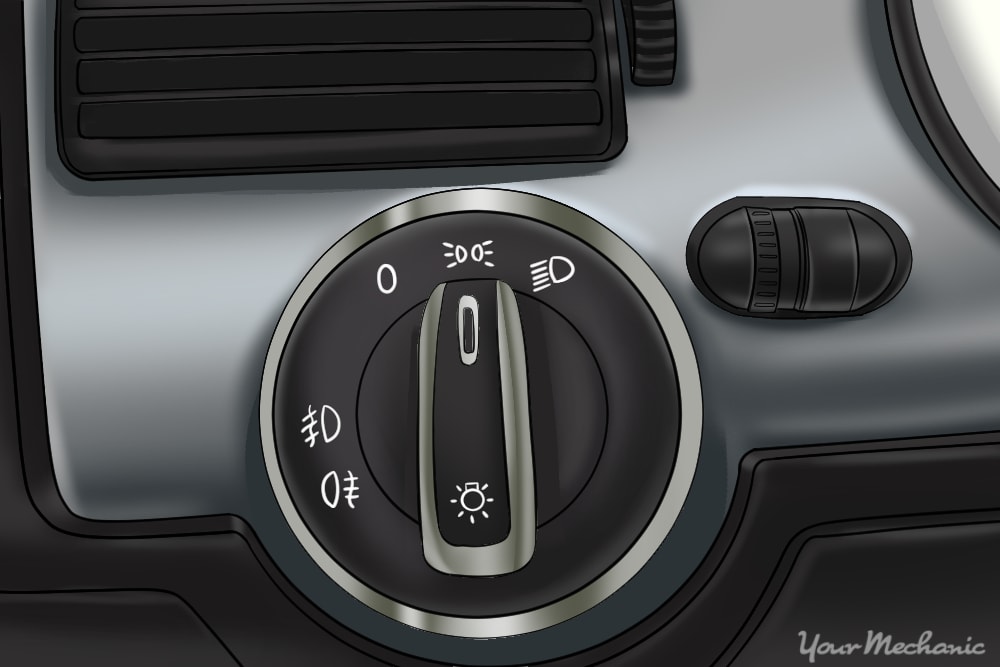
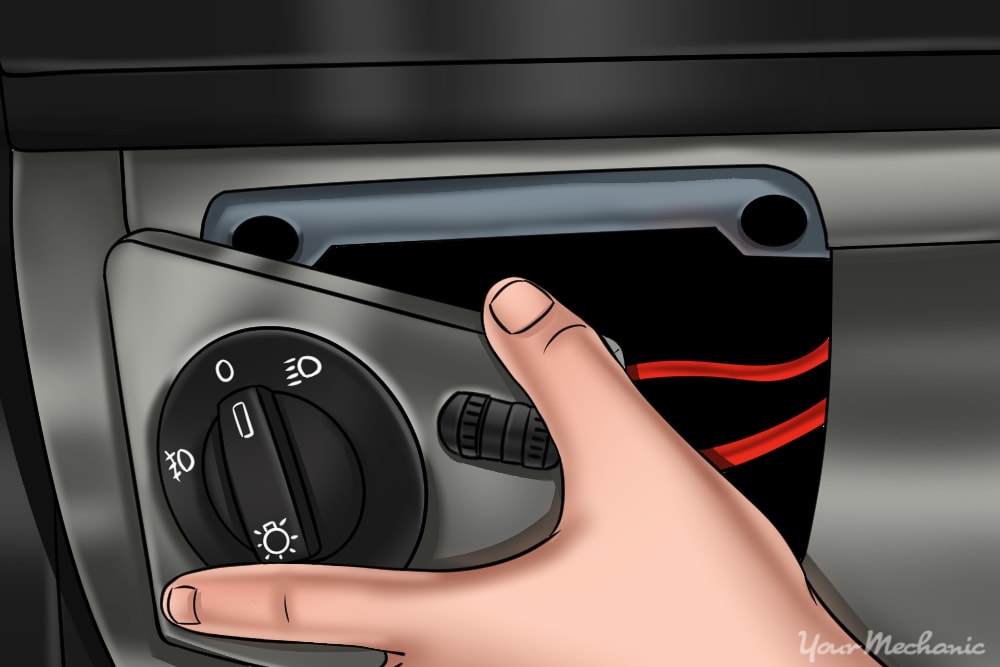
Step 1: Locate fog light switch on dash. Identify the fog light switch mounted on the dash.
Some will actually say “Fog” or “Fog Lights”, but most will primarily use the symbol above to represent the fog light switch.
Step 2: Remove trim panel that the switch is mounted into. The trim panel can be removed by either carefully prying it out with a small screwdriver or with a small pry bar.
Some models will require the removal of any combination of screws and/or bolts to get the trim panel removed. Take care not to scratch the dash when removing the trim panel.
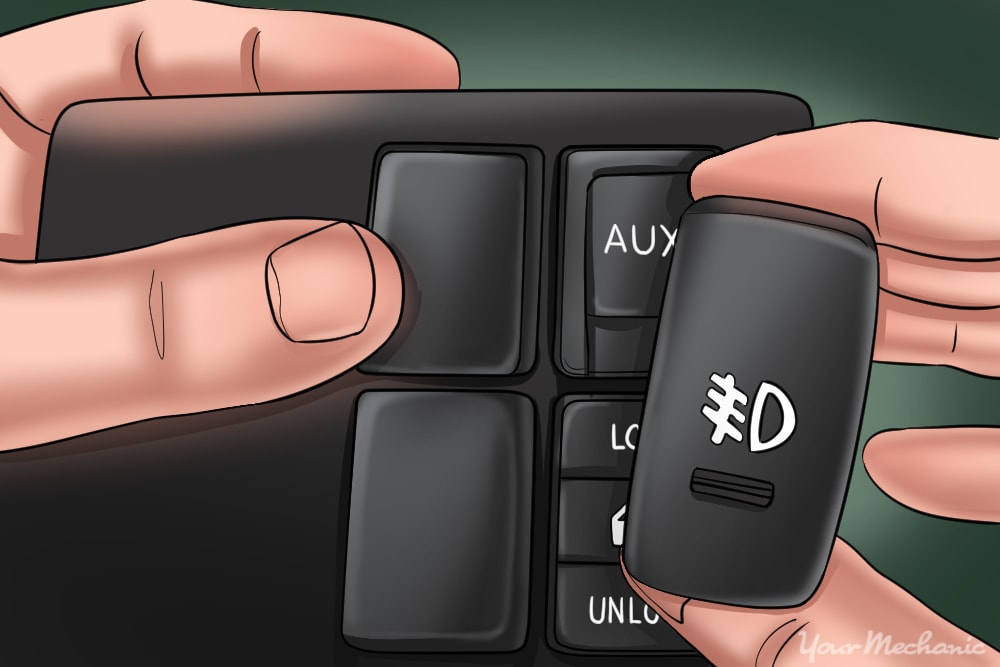
Step 3: Remove the switch from the trim panel. You can typically remove the switch from the trim panel by pushing on the back side of the switch and through the front of the trim panel.
Some switches require you to release locking tabs on the back before this can be accomplished. The locking tabs can either be squeezed together by hand or pried out lightly with a screwdriver before pushing the switch out.
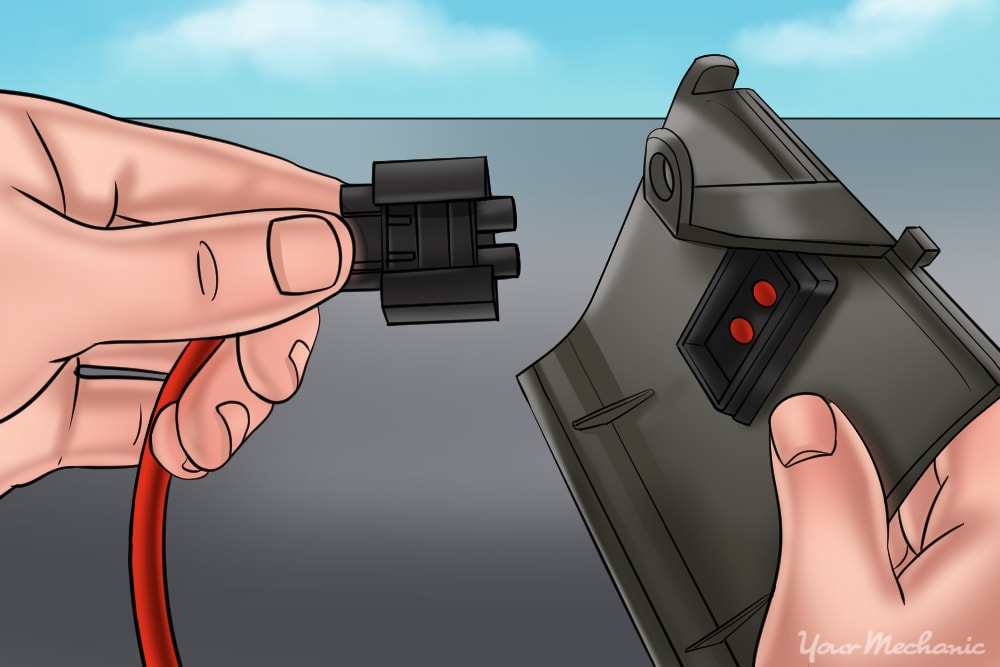
Step 4: Disconnect the electrical connector The electrical connector can be removed by releasing the locking tab(s) and separating the connector from the switch or pigtail.
- Note: The electrical connector may plug directly into the back of the fog light switch, or it may have an electrical pigtail that will need to be unplugged.
Step 5: Compare replacement fog light switch to the one removed. Compare the replacement fog light switch to the one that was removed.
Take note that the appearance is the same, the dimensions are the same, and that the electrical connector has the same number and orientation of its pins.
Step 6: Plug the electrical connector into the replacement fog light switch. You should either feel or hear when the connector is seated far enough into the switch or pigtail to engage the retaining clip(s).
Step 7: Verify fog light function. Before reassembling all of the dash pieces, turn the ignition to the “run” position in order to supply power to the switch.
Turn the fog lights on and verify that they are working.
Step 8: Put switch back into bezel. Now that we know the lights are working, pop the switch back into the bezel.
Install it from the front and push it in until it snaps into place. Take note that it is not installed upside down.
Step 9: Reinstall bezel. Line up the bezel with the recess in the dash that it came from with the replacement switch installed and push it back into place.
Again, you should feel or hear the retaining tabs snap into place. Also, reinstall any retaining hardware removed during disassembly.
Whether you live in an area that frequently sees a lot of fog or in a rural area that is rich with wildlife, fog lights have a lot to offer when it comes to auxiliary lighting. They are able to add that extra light that can give you peace of mind. If at any point you feel you could use a hand with replacing a fog light switch, contact one of YourMechanic’s certified technicians to perform the replacement for you.


