
Unless you own a pre-1970’s vehicle or have been around cars for a long time, “ballast resistor” is an unfamiliar term. Today’s vehicles use distributor-less ignition: cam and crankshaft sensors trigger individual coils for each cylinder, compared to one ignition coil and a distributor. Prior to the mid-to-late 70s, ignition points and a condenser were used where now the electronic ignition module and the ballast resistor have taken over. The duty of the ballast resistor is to limit voltage to the ignition coil. This added longevity to the coil as well as protected the ignition system from over-voltage.
Symptoms of a bad ballast resistor may be a crank but no start or start followed by an immediate stall. You will most likely not get any warning of its failure; it may be working fine today and give out tomorrow. A quick and easy way to diagnose ballast resistor failure is to bypass it by running a temporary jumper wire from the battery to the coil. If it starts and remains running, you’ve found the problem.
- Note: Only use a jumper temporarily to test the ballast. The ignition points are not designed to take full battery voltage for long. You might wind up damaging the points too.
Part 1 of 2: Determining if your car has a ballast resistor
Material Needed
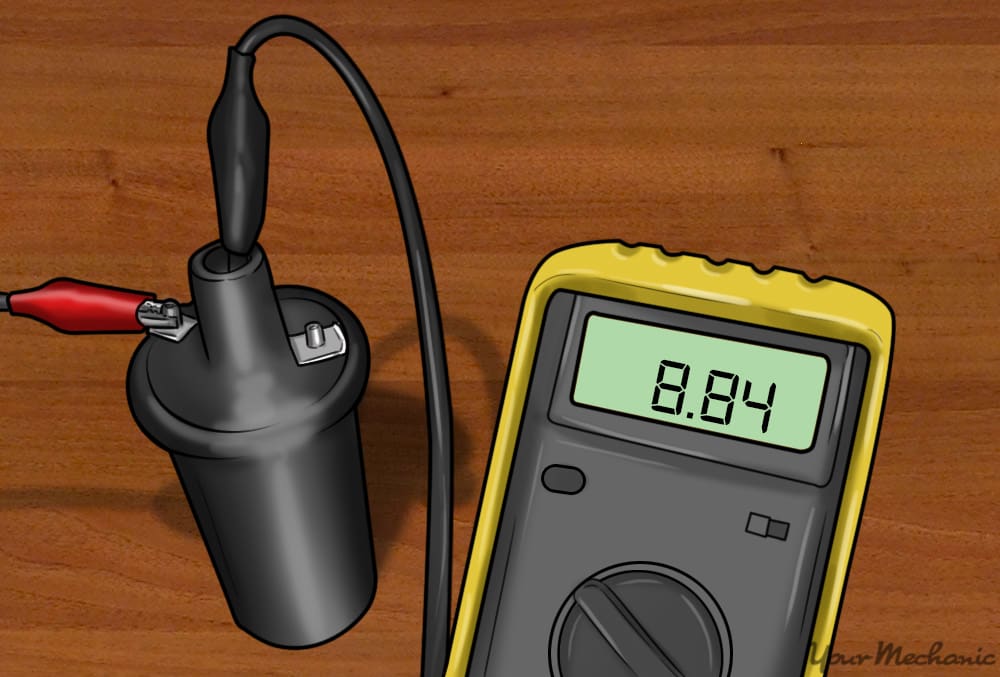
Step 1: Determine if your car has a ballast resistor. Connect a volt meter to the two leads on the coil and turn the ignition to the “on” position.
If you have a reading anywhere near 12 volts, you most likely don’t have one. If however the reading is anywhere between 6 and 9 volts, then odds are your car does have a ballast resistor.
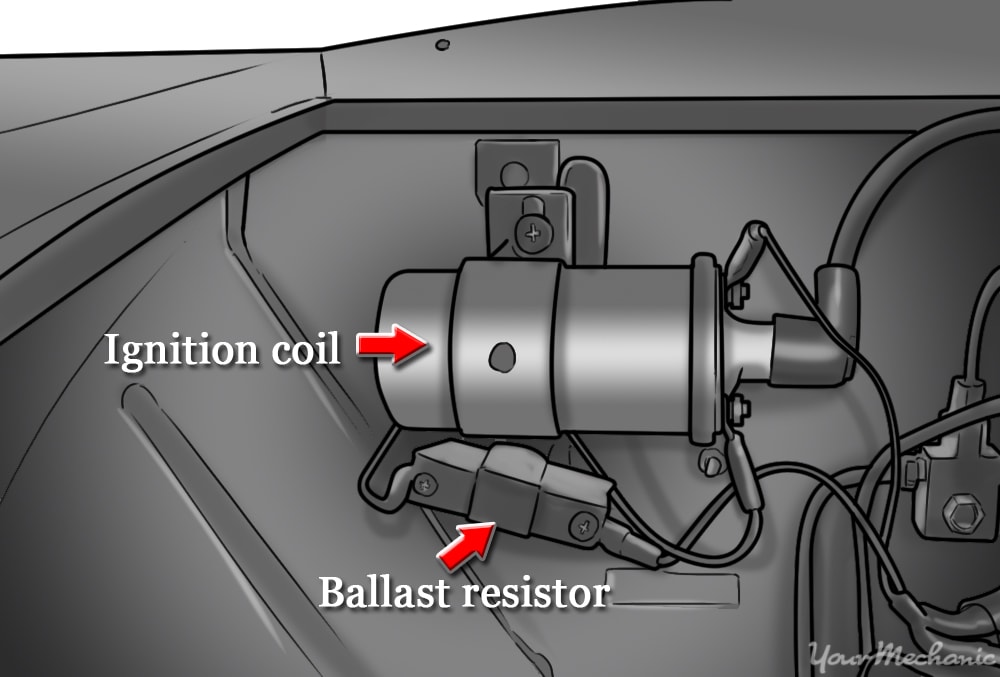
- Note: Ballast resistors are usually located bolted to the firewall if your distributor and/or coil is at the rear of the engine. If your distributor is located near the front or side of the engine in the case of an inline-4 cylinder, then it’s probably right near the ignition coil or distributor. It is connected in series in the primary circuit between the ignition switch and the positive terminal on the ignition coil.
Part 2 of 2: Replacing the ballast resistor
Materials Needed
- Box wrench - open end
- Ratchets/sockets
- Sandpaper
- Screwdriver
Step 1: Disconnect the negative terminal on the battery. Select the appropriately sized box wrench or socket.
Loosen the terminal until it lifts off the battery post. If it is a side-terminal battery, simply loosen the terminal screw until it comes out of the battery. There is no need to remove the screw entirely from the terminal end. Once removed, be sure to position the negative battery terminal away from anything metal. You can wrap the terminal end with a rag just to be safe.
Step 2: Unplug the wire connecting the coil to the distributor. This is to be safe from any possible electrical discharge.
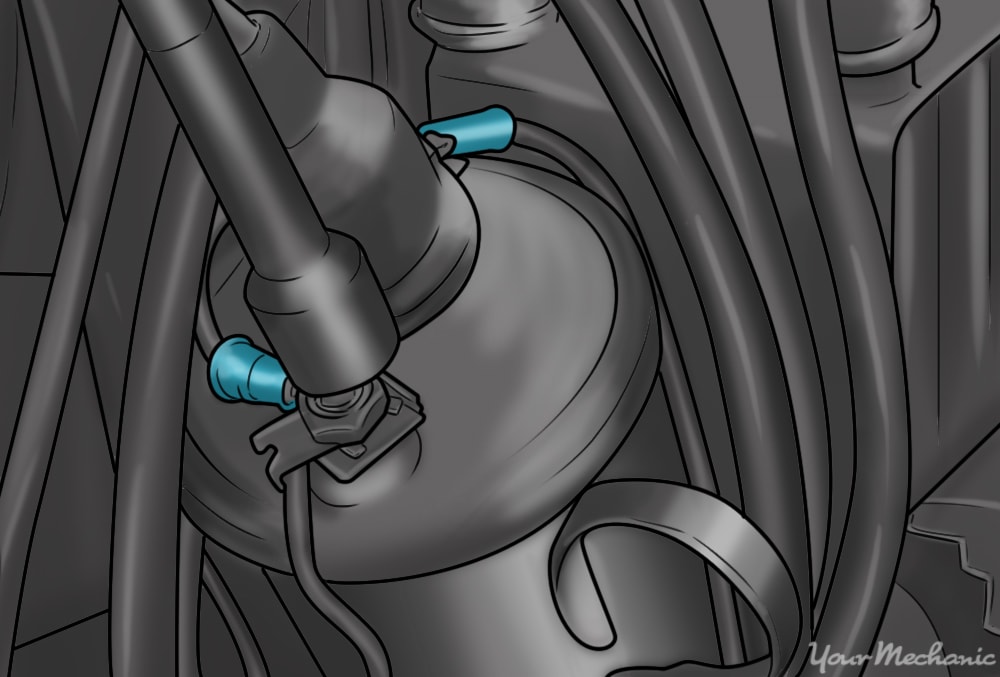
Step 3: Remove the positive lead to the ignition coil. The ballast resistor should have its own secondary wire with a round or U-shaped wire terminal end connected to the positive coil lead stud.
Step 4: Remove the wires from the ballast resistor. One comes from the ignition switch while one goes to the ignition coil positive terminal.
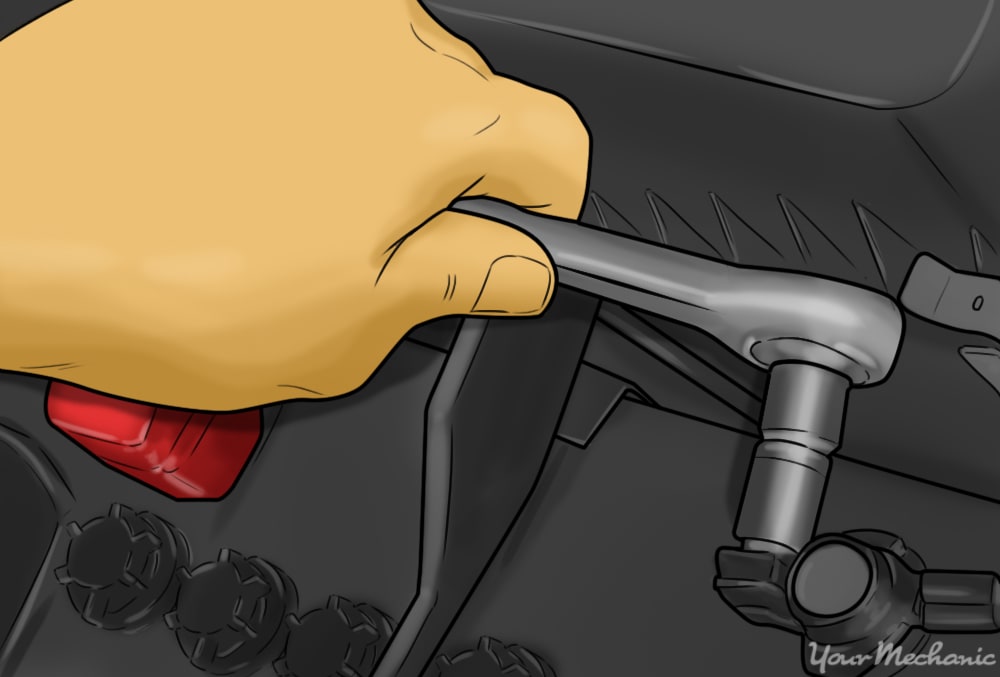
Step 5: Un-mount the ballast resistor. Remove it either from the firewall or from near the ignition coil.
Use the appropriate box / open-end wrench or ratchet / socket as room permits.
Step 6: Clean the mating surface between the resistor and its mounting point. Any grit sandpaper or even a small wire brush will work fine.
Remember the ballast resistor creates a lot of heat, so a clean mating surface will aid in the heat transfer.
Step 7: Mount the new resistor and connect the lead to the positive coil terminal. Make sure all mountings and the wire leads are properly tightened and reconnect the coil wire.
Step 8: Reconnect the negative battery terminal. This might be a good time to clean both battery terminals if there’s any question about them.
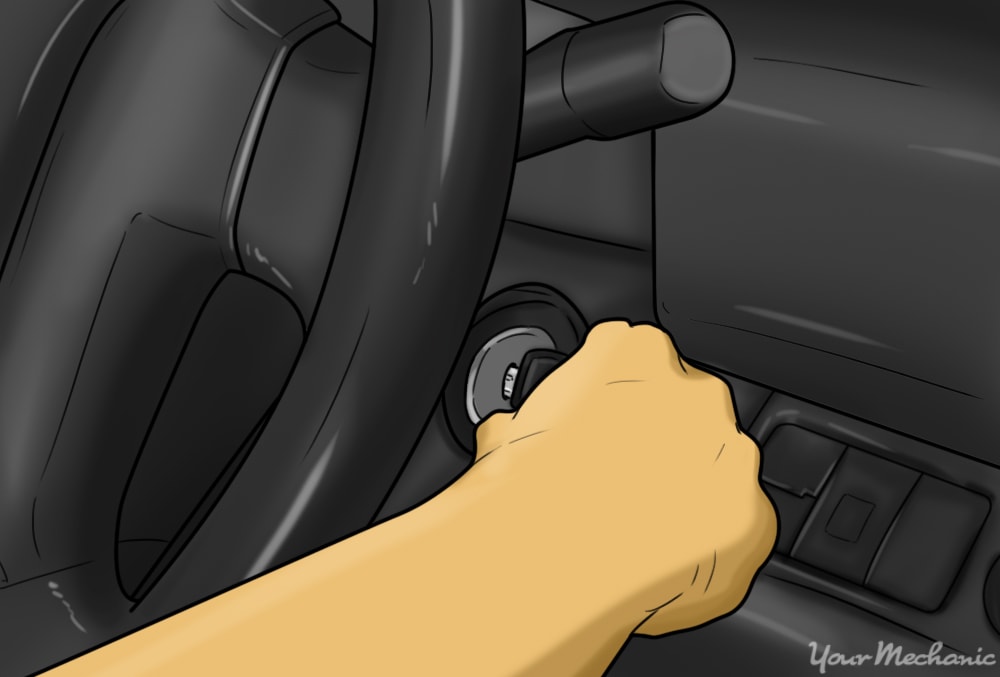
Step 9: Turn that ignition switch to the start position. Try starting your vehicle: if it starts, then you have resolved the issue.
Replacing a ballast resistor doesn’t have to be a huge job and it will hopefully fix the problems you are having with starting your car. If your car is still not starting have one of YourMechanic’s certified technicians come to your home or place of business to perform an inspection.


