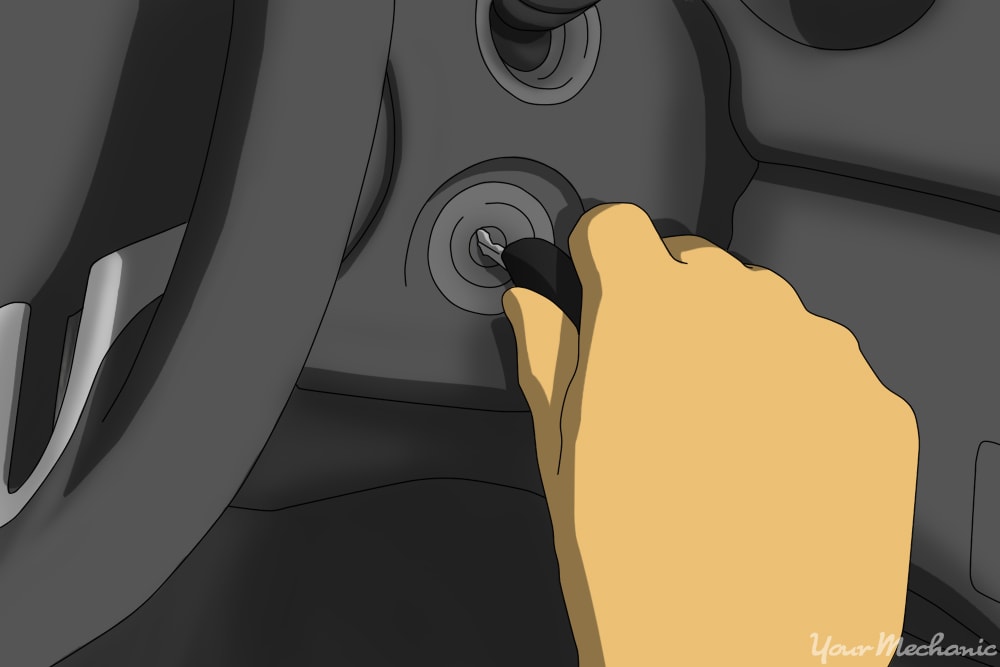

When your ignition switch fails, it can cause a number of different issues. You may experience anything from a failure to start, to a stalling problem, to a series of electrical issues. There is never a good time for the switch to fail, but knowing some of the symptoms that may show up prior to it failing can help you to avoid being stranded.
Part 1 of 3: Function of the ignition switch
The ignition switch is essentially an on and off switch for the vehicle. Though it is actually much more complex, this is its primary purpose. When you insert the key into the ignition and turn it, this turns the ignition switch and depending on the vehicle, will turn on a series of circuits or send signals to the vehicles modules telling them to turn on. Push button starting systems are similar in the way that they work, but their circuits can be more complex.
-
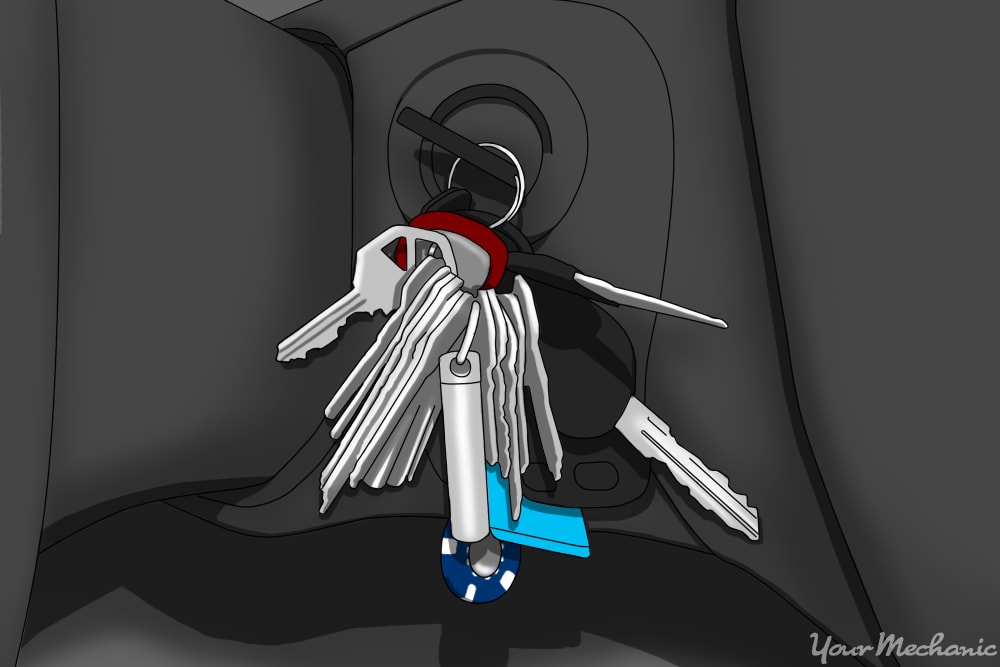
Tip: Having too many keys on your key ring can cause too much stress on the ignition cylinder, which in turn can cause premature failure of the ignition switch.
Part 2 of 3: Common symptoms of a failing ignition switch
Knowing what types of symptoms may arise from a failing ignition switch can assist you in identifying a problem before it becomes serious.
Symptom 1: Stalling. If your vehicle is stalling or turning off on its own, an ignition switch problem may exist. If the vehicle stalls, but does not show any loss of power, then the ignition switch may be failing.
Symptom 2: No start. A failing ignition switch can cause your vehicle to have starting problems. It can cause anything from a no-crank/no-start to a crank/no-start. If the contacts inside of the switch fail, they will not make proper contact, which will cause open circuits in the switch.
Symptom 3: Electrical malfunctions. Since your ignition switch is responsible for the on and off toggle for most of the electrical circuits in your vehicle, it can cause a series of electrical problems. Depending on the design of the vehicle electrical system, it can cause anything from a total loss of electrical power to only a few circuits not working.
Due to the amount of electronics in modern vehicles, they can experience numerous problems during an ignition switch failure. If the switch is suspected, it would need to be fully tested prior to replacement.
Part 3 of 3: Replacing your ignition switch
Your ignition switch is typically located right behind the key cylinder (where you insert your key). This may be in the steering column or in the dash. You will need to remove any covers or dash panels to access the switch.
Materials Needed
- Memory saver
- Ratchet w/sockets
- Screwdrivers (flat and Phillips)
Step 1: Park your vehicle and turn the ignition off.
Step 2: Install the memory saver per the manufacturer’s instructions. Using a memory saver will keep your vehicle computer from losing its memory, which prevents future drivability issues.
Step 3: Loosen the negative battery cable clamping bolt. Remove the cable from the battery and secure it away from the battery to prevent accidental contact.
Step 4: Remove the securing screws from the bottom steering column cover. There are typically three to four screws securing the lower column cover in place.
If your car has a dash-mounted ignition switch, then you will remove the dash panel around the key lock cylinder to access the switch.
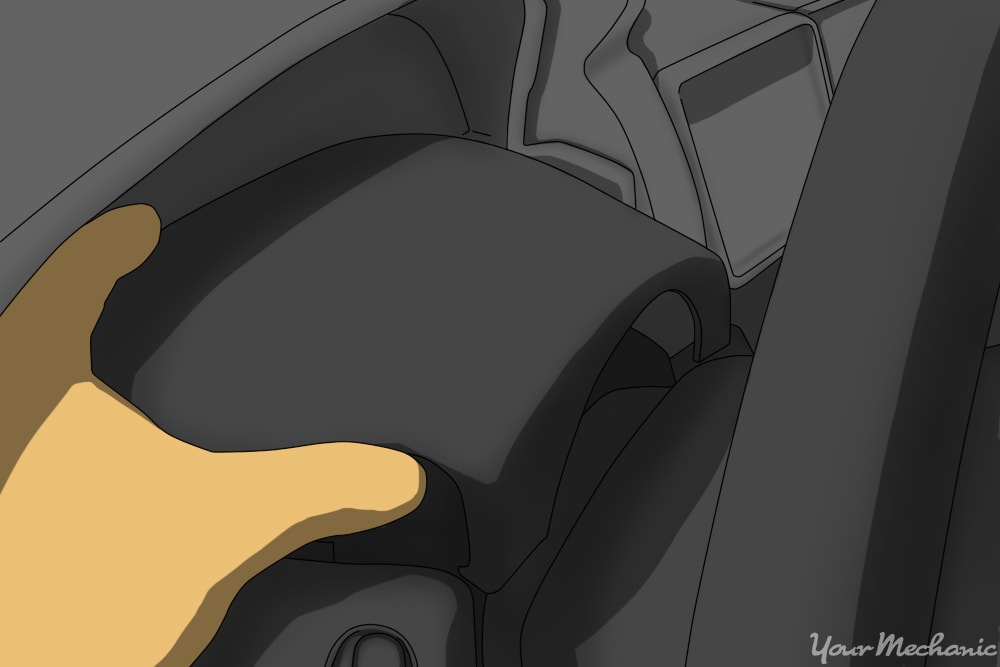
Step 5: Remove the lower steering column cover by separating it from the upper cover. The two covers are usually clipped together where they meet.
Gently pull them apart to avoid breaking them. You may also need to tilt the steering column up or down to gain better access.
Step 6: Remove the upper steering column cover.
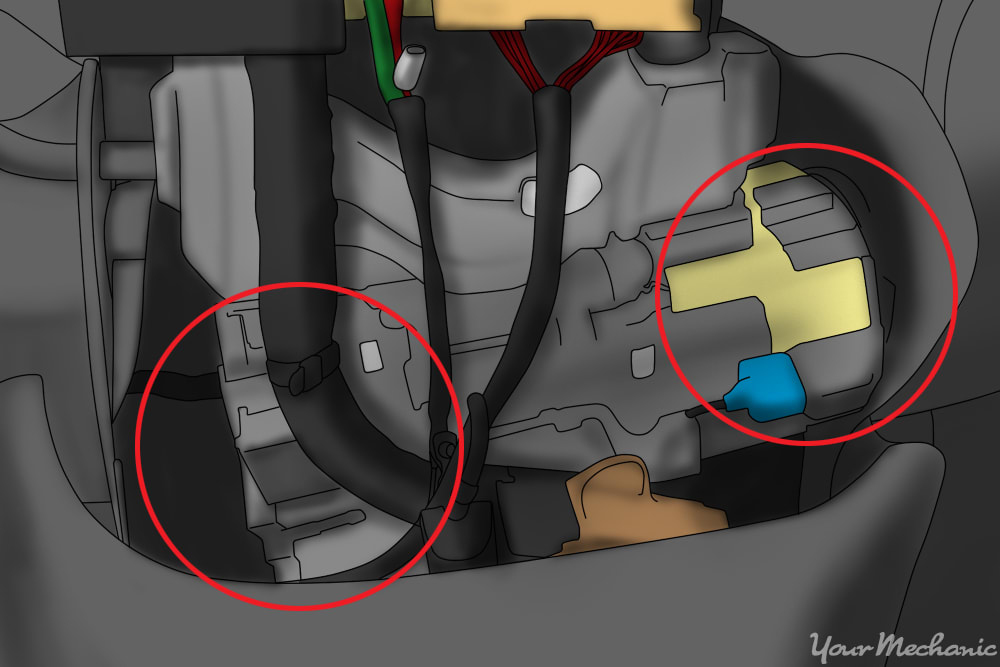
Step 7: Locate the ignition switch behind the ignition key cylinder.
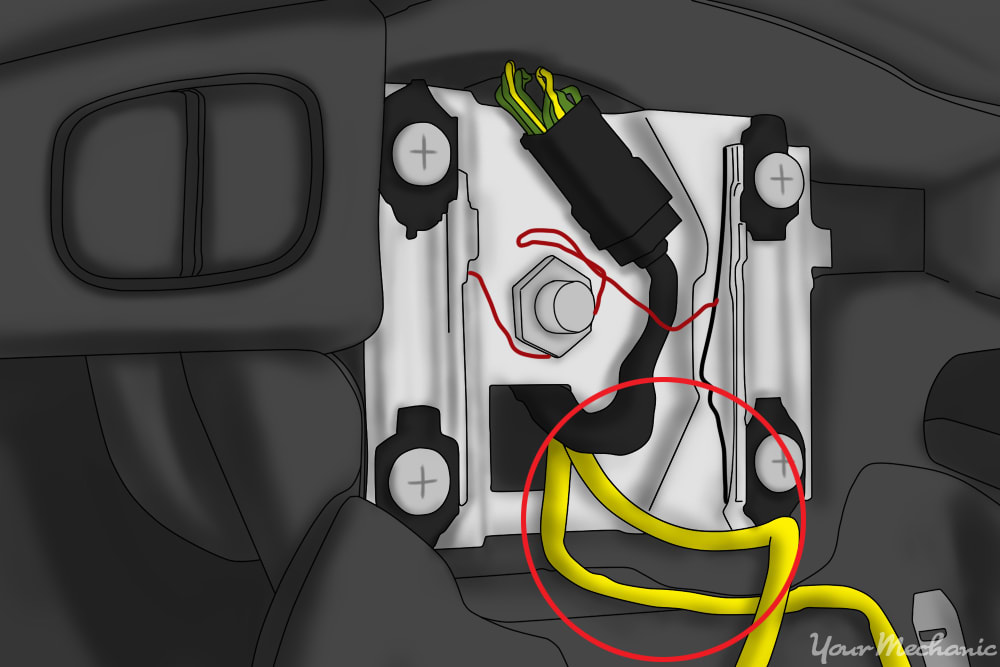
- Warning: If the vehicle is equipped with airbags, your airbag wiring will also be located under the cover. The airbag wiring is identified by its yellow covering. You must use caution when working around airbag wiring so that you do not cause any accidental airbag deployment.
Step 8: If necessary, remove the key lock cylinder. Every manufacturer will have different instructions for removing the key cylinder.
Some of them will be bolted in place. Others can be removed by inserting the key and turning it to the run position, then pulling the cylinder out. Make sure that you follow the manufacturer’s repair manual instructions on how this is to be done.
Step 9: Disconnect the electrical connector from the ignition switch.
Step 10: Remove the ignition switch. Some ignition switches are bolted in place, and some use locking tabs that must be pressed to release the switch.
Step 11: Install the new switch. Make sure that it is mounted securely, and that its electrical connector is snapped into place.
- Tip: Some ignition switches must be aligned before installing them. Check your manufacturer’s repair manual to see if the switch has any special alignment instructions.
Step 12: Install the key cylinder.
Step 13: Install the upper steering column cover. If the dash panel was removed, install it now.
Step 14: Install the lower column cover. Snap it into place with the upper cover.
Step 15: Install the lower cover mounting screws. Tighten them until they are snug.
Step 16: Install the negative battery cable. Tighten the clamping bolt until it is snug.
Step 17: Remove the memory saver.
Your ignition switch is the primary part of your electrical system and will fail over time. Every vehicle will have a different process of testing the switch depending on the way that the electrical system is designed. Proper testing should always be done prior to replacing the ignition switch. If you have further issues, or if you are not comfortable replacing the switch yourself, a certified mechanic from YourMechanic can replace your ignition switch for you.


