
Trying to squeeze more performance out of your car can be an expensive and serious undertaking. Some modifications can be simple, while others can require that the entire engine be disassembled or the suspension be completely rebuilt.
One of the easiest and most cost-effective ways to get more horsepower from your engine is to install an aftermarket air intake. Though there are many different intakes available on the market, so knowing what they do and how they are installed can assist you in purchasing and installing one on your own.
The air intake that came installed in your vehicle from the manufacturer was designed with a few things in mind. It is designed to allow air into the engine, but it is also designed to be cost-effective and to quiet down the engine. The factory intake will have a series of odd chambers and a seemingly inefficient design. It will also have small holes in the air filter box that allows the air to enter the intake. All of these factors together make it quiet, but they also cause it to restrict the flow of air into the engine.
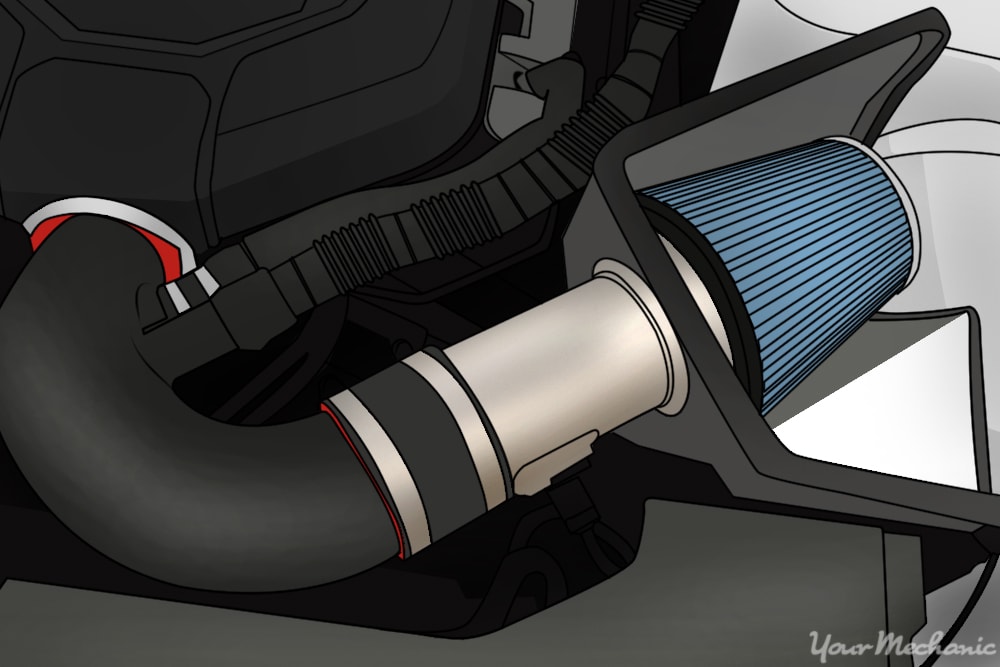
Aftermarket air intakes come in two different designs. When purchasing a new air intake, you will typically see it simply being referred to as an intake or as a cold air intake. Intakes are designed to allow more air to reach the engine, and to do so more efficiently. Aftermarket intakes do this by making the air filter box larger, using a high flow air filter element, and making the air tube that reaches from the air filter to the engine larger and more of a direct shot with no chambers for noise. The only thing that makes a cold air intake any different is that it is designed to pull in more cold air from others areas of the engine compartment. This allows more air into the engine which results in more horsepower. Though power gains vary by vehicle, most manufacturers claim that their gains are about 10%.
Installing an aftermarket air intake onto your car will not only increase its horsepower, but it can also increase its fuel economy by making the engine more efficient. The only drawback of installing an aftermarket air intake is the noise it creates, as the engine sucking in air will make an audible noise.
Part 1 of 1: Installing your intake
Materials Needed
- Adjustable pliers
- Air intake kit
- Screwdrivers, phillips and flathead
Step 1: Prepare your car. Park your vehicle on a flat surface and apply the parking brake.
Next, prop open your hood and allow the engine to cool for a while.
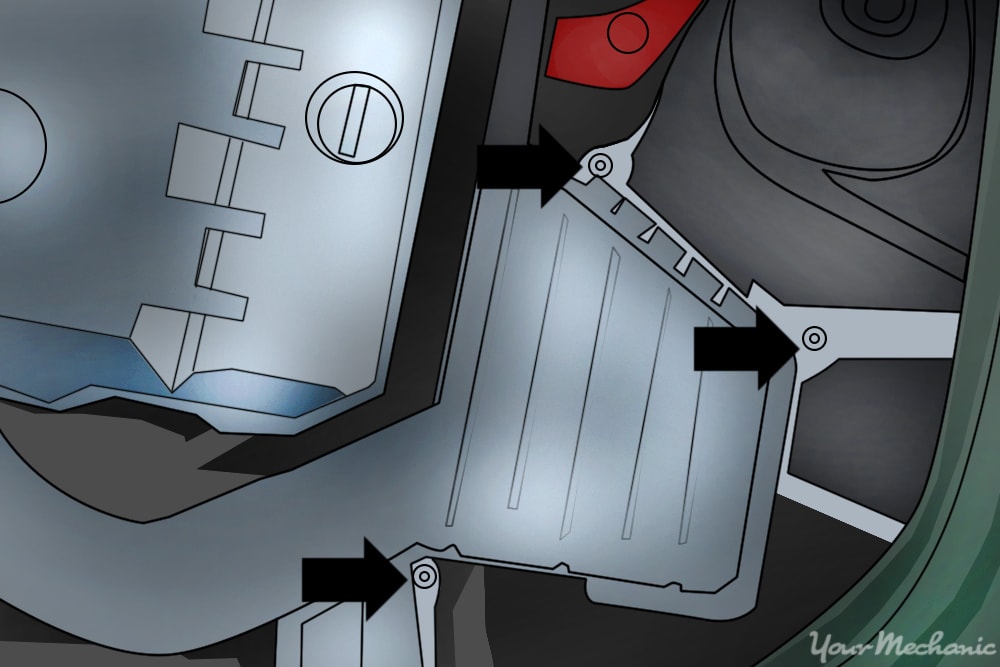
Step 2: Remove the air filter cover. Using the correct screwdriver, remove the air filter housing cover bolts and lift the cover out of the way.
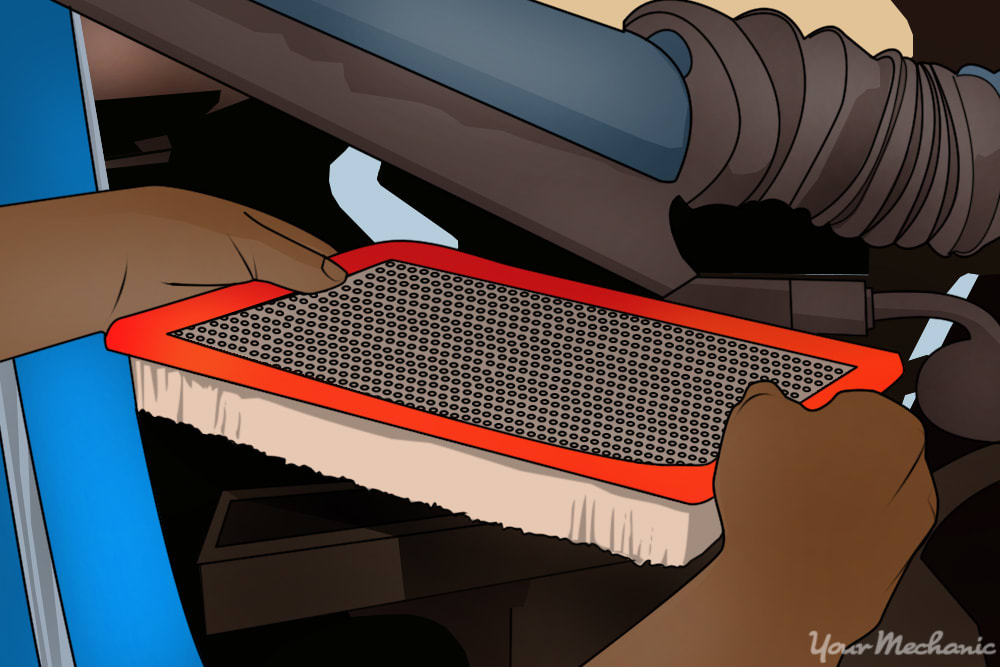
Step 3: Remove the air filter element. Lift the air filter element up out of the air filter housing.
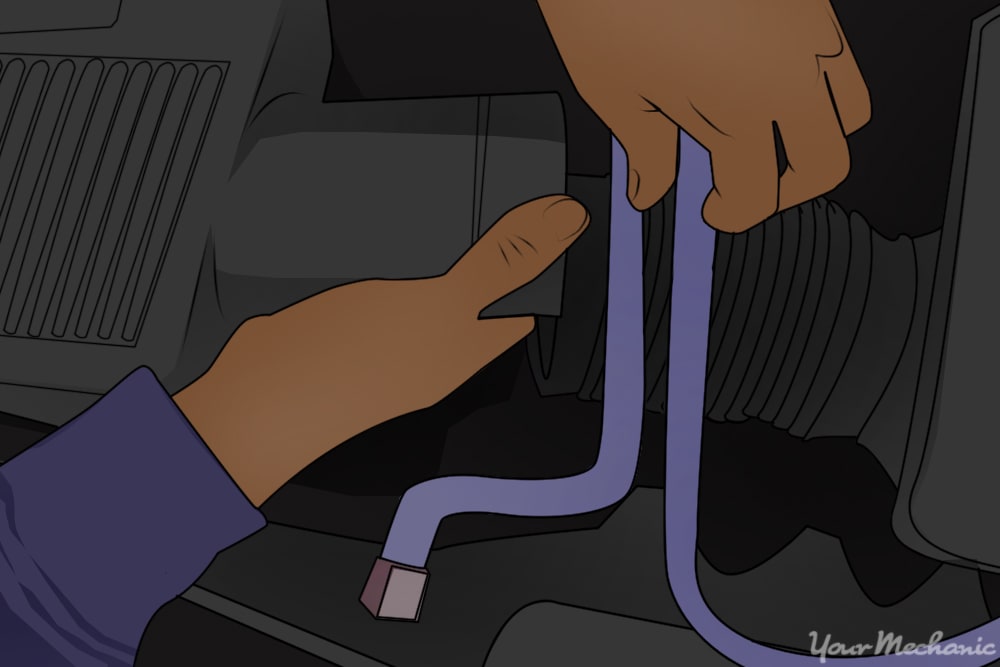
Step 4: Loosen the air intake tube clamp. Depending on which type of clamp is in place, loosen the air intake tube clamp at the air filter housing with either a screwdriver or the pliers.
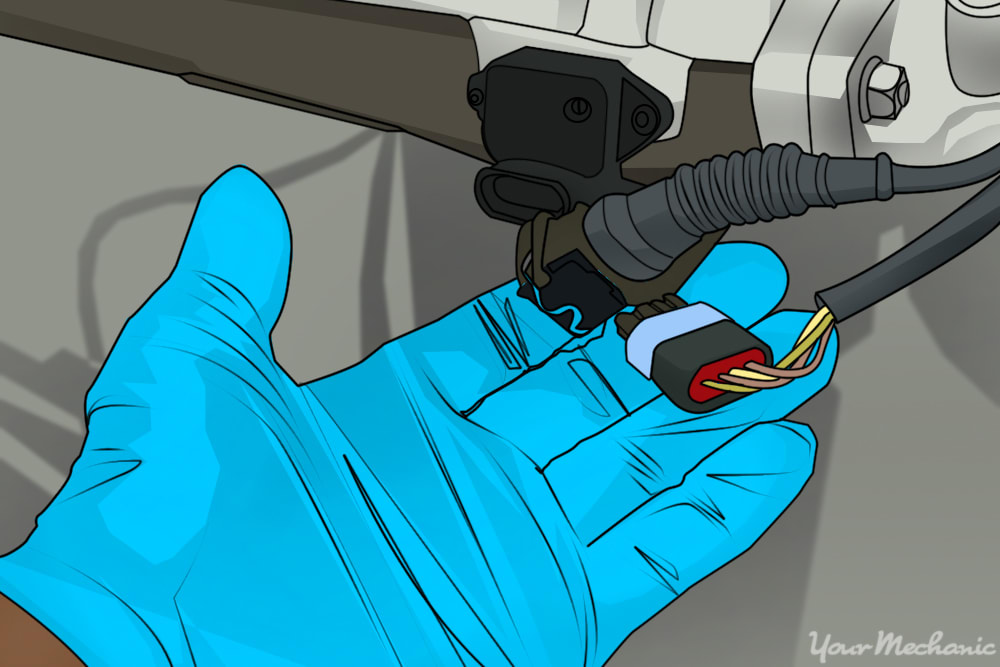
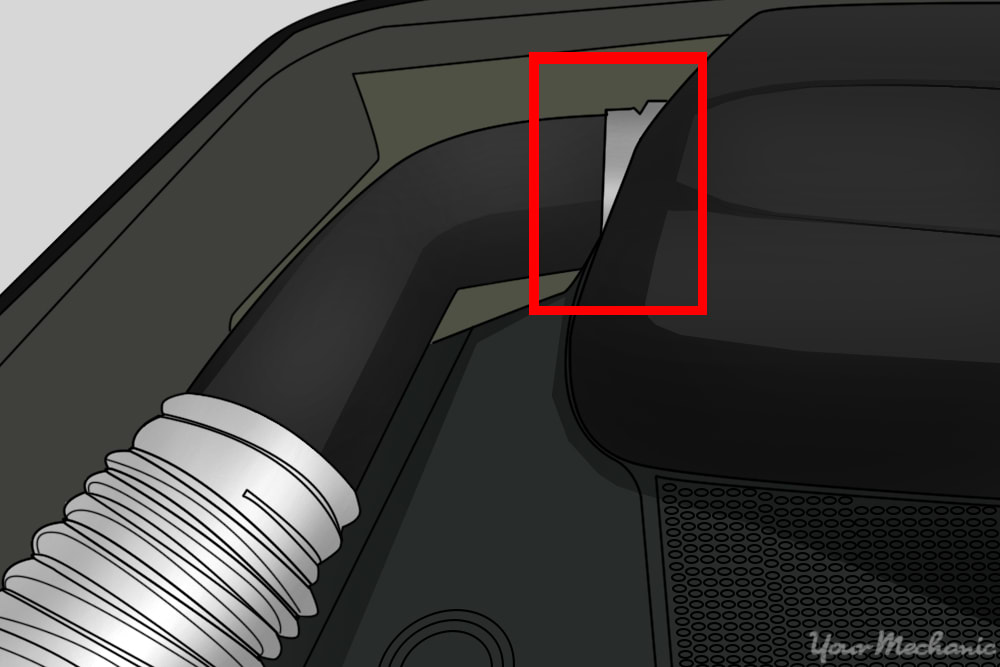
Step 5: Disconnect any electrical connectors. To disconnect the electrical connectors from the air intake, squeeze the connectors until the clip is released.
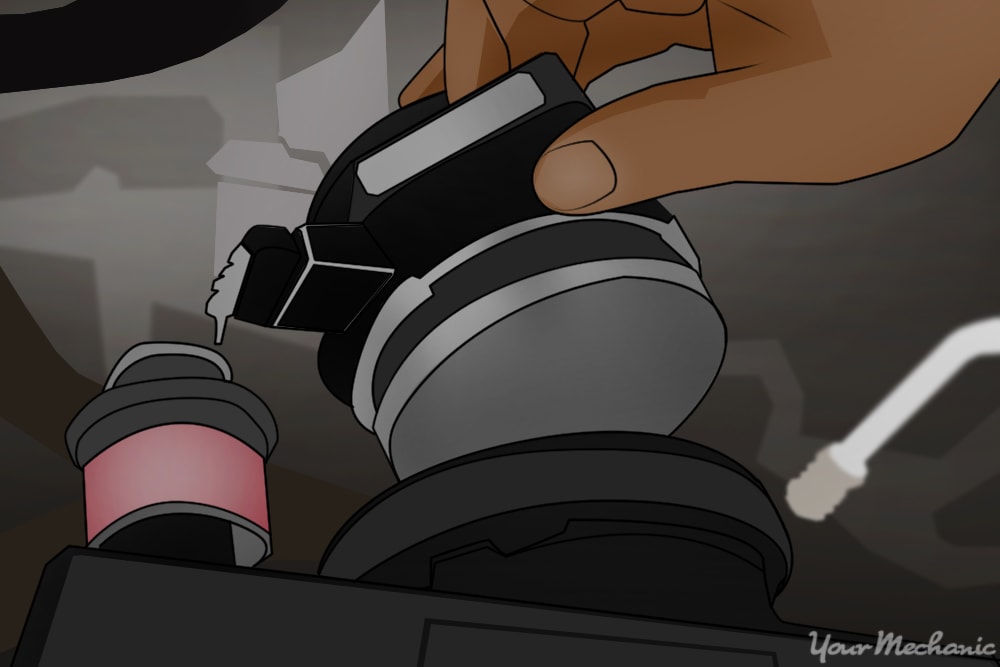
Step 7: Remove the intake tube. Loosen the air intake clamp from the engine to be able to then remove the intake tube.
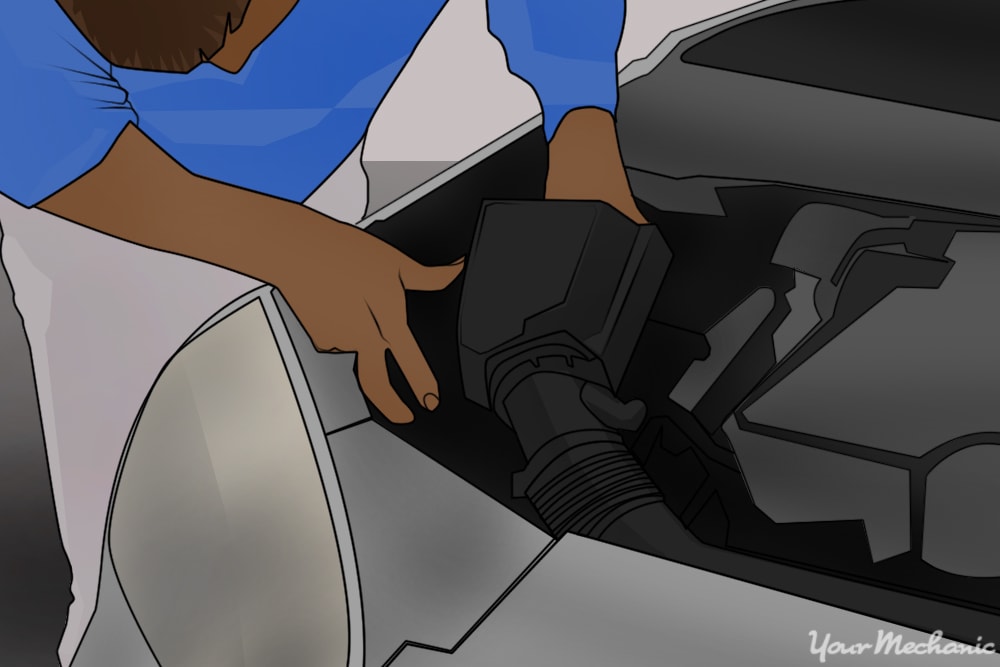
Step 8: Remove the air filter housing. To remove the air filter housing, pull it straight up on it.
Some air filter housings will pull right off of their mounting, and some will have bolts holding it in place that need to be removed first.
Step 9: Install the new air filter housing. Install the new air intake’s air filter housing using the mounting hardware supplied by the kit.
Step 10: Install the new air intake tube. Connect the new air intake tube to the engine and tighten down the hose clamp there until it is snug.
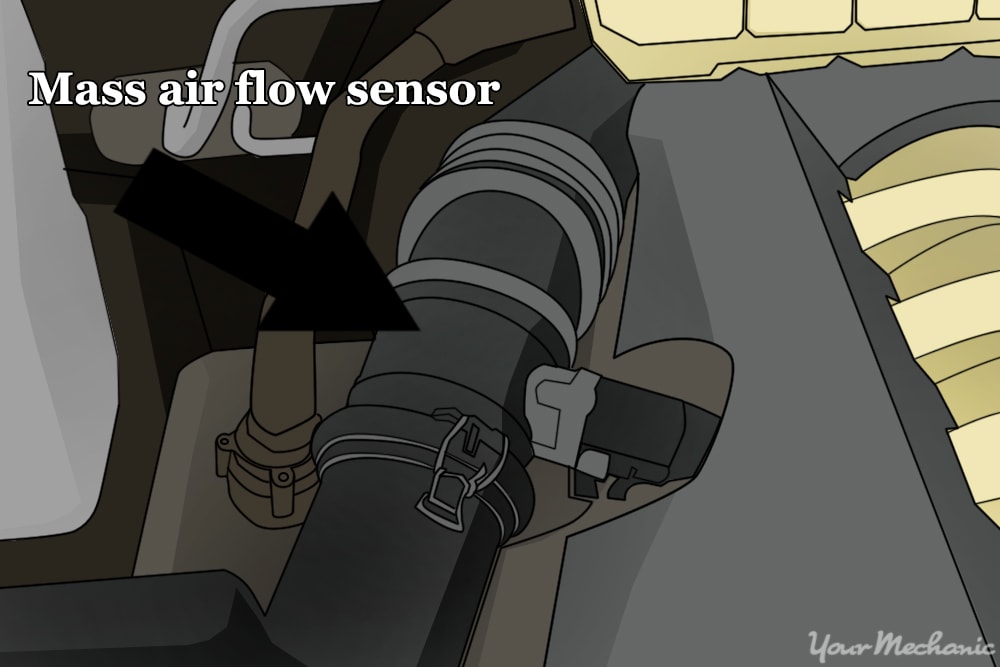
Step 11: Install the air flow meter. Attach the air flow meter to the air intake tube and tighten down the clamp.
- Warning: Air flow meters are designed to be installed in one direction, otherwise they will read incorrectly. Most of these will have an arrow on them pointing in the direction of the air flow. Be sure to install yours in the proper orientation.
Step 12: Finish installing the air intake tube. Connect the other end of the new air intake tube to the air filter housing and tighten down the hose clamp.
Step 13: Replace any electrical connectors. Connect any electrical connectors that were disconnected previously to the new air intake system by pressing on them until you hear them click.
Step 14: Test drive the vehicle. Once you have completed your installation, you will need to test drive the vehicle, listening for any odd noises and watching for the check engine light.
If it feels and sounds fine, you will be free to go and enjoy your vehicle.
By following this step-by-step guide, you should be able to install an aftermarket air intake into your vehicle on your own at home. However, if you feel at all uncomfortable installing this yourself, contact a certified technician, such as one from YourMechanic, to come and replace your air intake for you.


