
Gas caps can fail due to a number of reasons. A leaking fuel cap can lose you upwards of 2% of your gas from evaporation.
Gas caps get cranked on week after week, month after month, and year after year. They leak around their seals, the threads can become damaged, and the ratcheting mechanisms can fail — just to name a few of the most common issues. Most states have emissions testing standards that test the amount of evaporation coming from gas caps.
Severe leaks in the gas cap cause the fuel pump and engine to work harder than usual. The harder the engine works, the more exhaust fumes are sent into our environment, causing additional damage.
Use one of the following procedures to replace a failed or leaking gas cap on your vehicle.
Part 1 of 2: Install a locking gas cap
Material Needed
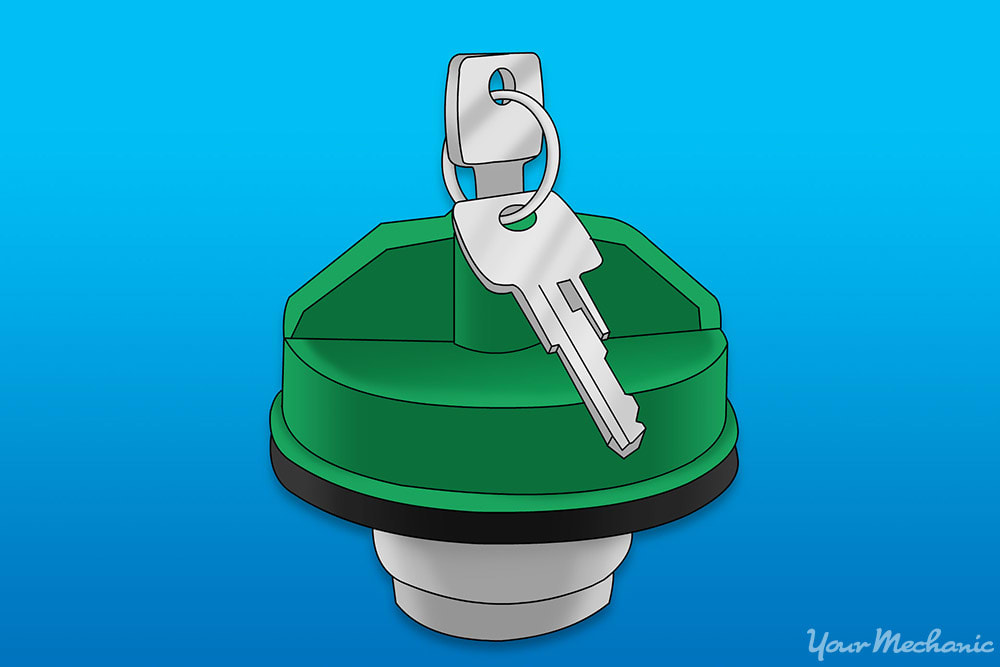
Step 1: Buy a locking gas cap. When upgrading or replacing a gas cap, purchase a locking cap for your vehicle. This type of fuel cap can be found at automotive stores or online.
Gas caps are necessary for proper gas tank function. If the fuel cap on your vehicle is missing or broken, replace it immediately. Fuel efficiency can vary depending on the quality and the seal on your gas cap.
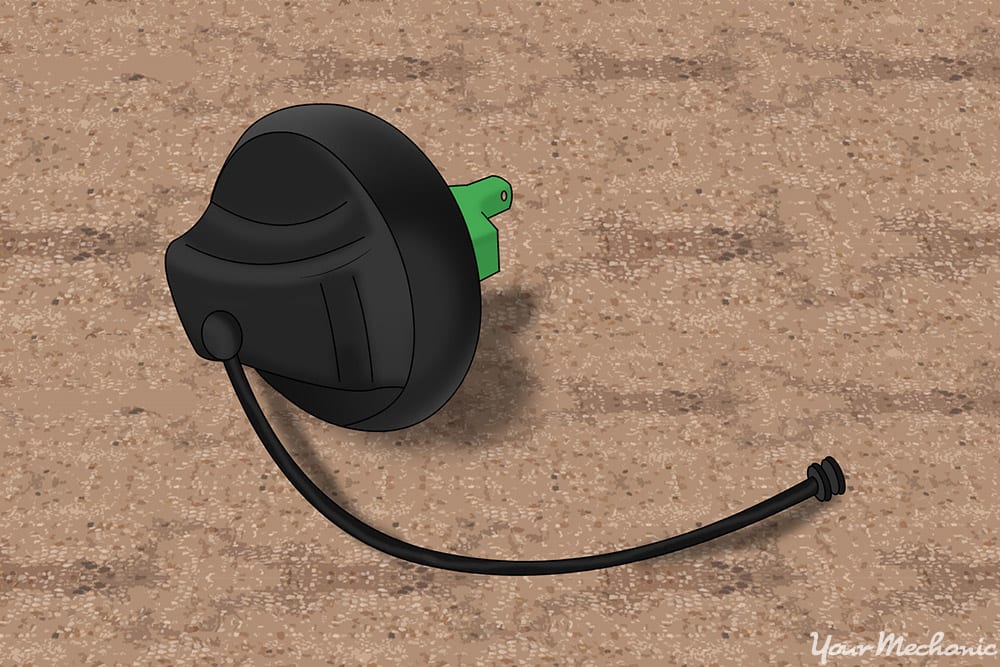
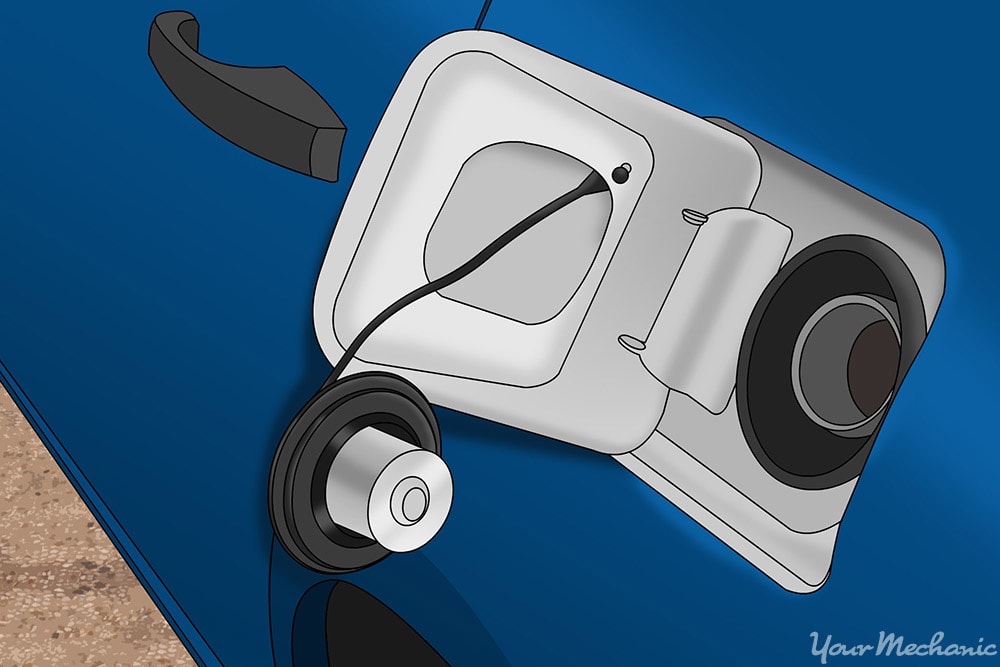
Step 2: Secure the cap leash. Replacement caps often come with a “leash” or plastic ring that keeps the cap from being lost. Secure the cap leash with its peg on the vehicle side of the leash.
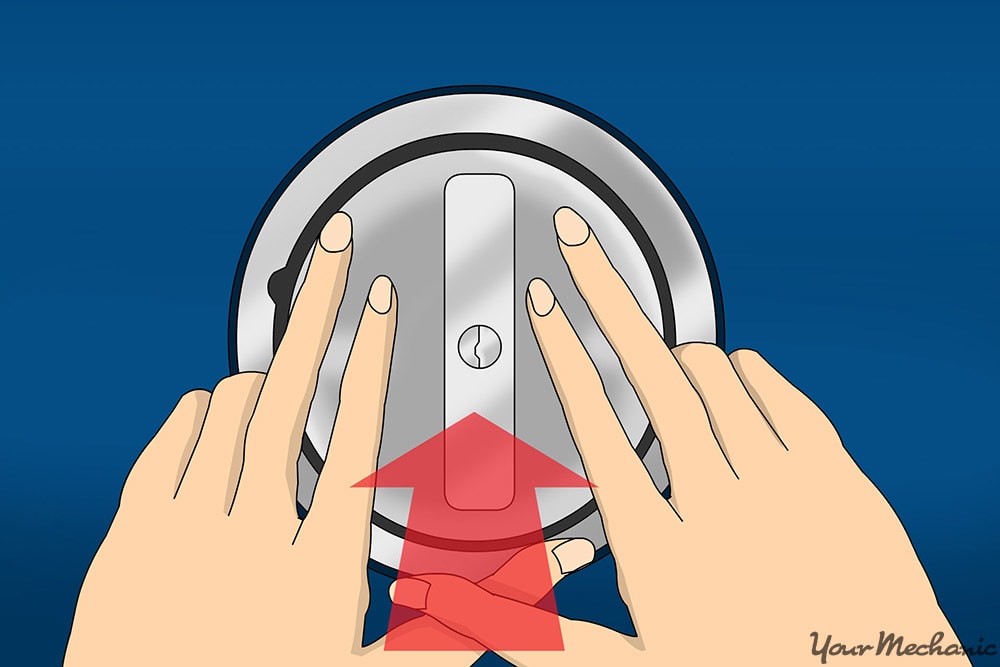
Step 3: Press the new cap in place. Press the new cap flush against the fuel filler neck thread and rotate clockwise until it “clicks” into place. The audible click verifies that the cap is sealed.
- Note: Never force anything into place on your vehicle. A new cap should screw easily into place without any serious resistance.
Step 4: Put the key into the gas cap. Insert the key into the gas cap and rotate it clockwise to engage the locking mechanism.
- Note: Always test the gas cap and ensure that its locked. Most caps swivel and do not engage the threads while the cap is opened.
Part 2 of 2: Install a non-locking gas cap
Materials Needed
Step 1: Buy a replacement gas cap. Replacement gas caps can be found at automotive stores or online.
Step 2: Secure the cap leash. Replacement caps often come with a “leash” or plastic ring that keeps the cap from being lost. Secure the cap leash with its peg on the vehicle side of the leash.
Step 3: Press the new cap in place. Press the new cap flush against the fuel filler neck thread and rotate clockwise until it “clicks” into place. The audible click verifies that the cap is sealed.
- Note: Never force anything into place on your vehicle. A new cap should screw easily into place without any serious resistance.
Gas caps are a critical part of your fuel system. If you need to replace the gas cap on your vehicle, buy a replacement gas cap with a lock. Replacing it is as simple as connecting it and screwing it in.
If you need assistance in replacing your gas cap, contact a professional mechanic, such as one from YourMechanic, to do it for you at your home or office.


