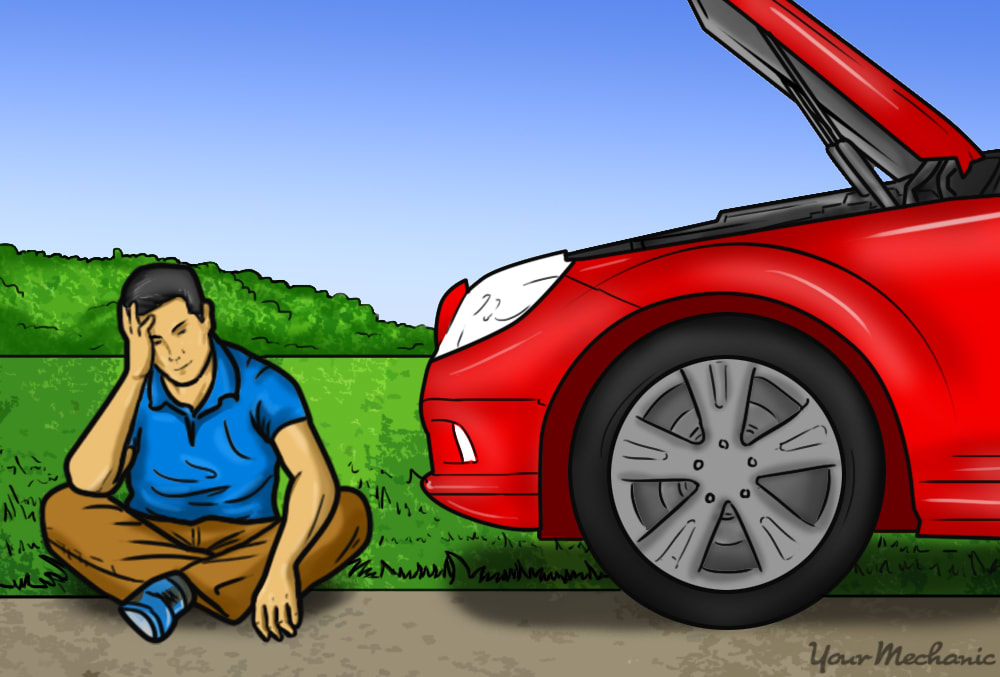

If your car breaks down on the road it’s not only inconvenient, it can be dangerous as well. Depending where you end up on the road (after a turn, on the freeway, or on a road where there is little or no shoulder) the situation can become harrowing.
Although, if there is anything positive to say about cars breaking down, it’s that most roads have good sized shoulders, and that finding a decent spot to pull over, which is safe and out of the way of traffic, is usually the case.
Use the following steps to learn how to safely move your vehicle if it breaks down on the road and assess the damage.
Part 1 of 3: Pull over to a safe spot
If your car breaks down on the road, try to manage the situation so that you are not stressed and can get back on the road as soon as possible.
Step 1: Prepare to pull over. Sometimes pulling over isn’t the easiest thing to do. You might be on a mountain road with little shoulder space and many blind turns, or on a narrow part of the freeway surrounded by traffic.
That said, try to assess your unique situation and decide on a course of action.
Always try to remain calm. It’s harrowing knowing that your vehicle is no longer running, especially when it happens right on the road, but you must remain calm. Until you pull your car over safely to the side of the road, your breakdown will affect other traffic that is around you, and you must be mindful as you try to maneuver yourself safely out of traffic.
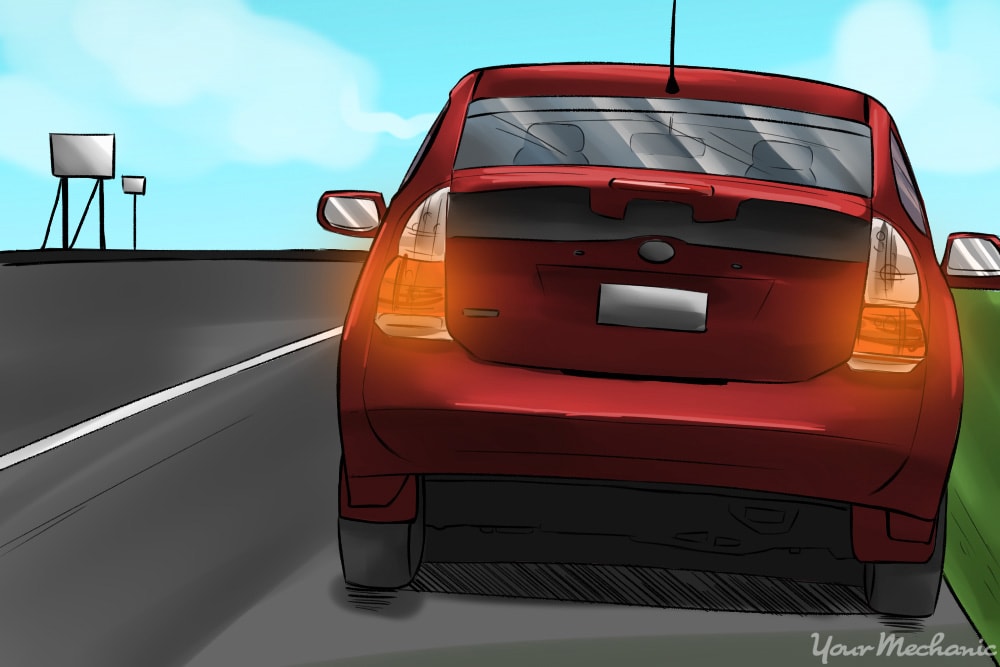
Step 2: Switch on the hazard lights. Use the hazard lights to indicate to other traffic that you are in distress and try to use hand signals while you try to get to the shoulder of the road.
If you can, use the vehicle’s momentum to drift to a safe location.
If you cannot get to a safe spot on the road and you have to block a lane, use your hazard lights and signal so you can get the vehicle into the far right lane. Try to slow down as gradually as possible so as not to cause an accident, or multiple accidents on the road. If you let other drivers know about your vehicle’s failure, they can proceed to drive around your car.
Step 3: Pull over in a safe spot. Once you’ve found a safe spot, keep the hazard lights on and park the car as you normally would.
Engage the parking brake, switch off the ignition, and stay inside your vehicle.
If you’re able to, call the police yourself. If someone tries to help you, roll down your window and ask them to call the police.
Call for roadside assistance from your insurance company if it is part of your insurance policy. If not, ask them to send a tow truck.
Warning: In the difficult situation where the car is broken down in a driving lane or you are parked just around the bend of a blind corner, you should always stay in your vehicle. If you must absolutely leave your vehicle, do so from the side of the car that is not near moving traffic.
Warning: Always stay out of the road. Do not work on the vehicle or change a tire on the side of the road that is exposed to traffic.
Part 2 of 3: Push your vehicle to a safe spot
Step 1: Assess the situation. Always assess the conditions of your environment as best as possible before you make any decisions.
In certain situations, it is best to push the vehicle to a safer location. If this is the case, you absolutely cannot do it alone.
Additionally, if you are facing a hill, you will not be able to push the vehicle easily.
If you have friends or family who can help you, or good Samaritans offer to help you, communication is always key. Roll down the driver’s side window so you can hear each other. Stay in the driver’s seat and have them go to the rear of the vehicle and prepare to push it. Let each other know when you’re ready to begin.
When everyone is in position and have identified that they are ready to push, release the parking brake and the foot brake, put the transmission in neutral, and steer the car as necessary while they push.
- Note: If for any reason, they need to stop pushing, make sure you are able to hit the brake as soon as possible.
Once you push the car to a safe location, park it as you normally would by engaging the parking brake and switching off the ignition. Now you can safely call for roadside assistance, a tow truck, or contact the police.
Part 3 of 3: Diagnose the problem
Make only basic assessments about the state of the vehicle. If you know your way around the engine, it can be a huge asset in this situation, but it’s probably not a great time to tackle the problem head on.
You can look under the hood to check for a loose battery cable or a blown fuse, but anything much more than that will probably be futile since you may not have access to the parts and tools you would normally need.
- Warning: If the vehicle breaks down after you’ve been driving for a while, the engine is going to be hot. Be very careful when working under the hood of your car. Do not touch the radiator or other tubes and hoses near it. Do not touch the engine block until it is cool.
Step 1: Check the connections to both battery terminals. Check under the hood to see if the battery terminals are properly connected.
If one (or both) terminals is (are) somehow disconnected, and you have the tools needed to secure them (usually a socket wrench and sockets), you can fit them back on.
Step 2: Connect the negative terminal first. Start by applying the negative charged terminal first.
This is the terminal that usually has red plastic or rubber covering the cables and a negative sign (-) displayed on the battery near the terminal.
Fit the terminal head connected to the battery cable onto the respective terminal and adjust the bolts until the terminal head is tightly attached to the battery terminal.
Step 3: Connect the positive terminal. Repeat on the opposite side by attaching the terminal head to the positive (+) terminal.
Usually, this terminal has black plastic or rubber covering the terminal cable.
Step 4: Check the fuse box. If there are no issues with the battery terminals, check the fuses in the fuse box. The fuses are usually located under the hood, in a box near the battery.
There are additional fuses in the cabin of the vehicle on the driver’s side, usually in the lower part of the dash near the steering wheel.
Open the fuse box cover and check to see if any of the fuses are blown. Some fuses are cylindrical and are encased in glass with metal ends that are numbered for part type and amperage. Others are of a narrow rectangular shape with two prongs, made of different color plastic that is semi-transparent with a number printed on the top for amperage.
If a fuse is blown, it is usually quite obvious. The cylindrical fuses will have a broken connector within the glass tube, and there will usually be black soot collected on the glass, making it more difficult to see inside. For blown fuses with plastic casing, you will see that the connector is broken. There might also be black soot collected inside the plastic encasement.
Warning: Be very careful you do not break glass fuses. Always perform these checks when the car is off, and the keys are removed from the ignition.
Tip: If you are unsure whether or not a fuse is blown or if it is dirty, try to clean the fuse as much as possible. Compare each fuse from the fuse box with a fresh fuse straight out of the box.
Plastic colored fuses are usually very close together in the fuse box and can be difficult to grasp with your fingers. Use a pair of needle-nose pliers for extra gripping power and leverage.
- Note: Be sure not to squeeze too hard so you don’t crack the plastic casing.
Step 5: Replace any blown fuses. If you notice that a fuse is blown, replace it with a new one that is exactly the same type, and make sure it fits into place tightly and firmly like the others around it.
- Tip: While you’re in the fuse box, you might as well check all the fuses to make sure they’re in good working order.
Step 6: Check the spark plugs. If the engine starts but sounds odd (usually with sporadic spitting noises and with odd-sounding timing), there might be a problem with one or more spark plugs.
Unfortunately, if your car broke down on the side of the road, there’s not much you can do without a ratchet and a spark-plug wrench.
Check the spark plugs to see if they are clean and ensure that they are attached to the distributor leads. The distributor releases the necessary electrical charge to each individual spark plug at the right time to fire the engine in a synchronous way.
Locate the spark plug holes near the engine block. They are individually attached to the distributor using wires or leads that are usually covered in black rubber, leading to the main distributor cap.
Unplug the distributor leads from the spark plug and check to see if the connection area between the spark plug and the distributor lead is clean. Repeat as necessary for all spark plugs.
If there is any dirt getting in the way of the connection, clean it off with a rag or a paper towel.
Step 7: Check if the car starts. Try to start the engine to see if it runs more smoothly.
Try to diagnose basic problems with your vehicle only when it is parked in a safe location that is free of any traffic.
If this is not the situation, and you’re broken down on the road, stay in your vehicle and call the police and/or roadside assistance immediately. If your car breaks down at your home or office, get a certified mechanic from YourMechanic to inspect it for you.


