
The spark plug is used to ignite the air/fuel mixture inside the engine. The spark plug must be in good condition and must be properly gapped for proper engine performance.
The size of the gap affects the spark plug's firing temperature which in turn is related to the combustion of air and fuel in the engine.
A gap that is too small will cause a low firing voltage resulting in incomplete combustion. On the other hand, if the gap is too large, the supplied voltage may not be sufficient to bridge the gap in the required time.
For this reason, it is essential to check the size of the spark plug gap during spark plug replacement and when trying to diagnose an ignition misfire.
You can learn to properly gap spark plugs by measuring and adjusting accordingly.
Method 1 of 1: Gap the spark plug
Materials Needed
- Free repair manuals from Autozone
- Needle-nose pliers
- Protective gloves
- Chilton repair manuals (optional)
- Safety glasses
- Spark plug gapping tool
- Spark plug gap adjusting tool (optional)
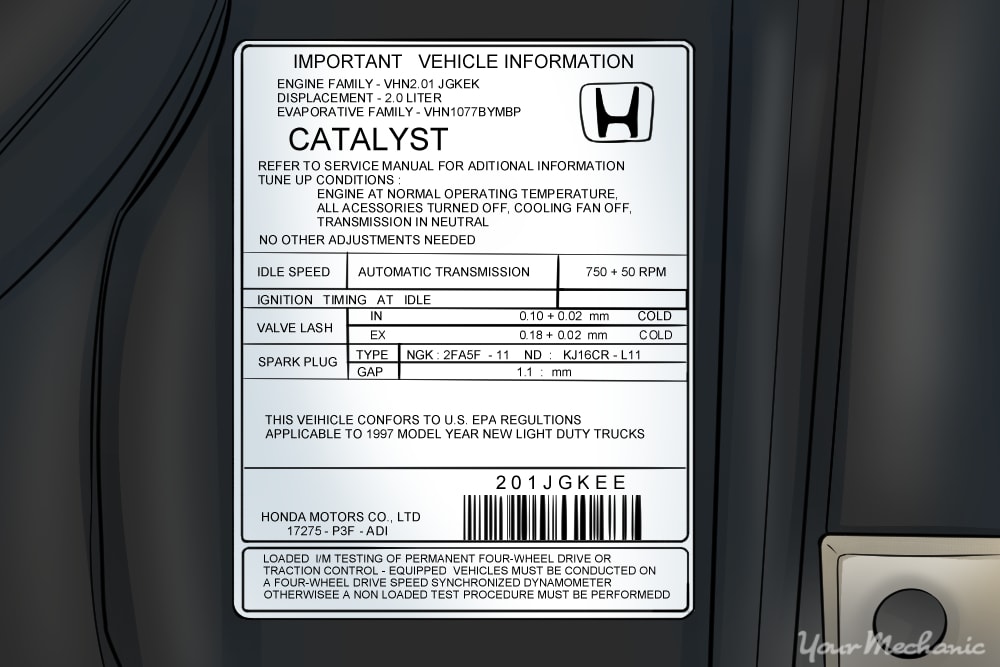
Step 1: Find the gap specifications for your vehicle. You can find the spark plug gap specifications at several locations on your vehicle.
You can usually find the information on the emissions decal located on the underside of the vehicle hood.
If the information is not there, you can consult the factory repair manual for your vehicle.
- Tip: Your local auto parts store should be able to provide you with the information. All you have to do is call them with the year, make, model and engine size of your vehicle.
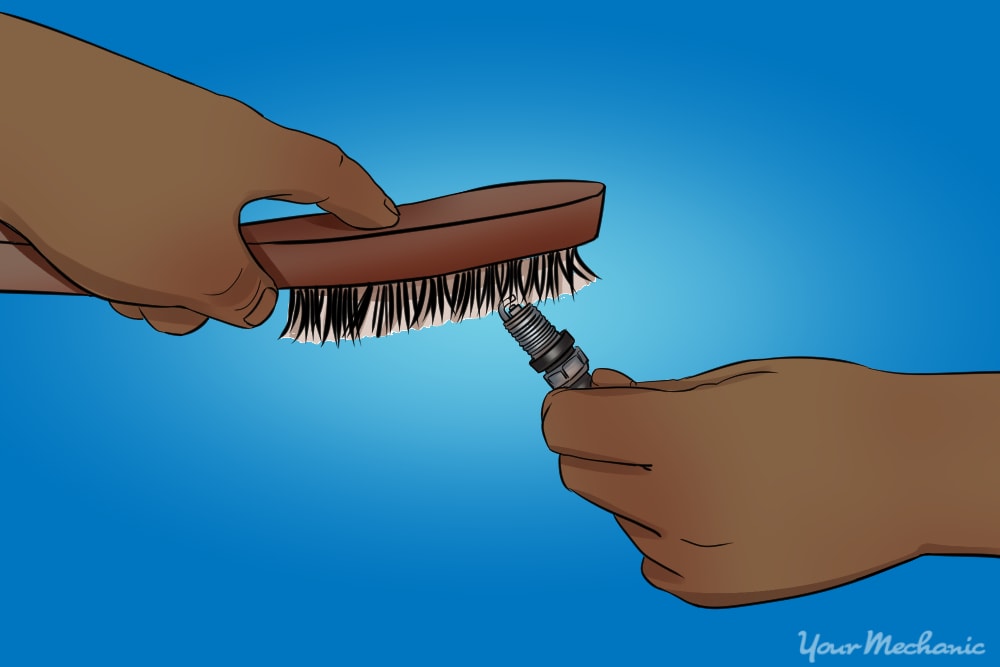
Step 2: Clean the spark plug. If you are installing new spark plugs, you do not need to do any cleaning.
However, you’ll want to clean plugs that have been in use for some time. This will ensure you get a an accurate reading when setting the gap.
You can clean the plug contact points with either 90% alcohol or a fine metal brush. Of course, if the plugs are fouled or exceptionally dirty, they should be replaced instead of cleaned.
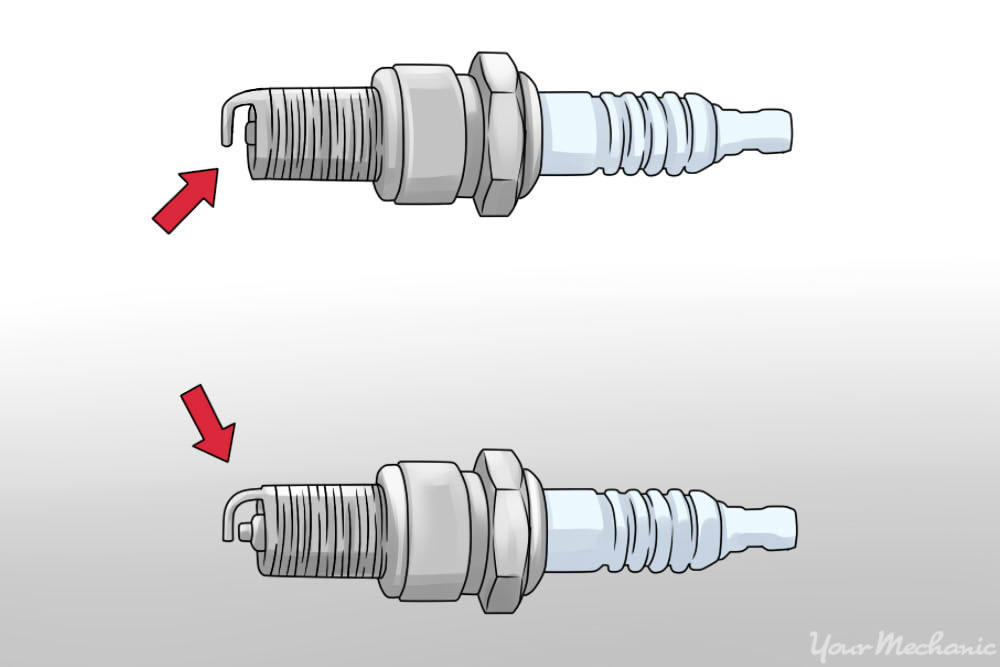
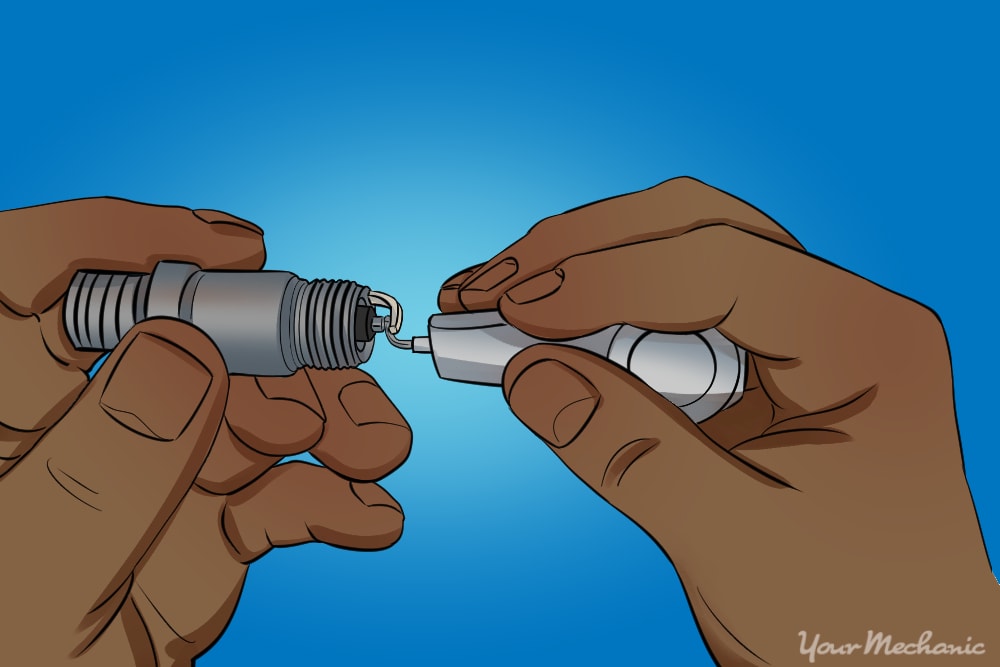
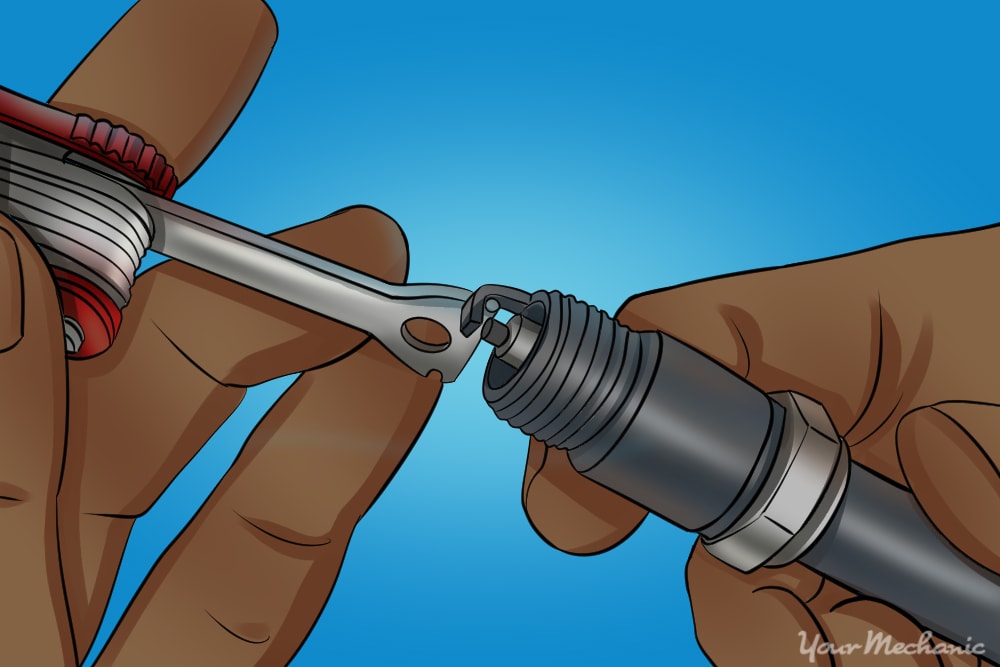
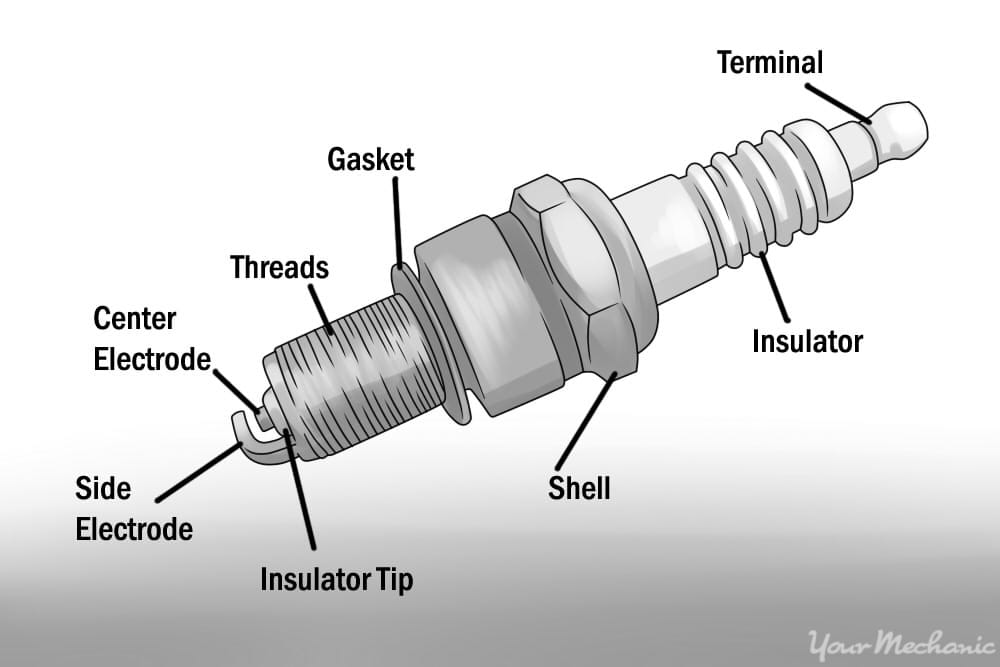
Step 3: Measure the spark plug gap. The next step is to measure the spark plug gap. Do this by inserting the gauge between the center wire and side terminal or ground electrode.
If the tool does not touch the electrodes at the appropriate measurement, the gap is too large. Likewise, if the tool doesn’t fit between the electrodes the gap is too small.
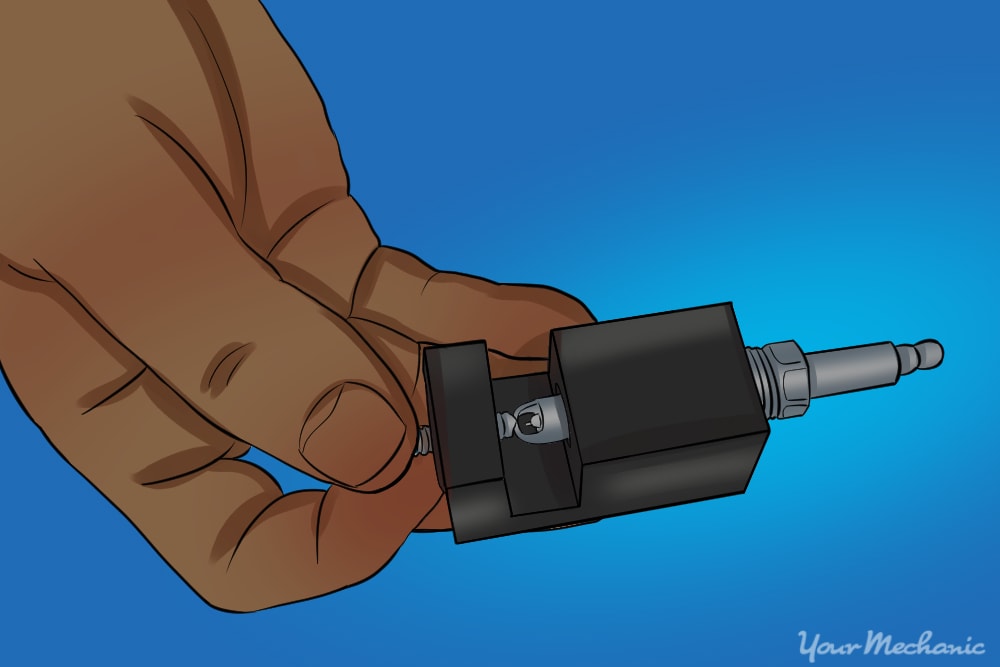
Step 4: Adjust the spark plug gap. You can adjust the spark plug gap if it was not set correctly.
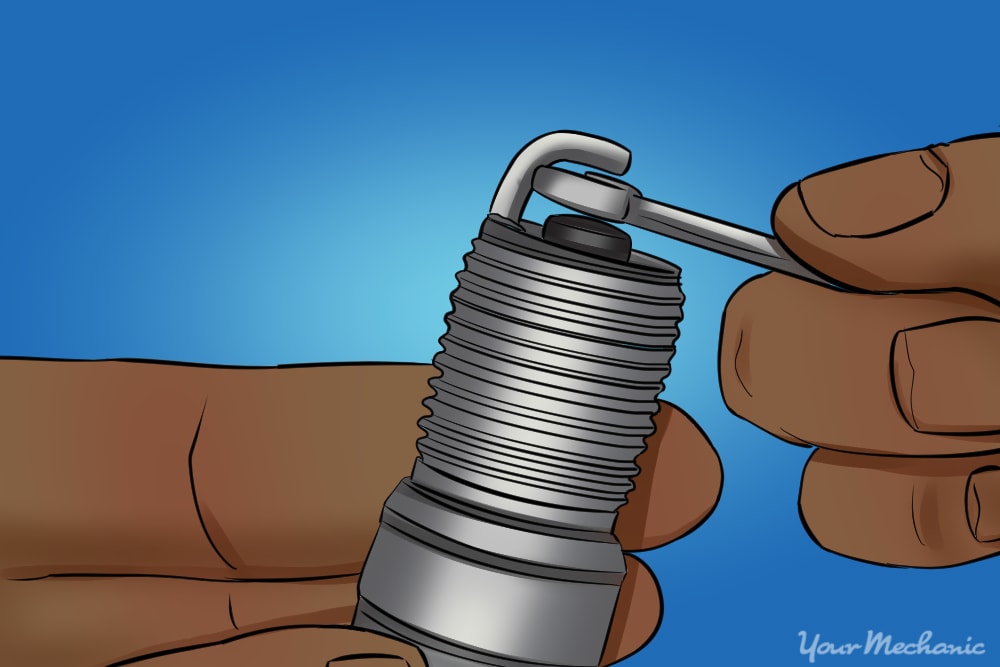
To increase the gap, gently bend the ground electrode towards the center electrode. To do this, use either a pair of needle nose pliers or a dedicated spark plug gapping tool.
Tip: To decrease the spark plug gap, you can use the tools mentioned above, or you can push the ground electrode against a soft surface, such as a wooden table.
Note: Be careful when bending the ground electrode and never adjust it more than .02 in. at a time.
Step 5: Re-measure the gap. Measure the gap again and readjust the distance until the desired gap is achieved.
Spark plug replacement and gap measurement can be tedious. If you’d prefer to have a professional inspect and/or replace your spark plugs, the team at YourMechanic is here to help.


