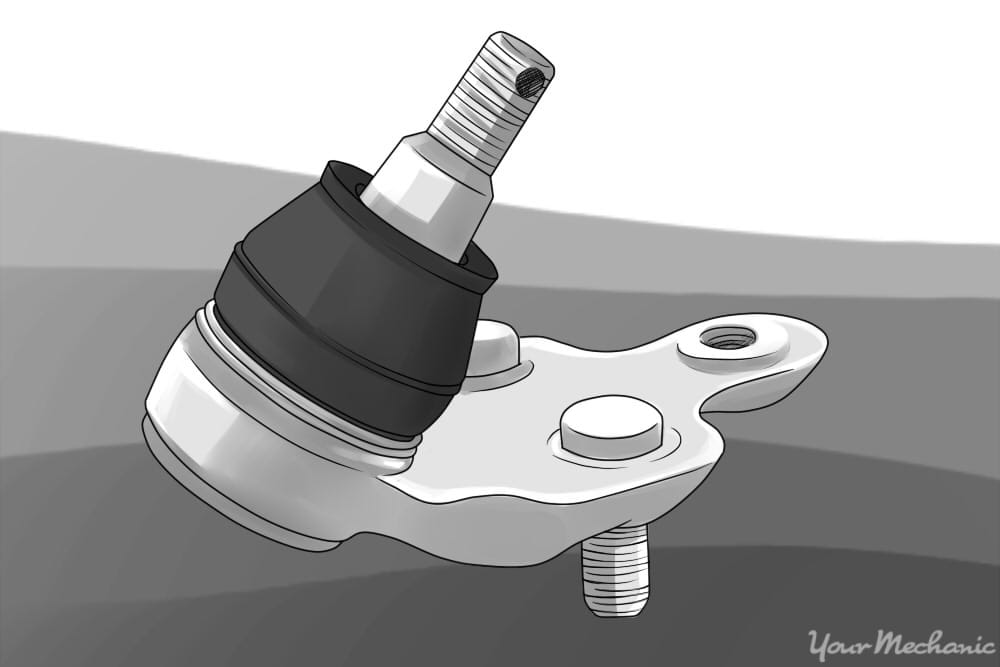

Ball joints are a suspension component that is found on virtually all vehicles. Ball joints are flexible joints that allow components of the suspension to move up and down, as well as side-to-side, usually in a full 360 degree rotation.
Ball joints are typically a ball-in-socket design that is lubricated with grease and covered by a dust boot. Some will have an external grease fitting for adding lubrication, while others will be sealed designs. While this design of the joints is commonly used on many other suspension components, such as tie rod ends and sway bar links, ball joints are responsible for connecting the suspension control arms to the vehicle’s steering knuckles.
Depending on the type of suspension, most vehicles will have upper and lower ball joints that serve as some of the most important joints that connect the frame of the vehicle to the suspension. When they fail, the vehicle may experience issues ranging from minor noises and vibrations in the suspension, to a complete failure which will render the vehicle undriveable.
This article shows you how to check ball joints for looseness and play to see if they need to be replaced. By listening to the vehicle while driving, feeling for any symptoms, and visually inspecting the ball joints while the car is raised, you can find out if your ball joints are causing issues with your car.
Method 1 of 2: Checking the ball joints by driving the vehicle
Step 1: Take the car for a drive. Drive the vehicle up to the speed limit on a public road and listen for any noises that may be coming from the suspension.
Worn ball joints will usually be indicated by an intermittent banging sound that will appear to be coming from one of the vehicle’s corners.
Take note of any unusual feelings in the steering wheel. Worn ball joints may cause excessive vibration in the steering wheel, as well as cause the steering to wander, requiring constant corrective input from the driver.
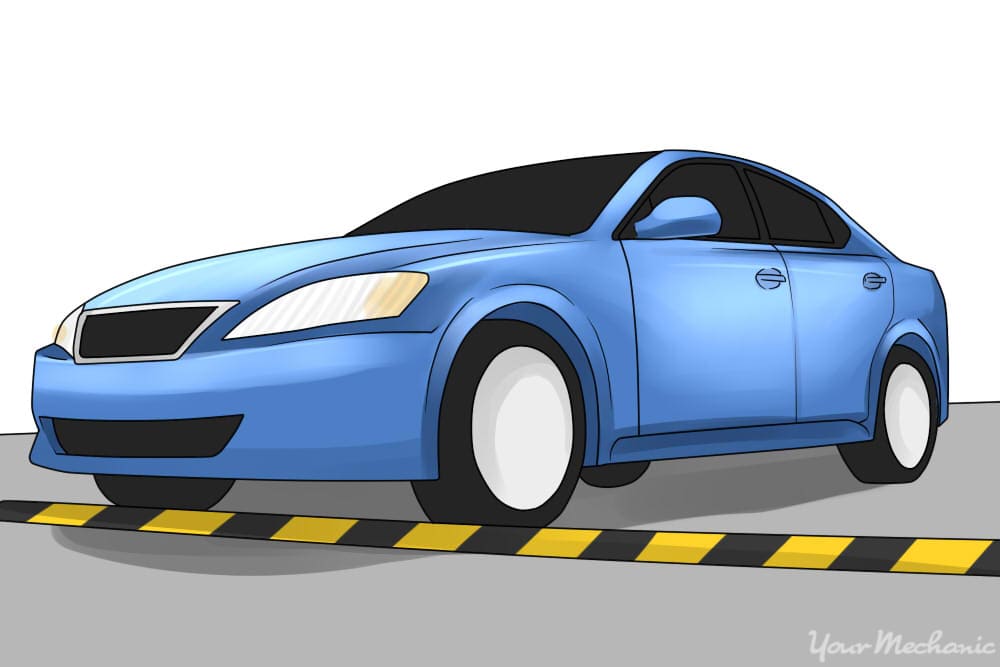
Step 2: Drive over speed bumps. Once you have driven the vehicle at full speed, take it into a parking lot with speed bumps, and drive it at a low speed.
Stop and go a few times, drive over speed bumps, and make a few turns at low speed.
Listen for any banging or thumping noises. These sounds may become more pronounced when turning at low speeds and going over speed bumps.
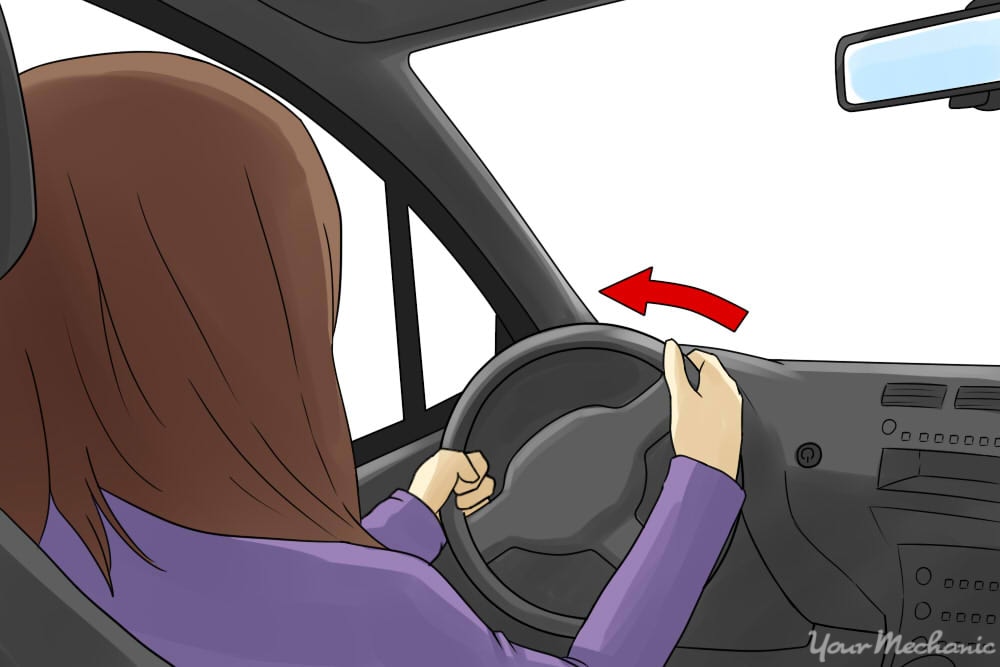
Step 3: Turn the steering wheel. Once the vehicle has been driven at low speed, park the vehicle.
Turn the wheels back and forth a few times, again listening for any potential signs of looseness in the vehicle’s ball joints.
- Tip: Remember that any noises due to excessively worn ball joints will usually present themselves as a knocking sound that will get worse over time, having a more pronounced effect on the vehicle’s suspension and steering.
Once the vehicle has been driven, it is time for a visual and physical inspection tests.
Method 2 of 2: Checking ball joints visually
Materials Needed
- Jack
- Jack stands
- Flashlight
- Pry bar
- Lug nut wrench
- Wood blocks or wheel chocks
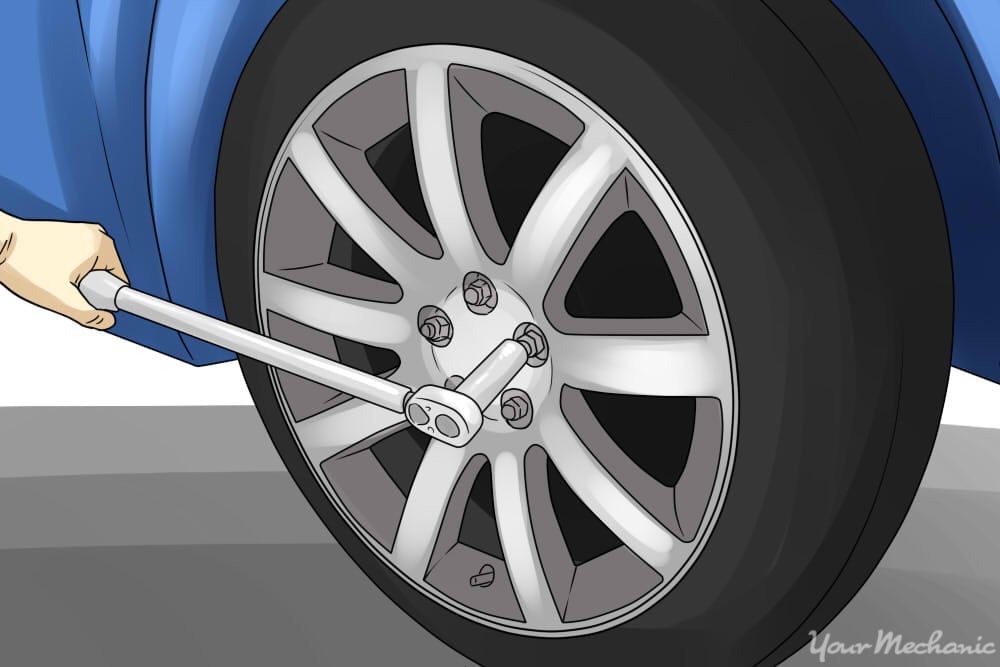
Step 1: Loosen the lug nuts. Loosen the lug nuts, however, leave them on hand tight, with the wheel still secured reasonably tightly to the vehicle.
This will allow you to move the wheel around on its axis (without removing it).
Step 2: Jack up the car. Jack up the vehicle’s front end, and secure it on jack stands. It will be much easier to test the ball joints without the entire weight of the vehicle on the wheels.
Step 3: Place wheel chocks behind the wheels. Put wheel chocks or wood blocks behind the vehicle’s rear wheels and set the parking brake to prevent the vehicle from rolling.
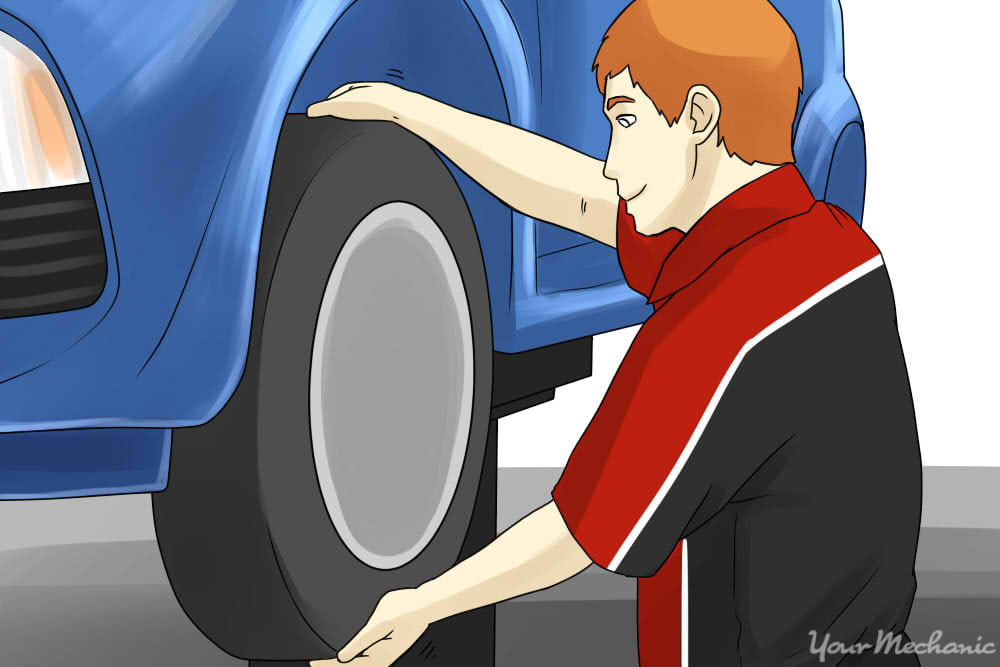
Step 4: Rock the tire on its axis. Once the vehicle has been raised, grasp the top and bottom of the tire, and rock it in and out along the wheel’s vertical axis.
There should be little to no play if the ball joints are both in sound condition.
Take notice of any play that seems excessive, or noises present when rocking the wheel in and out, and where the sounds or play seem to be coming from.
Tip: Any noises or play heard towards the top are most likely indicative of a problem with the upper ball joint, while, any play or noise coming from the bottom of the wheel are probably indicative of a problem with the lower ball joint.
Warning: When conducting this test, make sure that the lug nuts are not loose, as that may cause movement when rocking the wheel. The lug nuts do not need to be fully torqued down; they simply need to be tight enough that the wheel is secured on the hub.
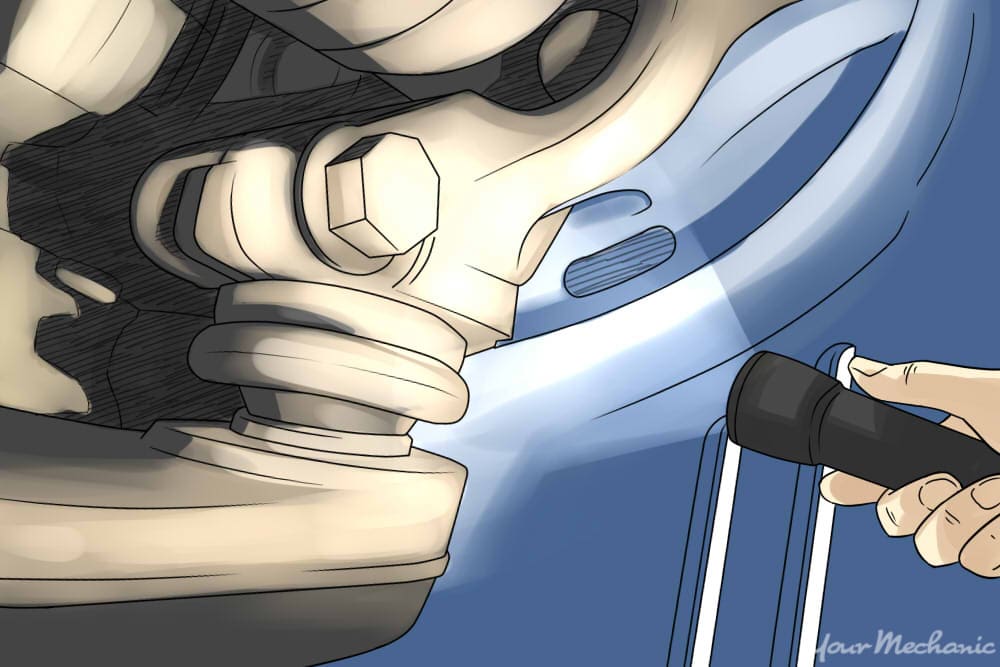
Step 5: Remove the wheel. Once you are ready to proceed, remove the wheel and visually inspect both the upper and lower ball joints using the flashlight.
- Tip: For instructions on how to remove the wheel off its axis, you can see instructions in our article, “How to Change a Tire”.
Closely examine the ball joints for any signs of rust, damage to the dust boot, grease leakage, or other potential problems that may indicate a need for replacement.
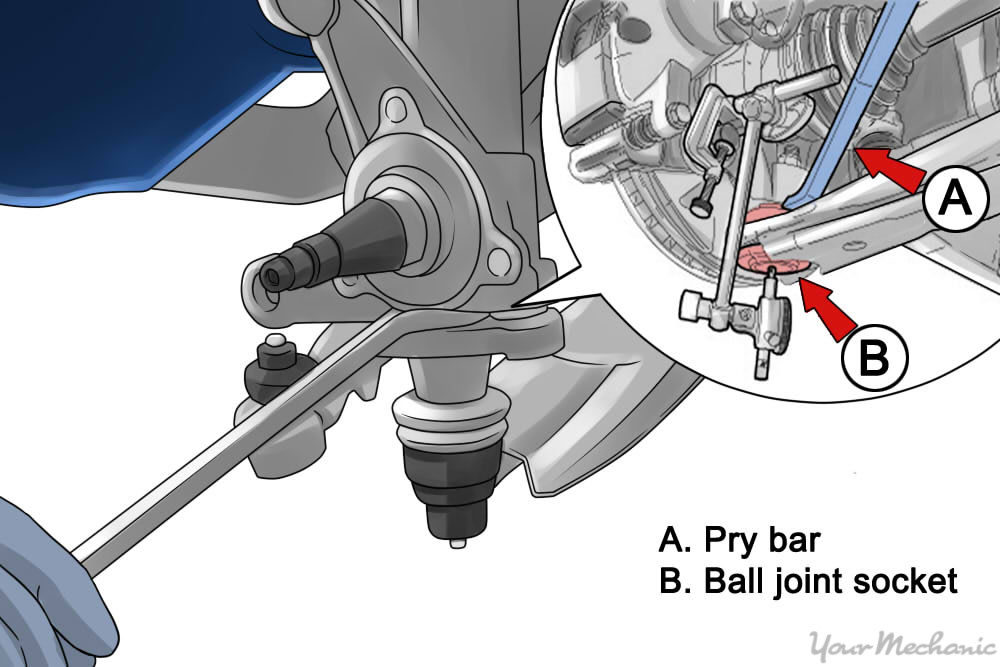
Step 6: Pry apart the ball joint. Take a pry bar and place it between the lower control arm and the steering knuckle, the two parts that are connected together by the ball joint, and attempt to pry them apart.
Loose ball joints will have an excessive amount of play and movement when you pry on them, may even make knocking or clicking sounds.
Step 7: Put the wheels back on. Once you have visually inspected and tested the ball joints with a pry bar, reinstall the wheel, lower the vehicle, and torque the lug nuts.
Step 8: Check the joints on other wheels. At this point you may proceed to the other three wheels of the vehicle, using the exact same procedures as outlined in Steps 1-5.
Ball joints are one of the most critical components in a vehicle’s suspension, and checking to make sure that they are in sound condition is a relatively easy test to conduct. Worn ball joints can cause all sorts of problems, ranging from play in the steering wheel, to noises when going over bumps, to uneven tire wear.
If you have any suspicion that your ball joints may be worn, do not hesitate to check them. If necessary, have a professional technician, such as one from YourMechanic, assist you with replacing both the front and rear ball joints.


