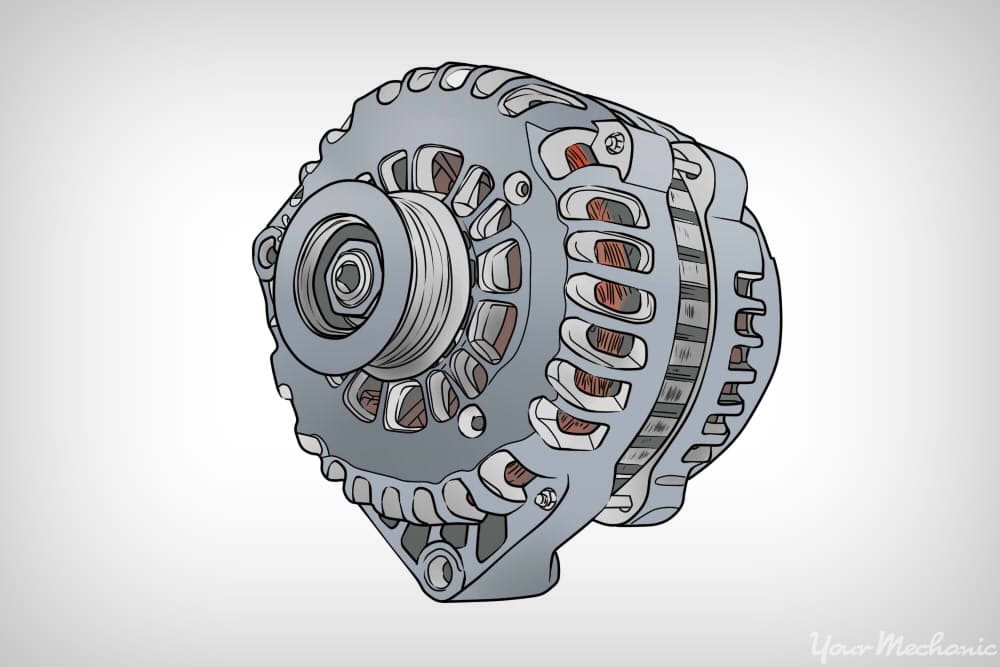

The alternator on today’s modern cars is vital to its smooth operation and continual use. This component is responsible for powering your vehicle’s electrical system while the engine is running. It also helps to recharge the battery at the same time. Although the alternator will eventually require replacement, a contributing factor to premature wear and tear is a broken alternator belt. A leading cause of this problem is a loose fitting or damaged alternator bracket. The information below will be helpful for knowing how to adjust an alternator bracket yourself.
First off, let’s explain something very important. If you have a loose-fitting alternator bracket, it should be replaced — not merely adjusted. What many people often search for with this term is understanding the proper steps for adjusting the alternator belt itself. When the alternator bracket is loose, it causes the belt to become loose, which develops too much heat and friction and eventually fails.
So, to provide some practical tips for that unexpected loose alternator bracket issue, here are 5 steps for dealing with a loose alternator bracket.
Step 1: Inspect the Alternator Belt for Damage
One of the most common symptoms of a loose or damaged alternator belt is a rattling noise under the hood of the car while the engine is running. If you hear this noise and determine that the alternator bracket is loose, you should first inspect the alternator belt. Specifically, verify at least one of the following 3 situations:
Is the alternator belt missing from the vehicle?
Is the alternator belt loose?
Are there frays, tears, or signs of glazing on the belt?
If you can answer “yes” to any of these 3 questions, then proceed to the next steps listed below. If the answer is “no” to all the questions, contact a professional mechanic and have them inspect the vehicle for additional sources of the noise, or if the alternator bracket is loose, have them replace it, the alternator belt, and corresponding hardware.
Step 2: Remove the Alternator Belt and Bracket
When you’ve determined the alternator bracket is loose, replacement of the bracket, the alternator belt, and tensioner pulley is the right course of action. For this step, please refer to your vehicle’s service manual, as the exact steps are unique for every vehicle, year, make, and model. The general steps for replacing these parts will be listed below for reference.
Step 3: Removing these Parts
The general process for removing an alternator bracket, belt, and tensioner are outlined in the following 5 steps:
1. Remove the battery terminals from your vehicle. Anytime you complete repairs under the hood and especially on electrical system components, you need to remove the battery cables from the terminal(s).
2. Remove the alternator adjustment pulley. Once power is eliminated, you’ll proceed to remove the alternator adjustment pulley first. This will make it easier to remove the belt and the alternator bracket.
3. Remove the alternator belt. When the pulley has been removed, your belt will be loose and easier to pull off the alternator and crank pulley. It should simply slip off without the tensioner installed.
4. Remove the alternator. In order to replace the alternator bracket, you’ll have to remove the alternator first. Make sure to document each electrical connection with tape, so you know where each wire needs to be reinstalled.
5. Remove the alternator bracket. This is the final step. Make sure you remove the bracket completely and clean the base plate with degreaser before attempting to reinstall the new bracket.
Step 4: Install the New Hardware
Installing the new alternator bracket will require a new bracket, belt, and tensioner pulley at the minimum. You should also purchase new bolts for the alternator bracket. To install these components, follow the directions listed in your service manual, as each step requires unique torque pressure settings for all bolts.
Step 5: Verify the Belt Tension and Adjust as Needed
The final step before reattaching the battery cables is to verify the belt tension before starting the vehicle. Again, the service manual for your vehicle will provide you with the correct procedures for adjusting the alternator tensioner pulley and the alternator belt. The tension should be strong and not allow you to push the belt inward more than a quarter of an inch.
A loose alternator bracket can cause the alternator to fail prematurely. So, if you hear a rattle under the hood of your vehicle, notice that you have to jump-start your car more frequently than normal, or just don’t feel comfortable replacing the alternator bracket, belt, and tensioner pulley, contact a mechanic who can replace the alternator bracket and corresponding components for you.


