
When you are concerned about the routine maintenance of your car, it is natural to get to a point where you will ask yourself, what is a thermostat? And more importantly, what does it being stuck closed, or even stuck open for that matter, mean to me and my car?
A thermostat regulates the flow of coolant flowing to the engine. When you start your car after it has been sitting, such as in the morning, the thermostat is closed and remains that way until the coolant builds to a specified temperature.
Your thermostat is designed to then open up when the coolant reaches this specific temperature, allowing coolant to flow into the radiator. This operation prevents the engine from overheating.
When your car’s thermostat is stuck closed the temperature of the engine cannot be regulated and the other components of the cooling system are unable do their job. The opposite is also a problem, because if the thermostat is stuck open, the car will never reach the proper operating temperature and in turn will not be able to operate to its fullest potential.
Part 1 of 4: How coolant gets contaminated
A properly and routinely maintained cooling system will have a smaller chance of its thermostat getting stuck closed. In most cases when a thermostat is stuck closed, it is because the coolant inside has gotten contaminated.
Method 1: Mixed coolant types. Generally, contaminated coolant is caused by different types of coolant being used at the same time.
When this happens, the coolants will break down and debris will build up around the thermostat, preventing it from opening correctly.
Method 2: Excess water. Too much water being present in the system can cause rust.
This rust can build up around the thermostat, causing it to get stuck closed. .
Part 2 of 4: How to tell if the thermostat is faulty
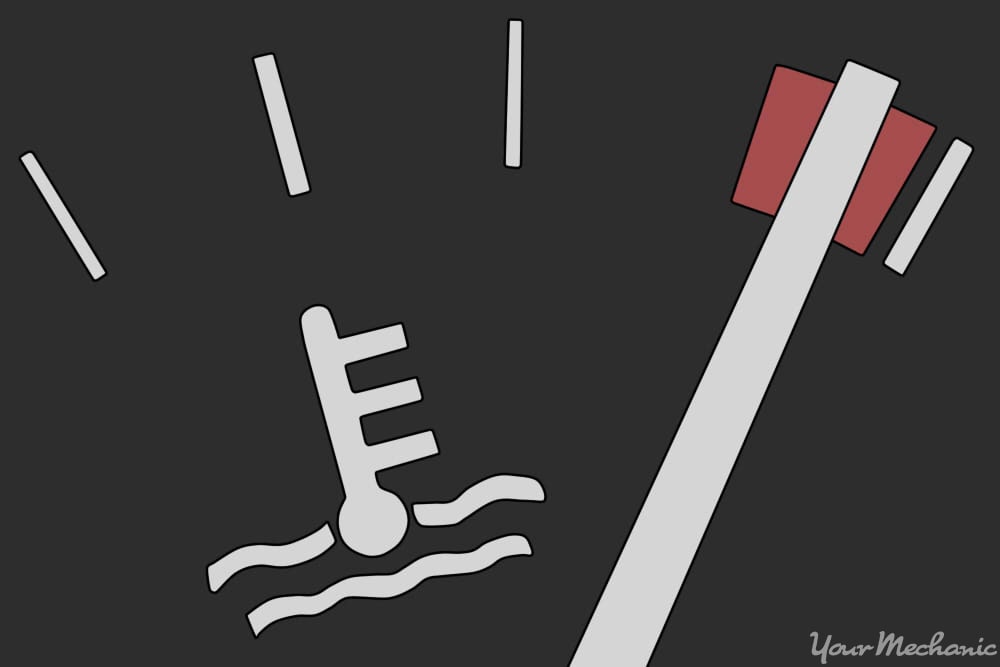
Step 1: Check your gauge. If you see your temperature gauge going into the red within the first 15 minutes of driving, your thermostat may be bad.
Generally, if your vehicle is overheating within 15 minutes or so of driving it, this may be a sign that the thermostat is stuck.
Step 2: Check the radiator hoses. If you notice that the engine is hot but the radiator and the upper radiator hose are cool to the touch, there may be a thermostat issue.
Both hoses should be warm to hot. If one hose is cold and the other hot, this is a good indication your thermostat is stuck closed.
Part 3 of 4: Verify the status of your thermostat
Materials Needed
- Needlenose pliers
- Water
If your vehicle is exhibiting any of these symptoms, there is the likely chance that your car’s thermostat housing may have developed a leak due to the excess pressure at the thermostat. This will need to be verified with the following steps.
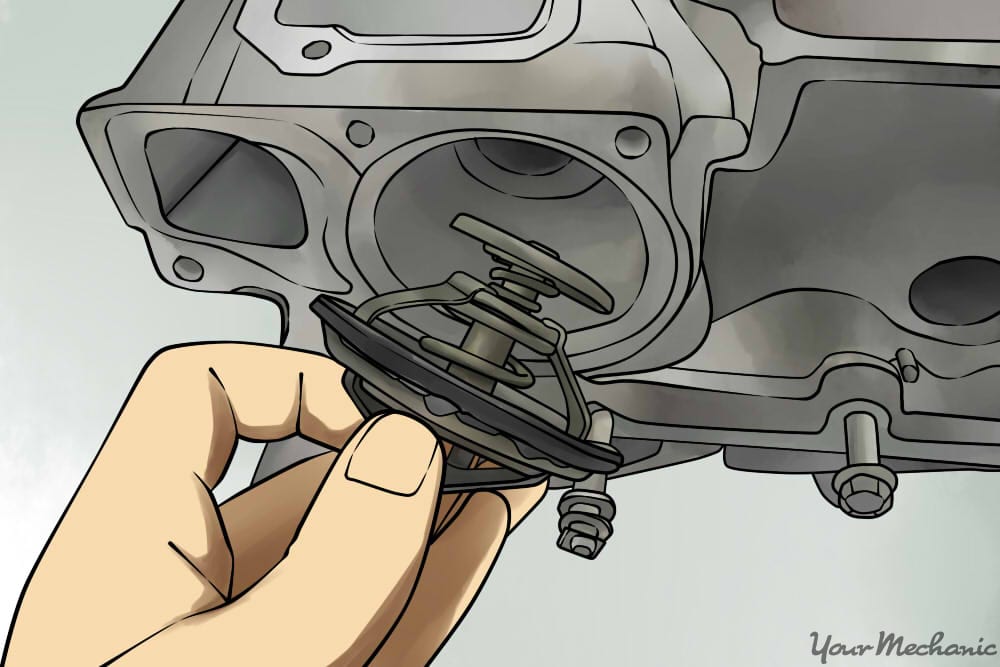
Step 1: Remove thermostat. Remove the thermostat from the thermostat housing.
Step 2: Heat a pot of water. Bring the thermostat into your kitchen and put a pot of water on the stove.
Heat the water to the temperature stamped on the thermostat (this temperature can range from 180 to 212F depending on the type of thermostat), making sure to monitor the water with a meat thermometer.
Step 3: Place the thermostat in the water. Using needlenose pliers, hold on to the thermostat and place it in the heated water.
When the water reaches the specified temperature, you should see the thermostat open. If it does not open or starts to and stops, this thermostat has failed.
If it is the thermostat itself on your car that has failed, this is a quick and easy repair for most vehicles.
Part 4 of 4 Replace the coolant
Materials Needed
A properly maintained cooling system will help extend the life of the thermostat, but it will also help maintain the other supporting components as well. Not only should you have your thermostat checked, but be sure to also have your coolant replaced according to the manufacturer service maintenance intervals to keep that thermostat running great.
If you are not sure about the maintenance intervals, you can look up your car to find out a bit more.
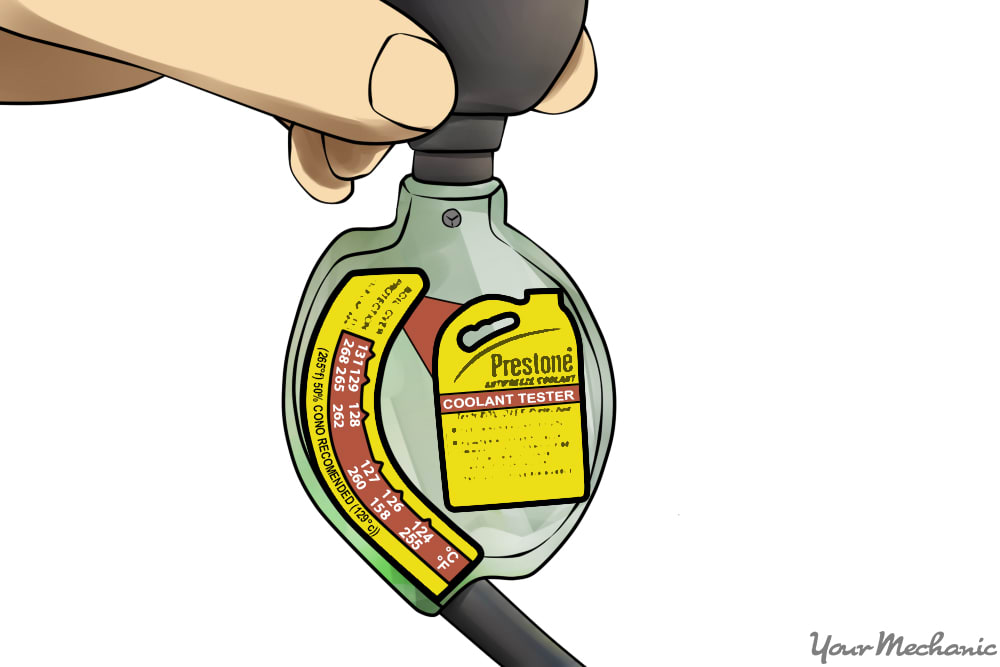
Step 1: Test the coolant. You can use a coolant tester to test a sample of the coolant in the radiator.
The coolant tester will determine if the coolant is able to do its job and not freeze inside the system when ambient temperatures fall below 32F. Read the instructions for your tester to determine exactly how to read the results you get.
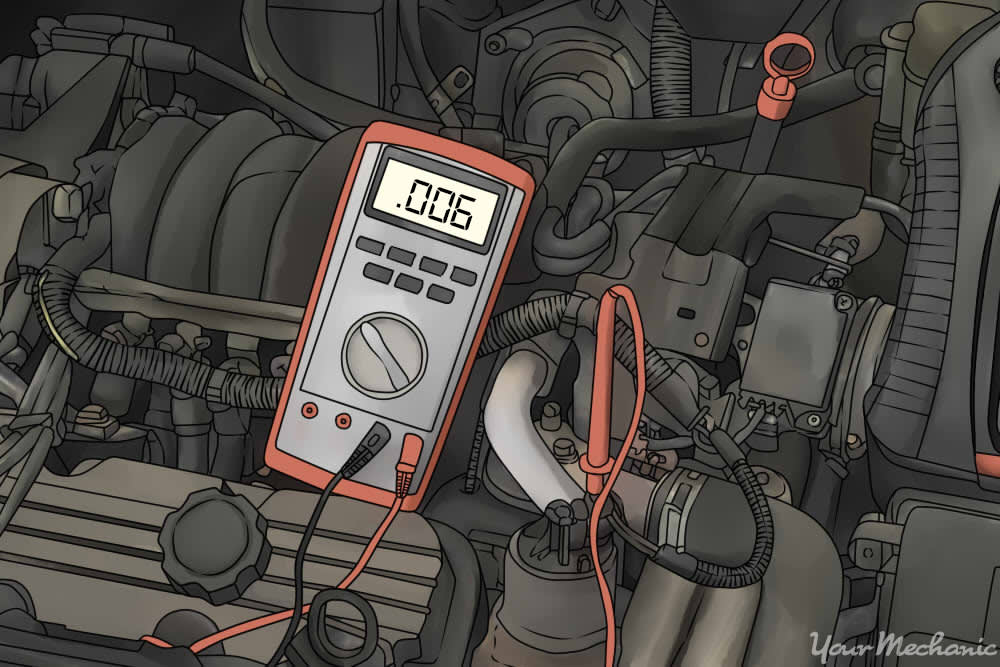
Step 2: Test for corrosion. You can also use a digital multimeter to test the coolant for corrosion.
Corrosion can and will prematurely aid in cooling system failure, specifically the water pump, radiator, heater core, and finally the thermostat.
Step 3: Open the radiator cap. To use your digital multimeter, start with a cool engine and open the radiator cap.
- Warning: Never open the radiator cap when the engine is hot to help prevent burn injuries.
Step 4: Allow the engine to idle. With the cap off, start the engine and let it idle at 1500 RPMs to warm up.
Step 5: Place negative probe on terminal. After a few minutes, take your multimeter, set it to DC voltage and place the negative probe on the negative battery terminal.
Step 6: Dip positive probe in coolant. As for the positive probe, go ahead and dip that right into the coolant.
If the meter reads .4 volts or less, the coolant is good; however, if it reads more than .4 volts, then the additives in the coolant that prevent electrolysis have broken down, which means the coolant should be replaced.
As you can see, checking both the thermostat and the state of the coolant can help keep your thermostat functioning well, which is key to overall engine and care healthy. Have one of YourMechanic’s technicians have a look over your vehicle and perform a thermostat replacement if needed.


