Regular car maintenance can make a huge difference with keeping your vehicle in good condition. For major repairs and special jobs, hiring a professional mechanic from Your Mechanic is a simple and convenient solution, but there are a few small tasks that all drivers can do to keep their car running at its best.
One of those small but important tasks is making sure there’s enough oil in your engine and to add any if it’s low. Newer cars have sensors to let the driver know if the oil is low, but it’s still a good idea to check the oil regularly. This should be done about once per month. And don’t worry—even if you’re one of those drivers who wouldn’t dare peak under the hood of your car, we’ll show you how to add oil to your engine in a few simple steps.
Part 1 of 3: Park your car on a level surface
Before checking the current level of oil in your engine, or adding any oil, you’ll want to make sure that your car is parked on an even surface. That way, you can be sure you’ll get an accurate reading.
Step 1: Park on flat ground. Check the level of the ground where your car is parked. Make sure the car is parked on flat ground.
Step 2: You must park on a flat surface. If the cat is parked on a slope, drive your car to a flat surface before checking the oil.
- Tip: If you’ve just driven your car, make sure to allow 5 to 10 minutes before checking the oil level. You need to give the oil a few minutes to drain from the top of the engine down to the tank where the oil sits when the car isn’t running.
Part 2 of 3: Check the level of oil
Checking the level of your oil is essential for knowing whether you need to add more oil to your engine or not. If your engine runs out of oil, it can immediately fail because the engine parts will grind against each other. If your engine has too much oil, it can flood the engine or damage the clutch.
So, monitoring the level of your oil can save you a lot of time and money in unnecessary repairs. And it only takes a few steps to complete this task.
Materials Needed
- Clean cloth
Step 1: Pull hood release lever. In order to check your oil, you need to open the hood of your car. Most cars have a lever located somewhere beneath the steering wheel and near the foot petals. Simply pull on the lever and your hood will open. If you can’t find the lever, check your owner’s manual for its location.
Step 2: Undo safety latch, open hood. After releasing the hood, you’ll need to undo the safety latch that prevents your hood from opening on its own. Normally, the safety latch can be undone with a lever under the ledge of the hood. This will allow you to fully open the hood.
Step 3: Prop open hood. Prop the hood open so that you aren’t injured by the hood falling down. Some cars have hoods that will stay open on their own with hood shocks; however, if yours does not, you’ll need to make sure you secure it so that you can safely check the oil.
First, hold the hood open with one hand while you use your free hand to locate the metal rod that is located on either the underside of the hood or along the edge.
Make sure to secure the hood prop in a slot along the underside of the hood or the side of the engine console so that it is sturdy.
Step 4: Locate the dipstick. The dip stick is a long, thin piece of metal that slides down into the oil reservoir of your car. It should be easy to find and typically has a small yellow loop or hook on the end of it so that it’s convenient to hold onto.
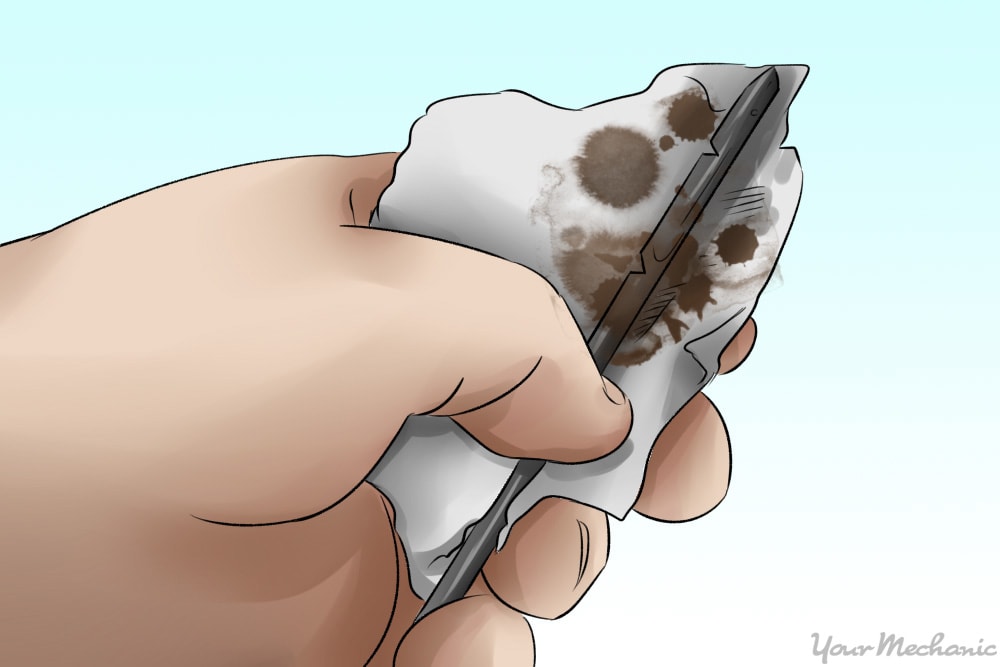
Step 5: Remove dipstick and wipe clean. Remove the dip stick from the engine and wipe it down with a clean cloth. It’s necessary to wipe the dip stick clean so that you can get a good reading. After wiping it down, make sure to slide it all the way down back into the engine.
- Tip: Use an old rag, paper towel or some other cloth that you won’t need for anything else. Wiping off the dip stick will definitely leave oil stains on the cloth, so you don’t want to use anything that shouldn’t be stained.

Step 6: Remove dipstick and read oil level. Remove the dip stick and read the level of oil in your car. The dipstick should have two points on it that identify minimum and maximum oil levels. The oil level should fall between these two points. If your oil is close to or below the minimum, you should add oil. After reading the level, replace the dip stick to its original position.
-
Tip: The space between marks on a dip stick is equal to a quart of oil. If your oil is at the minimum level, you should probably add a quart, although it’s wise to add a little at a time to make sure you aren’t putting in too much at once. Oil is sold in single liter plastic bottles.
Part 3 of 3: Adding oil to your car
Now that you’ve got an accurate reading of the oil in your engine, you’re ready to add oil.
- Warning: Adding oil to your car is not a substitute for getting your oil changed. It’s important to check your owner’s manual regarding how often you should have your oil changed, although most experts suggest changing your oil every 5,000 miles or every three months. Changing your oil is a more complicated process than adding oil to your engine, and one of our mobile mechanics would be happy to do this for you wherever your car is located.
Materials Needed
- Funnel
- Oil (1-2 liters)
Step 1: Make sure you have the right type of oil. Your owner’s manual is the ideal place to learn what type of oil to use.
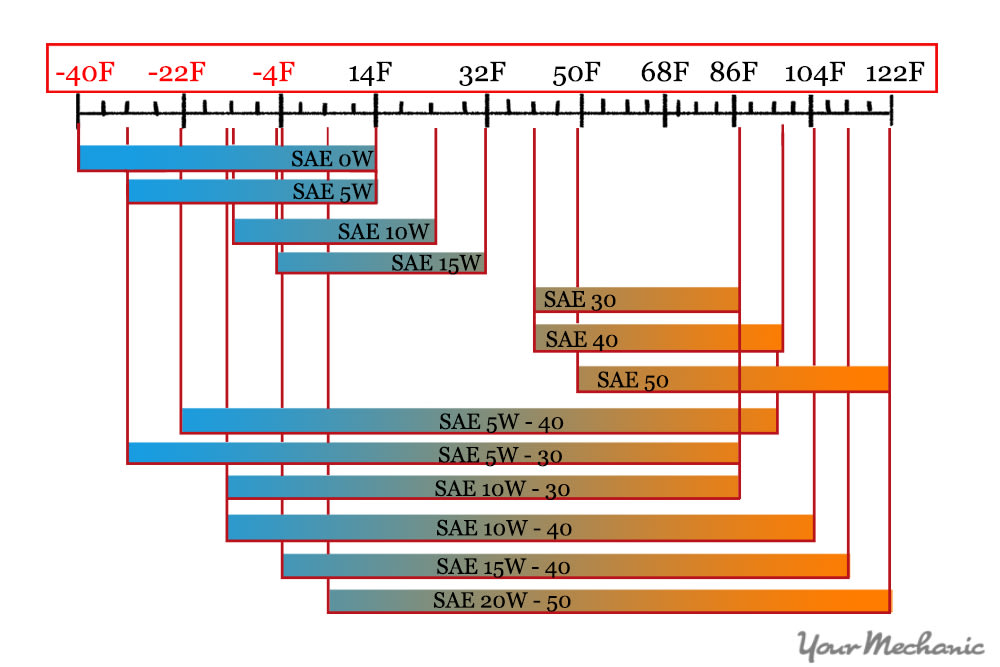
Normally, the viscosity of oils is identified with two different numbers (viscosity is the thickness of a fluid). The first number is followed by a W and represents how well the oil can circulate the engine during cold temperatures, like in winter. The second number refers to its thickness in warmer temperatures. For example, 10W – 30.
Because heat will thin oil and cold will thicken it, it’s important to choose oil that won’t get too thin in high temperatures or too thick in cold temperatures.
Synthetic oils are typically more expensive but they last longer than mineral oil, withstand higher temperatures, and flow better in cold temperatures. It’s not necessary to use synthetic oil unless specified by your owner’s manual.
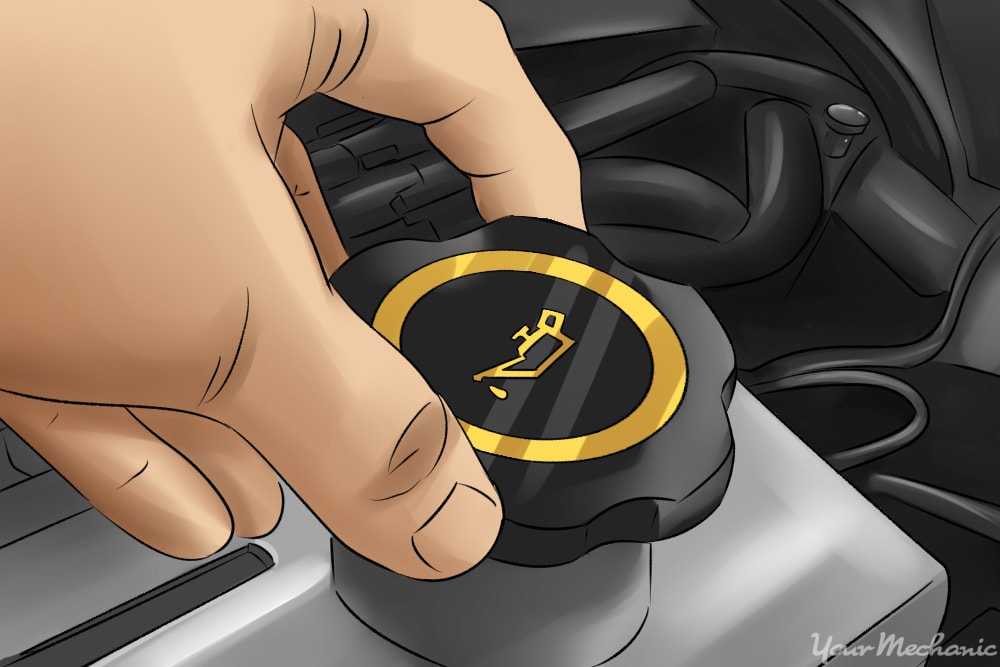
Step 2: Locate and remove the oil cap on your engine. The cap is normally clearly marked with the word OIL or it’ll have a large graphic of a dripping oil can.
- Tip: Make sure you’ve found the right cap. You don’t want to accidentally pour oil into another part of the engine, such as the brake fluid or coolant. When it doubt, check the owner’s manual of your car to see exactly where the oil cap is located.
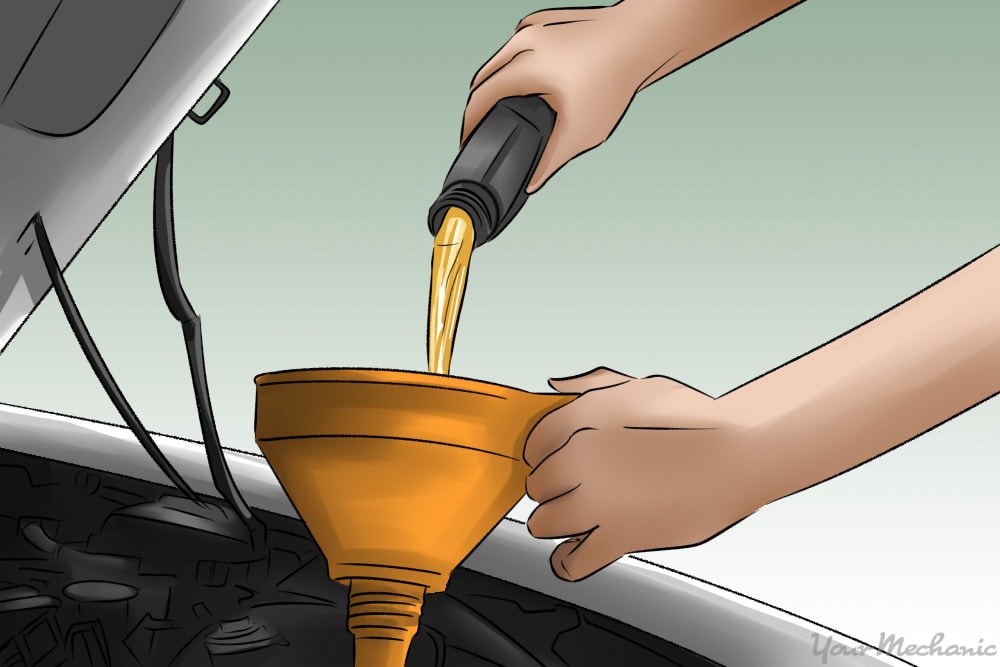
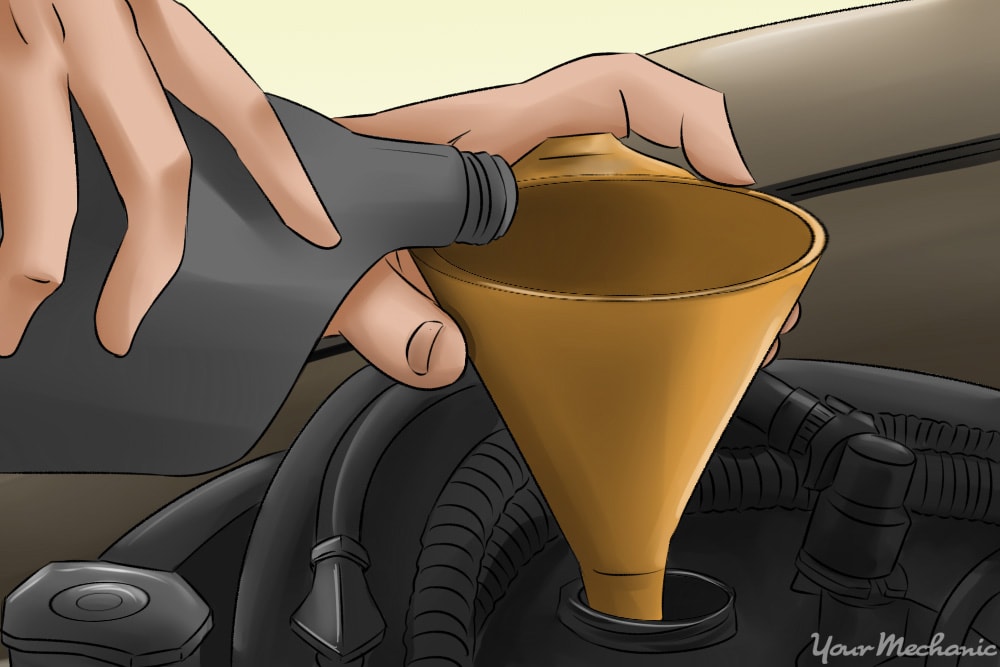
Step 3: Place the funnel in the oil spout and add oil. It’s not necessary to use a funnel, but using one can make the process much cleaner. It’s harder to get the oil directly into the spout without a funnel, which might result in oil spilling over the engine.
Step 4: Replace oil cap: After adding oil, replace the oil cap and dispose of the empty oil bottle.
- Warning: If you notice that you need to add oil frequently to your engine, your car may have a leak or some other serious condition and it should be seen by a mechanic.
If you notice that the oil on the dipstick is any other color than black or a light copper color, you should have a professional check it out, as that can be a sign of much larger problem with your engine.