
Of all the regular maintenance you do to your car, removing and installing the wheels will be one of most frequent. Aside from fixing a flat tire, there is a range of minor and major jobs you may take on that begin and end by removing and installing the wheels.
Tightening wheel locks or lug nuts seems like one of the simplest things you will ever do to your car. But as with most car components, there are subtleties involved and things you need to know to keep from doing damage to your car.
Whether your car has wheel lug nuts or bolts, the fasteners must be properly cared for to prevent failure. Care must be taken that they do not become cross-threaded or stripped. Damage to wheel fasteners often occurs in tire stores, where inexperienced technicians are paid to move as many cars through in as little time as possible. In their haste, they might often damage the threads or over-tighten the lugs using powerful impact wrenches. In fact, this happens so often, it’s a good idea to re-tighten your wheel lugs yourself or have it done by a professional when you purchase new tires. This might save you from finding yourself stranded with a flat that you are unable to remove because the wheel nuts are too tight.
Part 1 of 1: Tightening wheel lug nuts
Materials Needed
- Jack and jack stands
- Lug wrench
- Socket wrench set
- Torque wrench
- Workshop manual
Step 1: Check for damage. Check the studs, nuts, or the bolts for damage being sure that the threads are clean. If any of the threads are damaged you may need to get a wheel stud replaced or new bolts if that is what you have. Check also that the wheels are in good condition and that the surface where they bolt up to the hub is clean and flat.
If you are going to take off the wheels, loosen the fasteners while the car is on the ground.
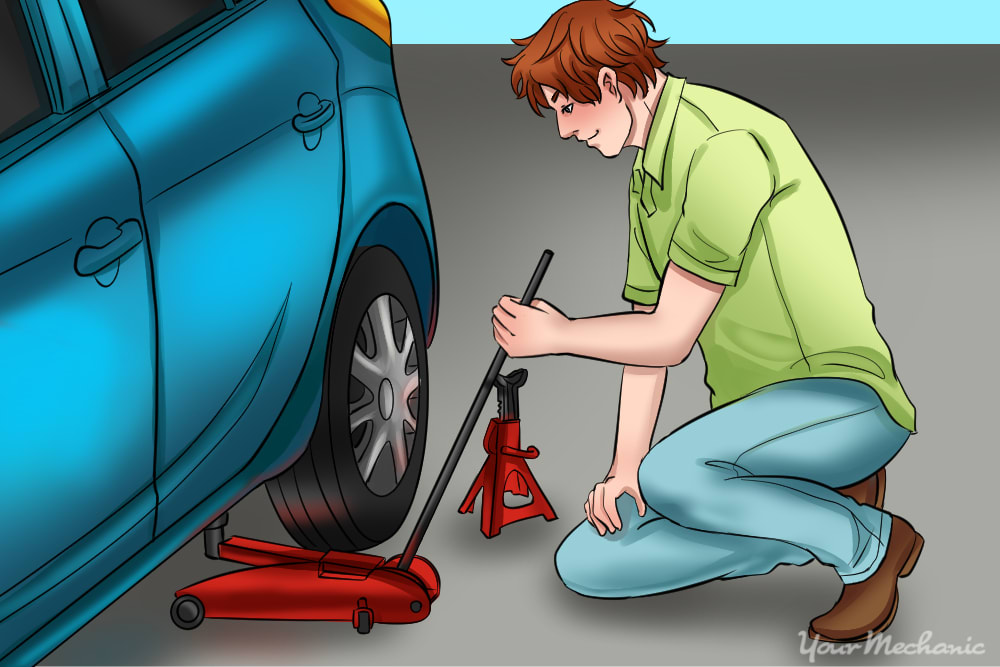
Step 2: Jack up the car. If you are going to take the wheels off, put the car in Park and set the brake.
Jack the car up and put it on jack stands. If you simply want to re-tighten the fasteners, that can be done one at a time on the ground.
Step 3: Install the nuts by hand. Install the wheel lugs by hand. Most manufacturers do not recommend using any lubricant or anti seize compound on the lugs.
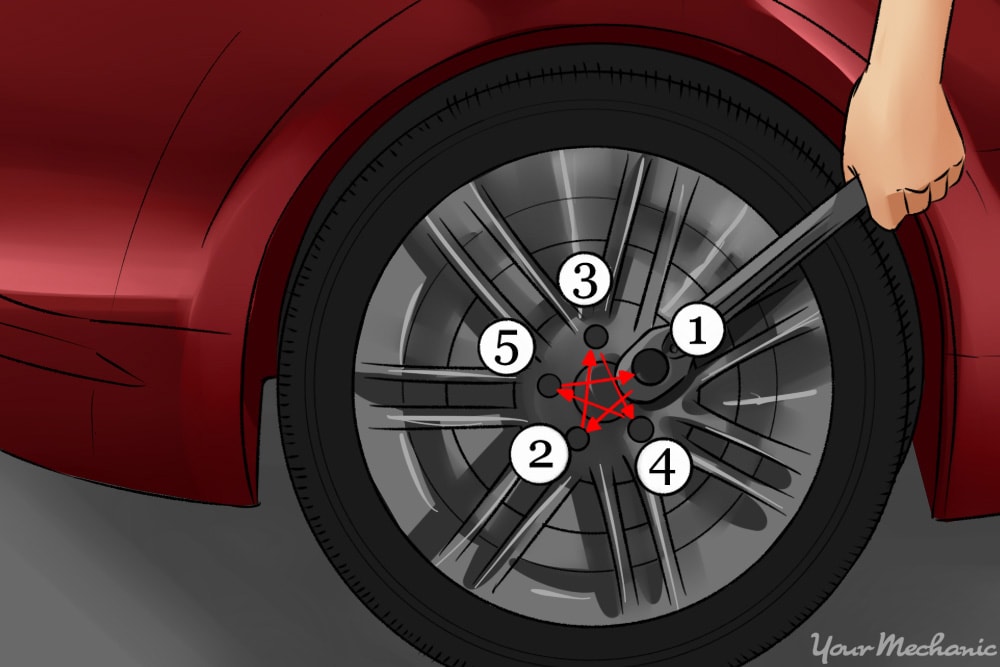
Push the wheel home on the hub and using your socket wrench, tighten the wheel nuts just enough to hold the wheel snugly. Work in a criss cross pattern, tightening the nut that is almost directly opposite from the nut that you just tightened. This will ensure that the stress is applied to the wheel evenly as the or bolts are tightened.
Step 4: Lower the car. Lower the car off of the jack or jack stands and set the parking brake.
Step 5: Look up the torque specifications. The wheel torque specifications should be in your owner’s or workshop manual. Be sure to notice the units. Most torque wrenches in the U.S. use foot per pound (ft lb).
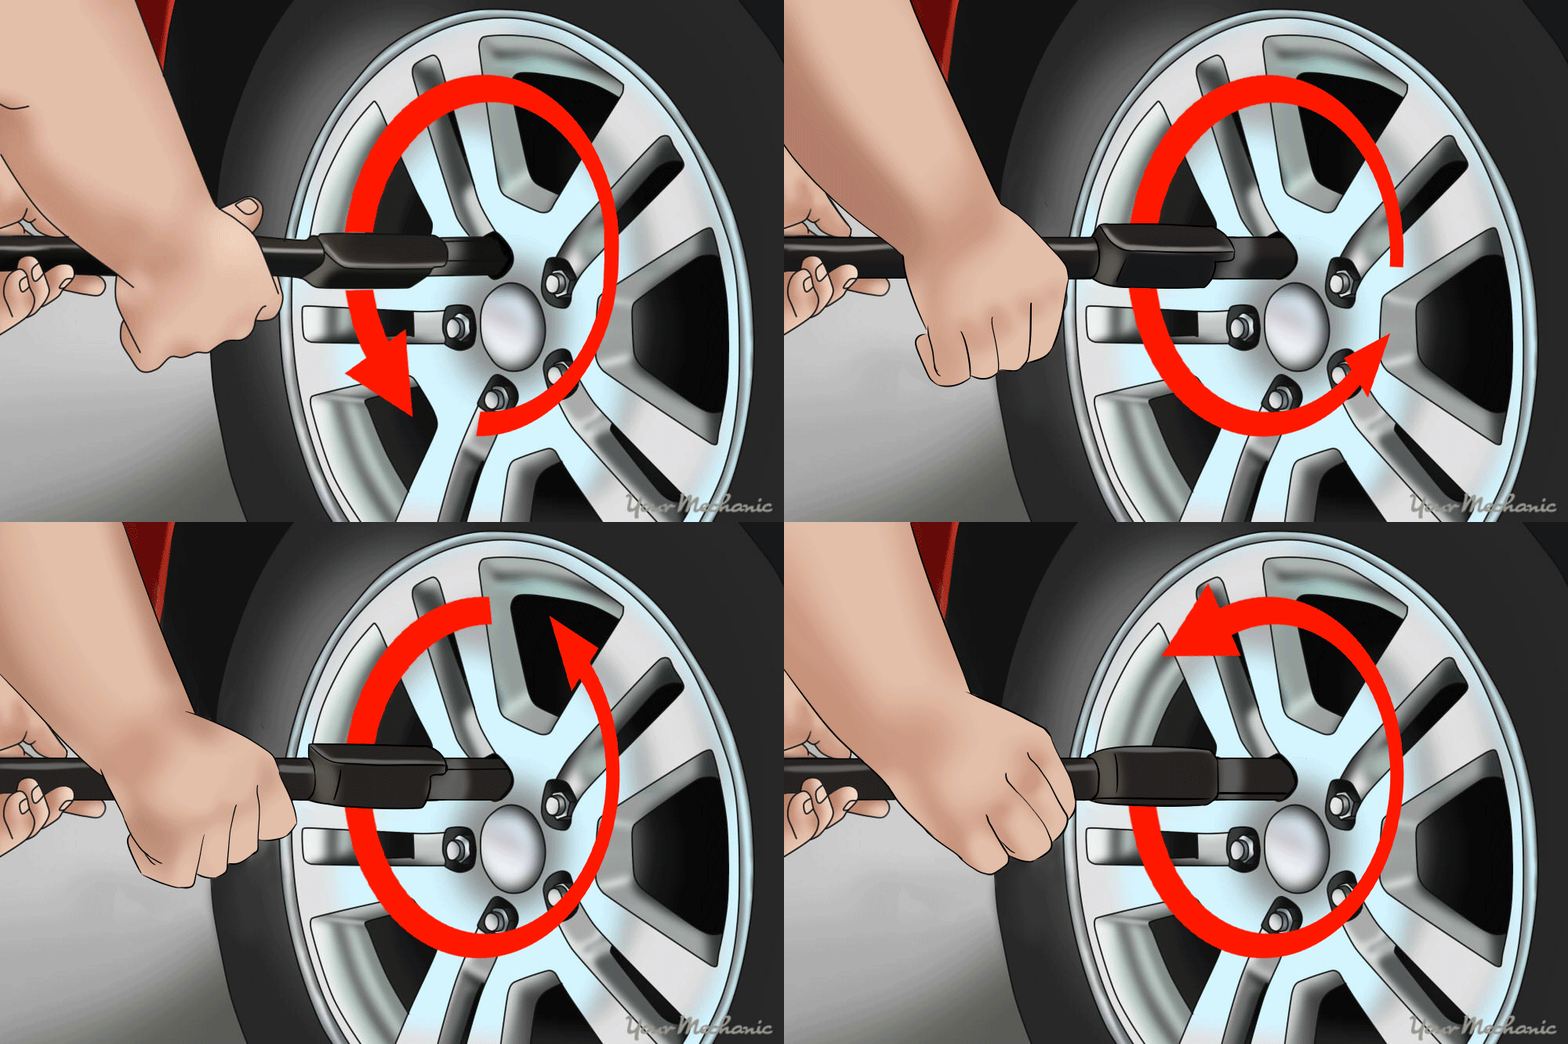
Step 5: Torque the wheel nuts according to pattern. Set your torque wrench to the manufacturer’s specifications and tighten the wheel lugs until the torque wrench clicks.
- Note: Tighten the nut opposite the last one you tightened in a criss cross pattern, this insures that the stress is distributed evenly across the wheel and the hub that it is secured to. When you’ve tightened all the nuts, go back through the pattern again with the torque wrench to ensure that every one is evenly tight. Work your way around the car and tighten each wheel.
If you’re changing a flat tire, or dealing with some other emergency, you won’t always have your torque wrench on hand when you need to tighten a wheel. Most cars are equipped with a wheel lug wrench that is fairly short. A short wrench won’t give you enough mechanical advantage to over-tighten the lugs, so if you're away from your tools, tighten those nuts using the factory wrench with everything you've got. Then when you are safe at home, it’s best to loosen the nuts and re-tighten them using a torque wrench.
If you don’t have a reliable torque wrench, contact a professional mechanic, such as one from YourMechanic, to tighten your lug nuts for you.


