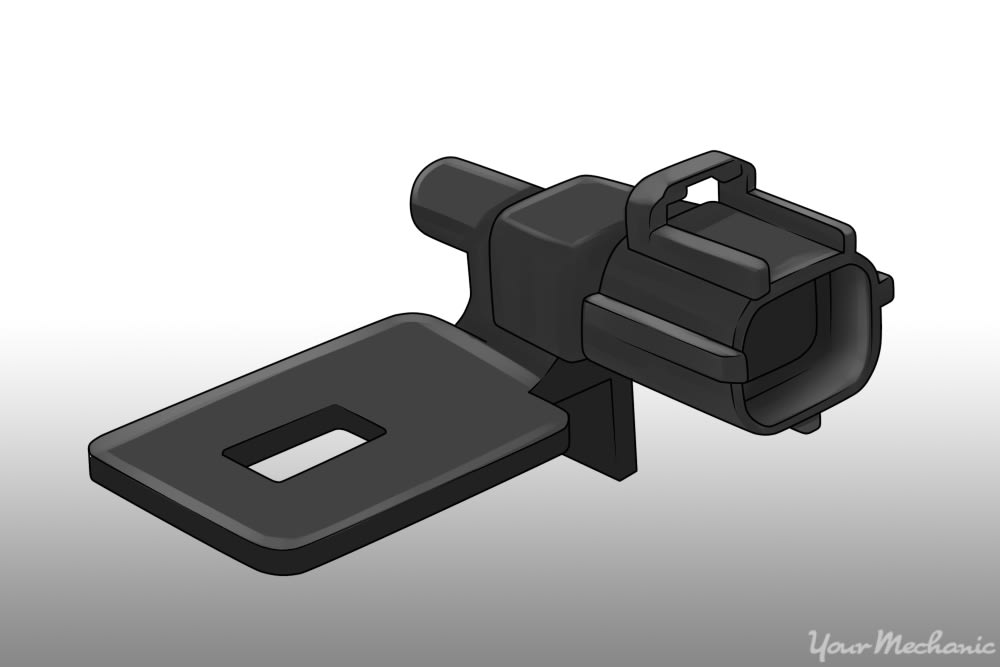

Vehicles with automatic air conditioning and driver displays with outside temperature information require a sensor to collect that information. Both systems rely on this sensor to supply the switches and controls that the computer uses to automate the automatic air conditioning system as well as supply digital readouts on your outside temperature display.
If either of these systems malfunctions, you may have to replace this sensor. There are several signs of a failing ambient air temperature sensor. If your vehicle is experiencing any of them, use the following process to resolve the issue.
Part 1 of 2: Remove the old ambient temperature sensor
Materials Needed
- Gloves (if desired)
- Plier assortment
- Replacement ambient air temperature sensor
- Safety goggles
- Socket set
Step 1: Disconnect the battery. Disconnect the ground connection to the battery.
Cutting power from the battery when you are working on any type of electrical system on your vehicle is critical for safety.
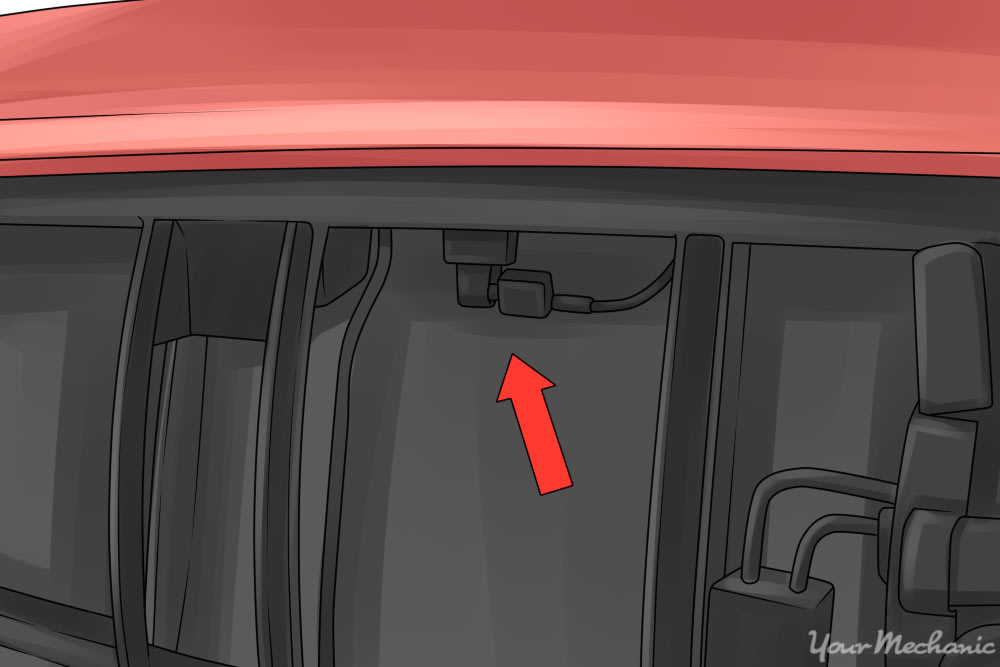
Step 2: Locate the sensor. You can find the ambient air temperature sensor at the front of the engine bay.
Usually, this sensor is located behind the grille but is in front of the radiator and radiator support. This is the best location for the sensor as it is away from the heat of the engine and can accurately read the ambient temperature of the air around it; that is the temperature of the air entering the intake manifold at the front of the engine.
Typically car manufacturers attempt to make these sensors accessible yet protected. You may have to remove a part or all of your front grille to access this sensor.
Step 3: Disconnect the sensor. Usually, you can first disconnect these temperature sensors from their wiring, and then twist them out or unclip them.
The wiring is fed into a “terminal” or a plastic clip that allows you to easily disconnect the wires without doing major electrical work.
Unclip these wires and set them aside. Some are mounted with an additional screw due to the fact the sensor does not itself attach into any part of the vehicle. A bracket may also need to be installed to keep the sensor in position.
Step 4: Remove the sensor. You should be able to then pull out, twist out, or unclip the sensor or unbolt it from its bracket.
Once removed, inspect the sensor for any major damage.
Ambient air temperature sensors are located in a relatively sensitive position in the front of the vehicle. Any damage to the front bumper or grille can cause issues with this sensor. Everything that hits your grille while you are driving has a potential to hit this sensor if it is not properly protected.
If the ambient temperature sensor failed due to issues with components surrounding it, those issues would need to be addressed before you waste your money and time in replacing it with a new one. If left unaddressed, those issues may cause your new sensor to fail as well.
Part 2 of 2: Install the new sensor
Step 1: Insert the new sensor. Insert the new sensor in the same way that you removed the last sensor.
Pop, screw, clip in, or bolt on the new sensor and it should fit exactly as the other did.
Keep in mind that some newer replacement parts are designed a little differently and may not look exactly the same. However, they should fit into position and plug in exactly the same as the old sensor.
Step 2: Reconnect the wiring terminals. Insert your existing wiring terminal to the new sensor.
The new sensor should accept the existing wires the same way the old part did.
- Note: Never force a wiring terminal into its counterpart. They can be stubborn, but breaking them and having to rewire a new terminal can be time-consuming and costly. They should click in and stay in position. Inspect the terminals when working with them to make sure they are in good condition.
Step 3: Reinstall all parts removed for access. After you plug in your sensor, you can then reattach any part of the grille or radiator covers that you removed for access to the sensor.
Step 4: Reconnect negative battery terminal. Reconnect your negative battery terminal. At this point, you are ready to allow your vehicle’s computer to adjust to the new sensor.
Step 5: Test drive your car. The sensor and the computer will need a moment to communicate.
Once they have established a connection with each other, your vehicle’s displays should be reading correctly.
Allow your vehicle to warm up and then set it to a temperature that is lower or higher than the ambient temperature outside. If desired, drive the vehicle around while you test the automatic temperature controls. You may also do this test while in park mode.
Vehicle manufacturers attempt to utilize the same sensors to perform different functions. The ambient air temperature sensor can have different effects on how your automatic air conditioning and heating systems perform. It can also affect the readings on your outside temperature driver displays.
You can easily and cost effectively replace ambient temperature sensors on your own. If you are not comfortable with performing this process on your own, get a certified technician from YourMechanic to replace the ambient temperature sensor for you, at a location that best suits your needs.


