
Most modern vehicles are equipped with an anti-lock braking system (ABS). The anti-lock brake system is a modern safety feature that greatly increases the efficiency of the braking system, especially in adverse conditions. It is designed to work in such a way that there is no special input necessary by the driver to achieve maximum braking potential.
The function of the anti-lock brake system is to allow the braking system to operate at the maximum potential for a given system, and it does this by modulating the pressure in the braking system to allow the wheels to keep from locking up under hard braking.
An anti-lock braking system is especially useful during very hard braking events to avoid an accident, when roadways are wet from rain, they are snow covered, the roadways are icy, or on loose driving surfaces such as dirt or gravel.
The system intuitively, through a combination of sensors, electric servos/motors, and control units can sense wheel lock up and make corrections in brake pressure in a fraction of a second. The anti-lock system is designed to detect wheel lock up, release just enough pressure to allow the wheel to turn again, and still keep as much pressure in the braking system as possible without the driver having to make any additional corrections manually.
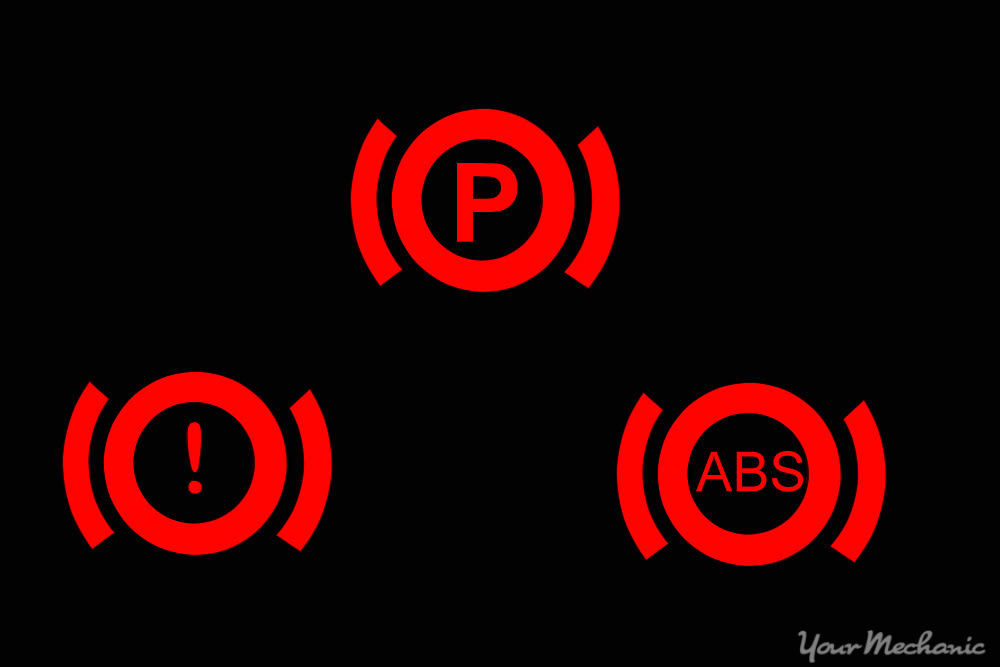
When there is an issue with an anti-lock brake system (ABS), there is typically either a red or yellow warning light on the instrument cluster to alert the driver that there is a problem within the system. There are several problems that can cause the warning light to come on. If a sensor goes bad, then you may experience wheel lock or notice that there is low fluid in the reservoir.
The anti-lock brake system fluid level sensor monitors the level of the brake fluid in the reservoir in order to inform the driver if the level falls below the minimum safe level in the event of a malfunction. The level typically falls below a safe level in the event of a leak, or if there is sufficient wear on the brake system components. The following article will cover the replacement of the typical anti-lock brake system fluid level sensor in a way applicable to most common modern vehicles.
- Warning: Be aware, that when dealing with brake fluid, it is highly caustic on any painted/finished surface and can damage these surfaces when they come in contact with each other. Brake fluid is water soluble, on most standard types of brake fluid, and can easily be neutralized with water. If a spill occurs, quickly rinse the affected area with water, being sure not to contaminate the brake fluid that is still in the system.
Part 1 of 1: Replacing an anti-lock brake fluid level sensor
Materials Needed
- Plier assortment
- Screwdrivers
- Shop towels/rags
- Wrench set
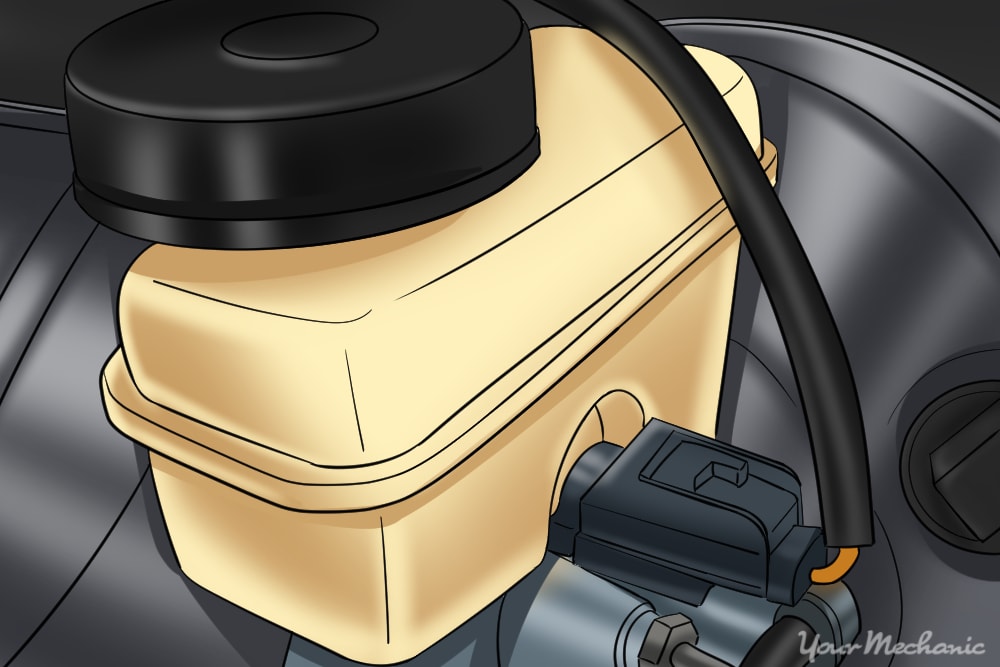
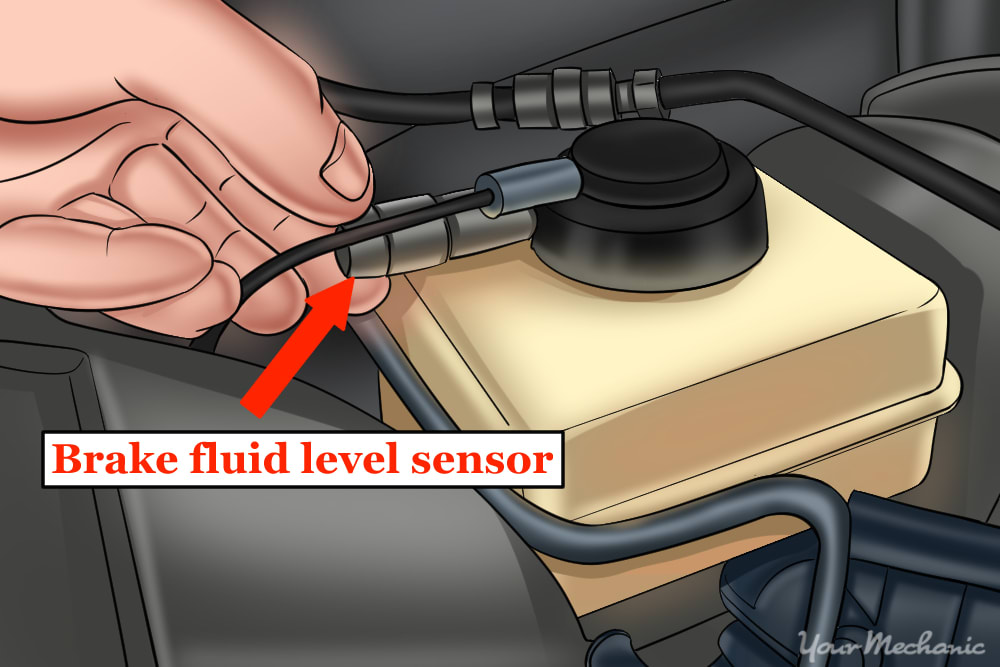
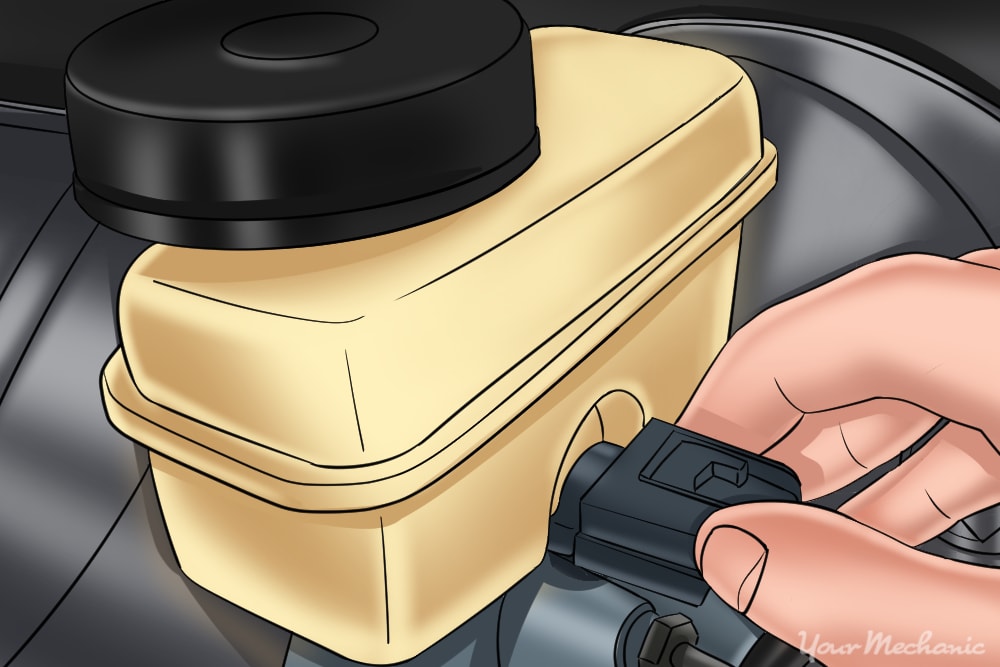
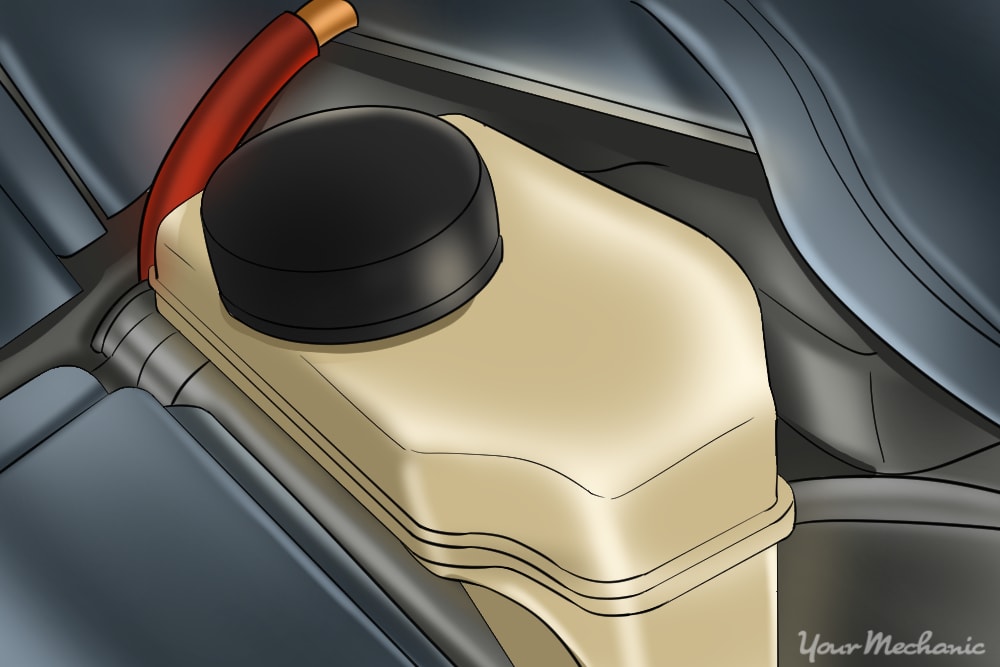
Step 1: Locate the anti-lock brake fluid level sensor. Locate the anti-lock brake fluid level sensor on the brake fluid reservoir.
There will be an electrical connector that plugs into it that sends the signal to the computer and turns on the warning light on the instrument panel when there is a problem.
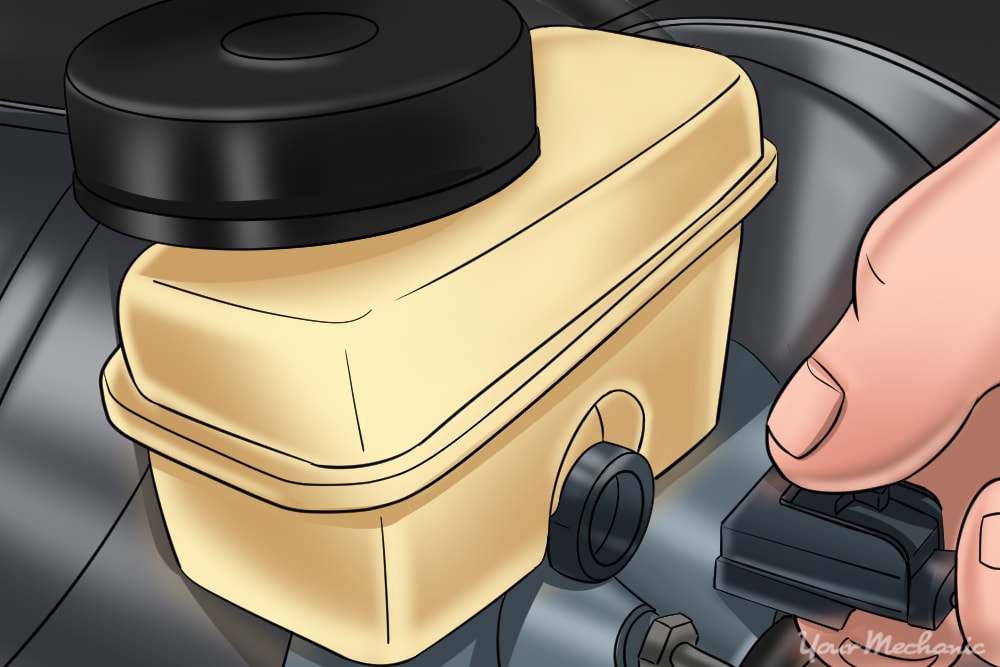
Step 2: Disconnect the anti-lock brake fluid level sensor electrical connector. Disconnect the electrical connector coming out of the anti-lock brake fluid level sensor.
This can ideally be done by hand, but since the connector is exposed to the elements, over time the connector can become frozen. Gently pushing and pulling on the connector while holding the release tab may be necessary. If it still will not release, you may need to gently pry on the connector with a small screwdriver while holding the release tab.
Step 3: Remove the anti-lock brake fluid level sensor. On the opposite end of the sensor from the electrical connector, pinch the end of the sensor together with a pair of pliers.
Do this while gently pulling out on the connector end. This should allow the sensor to slide from the recess it is housed in.
Step 4: Compare the removed anti-lock brake fluid level sensor to the replacement. Visually compare the replacement brake fluid level sensor to the one that was removed.
Check to see that the electrical connector is the same, the length is the same, and that it has the same physical dimensions as the one removed.
Step 5: Install replacement anti-lock brake fluid level sensor. The replacement anti-lock brake fluid level sensor should be able to be slid into place with little effort.
It should only go in one way, so if there is an abnormal amount of resistance, be sure it is in the same orientation that the old one that came out.
Step 6: Reinstall the electrical connector. Plug the electrical connector back into the brake fluid level sensor until the retaining tab is engaged.
There should be an audible, or at least a felt, click when the retaining tab engages.
Step 7: Confirm the installation of the replacement anti-lock brake fluid level sensor. Start the vehicle and confirm that the warning light on the instrument panel is off.
If the light is still on, be sure to check that the fluid level in the reservoir is correct. If the light remains on, there is probably another issue and you will need to troubleshoot the problem.
The anti-lock brake system in the modern automobile is one of the most important systems in the vehicle. Most other systems can operate when in a less than optimum state, but the braking system must be in good working order for the safety of not only the driver, but everyone around them as well. If at any point you feel you could use a hand with replacing an anti-lock brake fluid level sensor, contact one of YourMechanic’s certified technicians.


