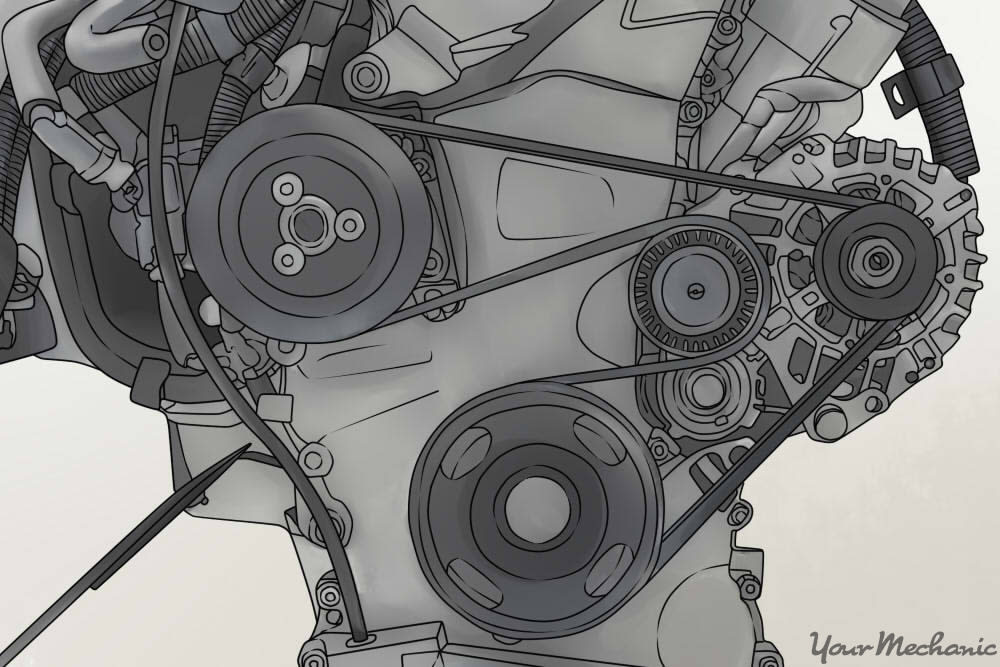
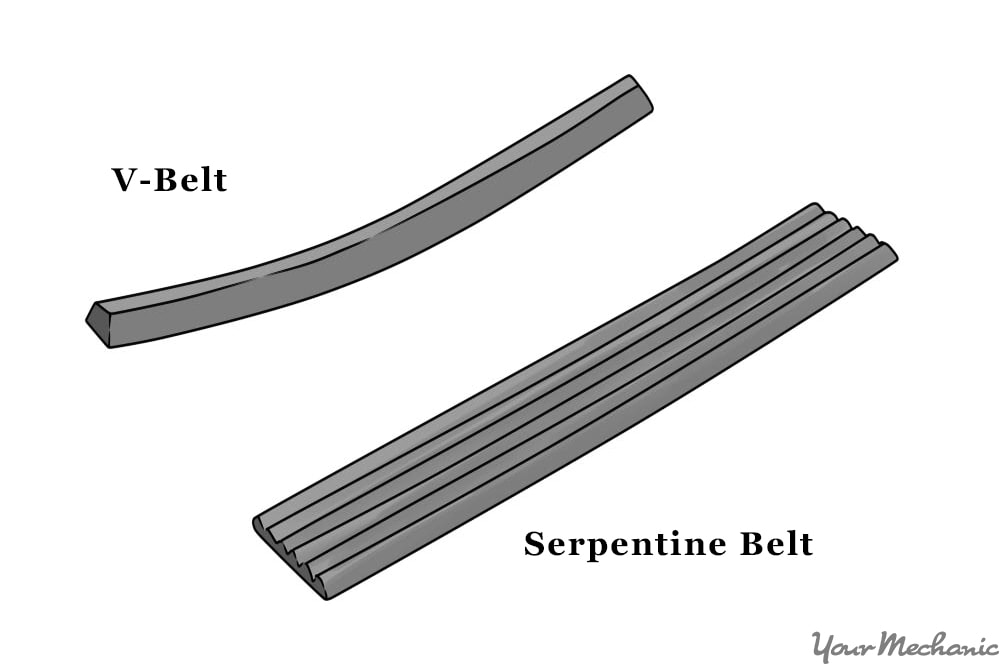
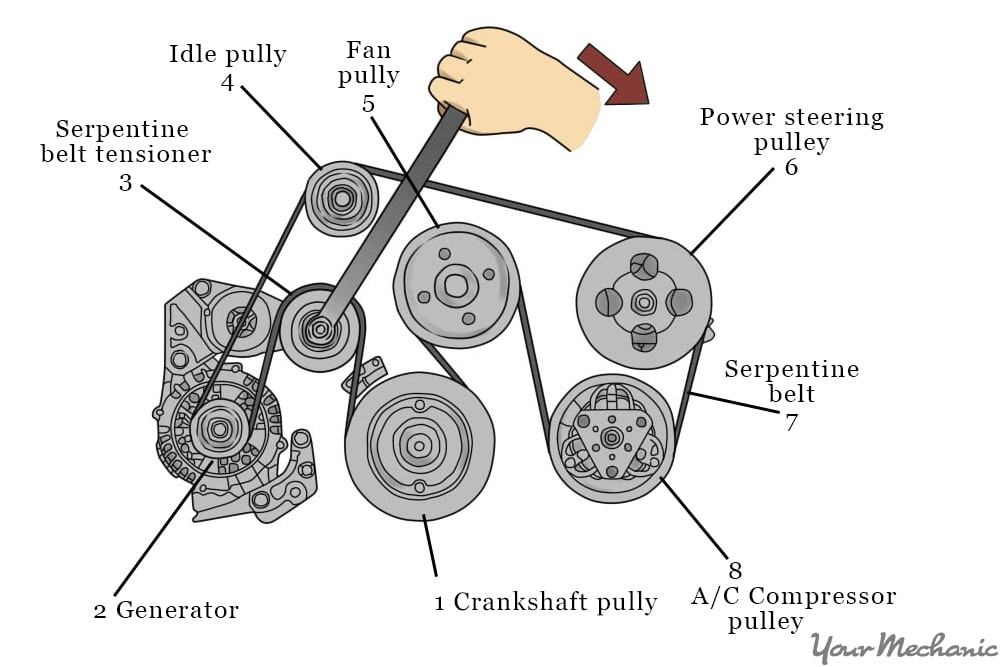
Unless you drive a newfangled hybrid or electric car, the AC compressor in your vehicle is driven off a belt. The belt is strapped to the engine crankshaft balancer, which turns with the engine. Older vehicles use v-belts, which typically only drive the AC compressor. Modern vehicles use serpentine belts to drive all of the engine accessories including the drive belt.
Over time, belts crack and deteriorate. Replacing the belt at the first sign of wear ensures it won’t break, leaving you without AC.
Part 1 of 3: Determine which type of belt you have
Materials Needed
- Jack
- Jack stands
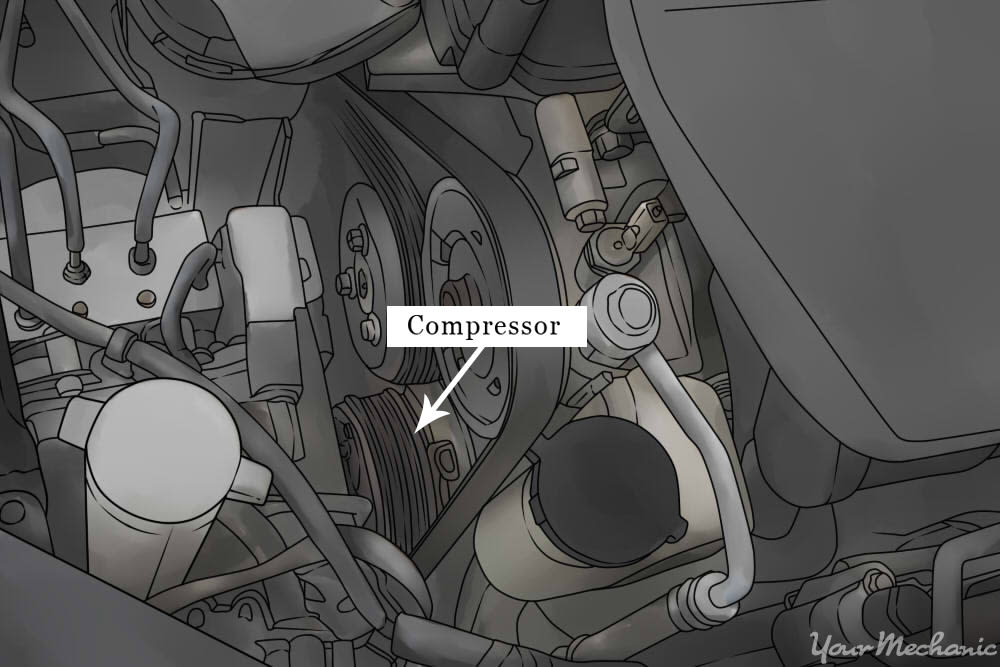
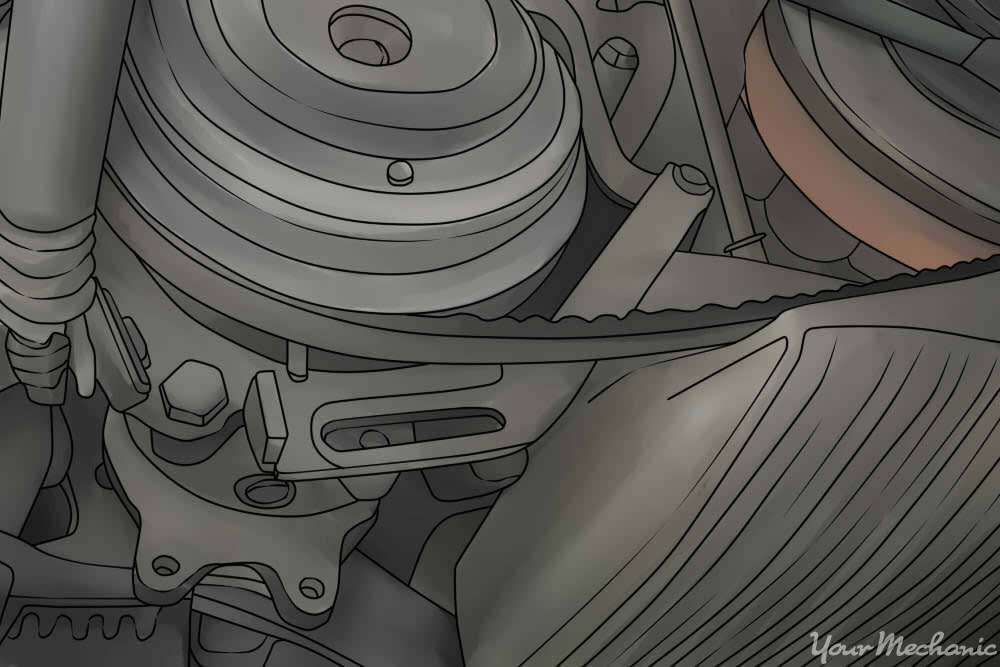
Step 1: Locate the AC belt. The AC belt is routed over the AC compressor, which is located at the front of the engine compartment.
You may need to raise the vehicle with a jack and support it with jack stands for access.
Step 2: Determine which type of belt you have. Determine which type of belt you have.
V-belts will be thin with a single rib. Serpentine belts will be multi-ribbed and much thicker.
Part 2 of 3: Remove and replace the serpentine belt
Materials Needed
- Protective gloves
- Repair manuals
Safety glasses
Tip: You can often get free repair manuals for your car.
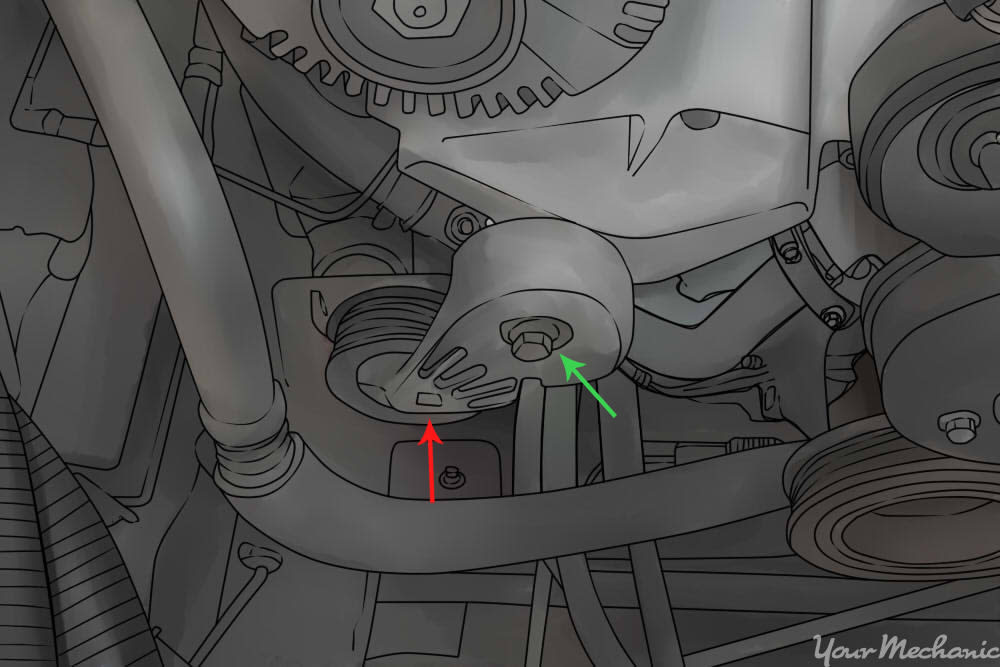
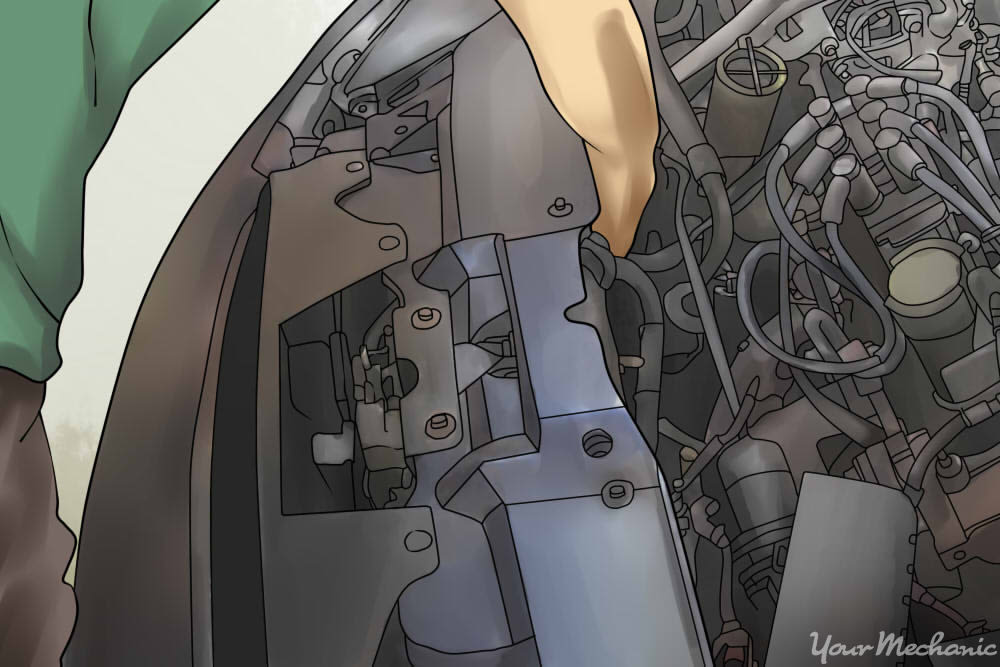
Step 1: Locate the serpentine belt tensioner. If you have a difficult time finding the tensioner, consult the belt routing diagram.
This can typically be found on a decal placed somewhere in the engine compartment or in the vehicle repair manual.
Step 2: Rotate the tensioner. Use a socket or wrench to slide the automatic tensioner away from the belt.
Whether this is clockwise or counterclockwise depends on the vehicle and belt routing.
- Note: Some tensioners will have a square hole to insert a ratchet end into rather than a bolt head for a socket or wrench.
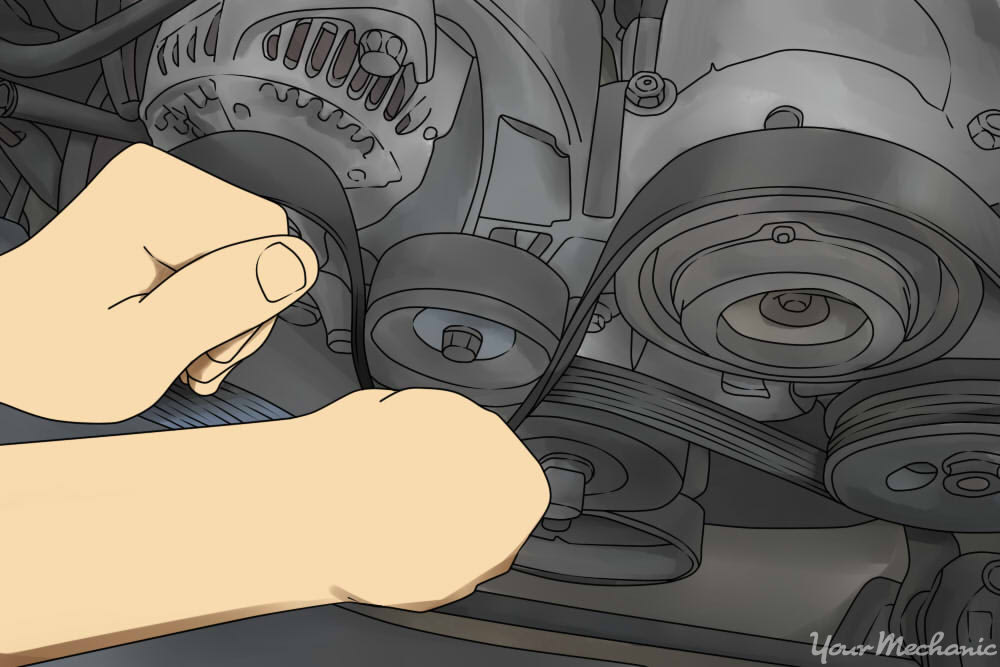
Step 3: Remove the belt from the pulleys. While holding the tensioner away from the belt, slide the belt off the pulleys.
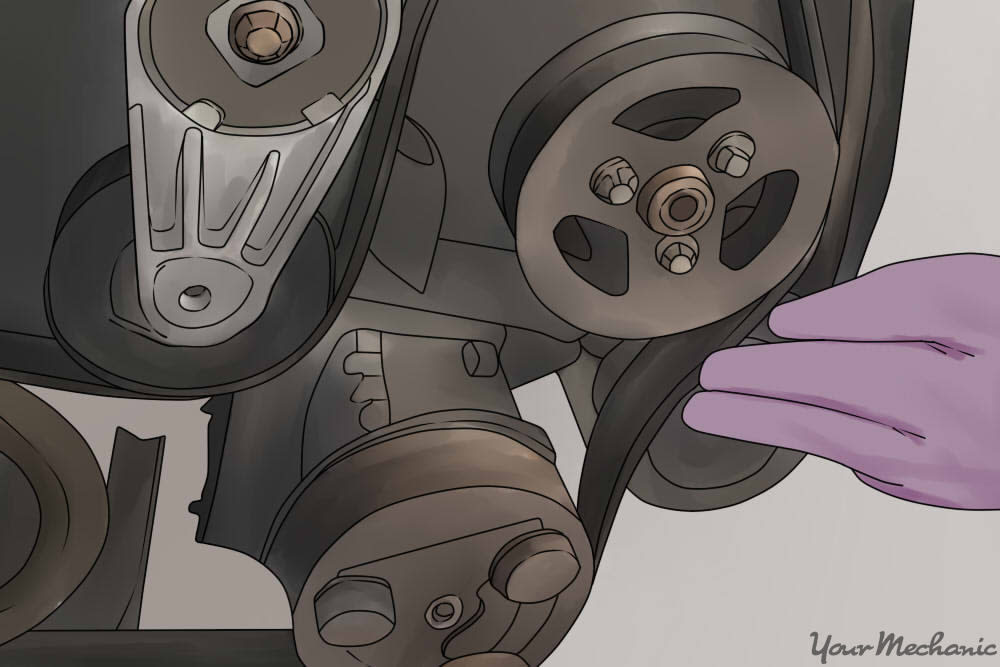
Step 4: Position the belt on the pulleys. Position the belt on the pulleys.
Following the belt routing diagram to ensure the belt is routed correctly.
Step 5: Install the new belt. Push or pull the tensioner to a position that allows the belt to be installed onto the pulleys.
Once the belt is in place, you can release the tensioner and remove your tool.
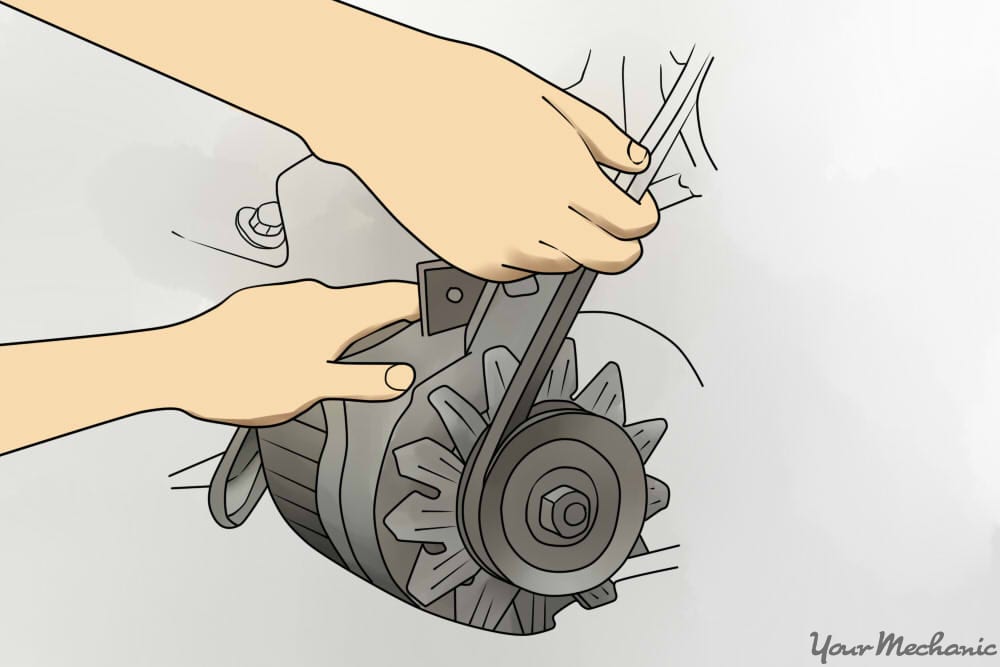
Part 3 of 3: Remove and replace the v-belt belt
Step 1: Locate and loosen the compressor pivot. The compressor on older vehicles will generally have a pivot bracket.
Loosen and/or remove the pivot bolts. Then, push the compressor away from the belt.
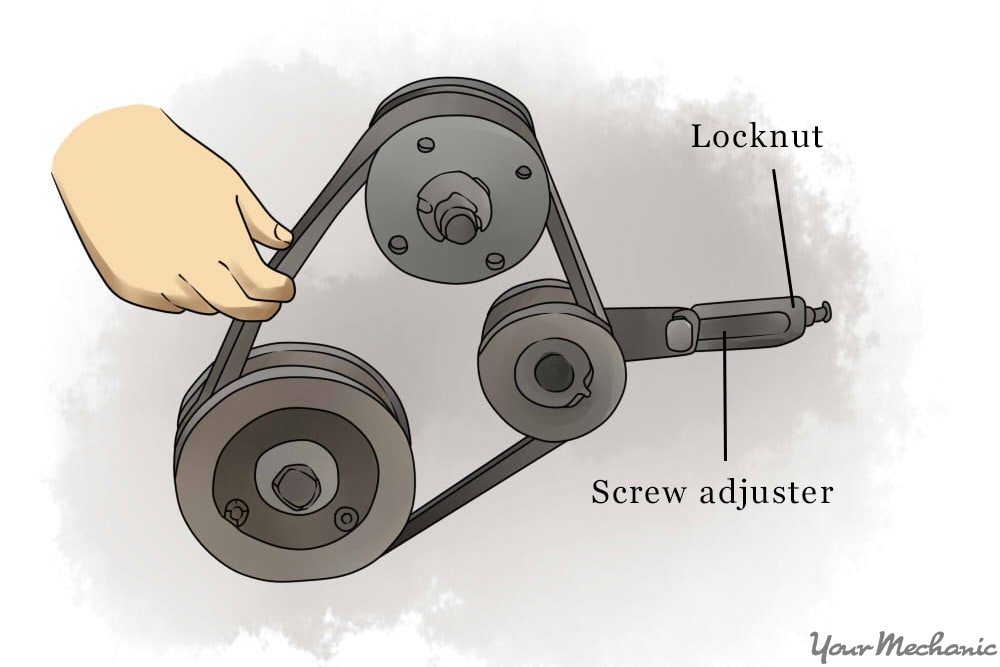
- Note: Some compressors use an idler wheel tensioner. In this case, instead of loosening pivot bolts, you’ll loosen the locknut on the idler adjusting screw. Then, turn the adjuster until the belt is loose enough to be removed.

Step 2: Remove the belt. Remove the belt by sliding it off of the pulleys.
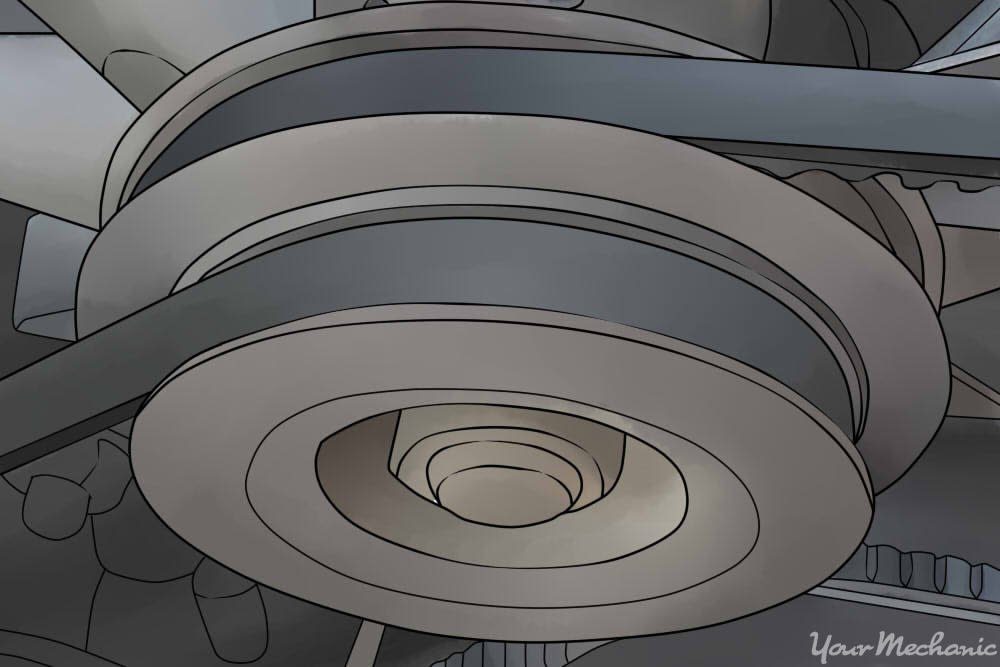
Step 3: Install the new belt. Install the new belt by correctly positioning it in the pulley grooves.
Step 4: Adjust the belt. Push the compressor back into its original position so that the pivot bolts and holes line up.
Put enough pressure on the compressor so that the belt is snug but not too tight. In order to achieve this, you may need to use a pry bar to put tension on the compressor and hold it in place while you tighten down the pivot bolts.
- Note: If your compressor uses an idler wheel tensioner, tighten the belt until it's snug using the adjuster, then tighten down the locknut.
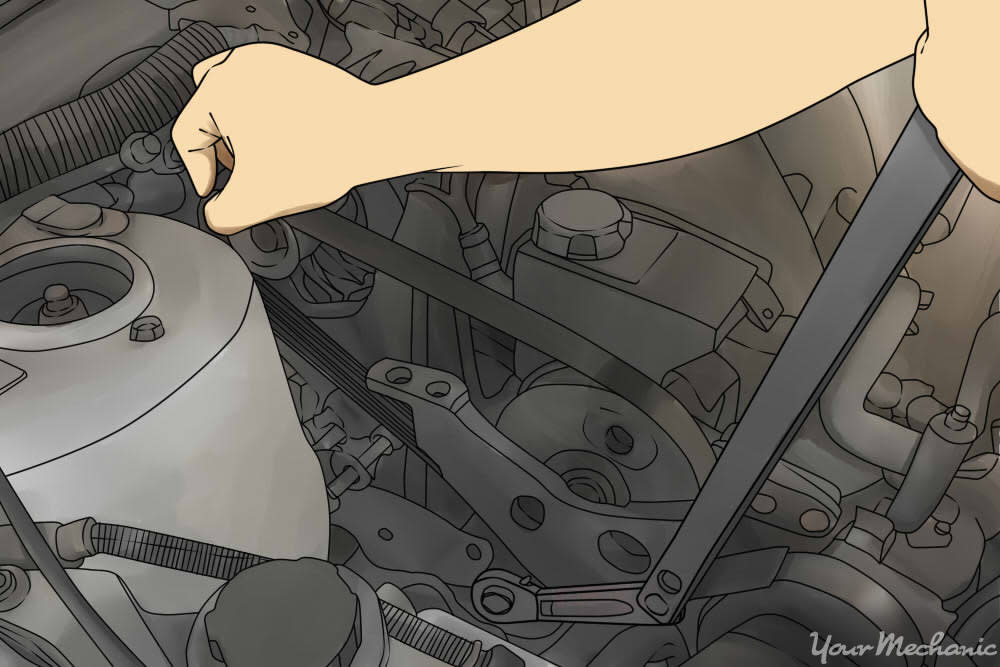
Step 5: Check the belt tension. Once the new belt is installed, you’ll want to check the belt tension.
To do that, push down on the longest length of the belt - there should be about ½” of deflection. If not, loosen the belt and readjust as outlined in the previous step.
That’s it! Now you don’t have to worry about losing your AC on a hot day due to a failed belt. You can crank the AC up and enjoy. If, after reading this, replacing your belt sounds like something you’d rather leave to the pros, let the team at YourMechanic perform a replacement for you.